SnowBlazer
Member
Idk if I could do that on a full tank. But thanks again I have an 18 gal tank so it would never be possible.Drove her 400 miles,
I changed the rear lift gate and glass struts out. Much better!!
Idk if I could do that on a full tank. But thanks again I have an 18 gal tank so it would never be possible.Drove her 400 miles,

Idk if I could do that on a full tank. But thanks again I have an 18 gal tank so it would never be possible.
I changed the rear lift gate and glass struts out. Much better!!
I did them by myself so that adds difficulty, especially right after hitting the gym. If you have someone to support the glass or lift gate (which ever you're replacing), it'll be a breeze. Just pop off the metal retainers with a flat head, pull the old strut off, and push the new one in.How easy is it to do those struts?

I did them by myself so that adds difficulty, especially right after hitting the gym. If you have someone to support the glass or lift gate (which ever you're replacing), it'll be a breeze. Just pop off the metal retainers with a flat head, pull the old strut off, and push the new one in.
I think I installed my gate ones upside-down, with the cartridge on the bottom but it works the same so I'm leaving it as is.
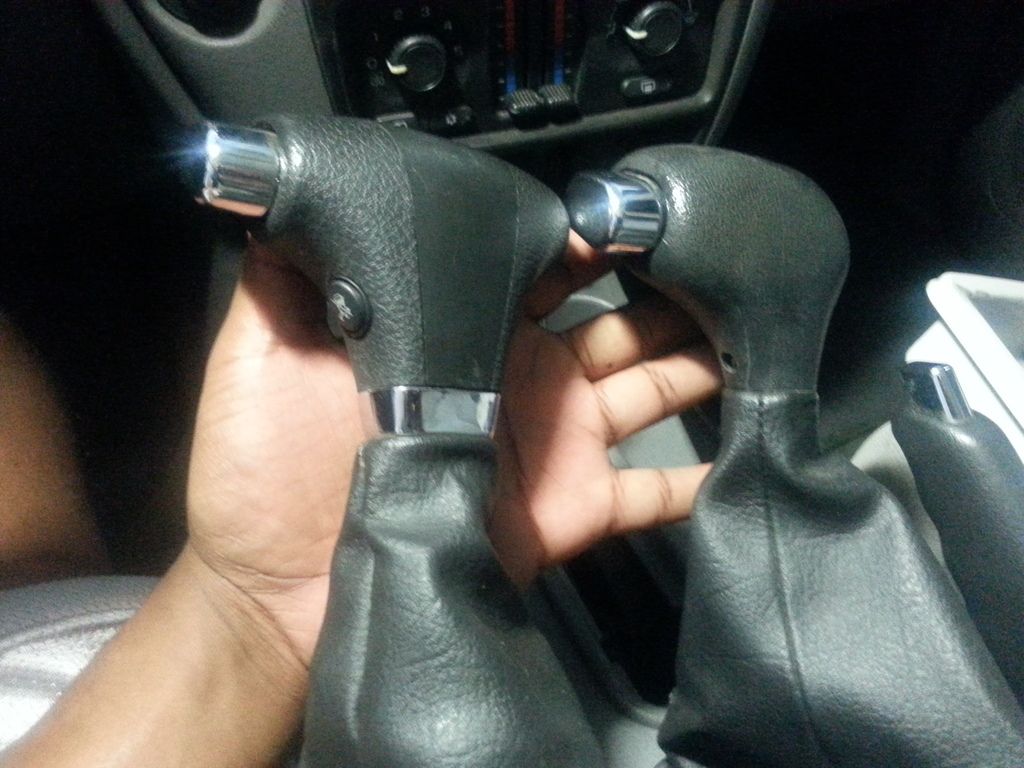
http://www.ebay.com/itm/141621526681What brand did you go with?
http://www.ebay.com/itm/141621526681
I thought the hatch was fine until I put the new ones in. Night and day difference. Oh and these have a 3 year warranty, I only buy things off ebay with a significant warranty because I know I won't revive a return marked as brand new. That has happened with big companies like Rock Auto.


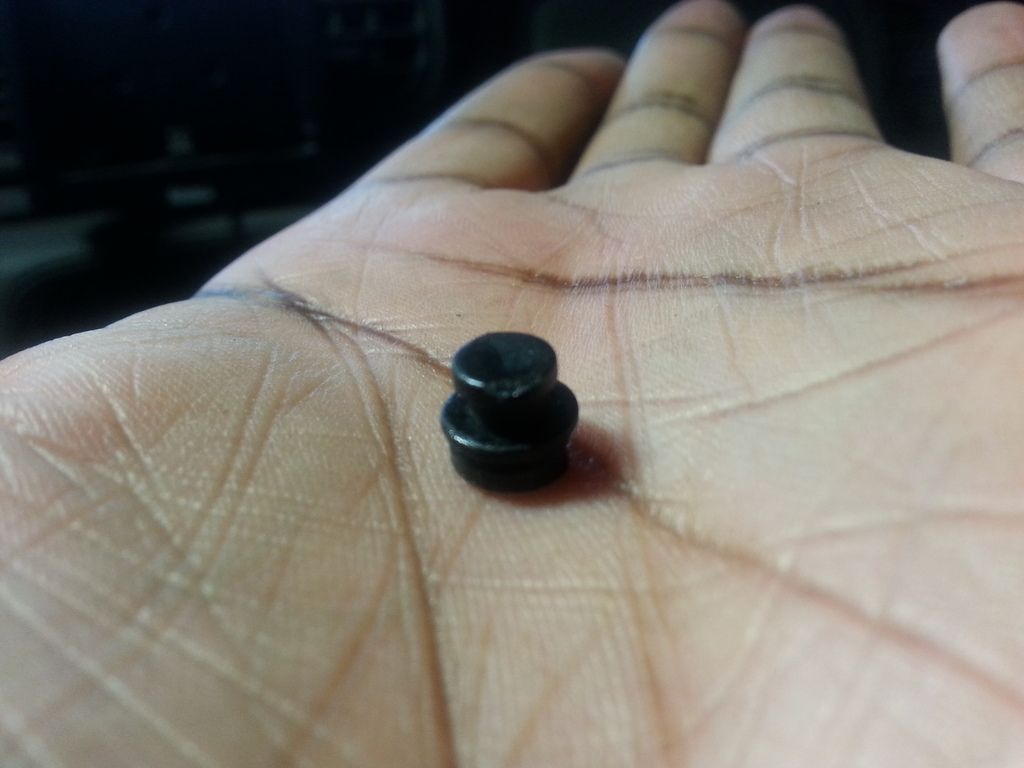
 Upon closer look, the small plastic nipple had come partially out, and eventually all the way out when I tried to mess with it.
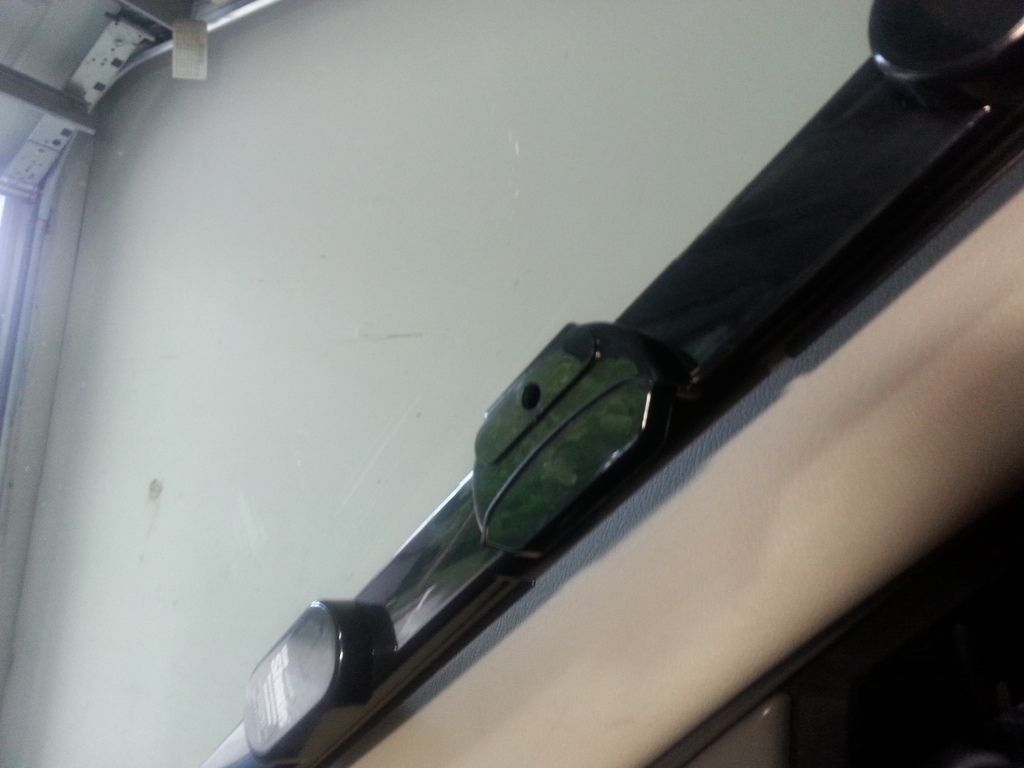


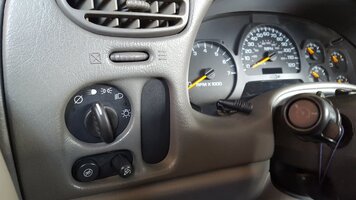
Is your grille broken? My crossbar is barely hanging onto the mesh portion because it goes off and on so much.Swapped turn signal bulbs in the dark. It's bad when you can pull the grill and headlights in the dark and swap bulbs then throw it all back together all within 10 minutes, think I've been under the hood too much lol.
Same as yours. Scared it's gonna fall apart every time I take it off.Is your grille broken? My crossbar is barely hanging onto the mesh portion because it goes off and on so much.


.jpg")


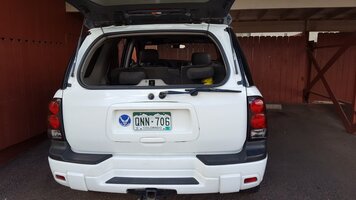
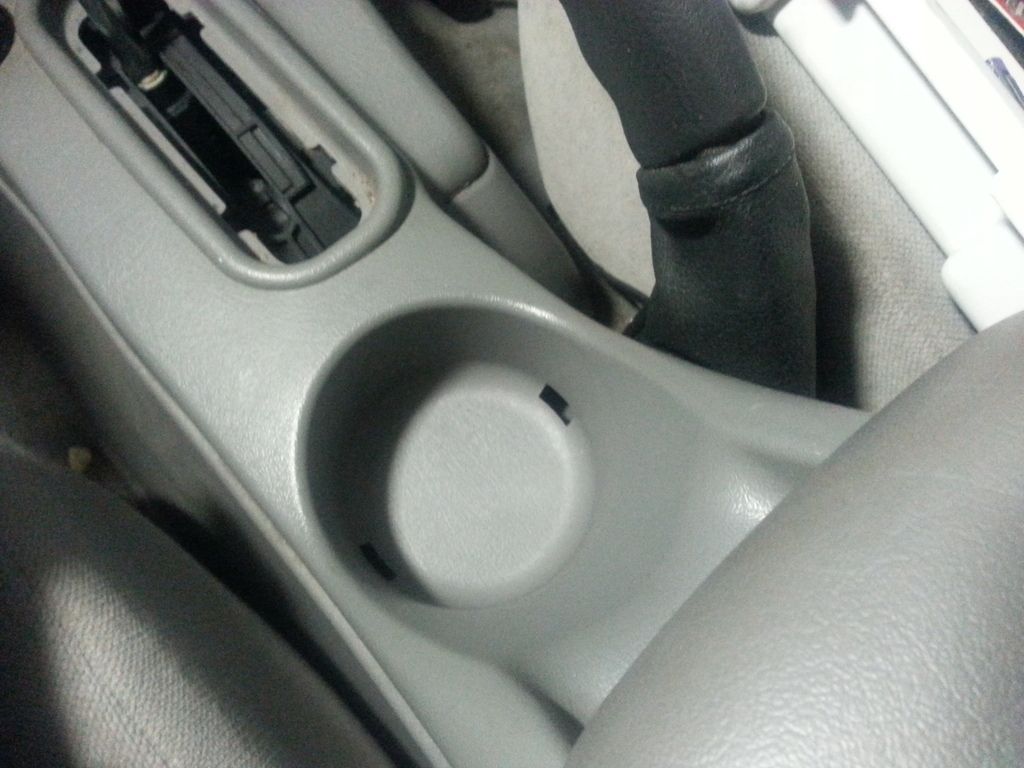
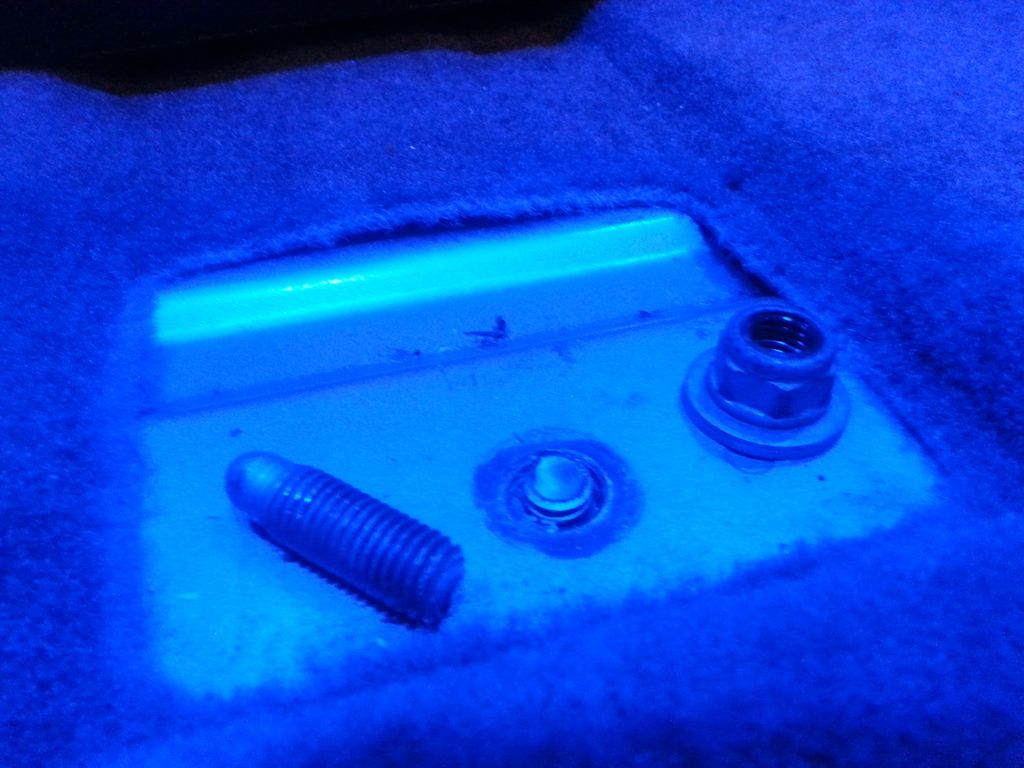
Tried copy @Paul Bell to pop loose the rear center stud for the 3rd row seats, but the stud snapped off near the base instead.
Your bolts must have been better welded in. How many did that? At least you won't have to seal the hole!
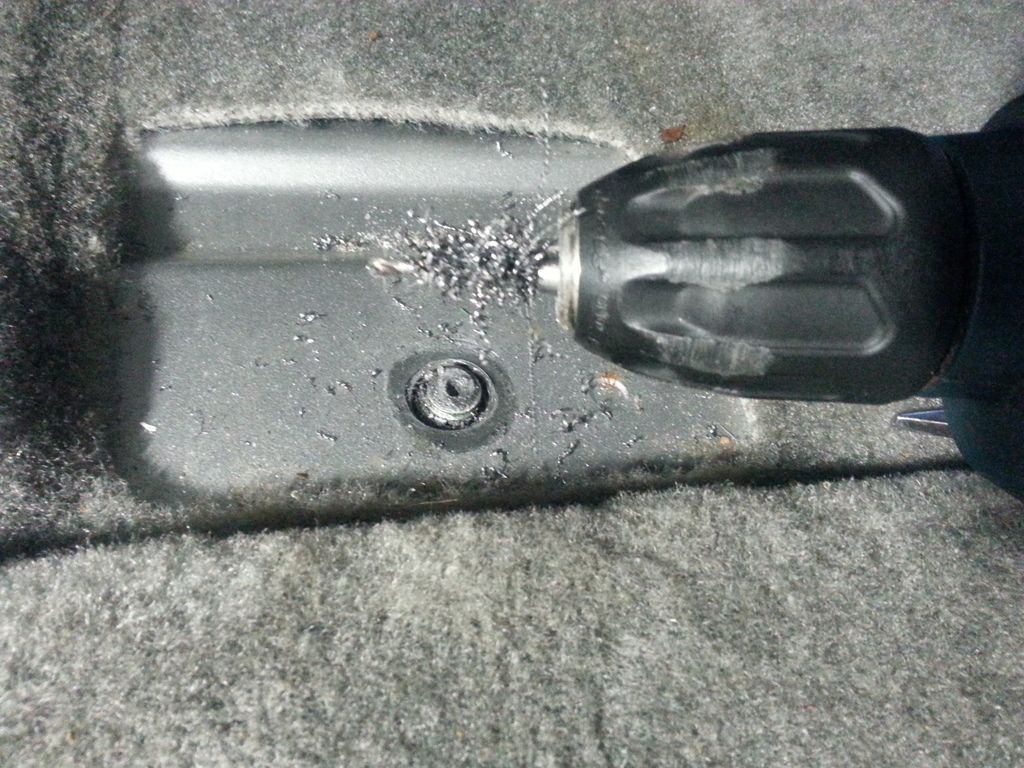
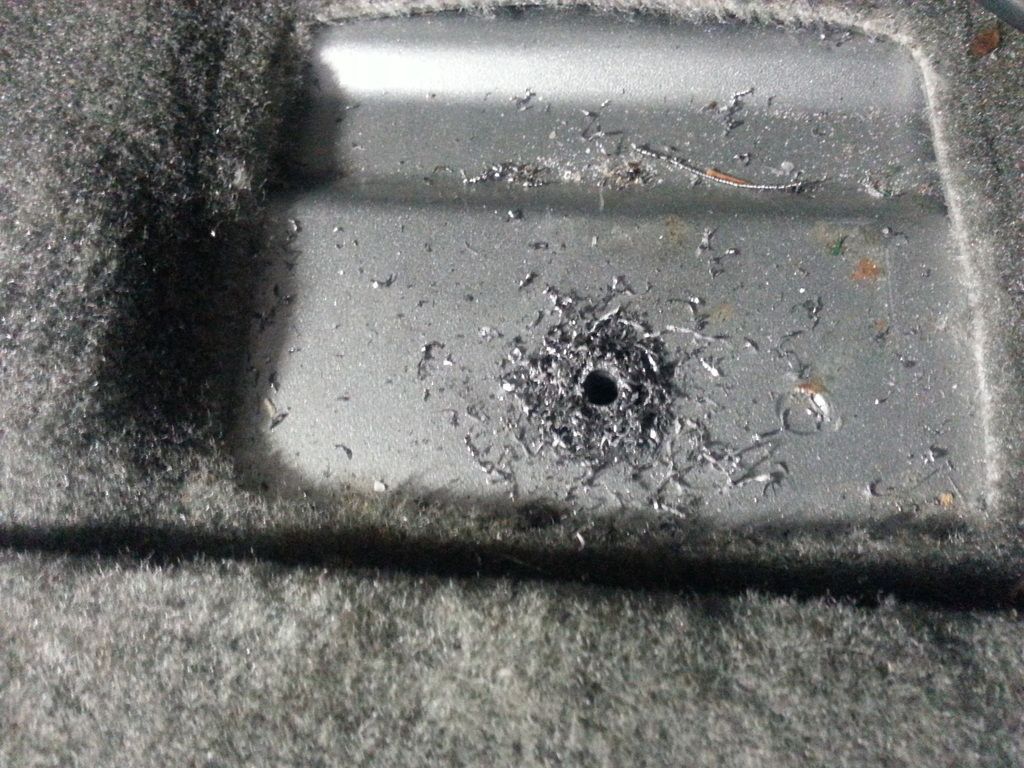
 If that goes well, I could very well break off the other 2 studs, drill and tap them as well. Then whatever bolt choice I go with, could make the weather seal for me. Done deal!
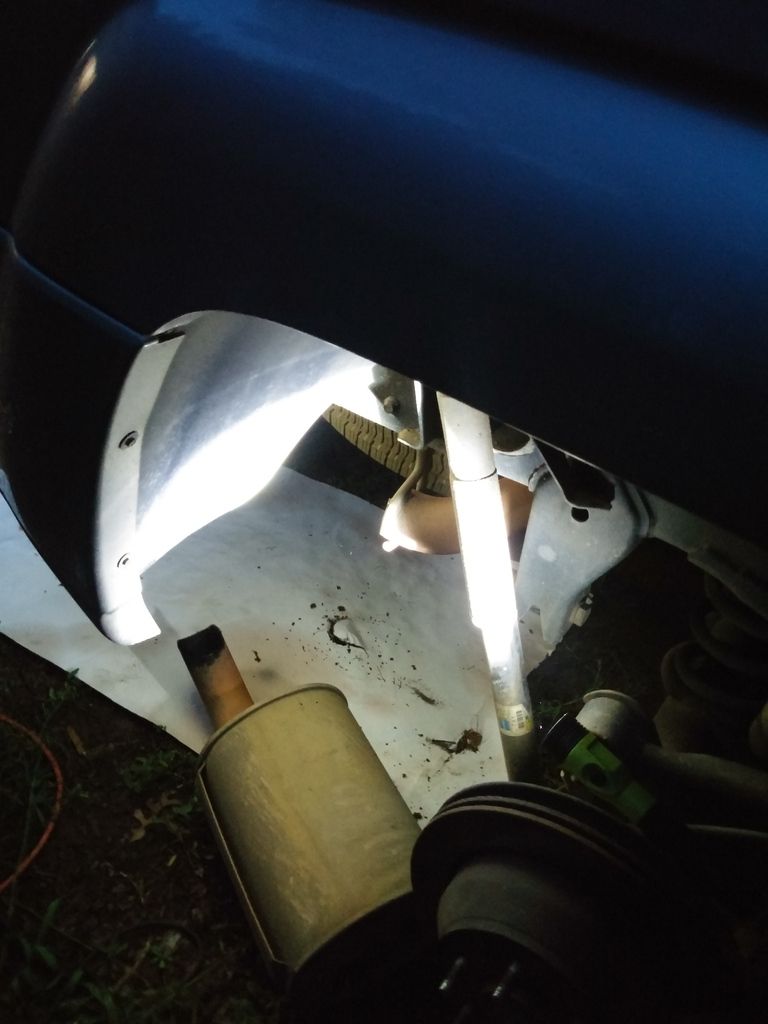
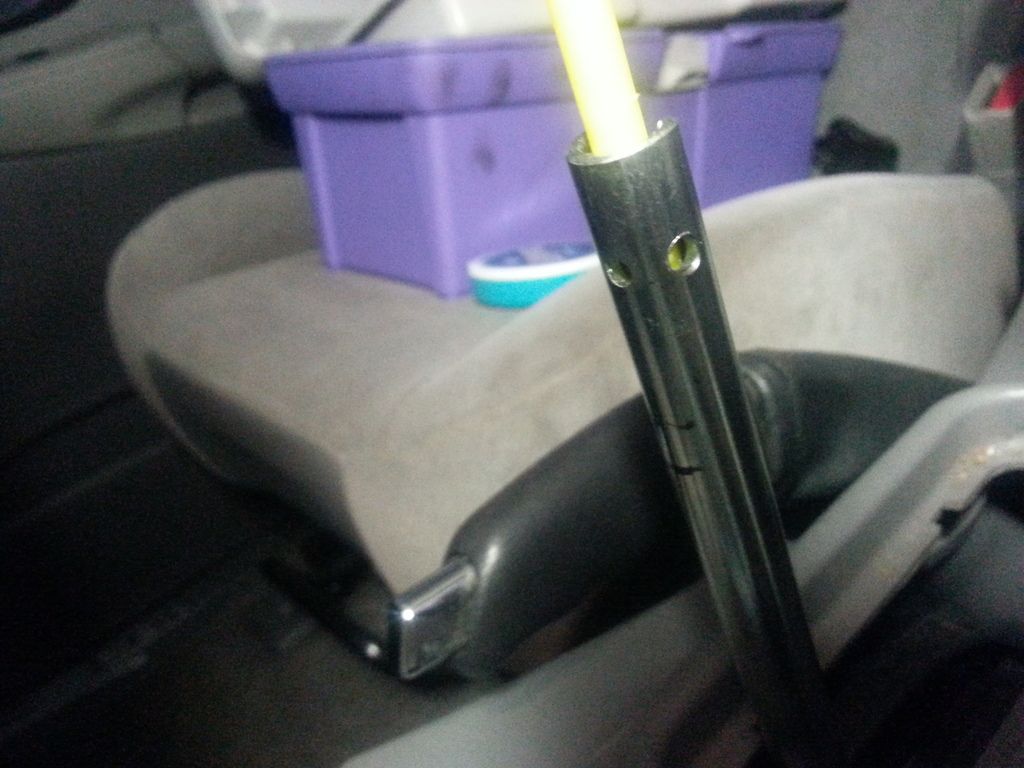
 Gonna work on getting a piece of pipe to extend it out the back now.