SnowBlazer
Member
His accent lights are green, other than that it's blue on black. He used to have his hood vinyl wrapped in blue flake. I loved it, looked good.Blue accents now instead of green?

His accent lights are green, other than that it's blue on black. He used to have his hood vinyl wrapped in blue flake. I loved it, looked good.Blue accents now instead of green?
His accent lights are green, other than that it's blue on black. He used to have his hood vinyl wrapped in blue flake. I loved it, looked good.
[QUOTE
Oh I wish mine were wired for it, I want the turn signal mirrors
Even if the stock mirrors weren't turn signal ones?[/QUOTE]Hmm I didn't know that
Turn signal mirrors should be plug and play...


One thing I'd really like to do is make the rear cigarette lighter plug turn off with the RAP system. Any ideas?!
 Dude, this was in the post RIGHT in front of yours!!!

Any technical discussions should be brought up in a technical thread.
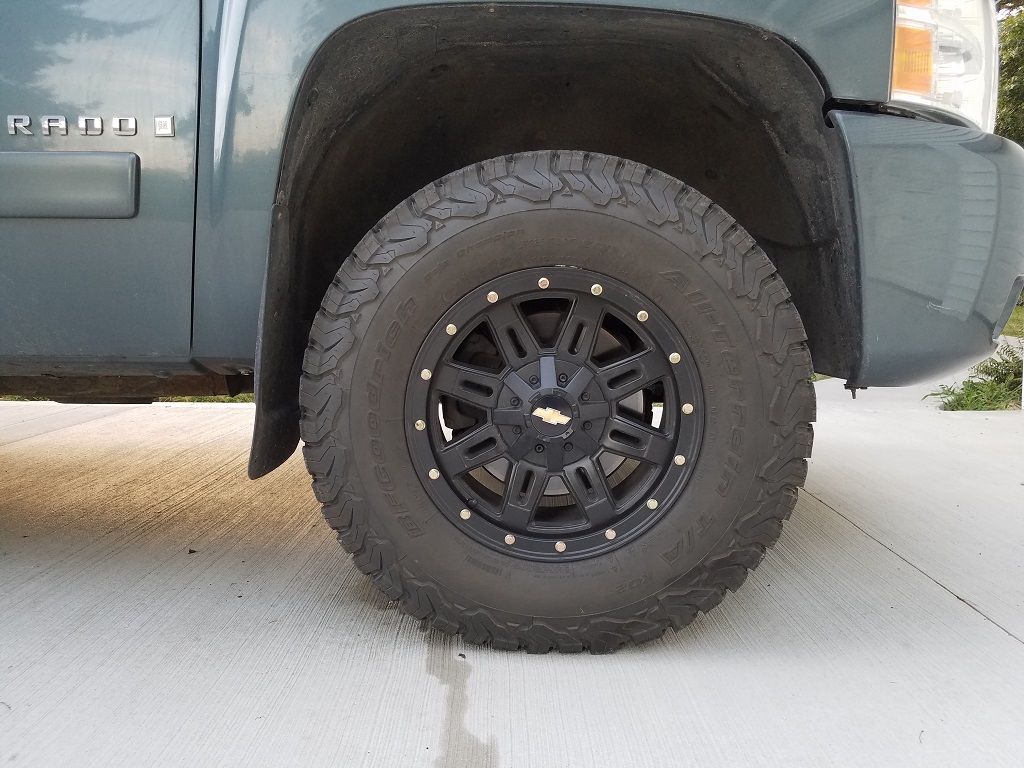
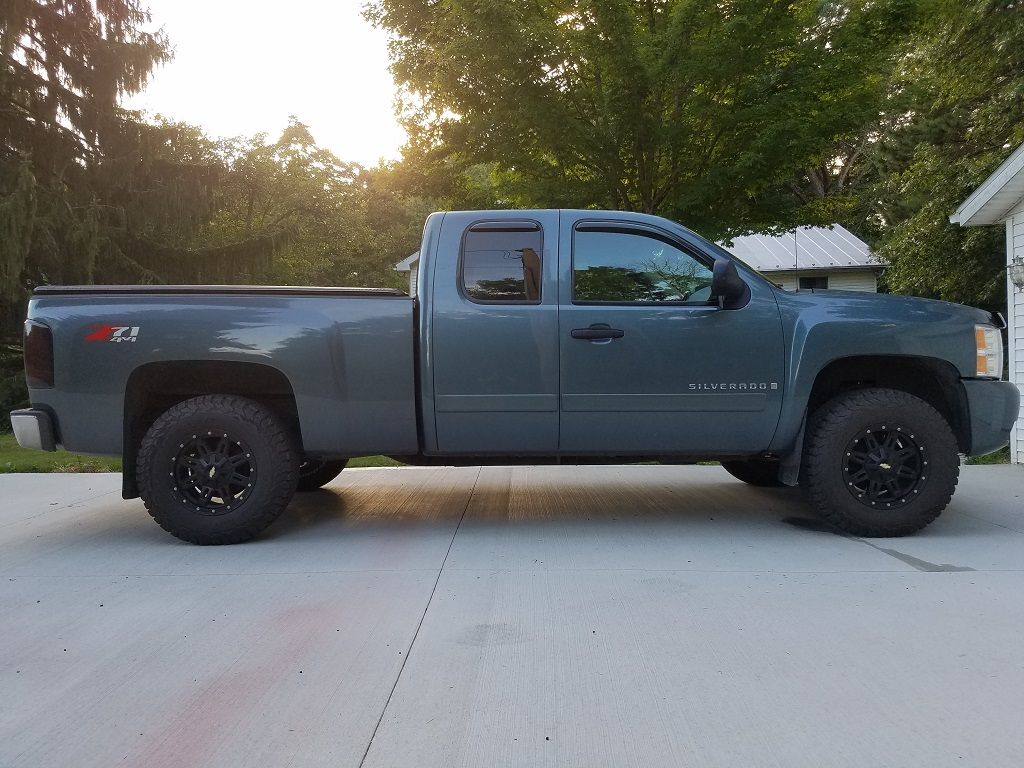
Installed the 3" lift level kit and then an alignment.
I need to now find specs for the lifted truck for caster/camber etc. As the tech only had factory specs.
Rear end is all adjustable with all Maasive speed system mods, need those as well.
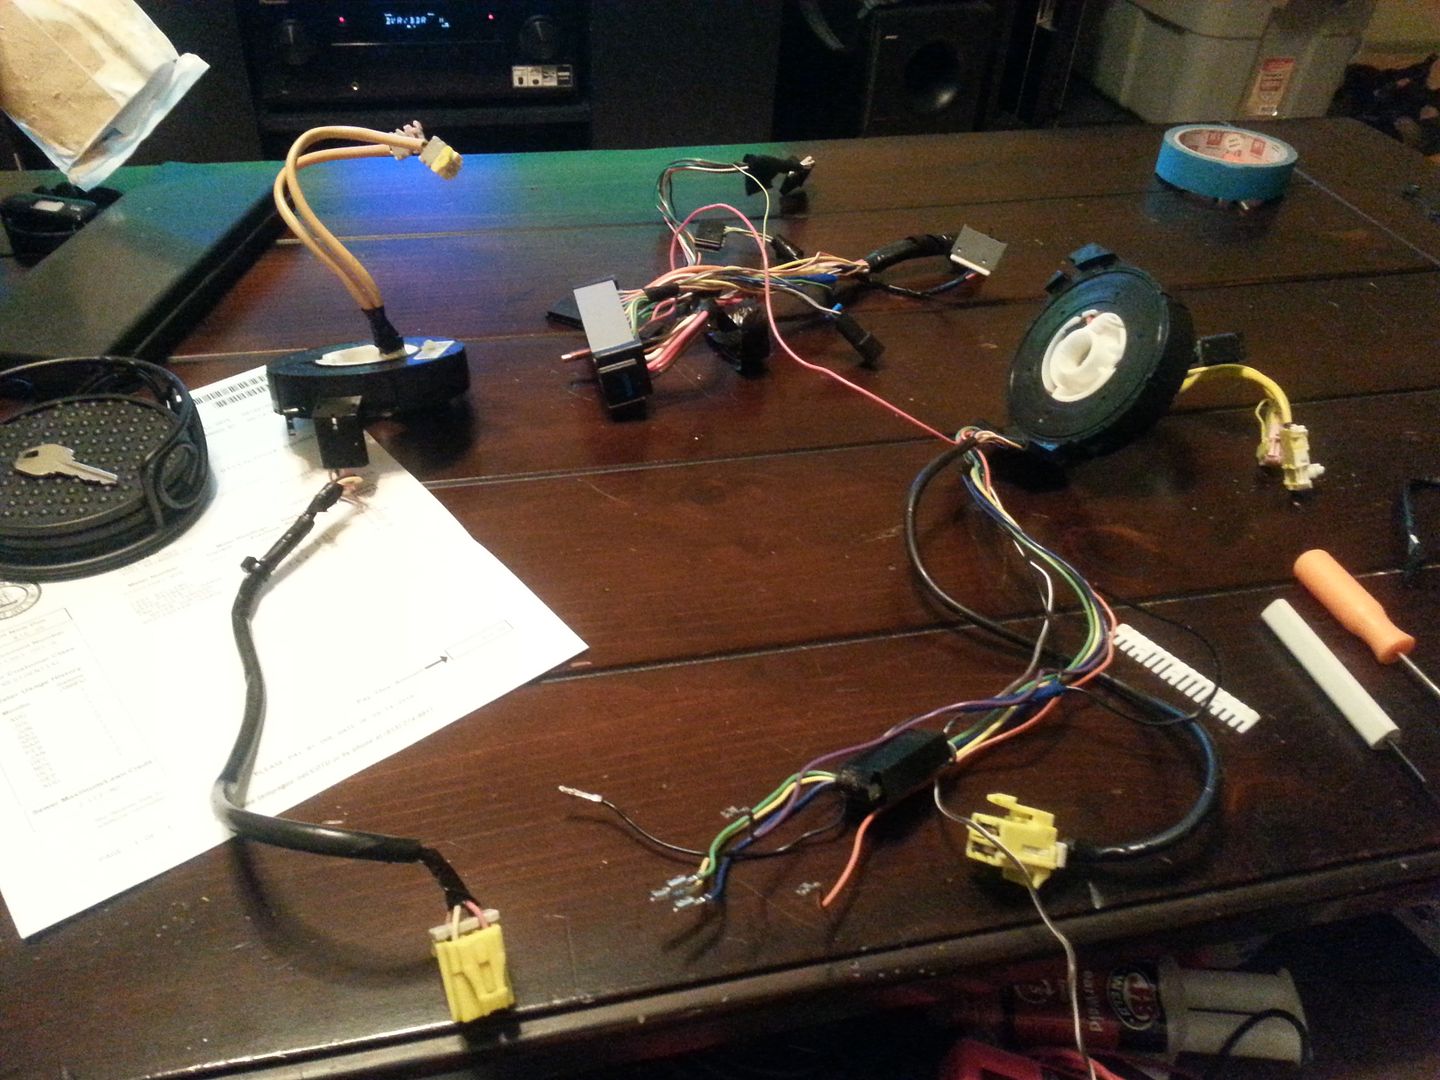
Started taking out non critical parts on the dash and steering column, in prep for some wiring harness modding this weekend.
Sorry but I don't quite get what you mean by that. Please enlighten me


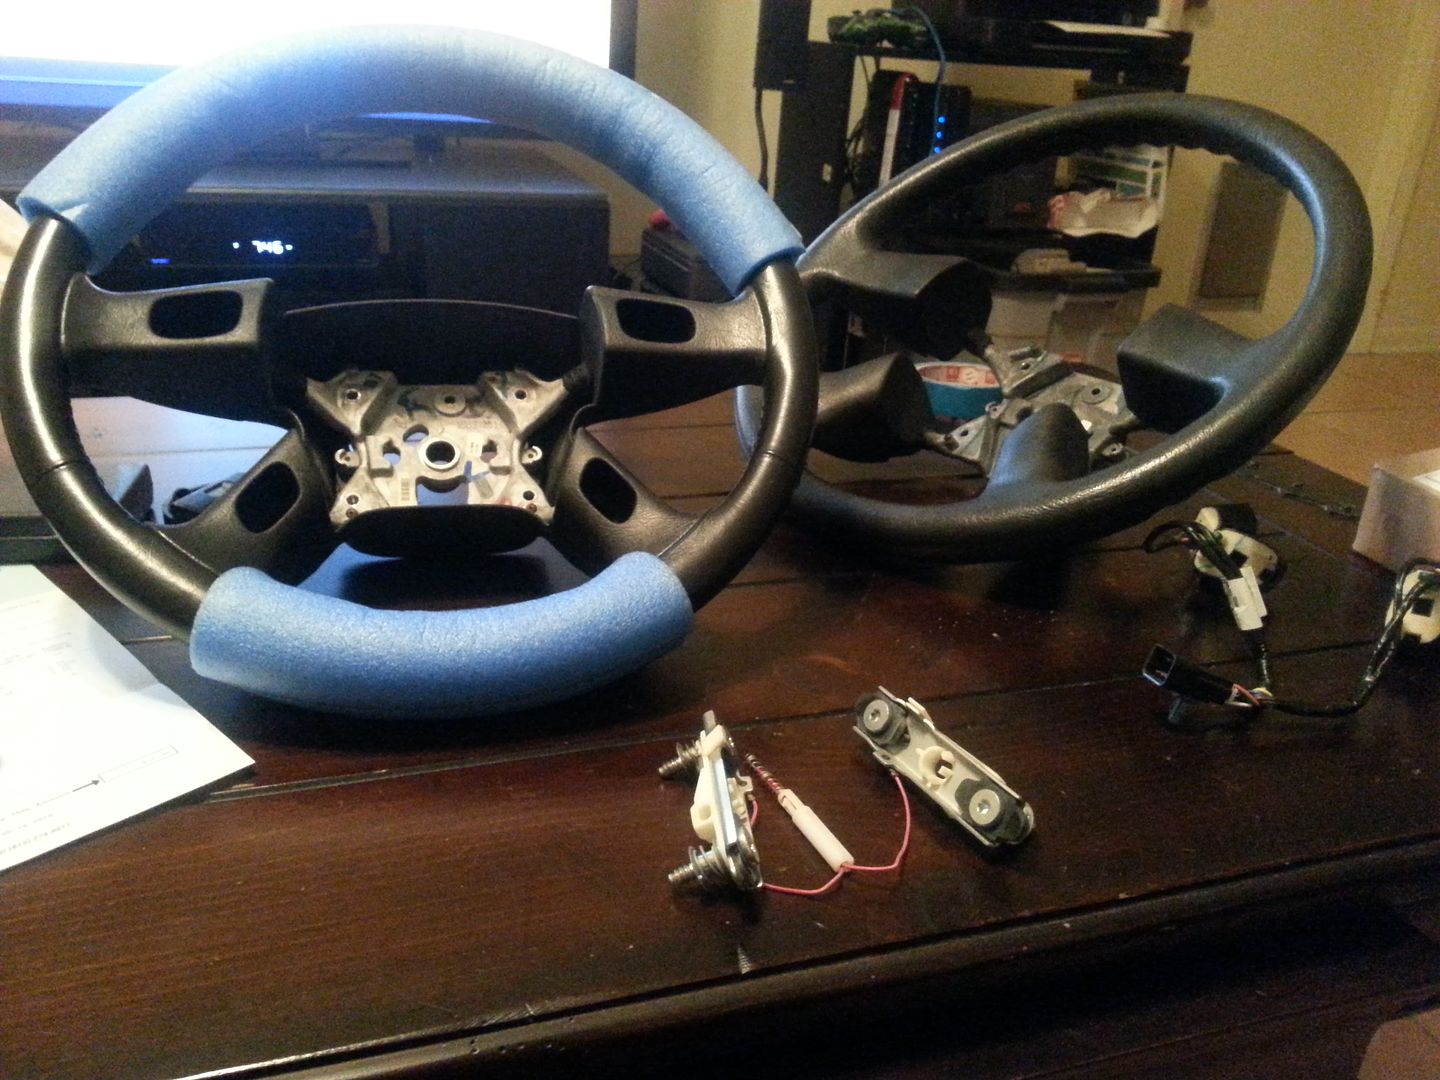
 Had to swap over the rear steering wheel cover, and horn switch.
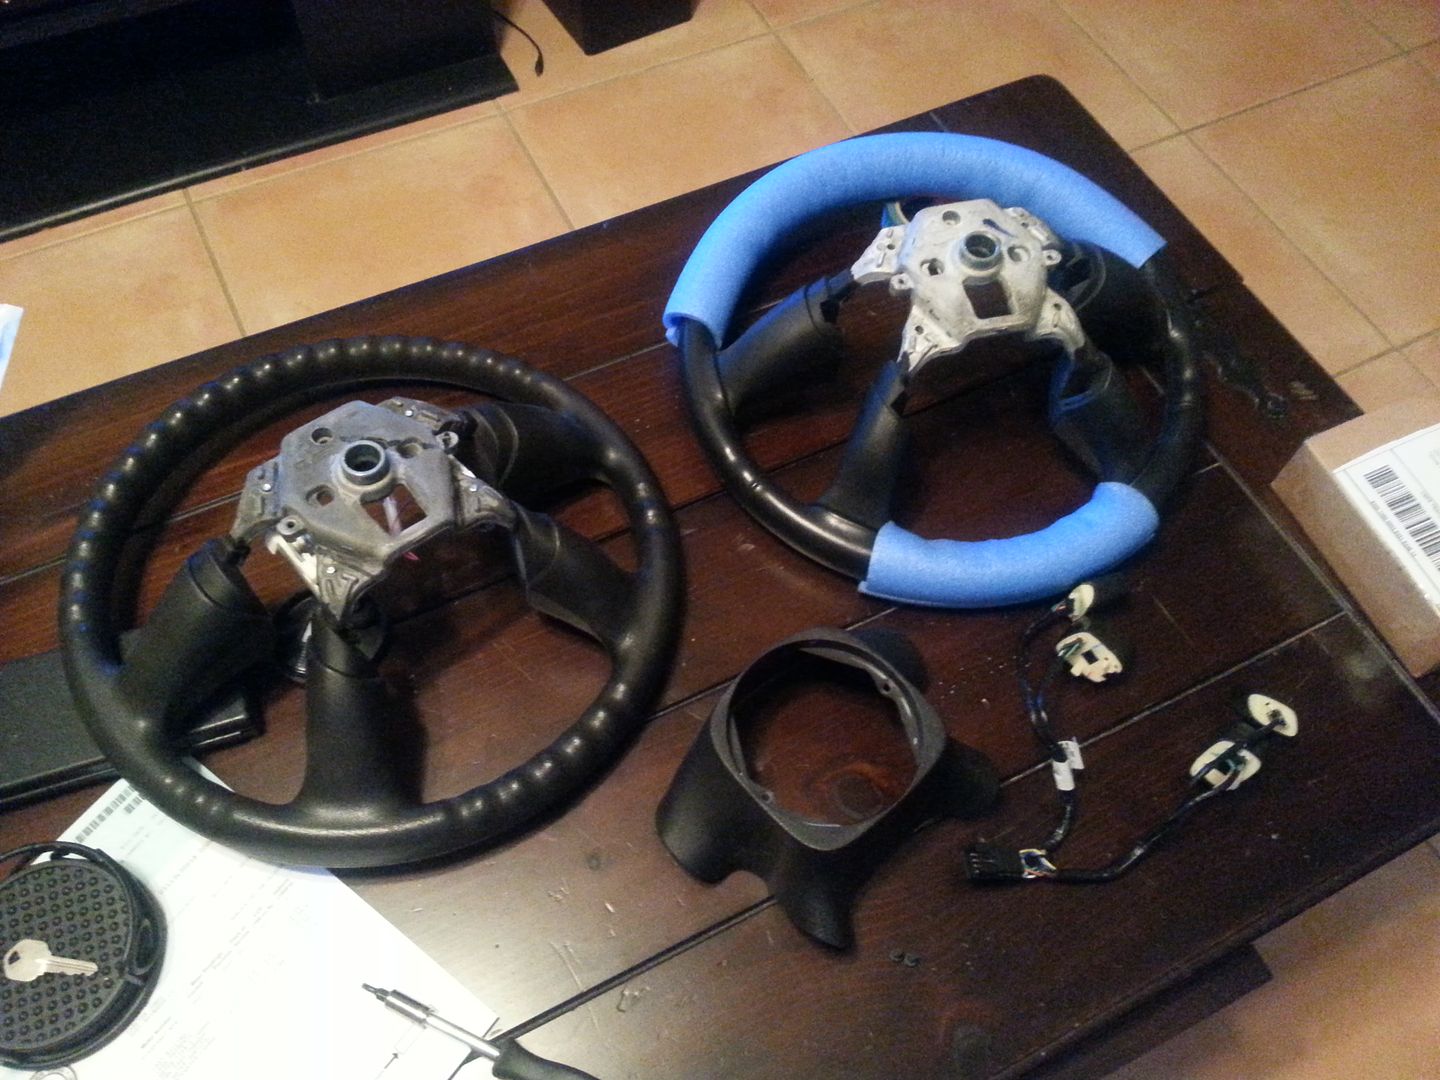

 ) it goes to the aftermarket radio control module.
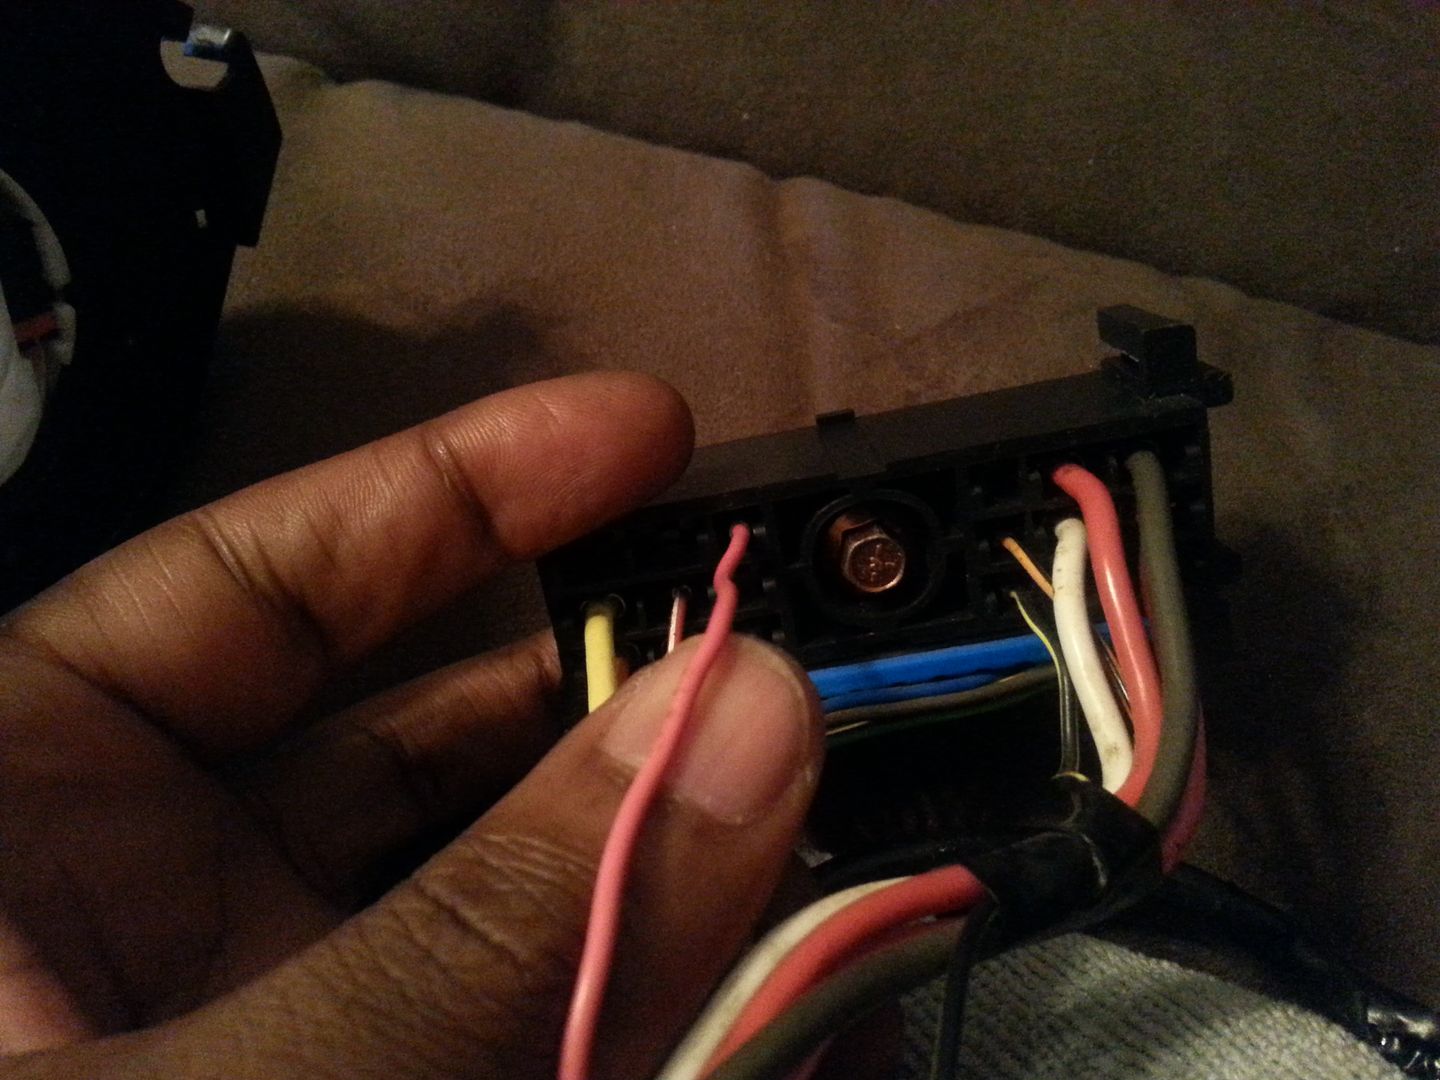

You should totally make a write-up, just saying buddyGot the green light from work to stay home on Friday too, so figured why not start some long overdue modding a couple days early!
So yeah, this happened!
Got the steering wheel off, had some strong words for the snap ring that wanted to not cooperate with my snap ring pliers.
Old clock spring is out, compared it to the DIC clockspring, and started mapping which wires I needed to de-pin.
Spent a good hour combing through the wiring diagrams to figure out what this straggling pink wire was for. Turns out that's the 12V reference for the radio control buttons. And the green wire isn't for the DIC function that also has a green wire (the green DIC wire gets the purple one from the clock spring
That will do it for tonight, just realized I'm almost out of my preferred crimp connectors, time to spend more money! Damned mod bug!
 I would press the volume down button on the steering wheel, and it would turn back down, but when I let go, it would go back up. Disconnected the clock spring from the module, but the volume STILL went up.

You should totally make a write-up, just saying buddy


 Good way to start the day though
 bad.
bad.
Put my approx 1yr old battery on a charger - it was so dead I couldn't get the key back to the lock position to pull it out. Tried jumping it from my other car first - no dice.
2hrs after the charger has started, I'm still looking at 0% charge, and assuming the battery has sulfated - at least, I hope that's the case. Otherwise, it looks like new battery time.
Needless to say, there will be no test drive of the newly installed shift kit today
Only 1 year old? Should be a warranty.
 Muy bueno!
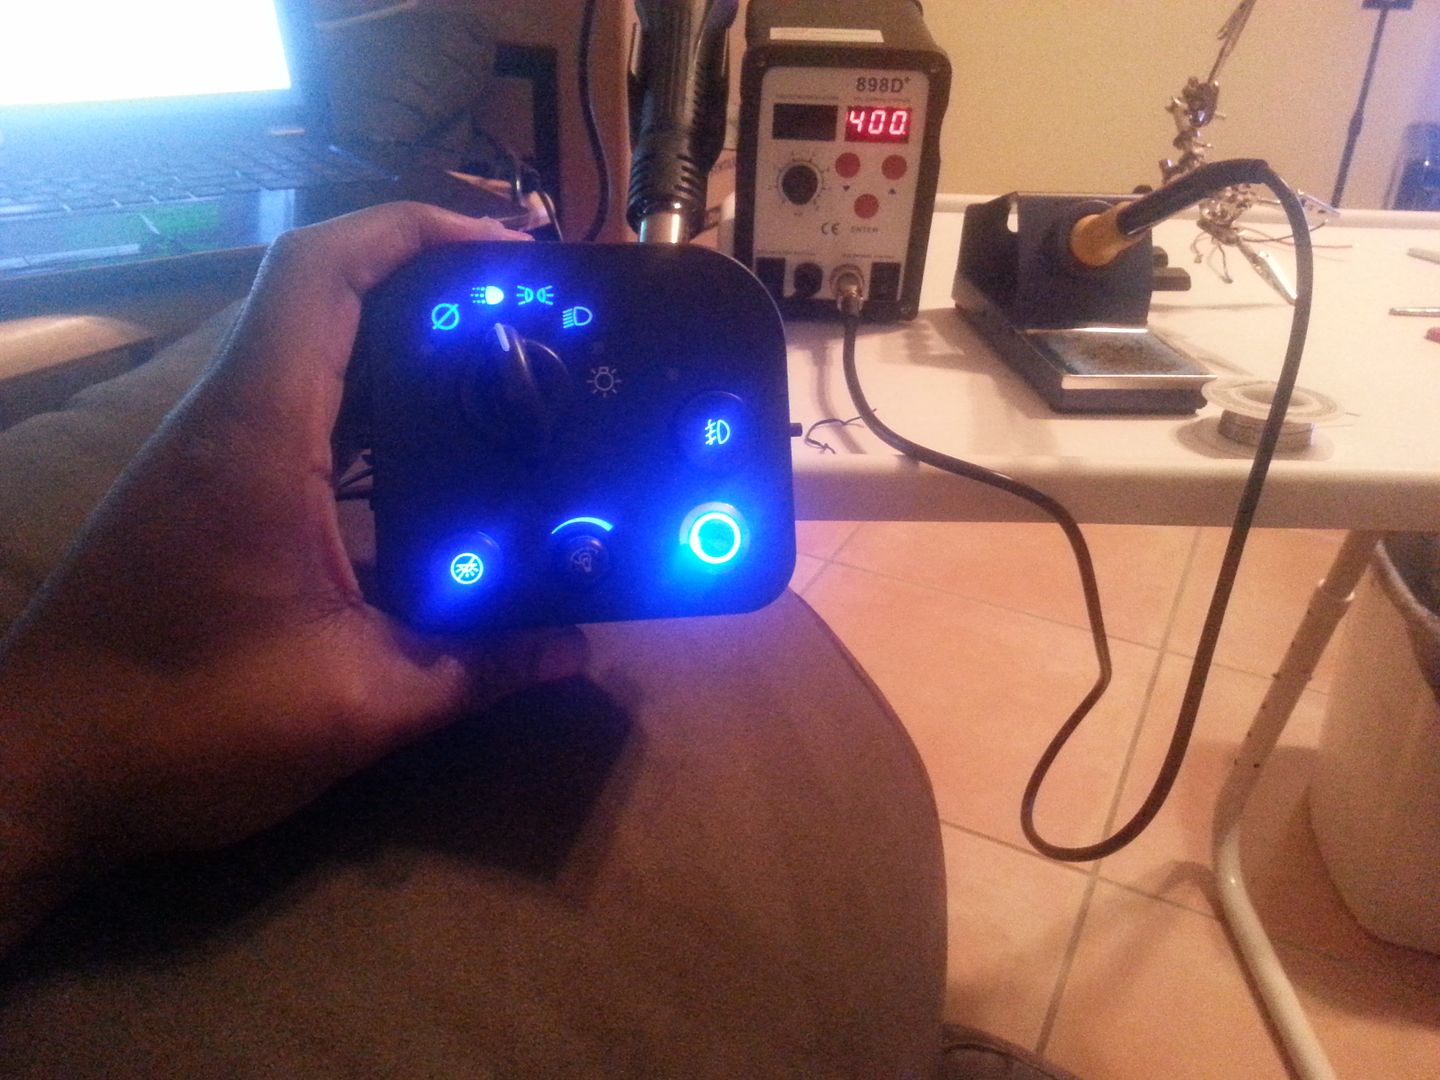

 Down for about a week
  ...but I think it will be worth it.
-Fixed a vacuum leak around the intake coupler; it was making the idle slightly rough surprisingly.
-Added a breather filter to the valve cover. Should make a big difference next time I go to clean my throttle body since I got rid of my vacuum line going to the intake. View attachment 78077 View attachment 78079
AutoZoneI really like that breather filter, where did you get it?