Gerbil21
Member
- Joined
- May 28, 2014
- Posts
- 839
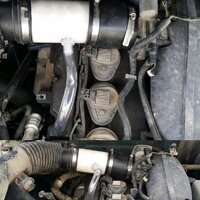
Yea the 05 pads are listed the same for both swb and lwb. But the 06 is different its slightly taller, it doesn't have as much surface loss on the bottom where the pad arches making it more square and its a bit thicker too. I didn't take any pics if it but you can see the difference on amazon the 05 are qc882 the 06 denali are qc1169.mcsteven said:Dang - Mine is an 06 but when I did the EXT/XL brake upgrade, it was a simple swap of the rotors, swap the caliper bracket, and new pads. Something different for your 05?
I thought the pads were supposed to grab the whole rotor but I was wrong no pad on either the ext or ss grabs it whole. the reason is because of leverage, since the pad is higher up it can grab and stop better. just imagine if you had to close a pipe if your able to turn a big round handle it would be easier than a small handle all because of leverage the further out you go like a breaker bar.


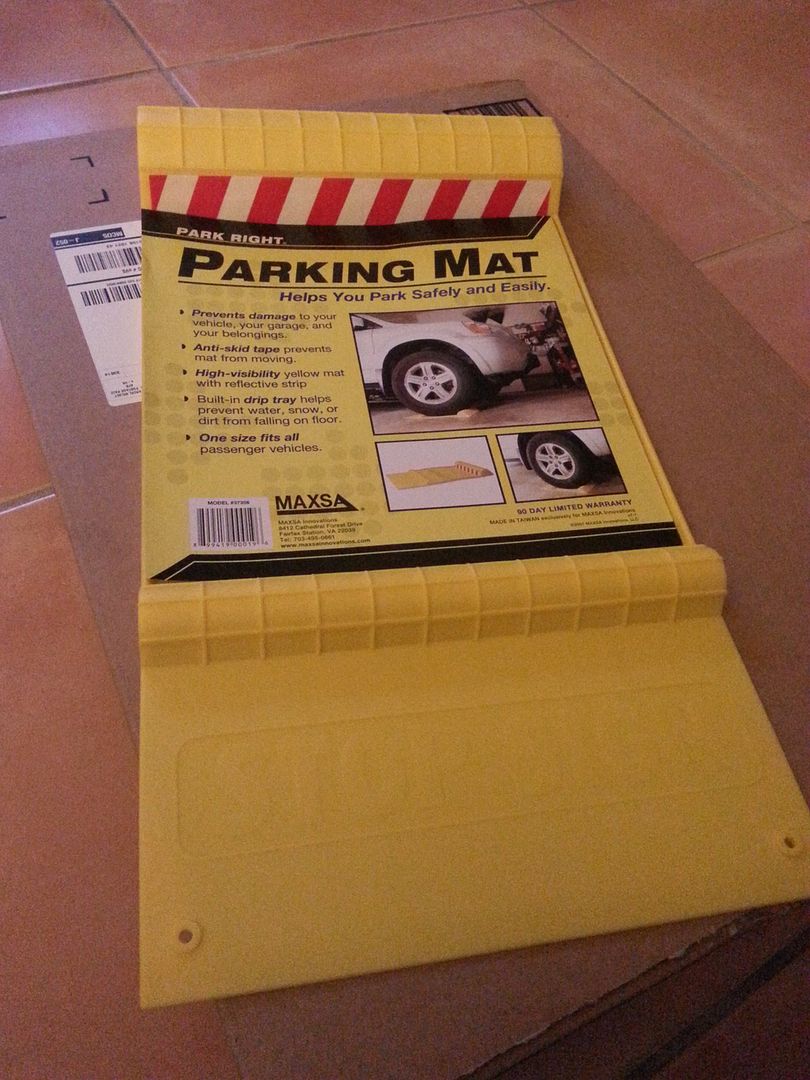
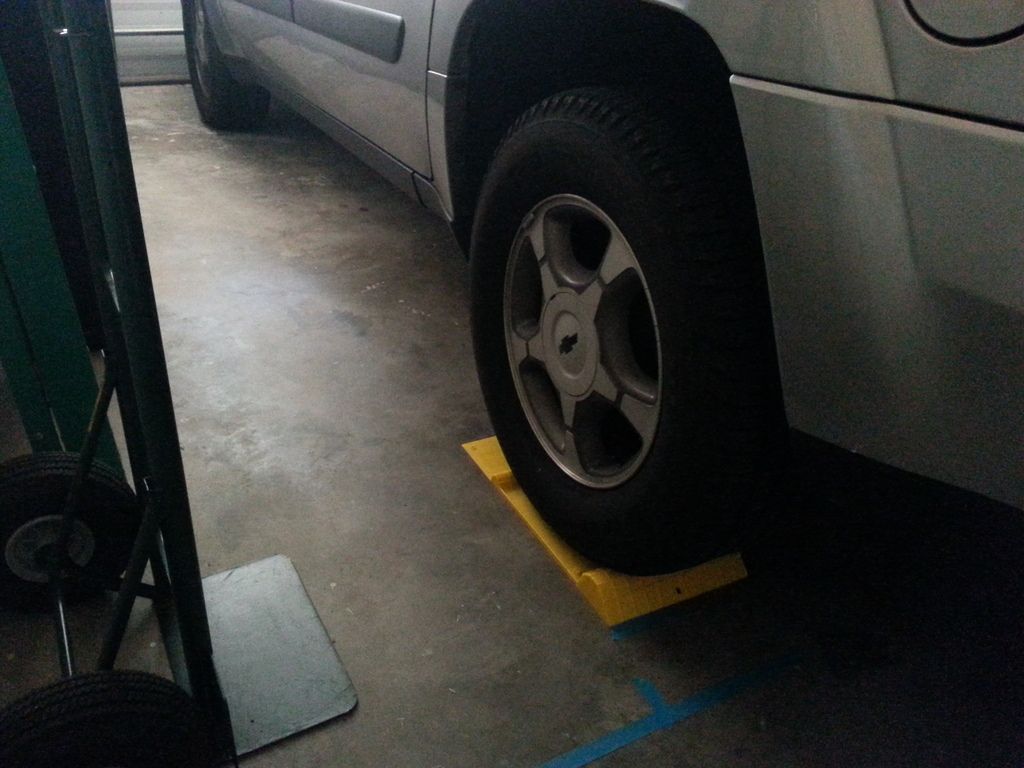
 Used some painter's tape to make my marks, and only took 2 tries to find the sweet spot.