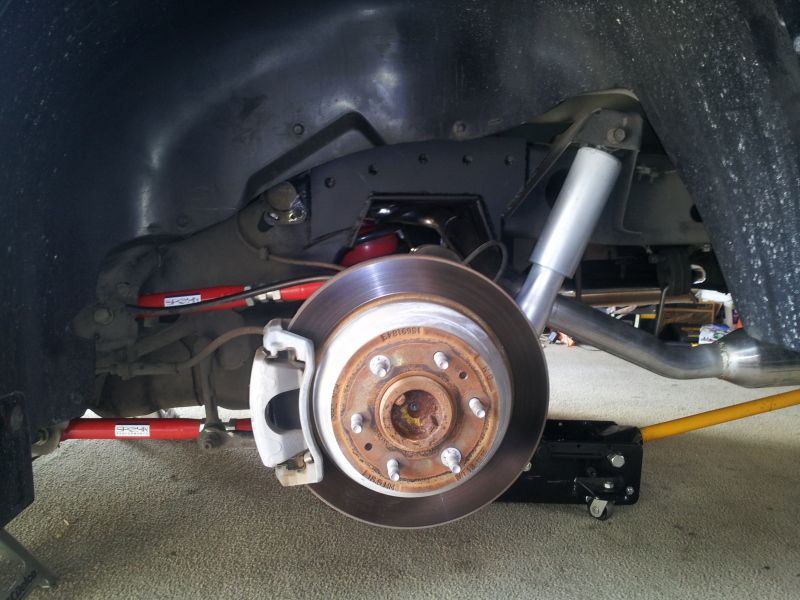
Fire06, having my coolant sensor changed today. My thermostat was done over the weekend but the shop I went to said my sensor was fine... After drivin the truck and the temp gauge running at about a quarter and jumping around I knew the sensor had to be changed, too. It's right behind the alternator. Not something I am comfortable moving out of the way, unless I had to change it (knock on wood). It's not an easy reach otherwise.
I am hoping changing the sensor now will allow my gauge to read right and in the end with a new tstat and sensor my truck should not run as hot as it was. I think that was why my mileage went down and also why I was burning oil faster than normal, and because the fuel may have been running too rich all of the time, I fried a new cat in the process.
I just want my inspection done!
Oh, and I had my wheel hub bearing replaced Saturday along with a fried CV axle and seal. The same day I picked it up the other hub bearing started grinding. Just my luck. So much money gettin sucked into this truck and on repairs rather than extras. Guess its the price we pay.
")
Cheers!


 .....
.....


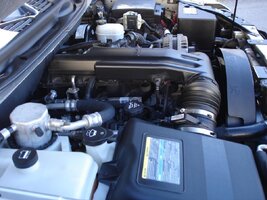


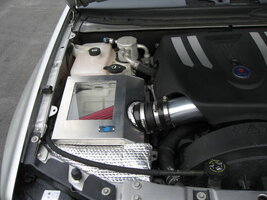
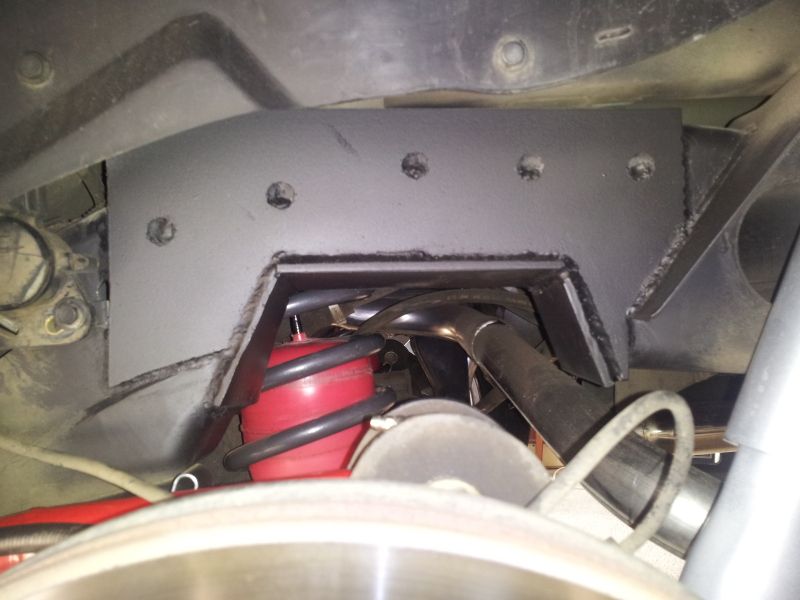
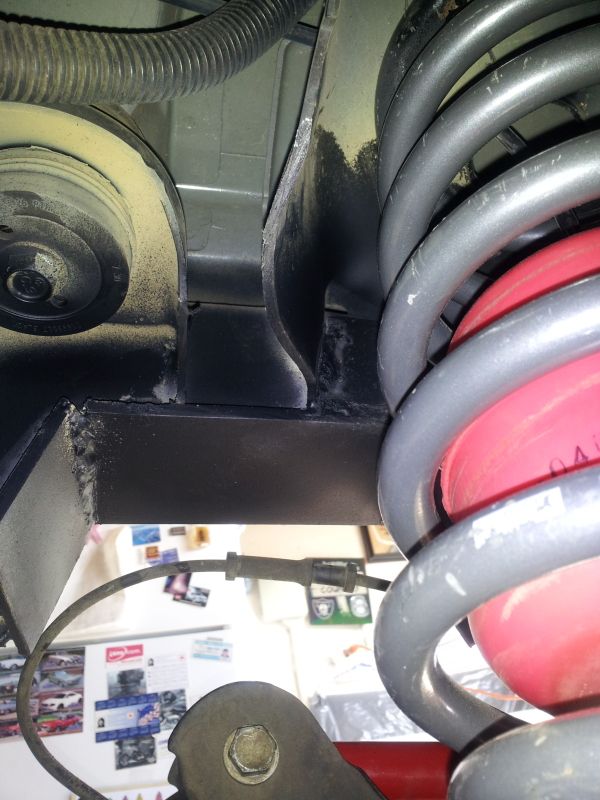
 Is that an intake resonator I see? I didn't know the 5.3s had one of those (if that's what that is)
 , it looks so unfinished the way it is.


 .
.


 and inverted the subs in the box I shortened and ported.