You are using an out of date browser. It may not display this or other websites correctly.
You should upgrade or use an alternative browser.
You should upgrade or use an alternative browser.
What did you do to your GMT today?
- Thread starter MAY03LT
- Start date
- Status
- Not open for further replies.
woody79
Member
- Joined
- Dec 3, 2011
- Posts
- 351
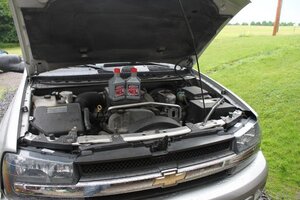
Nothing to special. Did my first ever oil change  I have to give big props to May03LT for his video, made things go very smoothly. I especially liked the tip to use brake cleaner on a rag to get a better grip when tightening the new filter.
Sorry no pictures of the actual oil change. I was to busy making sure I didn't screw things up, which worked fine until I was checking for leaks when finished, when I somehow managed to kick the pan with the used oil in it ....


 Cat litter has many uses
Also I'd like to thanks to Steve A for hooking me up an account with Amsoil. I used the XL 5W-30 Synthetic Oil and an Amsoil 25,000 filter.
Here is the only pick I have.
View attachment 21245
I have to give big props to May03LT for his video, made things go very smoothly. I especially liked the tip to use brake cleaner on a rag to get a better grip when tightening the new filter.Sorry no pictures of the actual oil change. I was to busy making sure I didn't screw things up, which worked fine until I was checking for leaks when finished, when I somehow managed to kick the pan with the used oil in it ....
Cat litter has many uses Also I'd like to thanks to Steve A for hooking me up an account with Amsoil. I used the XL 5W-30 Synthetic Oil and an Amsoil 25,000 filter.
Here is the only pick I have.
View attachment 21245
Attachments
Sparky
Member
- Joined
- Dec 4, 2011
- Posts
- 12,927
Curiosity got the better of me so I traced out the mysterious wires in the dash. They route up the A pillar and into the headliner  I see nothing anywhere that indicates anything aftermarket. My first thought was maybe they feed the sunroof, but fuse 20 in the rear fuse block is for the sunroof.
I may just leave it alone and forget about it. Well, I can't forget about it, I know it'll always nag me, but I really don't feel like pulling down my headliner just for this
I see nothing anywhere that indicates anything aftermarket. My first thought was maybe they feed the sunroof, but fuse 20 in the rear fuse block is for the sunroof.I may just leave it alone and forget about it. Well, I can't forget about it, I know it'll always nag me, but I really don't feel like pulling down my headliner just for this
- Joined
- Nov 18, 2011
- Posts
- 49,665
Short Bus said:I'll wait 'til I see the finished pics, but I'm thinking....NO!!!!!
I disagree...but i like pushing the envelope.
Cant wait to see how it turns out!
mapanch
Member
- Joined
- Dec 2, 2011
- Posts
- 333
HARDTRAILZ said:I disagree...but i like pushing the envelope.
Cant wait to see how it turns out!
I agree with Kyle. I think it'll look good.
Hurry up and finish so we can see!
woody79 said:Nothing to special. Did my first ever oil change
Awesome!!!! Nothing beats doing it yourself and not having some ******* trying to sell you an air filter.:wootwoot:
Short Bus
Member
- Joined
- Dec 2, 2011
- Posts
- 1,906
MAY03LT said:Awesome!!!! Nothing beats doing it yourself and not having some ******* trying to sell you an air filter.:wootwoot:
WTF Did I somehow end up on FailVoy or did you censer your own post?
smitty5150
Member
- Joined
- Nov 18, 2011
- Posts
- 1,069
Bartonmd said:Wait.. Sheetmetal??? You mean like 1/8" or 3/16" to make stuff out of, not body sheetmetal, right? Don't even try doing bodywork on thin sheetmetal with flux core!
Mike
Well thanks for making me do my research. Not a mistake I would've enjoyed making. MIG it is, huh?
We got a letter from xm today in the mail giving us a free 3 month trial. So apparently callng them about ordering it and not ordering it they will send you a free trial. Just and fyi for everyone. Then we took it to the daughters tee ball game and froze.
FlyingFischer
Member
mapanch said:I agree with Kyle. I think it'll look good.
Hurry up and finish so we can see!
HARDTRAILZ said:I disagree...but i like pushing the envelope.
Cant wait to see how it turns out!
Thanks for the support guys!
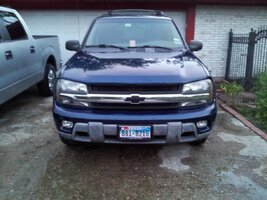
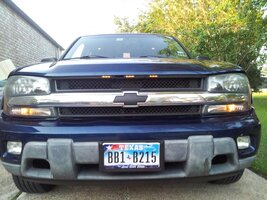
I like being completely different then everyone else. With black most people do a red or blue accent, and I wanted something that popped real well....So I chose orange. I love the orange interior pieces and can't wait to get the out side done.
Got my first coat on yesterday but ran out of paint that I use to tint the bedliner with so i'm at a stand still till I get more. Probably won't get this project finished for a week or two.(Slammed at my current job and have 3 interviews this week).
mapanch
Member
- Joined
- Dec 2, 2011
- Posts
- 333
FlyingFischer said:Thanks for the support guys!
I like being completely different then everyone else. With black most people do a red or blue accent, and I wanted something that popped real well....So I chose orange. I love the orange interior pieces and can't wait to get the out side done.
Got my first coat on yesterday but ran out of paint that I use to tint the bedliner with so i'm at a stand still till I get more. Probably won't get this project finished for a week or two.(Slammed at my current job and have 3 interviews this week).
How hard is it to pop the plastic off the back bumper? I have that crappy faded gray look. Was debating about spraying it with bedliner......
woody79
Member
- Joined
- Dec 3, 2011
- Posts
- 351
TB2k4 said:popped a tire. trying to get the spare down in the garage now... its seized up pretty bad. anyone know where the thread is about breaking it down?
Not to sure if this will help but .... http://gmtnation.com/f28/envoy-spare-tire-hoist-winch-2644/
STLtrailbSS
Member
- Joined
- Dec 4, 2011
- Posts
- 1,617
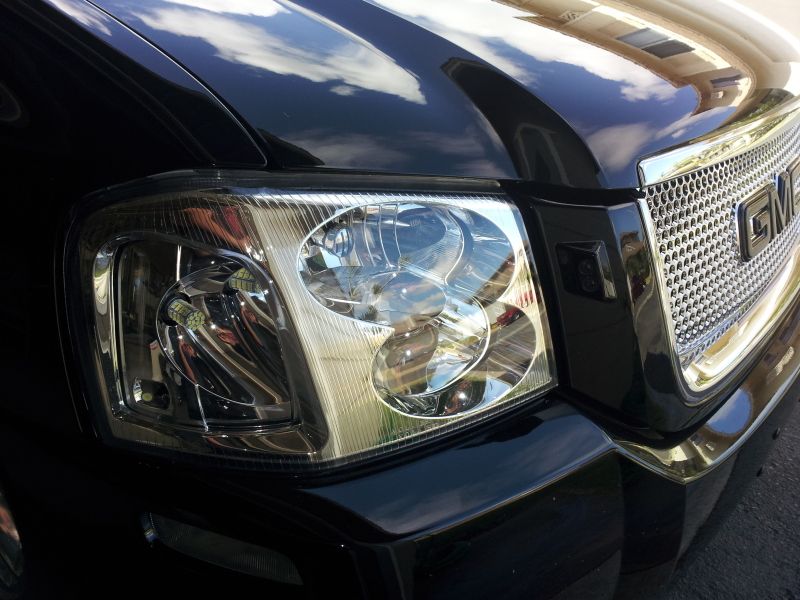
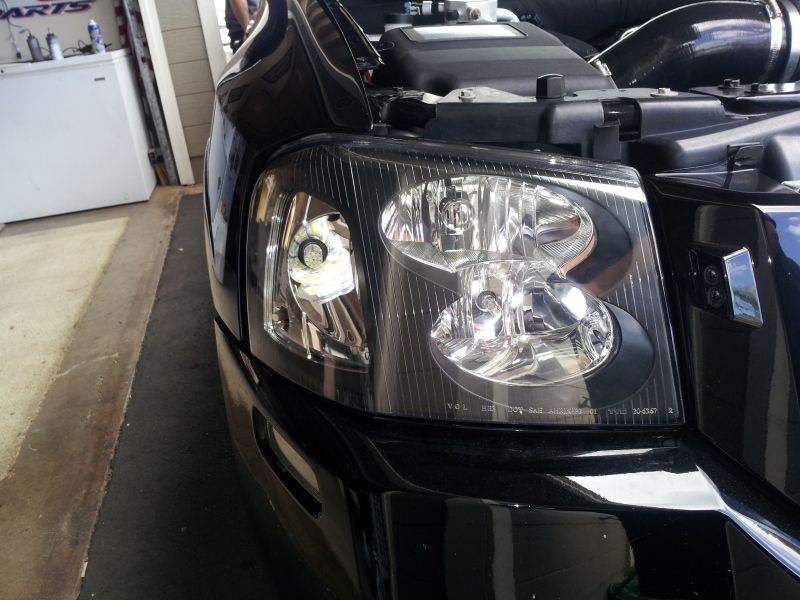
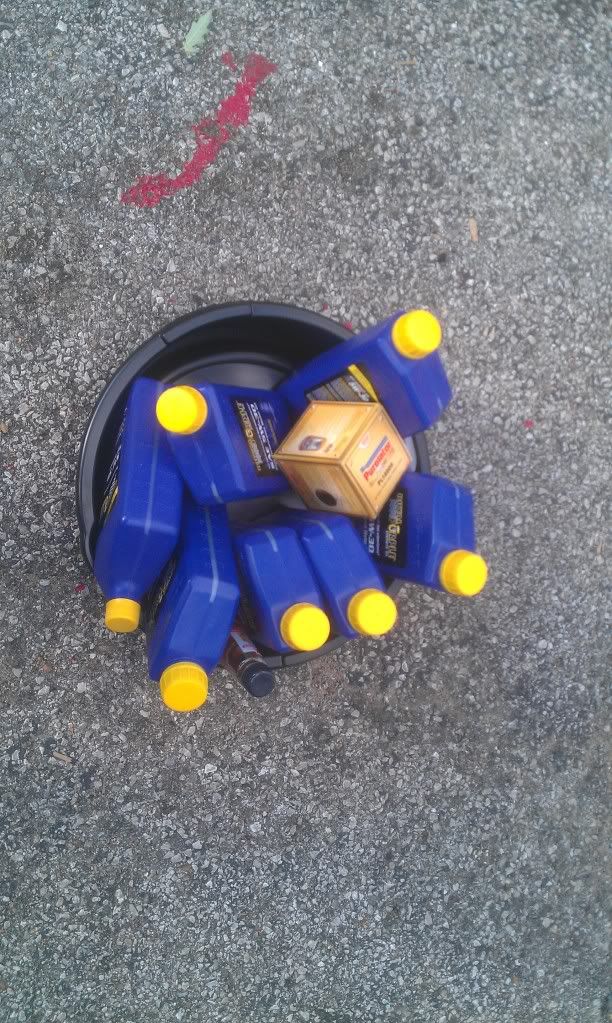
Free Stealership changes are over, Time for the Purp.
Edit: Just finally ordered my LED reverse lights too!
Edit: Just finally ordered my LED reverse lights too!
FlyingFischer
Member
mapanch said:How hard is it to pop the plastic off the back bumper? I have that crappy faded gray look. Was debating about spraying it with bedliner......
The middle piece came out easy for me. I just stuck a flat head screwdriver between the pad and bumper and it just popped off. But the side pieces are a little tricky. They only have 2 clips like the middle piece near the inside edges and and a 10mm bolt you have to undo that is on the outside corn under the light from under side of the bumper. The rest of the parts are actually plastic welded on from the under side of the bumper so you basically have to break it off and then to reinstall the piece you have to melt plastic back on to hold it in place. (Going to be a pain in the ass to do).:banghead:
So if you are not too hands on or don't want to mess with plastic welding them back on I would find a way to mask it off.
Wooluf1952
Member
FlyingFischer said:Thanks for the support guys!
I like being completely different then everyone else. With black most people do a red or blue accent, and I wanted something that popped real well....So I chose orange. I love the orange interior pieces and can't wait to get the out side done.
.
Black and orange. You will have a Trailblazer Harley-Davidson Edition.

TexazReece
Member
- Joined
- Dec 4, 2011
- Posts
- 1,341
dingle said:We got a letter from xm today in the mail giving us a free 3 month trial. So apparently callng them about ordering it and not ordering it they will send you a free trial. Just and fyi for everyone. Then we took it to the daughters tee ball game and froze.
I got that too, and xm is pretty darn good no commercials

Hatchet
Member
- Joined
- Nov 21, 2011
- Posts
- 2,405
smitty5150 said:Well thanks for making me do my research. Not a mistake I would've enjoyed making. MIG it is, huh?
A MIG set up with the external gas will work hella better then the MIG Fluxcore. Lots of little tac welds is how i learned to do it best. and jump around alot. dont focus alot of heat in one spot, spread it out. Otherwise you will end up with it worse then when you started.
Bartonmd
Member
- Joined
- Nov 20, 2011
- Posts
- 545
Hatchet said:A MIG set up with the external gas will work hella better then the MIG Fluxcore. Lots of little tac welds is how i learned to do it best. and jump around alot. dont focus alot of heat in one spot, spread it out. Otherwise you will end up with it worse then when you started.
Yep... GAS MIG with solid wire, and a GOOD welder is THE way to do body sheetmetal. Cold tacks everywhere. You should be able to touch any part in the panel, including the tacks, 5 seconds after you do one. Just fill it up with cold tacks. There should not be a single "bead" of weld on the panel.
Also, I know you won't want to hear this, given that I'd guess you were looking at a $200 HF flux core welder, but good welders have better transformers in them, and weld MUCH better on light materials. A 220V welder will weld thin stuff better than a 110V welder, generally speaking, because the 110V welder is made as cheaply as possible and really only has good arc charactoristics at the high end of its range. If you just have to have 110V capability, get a Miller 211 , and use it with the 110V plug. Welders are REALLY a "buy once, cry once" thing. Good welders also ramp up the voltage and wire speed a LOT better than cheapo welders, so they tack weld a lot better.
I really like my 211, and the only reason I got a 252 is for duty cycle for the kind of production that I do.
Mike
Uncle Blazer
Member
- Joined
- Dec 8, 2011
- Posts
- 263
Running a test to prove myself right (or my wife wrong). I insist she is heavy on the right pedal, she doesnt think so. Reset my DIC (I know, I know...but without doing a full fillup it is the easiest way to get numbers. Plus, I imagine she would think i was fudging the numbers if i did my own math) on the way to my sisters last night. She lives very close to where my wife and I work, and i take the same route to get there as wifey takes to work. Reset the DIC when i pulled into the driveway last night. Today my wife is driving the TB and (unknowingly) is having her driving habits monitored. I will either update the group with the findings, or bow my head in shame and never speak of this again. Time will tell.
Canadian Mike
Member
- Joined
- Dec 3, 2011
- Posts
- 738
rmsg0040
Member
- Joined
- Dec 10, 2011
- Posts
- 285
replaced rear sway bar bushings (was part of the 1st djm group buy, the ones supplied were no good and ended up splitting, norcalss sent the new updated ones a few months ago)
changed power steering fluid
cleaned the air filter ( I got a aem dryflow filter on my cai)
took off the front sway bar bushing to measure, stamped 44mm on it = 1.73" (guess I will be ordering the 1.72 bushings off rockauto)
changed power steering fluid
cleaned the air filter ( I got a aem dryflow filter on my cai)
took off the front sway bar bushing to measure, stamped 44mm on it = 1.73" (guess I will be ordering the 1.72 bushings off rockauto)
suburbs
Member
- Joined
- Jan 6, 2012
- Posts
- 86
Before:
View attachment 21266
After Rotary wire brush in drill, 200 grit, 400 grit and clear coat:
View attachment 21267
View attachment 21266
After Rotary wire brush in drill, 200 grit, 400 grit and clear coat:
View attachment 21267
Attachments


- Joined
- Nov 18, 2011
- Posts
- 307
Removed the rusted out, falling apart cheap ass flowmaster exhaust the previous owner had put on. Installed a full stainless steel GM performance parts aka Borla cat back. Looks and sounds awesome! Scored it on ebay brand new shipped for $260!!
SBUBandit
Member
- Joined
- Dec 5, 2011
- Posts
- 597
suburbs said:Looking at valve stem and weight in both pictures, looks like different wheels...did RF and RR today.
Can you tell I am a little bit type a?
Can you give us some more details? What kind of clear? My wheels are similar
suburbs
Member
- Joined
- Jan 6, 2012
- Posts
- 86
SBUBandit said:Can you give us some more details? What kind of clear? My wheels are similar
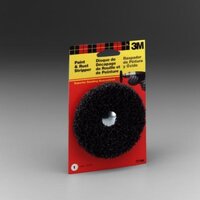
Heavy work with this guy and the dewalt cordless, maybe $8 at hardware store:
View attachment 21269
Then lots of elbow grease with 200 grit sand paper. A dremel would probably save a lot of time.
Went over it with 400 grit next.
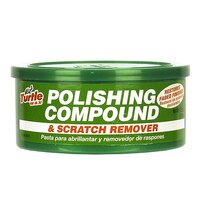
Then a couple of rounds wax on wax off with this guy:
View attachment 21270
A round of simple green, then a round of dish soap/water to eliminate any grease/oils left behind.
Finished with 2 coats of:
View attachment 21271
Took about an hour per wheel...maybe a little more since the puppy kept coming over to "help."
Attachments


07ChevyTruck
Member
- Joined
- Dec 5, 2011
- Posts
- 774
ItsOnVoy
Member
- Joined
- Nov 21, 2011
- Posts
- 2,401
07ChevyTruck said:I have LEDs and trust me you will like them a whole lot.
Oh I have leds all over my truck already haha I just upgraded my inside ones because those were my first mods I did a couple of years ago and bought cheap ones at the time and they started to bug me from the bad quality. I love the smds

SBUBandit
Member
- Joined
- Dec 5, 2011
- Posts
- 597
ItsOnVoy said:Oh I have leds all over my truck already haha I just upgraded my inside ones because those were my first mods I did a couple of years ago and bought cheap ones at the time and they started to bug me from the bad quality. I love the smds
You've got tons of room in there to splice two panels together and put them both in the cargo area
Short Bus
Member
- Joined
- Dec 2, 2011
- Posts
- 1,906
SBUBandit said:You've got tons of room in there to splice two panels together and put them both in the cargo area
3 of those would be easy. I would (and did) use 2 larger panels.
ItsOnVoy
Member
- Joined
- Nov 21, 2011
- Posts
- 2,401
SBUBandit said:You've got tons of room in there to splice two panels together and put them both in the cargo area
Yeah I do have a lot of room but I do not have the time to bother with projects like that or do I bother myself with splicing lol This is 2x brighter then what I had in there before and I am happy with it
I do not want tooo bright either lol I have 6smd bulbs coming in the mail for the other lights and that will be way better also!! I am having a lot of trouble removing the glove box light...it seems like I either break it or I cant get it out

Well things have been slow this week so I've been fixing some odds and ends. First thing was gluing the back door w/s in place. I used some clamps to keep them in place while the w/s adhesive set up.

Next was fixing this asshole b pillar panel. Bass, wind, heck even closing the door would sometimes cause the upper hold down clips to detach from the body or detach from the panel. So I q-bond'd the clips to the panel and tweaked them for a better "bite" into the body. Worked awesome! To test it, I drove in the wind with the bass up while opening and closing the door.
AV8ER
Member
- Joined
- Apr 19, 2012
- Posts
- 260
MAY03LT said:To test it, I drove in the wind with the bass up while opening and closing the door.
That was probably pretty funny to watch
- Status
- Not open for further replies.