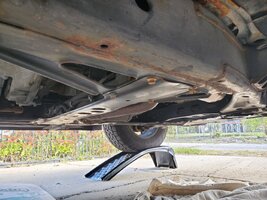
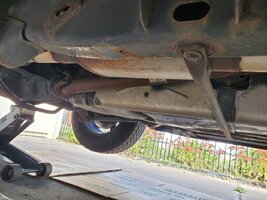
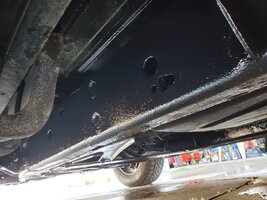
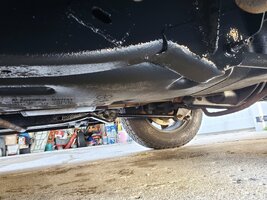
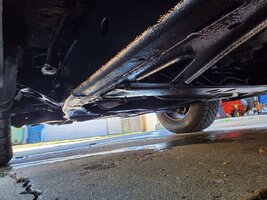
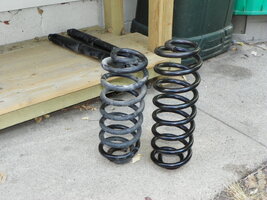
Put new MOOG 81069 Z71 Tahoe springs and Rough Country shocks on the rear. I have (had) a ReadyLift 2" front, 1" rear leveling kit on it. My original plan was to run the new springs with the 1" aluminum rear spacers, but once I got the original springs out and compared them to the new MOOG springs, I decided not to run the spacers. Old spring is on the left, new spring on the right.
New spring with the spacer on top:
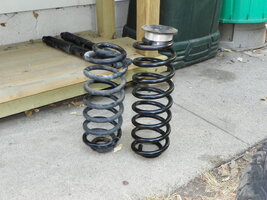
I think the new spring and the spacer would be too much lift back there. If the suspension settles, and I think it needs more lift, I can always go back and re-install the spacers.
Also, on the new springs, I could not tell one bit of difference from one end to the other. On the old springs, the bottom coil is much tighter than the top one, but on the new springs they are identical. No markings, nothing! No installations instructions in the box, either. I finally just picked the end that seemed to have the best fit for the spacer/rubber isolator and put that end at the top. No matter which end is down, the bottom coil isn't going to snuggle the raised area on the bottom spring mount like the old one did.
New shocks and springs installed:
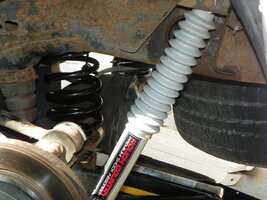
I added a couple of drainage holes at the low point of the shock boot. I have read that drainage is a concern when using boots. But I like the look, so I used them.
The new front 2" BDS top strut mount style lift installed. I made new strut assemblies using Moog springs, Monroe shocks (would have gone with Bilsteins but they were on indefinite back order when I built these up), new spring seat/isolators, and the BDS lift.

The easy way to install a lifted strut is to remove the upper sway bar link, and remove the upper ball joint pinch bolt. Remove the nuts holding the strut to the strut tower, and put a floor jack under the lower ball joint. Raise the jack until it contacts the lower ball joint. Now use a 24mm socket and remove the strut mount nut from the lower control arm. Pop the upper control arm off the upper ball joint, making sure you unfasten the speed sensor wire from the upper control arm. Also remove the two 10mm bolts securing the brake line bracket to the steering knuckle. Slowly lower the jack, guiding the old strut out as you do. To install the new lifted strut, lower the jack until you can get the strut mount yoke back on its stud. You should have already installed the yoke on the new strut. Spin the 24mm nut on by hand, but don't tighten it yet. Slowly raise the jack, guiding the strut mounting bolts through their holes in the strut tower. Spin the nuts on the strut mounting bolts. Now just put everything back together. Easy-peasy!
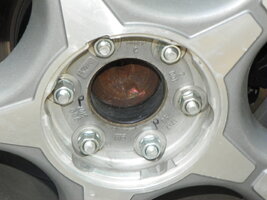
Since I already had all 4 wheels off, I did a tire rotation as well. I took this opportunity to install new lug nuts. I've had them for a while, planning to install them when I did this job. New lugs nuts are good for 50 more horsepower, and 15 MPG! At least that's what I've read on the internet, and we all know there's nothing false on the internet!
By the time I got all of this done, it was already after 5:00 PM, and getting all hot and sweaty! Not to mention having a rumbly in my tumbly, to quote Winnie-the-Pooh. So this
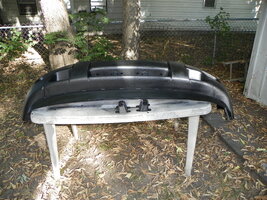
is going to have to wait for another day! I picked up a bumper cover on one of my excursions to the local automotive recycling facility. I made sure to get one with fog lights, as Snowball already has fog lights. I used a random orbital sander and scuffed the surface until all trace of red shininess was gone! Then cleaned and de-greased the surface thoroughly. Next came a couple coats of Rust-Oleum adhesion promoter, followed by a couple coats of Rust-Oleum spray on textured bed liner, the stuff in the red can. Frankly, I wasn't real impressed with it. I used light coats, but still wound up with some runs. I have since read that others have had the same complaints. The consensus seems to be that the Pro Grade Rust-Oleum bed liner (the white can) seems to work much better. Oh,well. Ya lives, ya learns.
The bumper cover mounting brackets got the same treatment. One of them was broken off when I bought the cover, the other fell off soon after. I have some black oxide button head bolts and nuts I will use to reattach the brackets. I decided to do this just to make my TB stand out a bit from all the other white TB's I see in Lincoln!
Tomorrow I'll give it a test drive to see how it runs. I don't have any fender height measurements yet, but I'll get them.
Right now, time for bed!


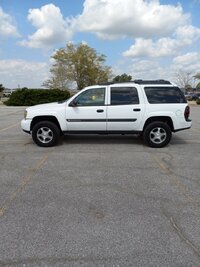

 and it doesn't make sense for me to keep it stored away here. Still have a few months with it and I do plan to enjoy it to the fullest. Maybe I will save the heartfelt emotional post when I actually part with it.

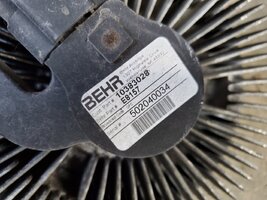
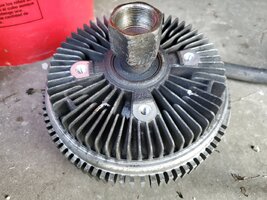
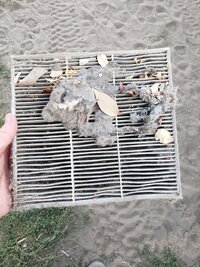
 . Damage wise it's not terrible, just a few fins bent from the edge of the clutch. Fuuuuu.....well to be honest, the previous owner did worse from what I saw.