NinjuhhNutz said:
Did you open the springs a little on the solenoids before installing then? A lot of guys on hidplanet were sagging that they were getting stuck from time to time. Thankfully I haven't had an issue with mine so far. Looks hella good though man! How bad off is the cutoffs? I kick myself in the ass every time I pull into my driveway! There's a storage building beside my place with a pretty good size wall, and I can see all the cutoffs on it. The little differences in them drive me nuts

Sparky said:
I read about the spring stretch trick. Haven't had an issue yet.
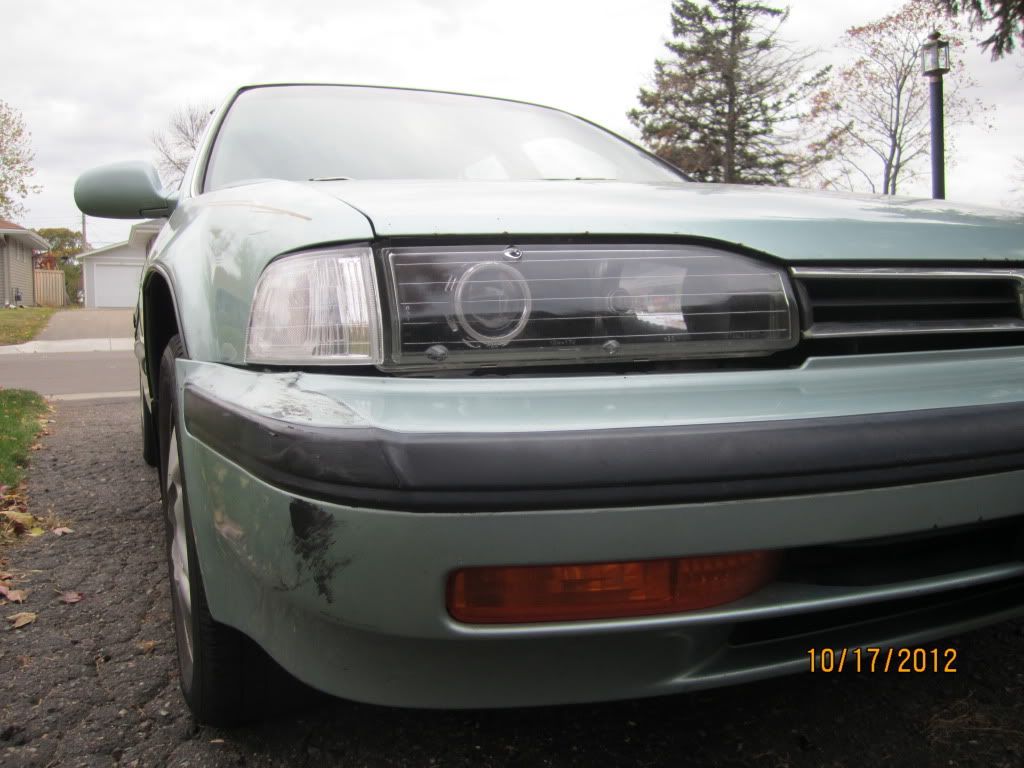
One of these days I'm going to reopen my passenger light and fix the alignment on it. It annoys me because I know it is off, most others really don't.
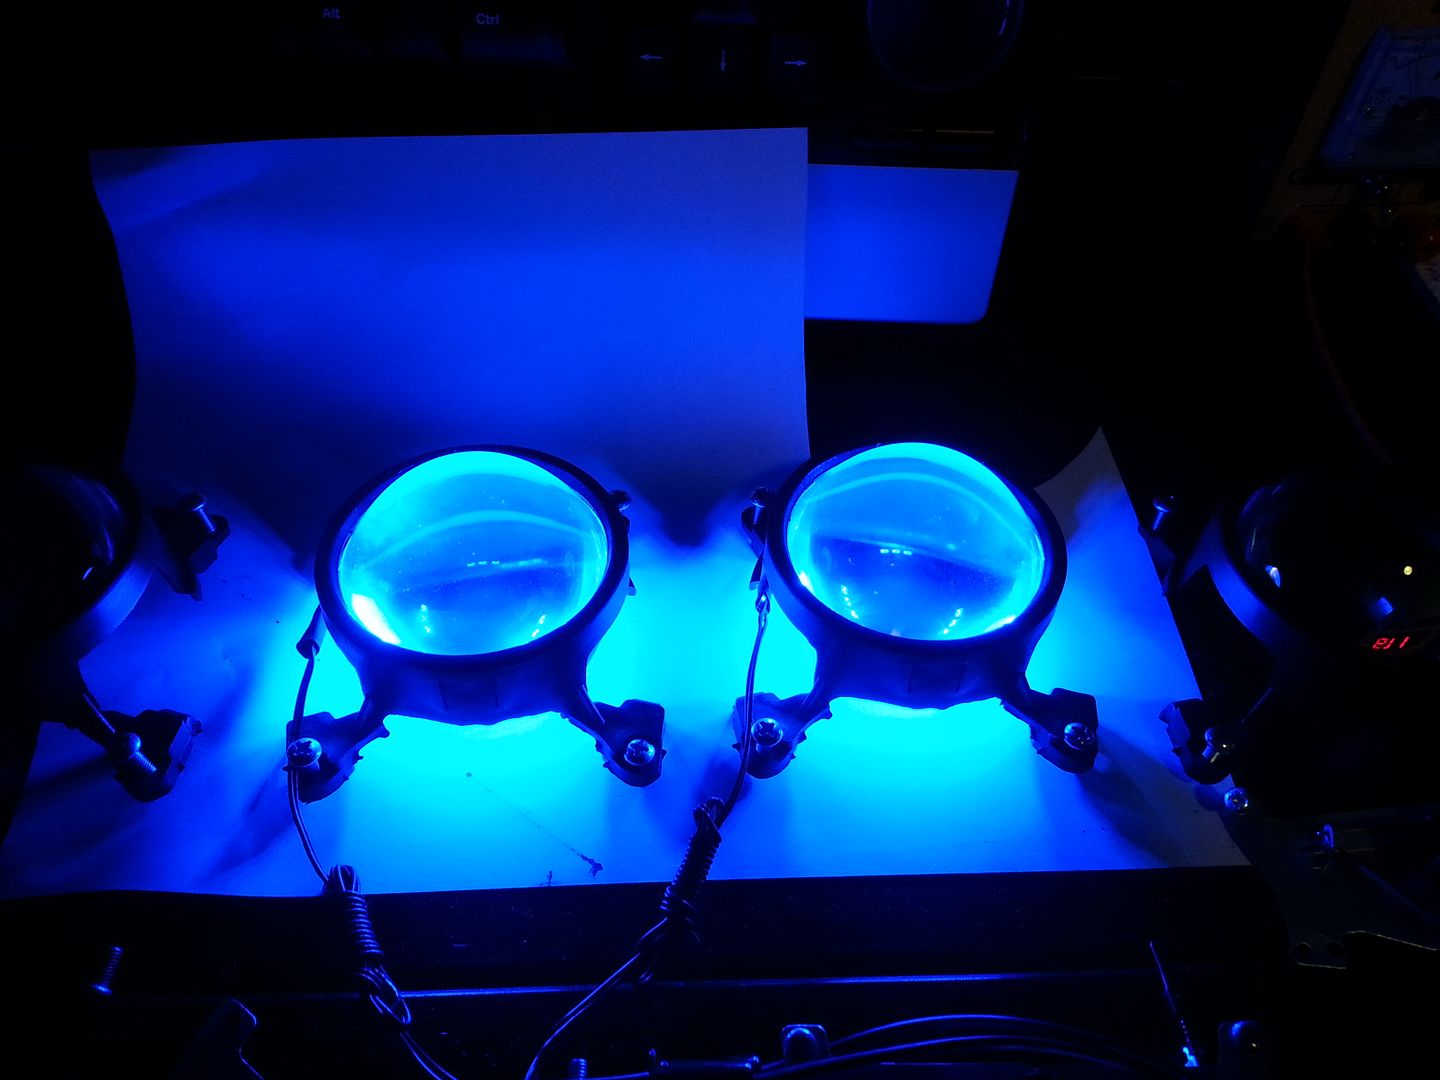
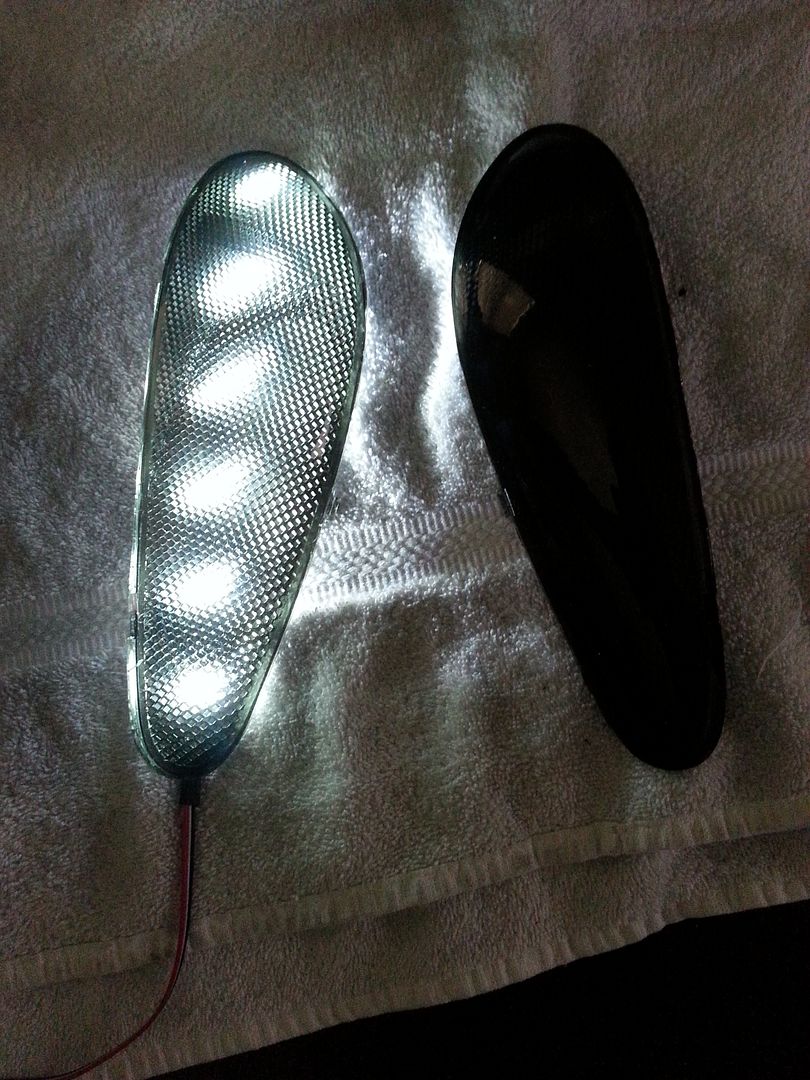
Maybe I'll swap out the LED strips for something far brighter too if I can find some.

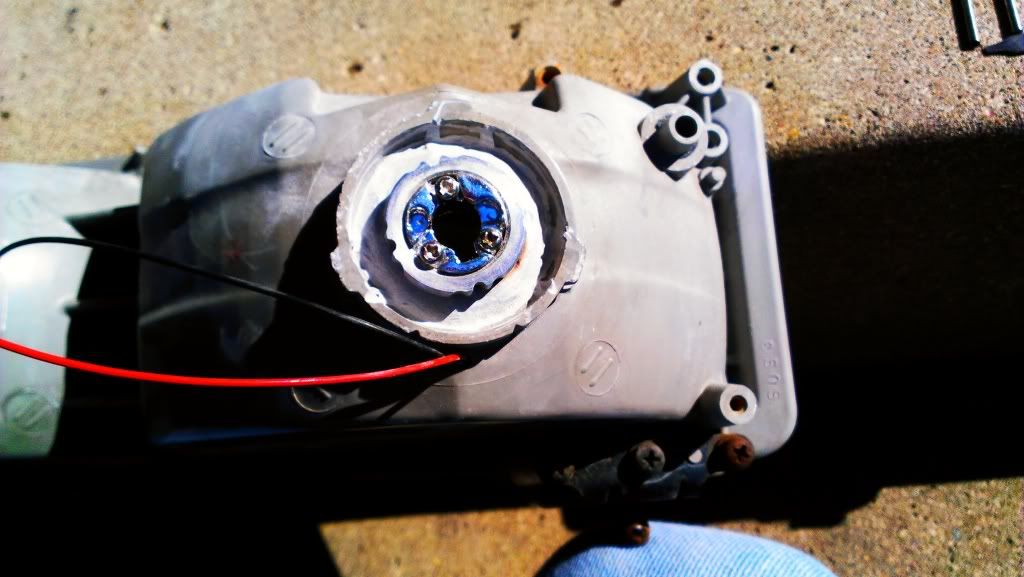
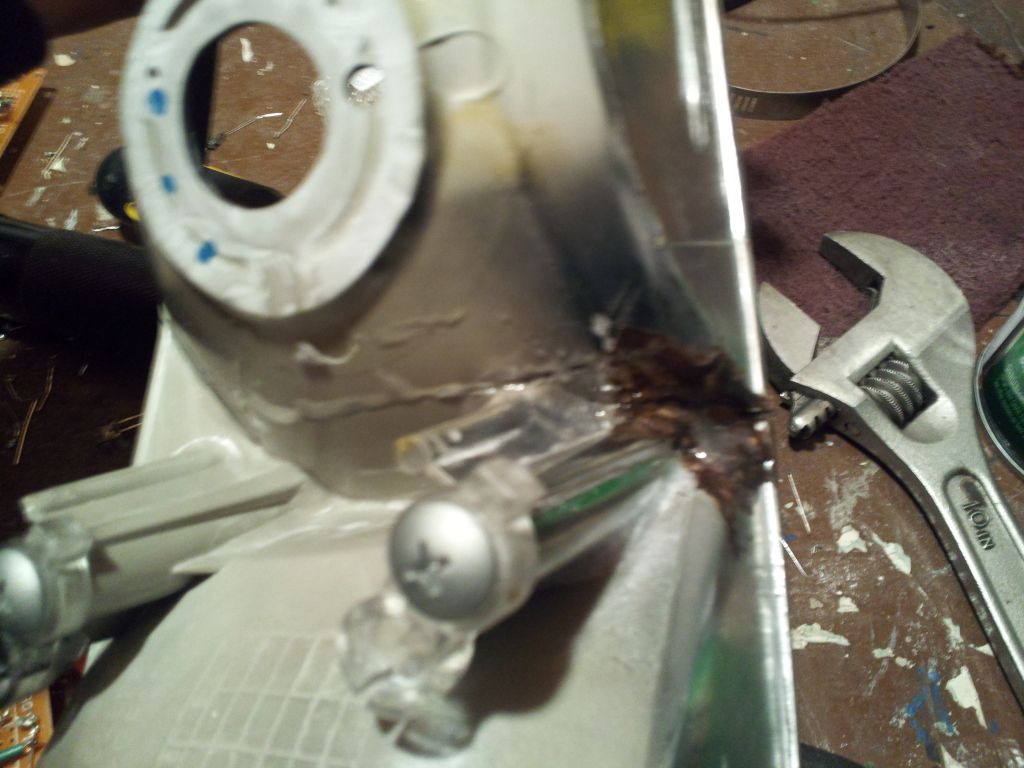
My solenoids weren't getting stuck (I was talking to Decembersend about this with his, since his were getting stuck 'ON') he gave them a small shot of PB blaster, and that fixed them. So I did the same before sealing them up. They all worked fine before, but now that one doesn't activate.
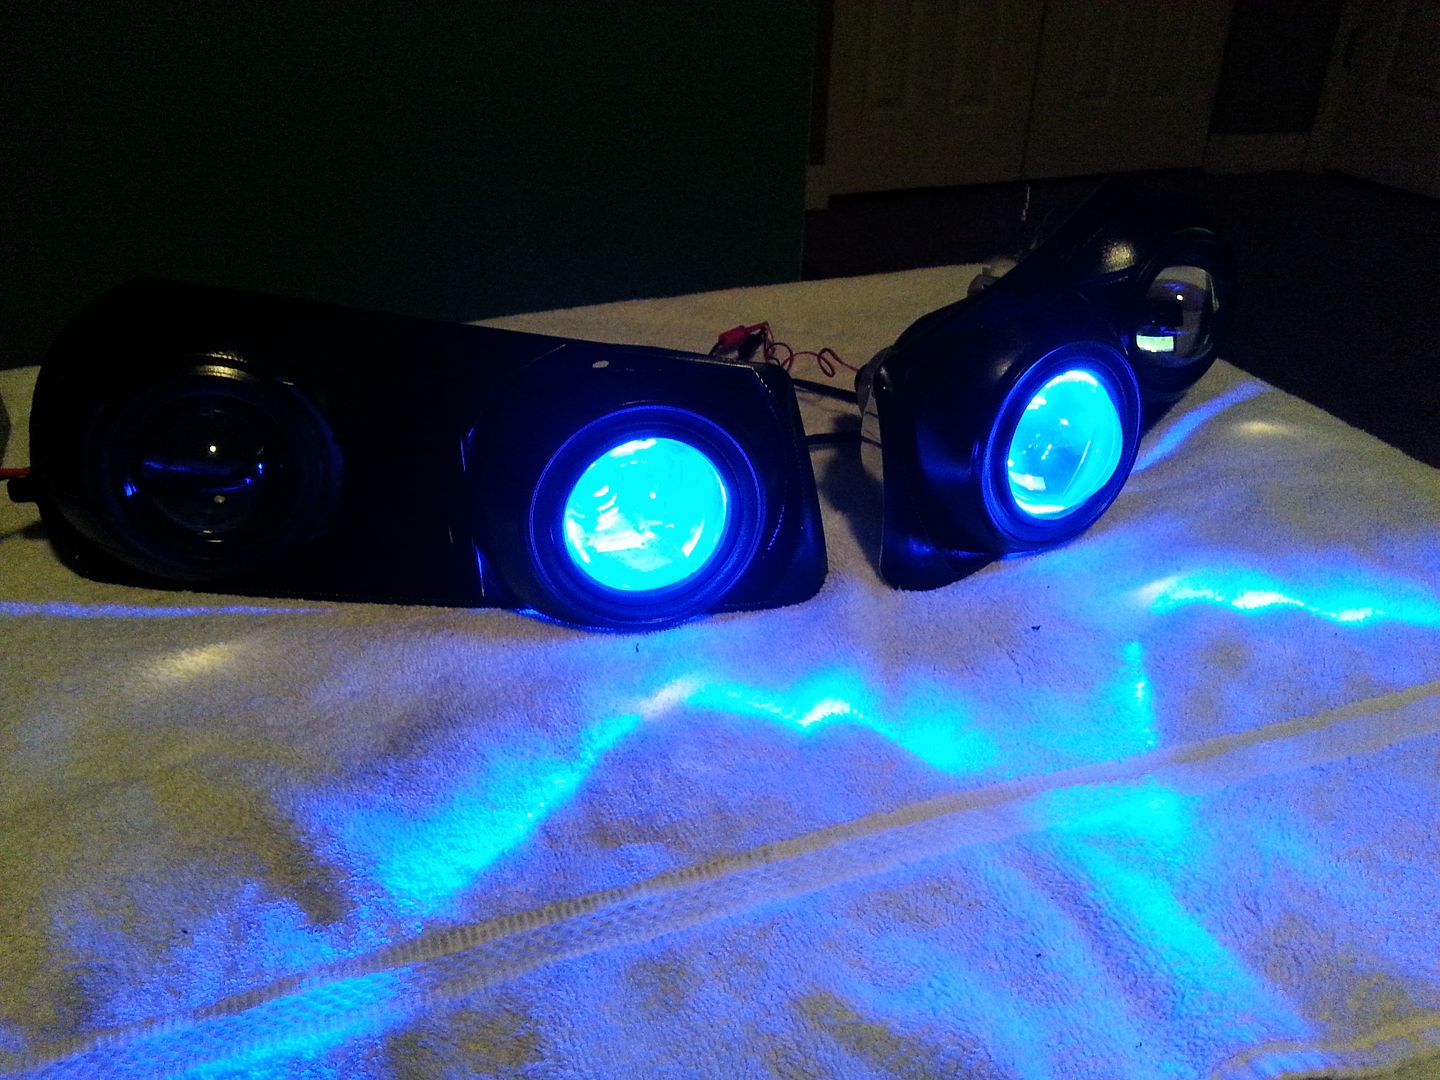
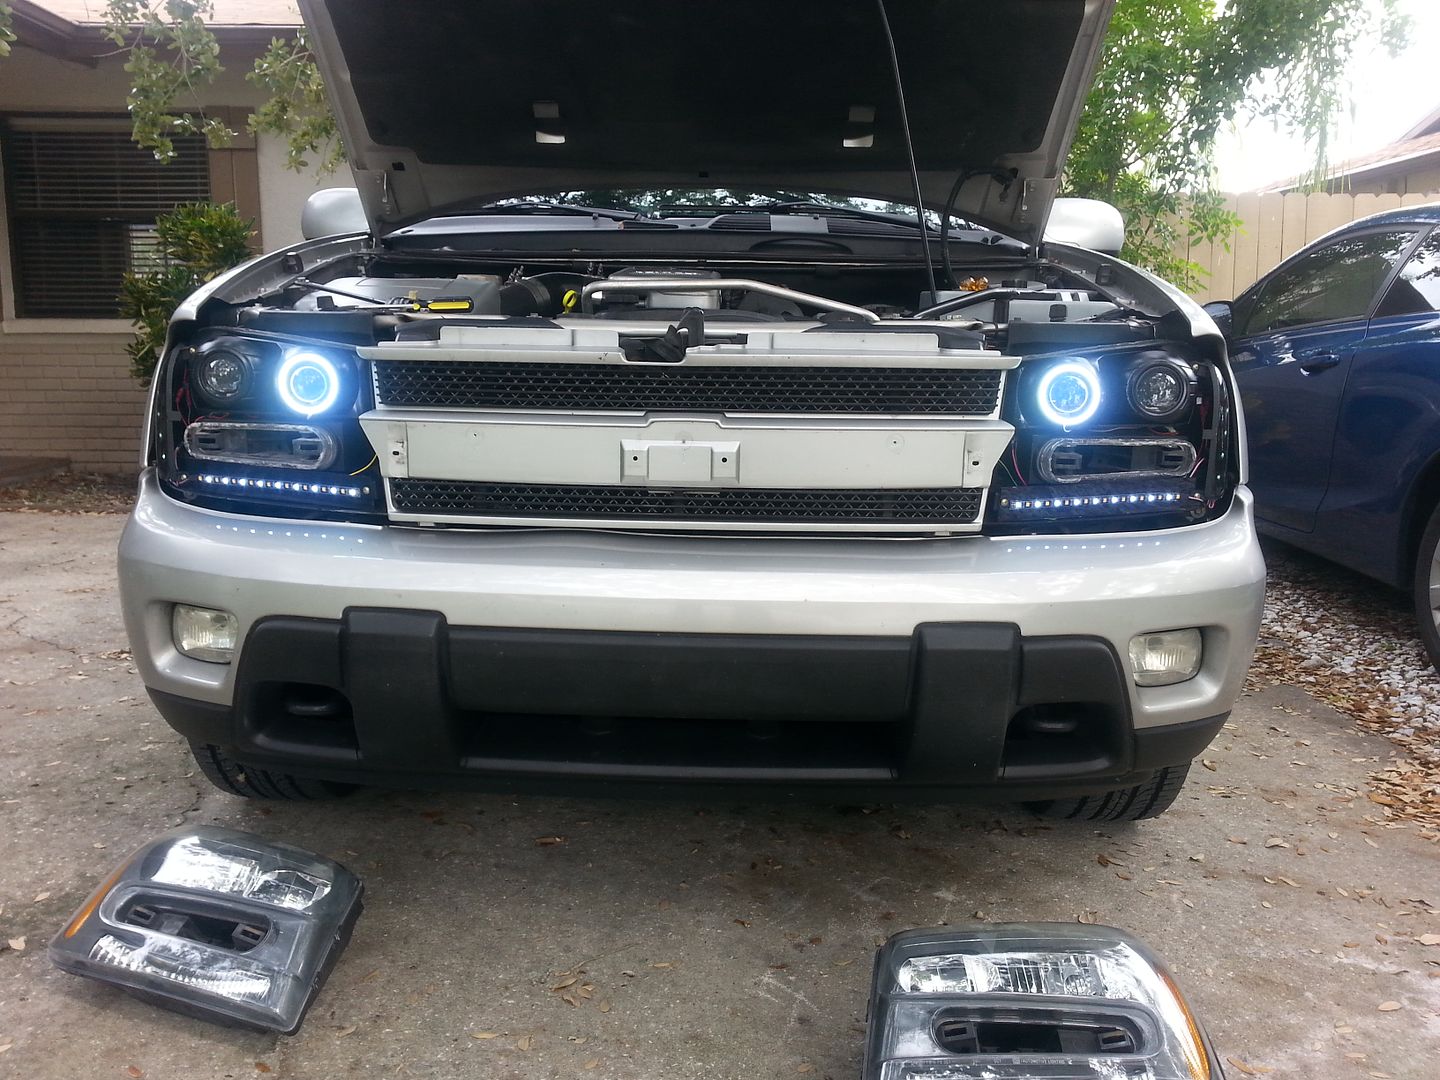
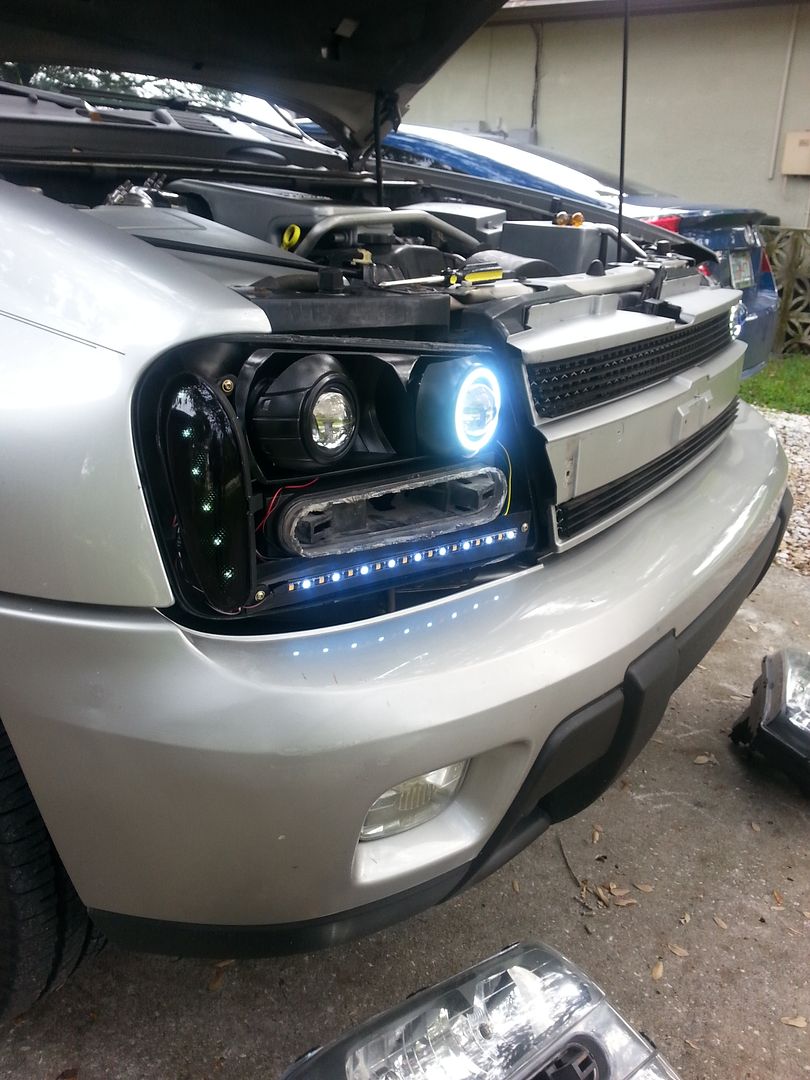
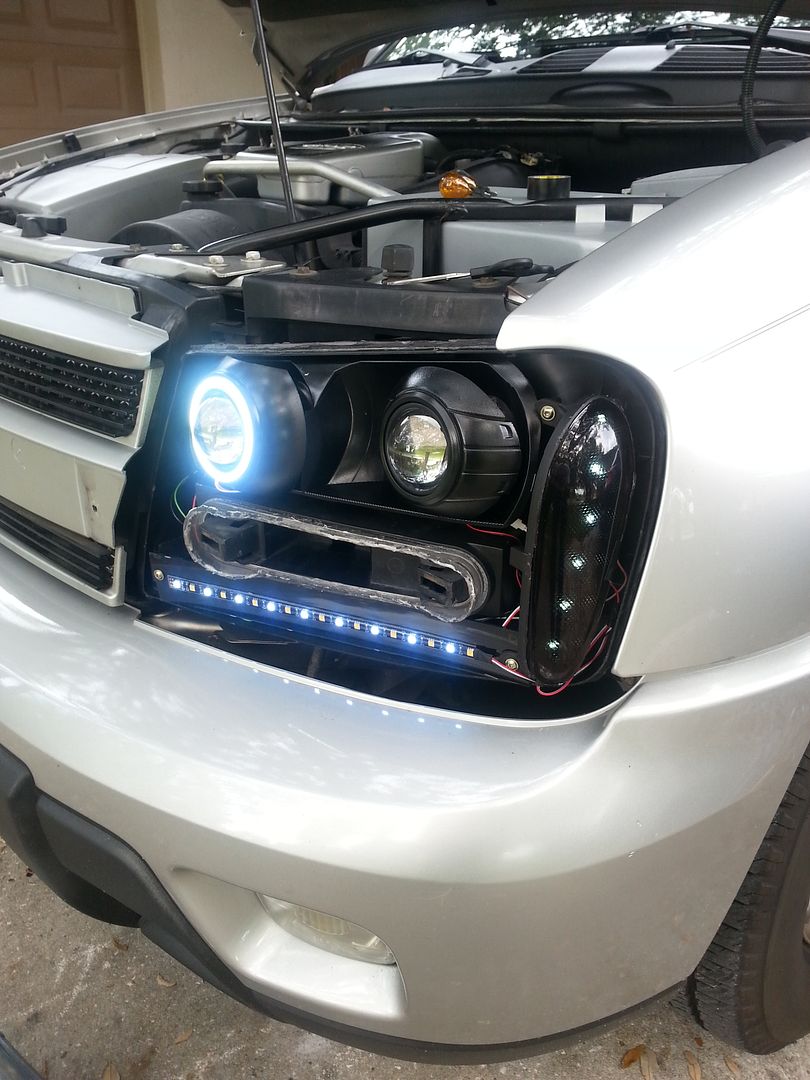
Did get a bit of bad news this morning. The RTV had dried, so I went to install them today, so I could snap some night pics, and have less to do before our meet tomorrow. Went through some tests to make sure all my connections were good. HIDs, check. Halos, check. Demon eyes, check. Parking lights, check, Turn signals,

. For some reason, activating the turn signals caused the parking lights to flash,
AND the halos and demon eyes!

(the halos and demon eyes share the same ground in the 3157 pigtail)
I thought I needed to introduce a diode somewhere, and then realized that EVERYTHING in common
IS a diode... After some choice words for the mod Gods, I realized what the problem was. The 3157 extensions I bought (and cut off the socket to use as a pigtail) were SRCK, instead of conventional :banghead: So I had to order some new ones, but they won't be here until middle of next week.
Luckily, I have enough slack in the pigtail that I can feed it through the 3157 opening to get to my solder joints, so I won't have to reopen these things.
I'm sure the issue with the cutoffs is going to bug me over time. My big worry is breaking off one of those mounting tabs again, cuz that royally sucked. I would rather do the alignment ON the truck, since that would give me a much more accurate frame of measure. Maybe for the next retrofit...


 You won't have to worry about that. Smitty will be a fellow bay area member by then anyway.


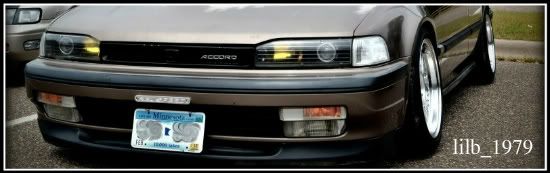
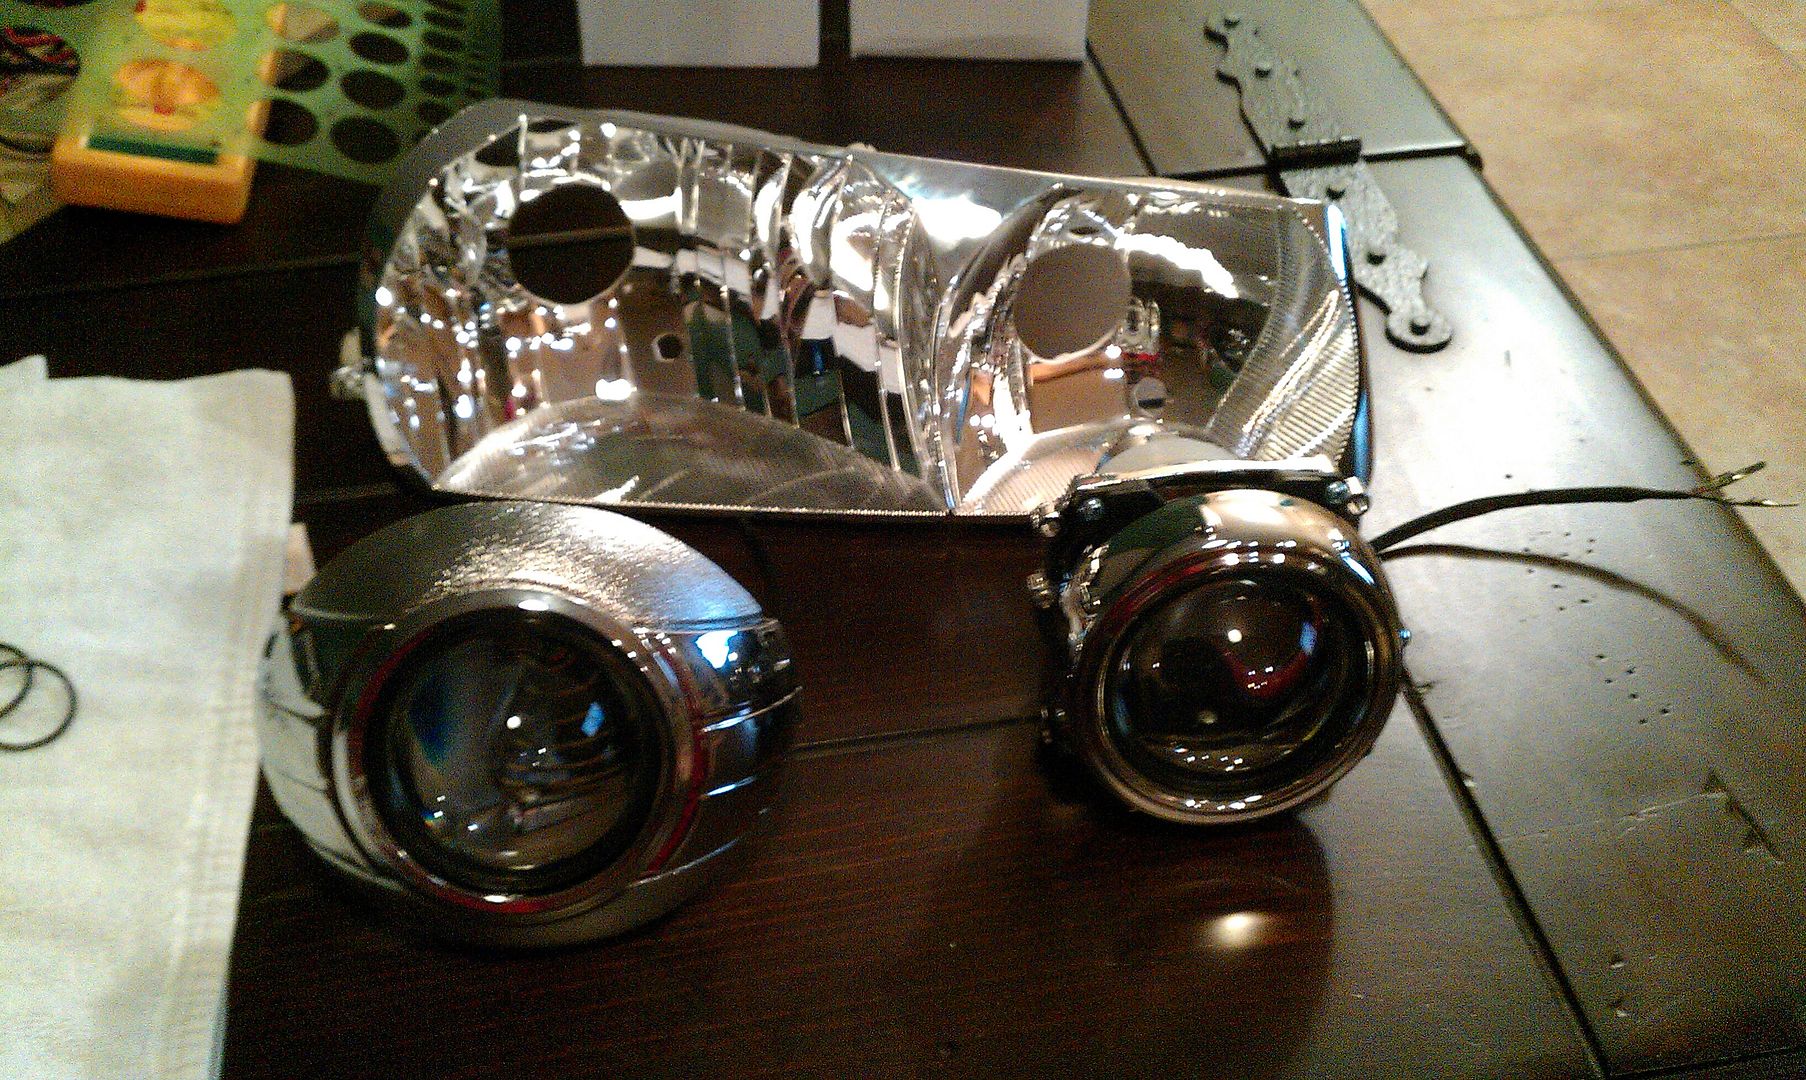
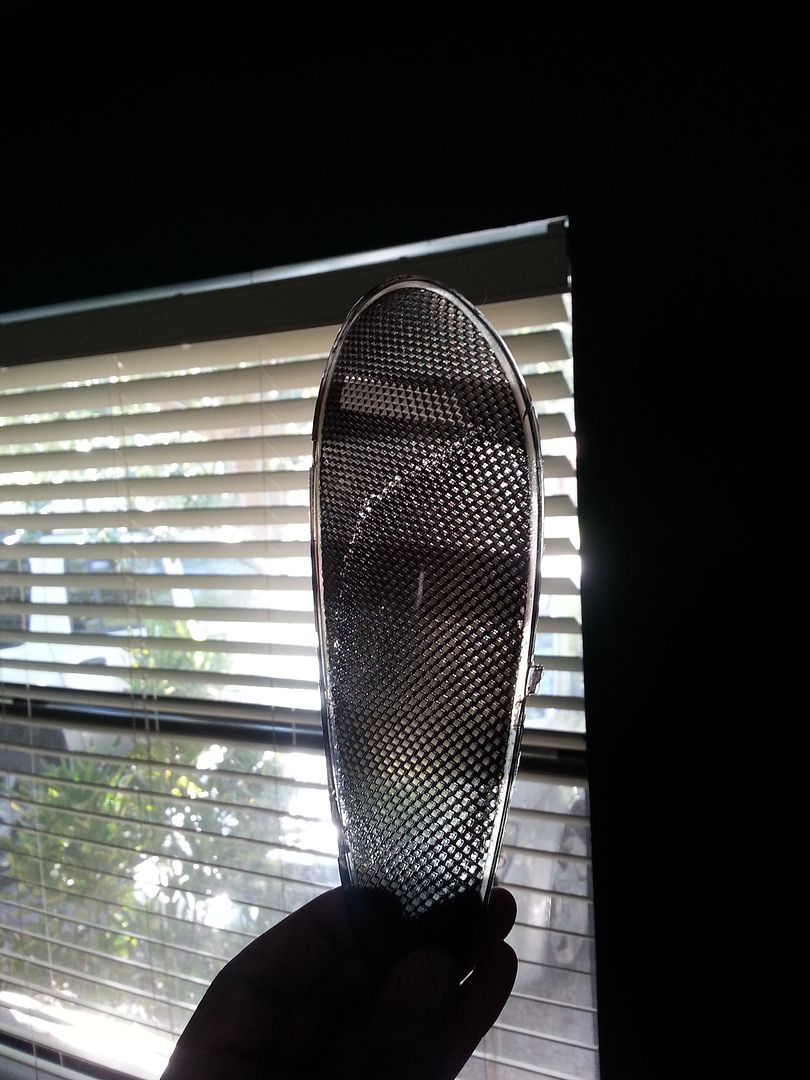
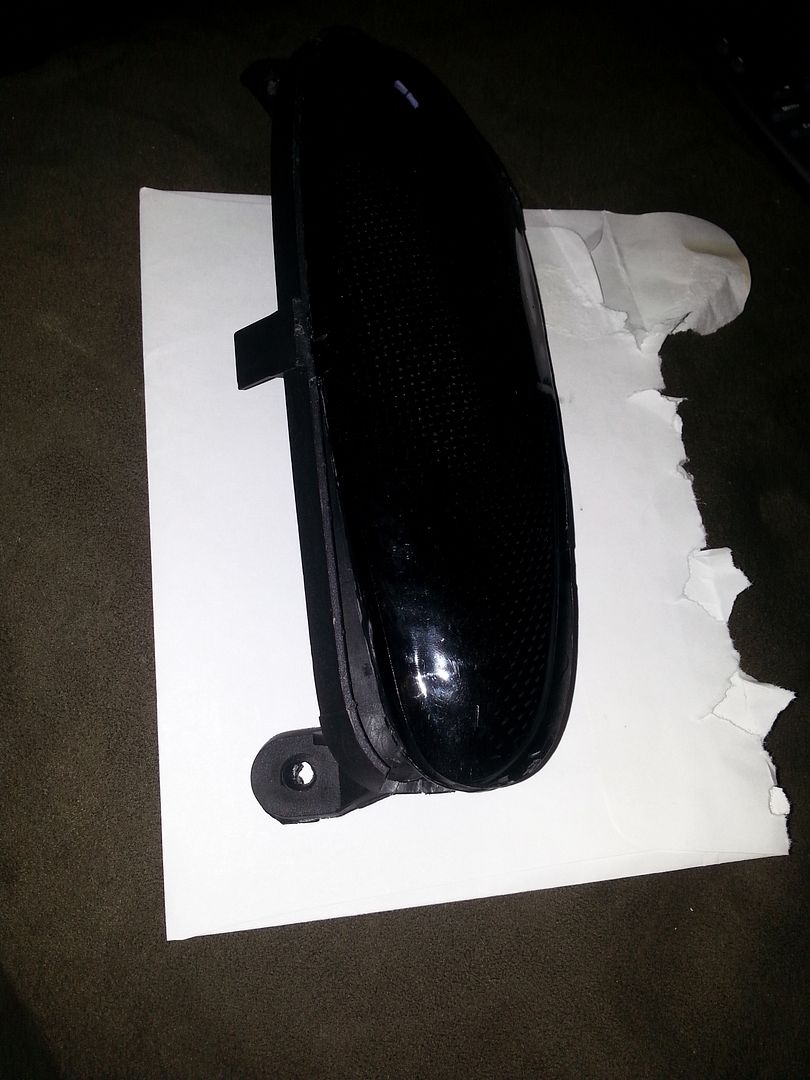
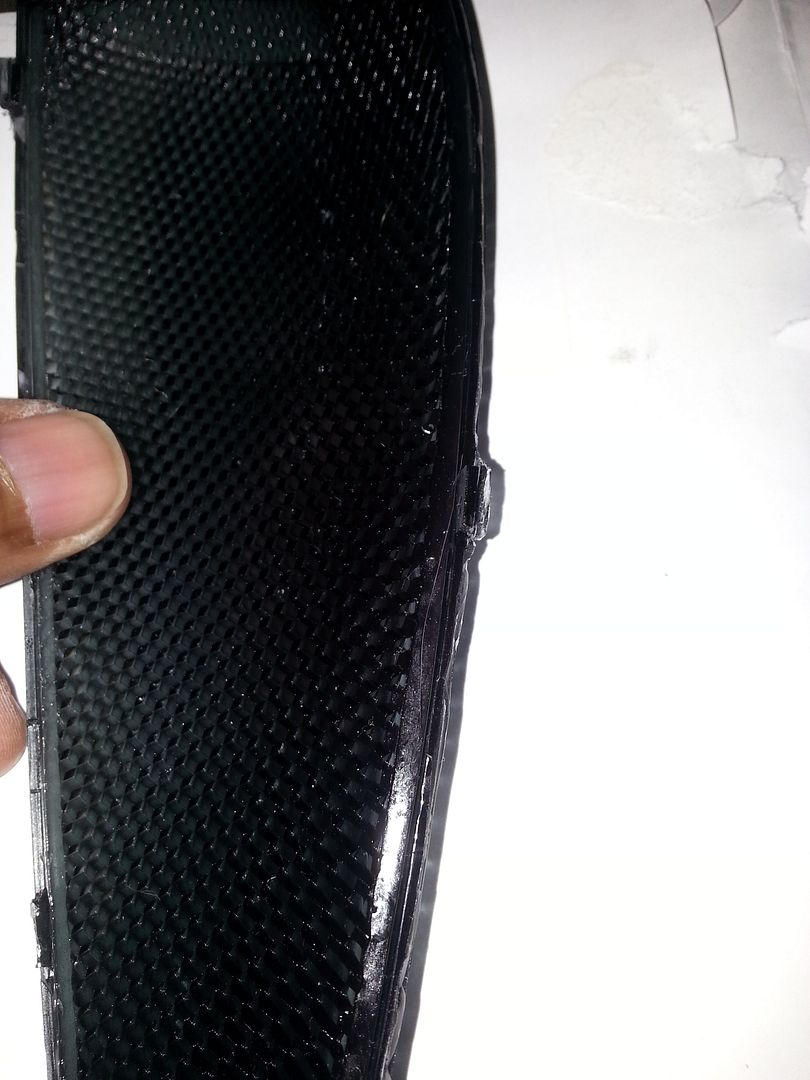
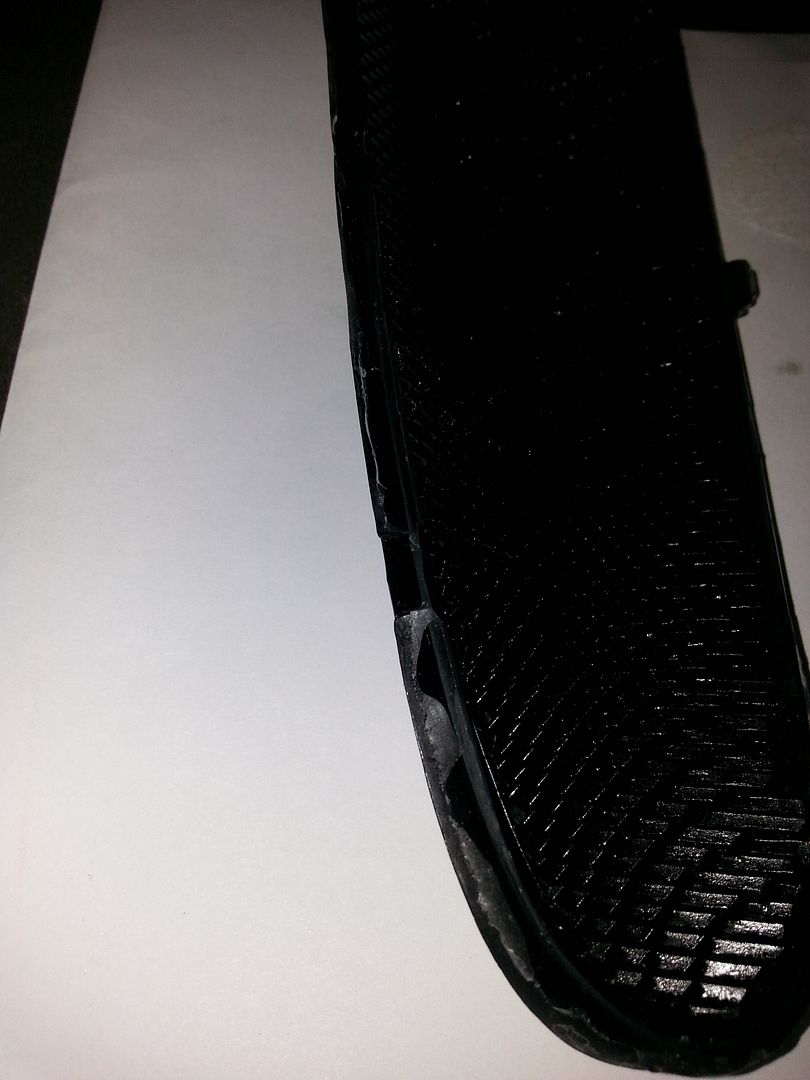
 The flaw is a curved line in the passenger side lens, which is only visible when backlit. I think from a distance, it shouldn't be too noticeable though.
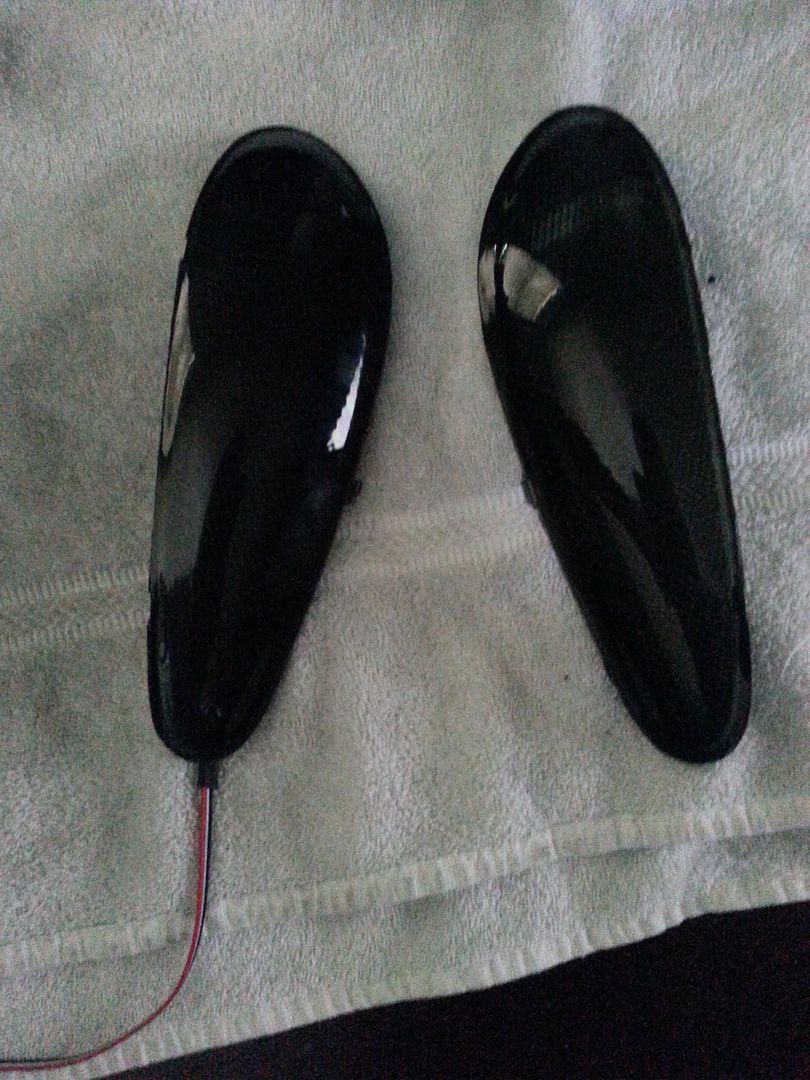


 After this is done, I think the mod bug will go into a nice hibernation for a while.


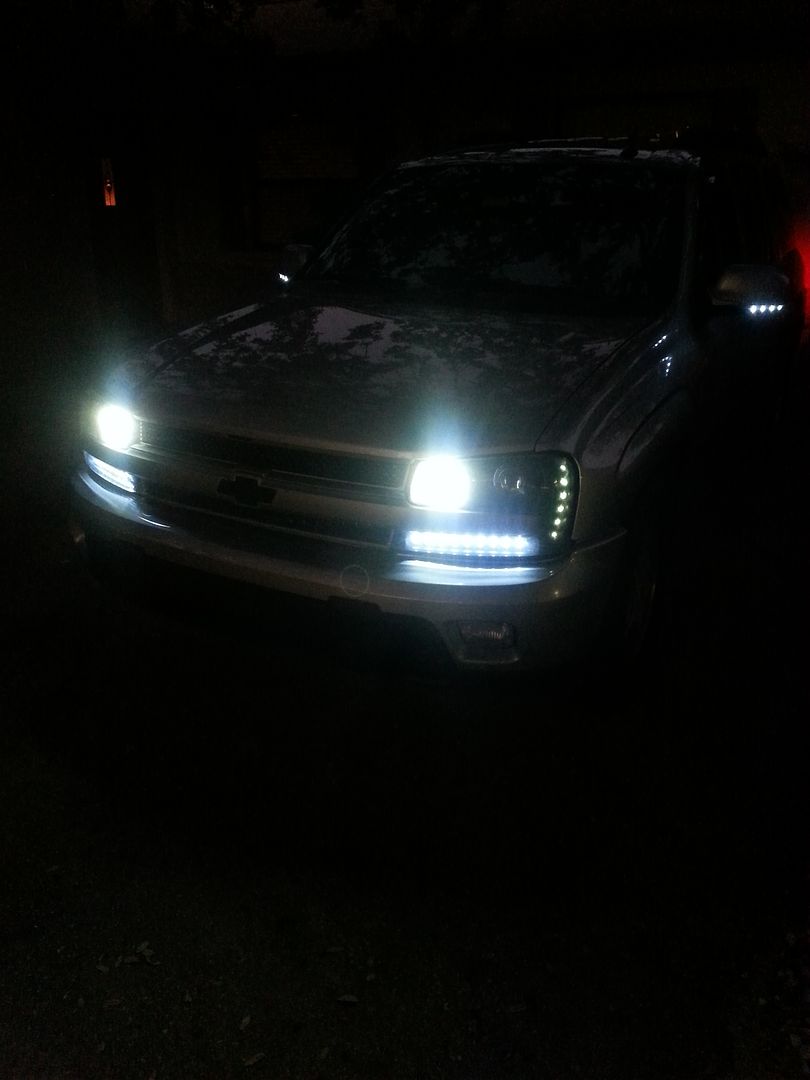
 I lowered the beams a bit to try and compensate for it, should only affect vehicles far to the left. I dropped the passenger side so the left side of the beam aligns with the right side of the driver's side beam, so I can fake like I meant to align them that way
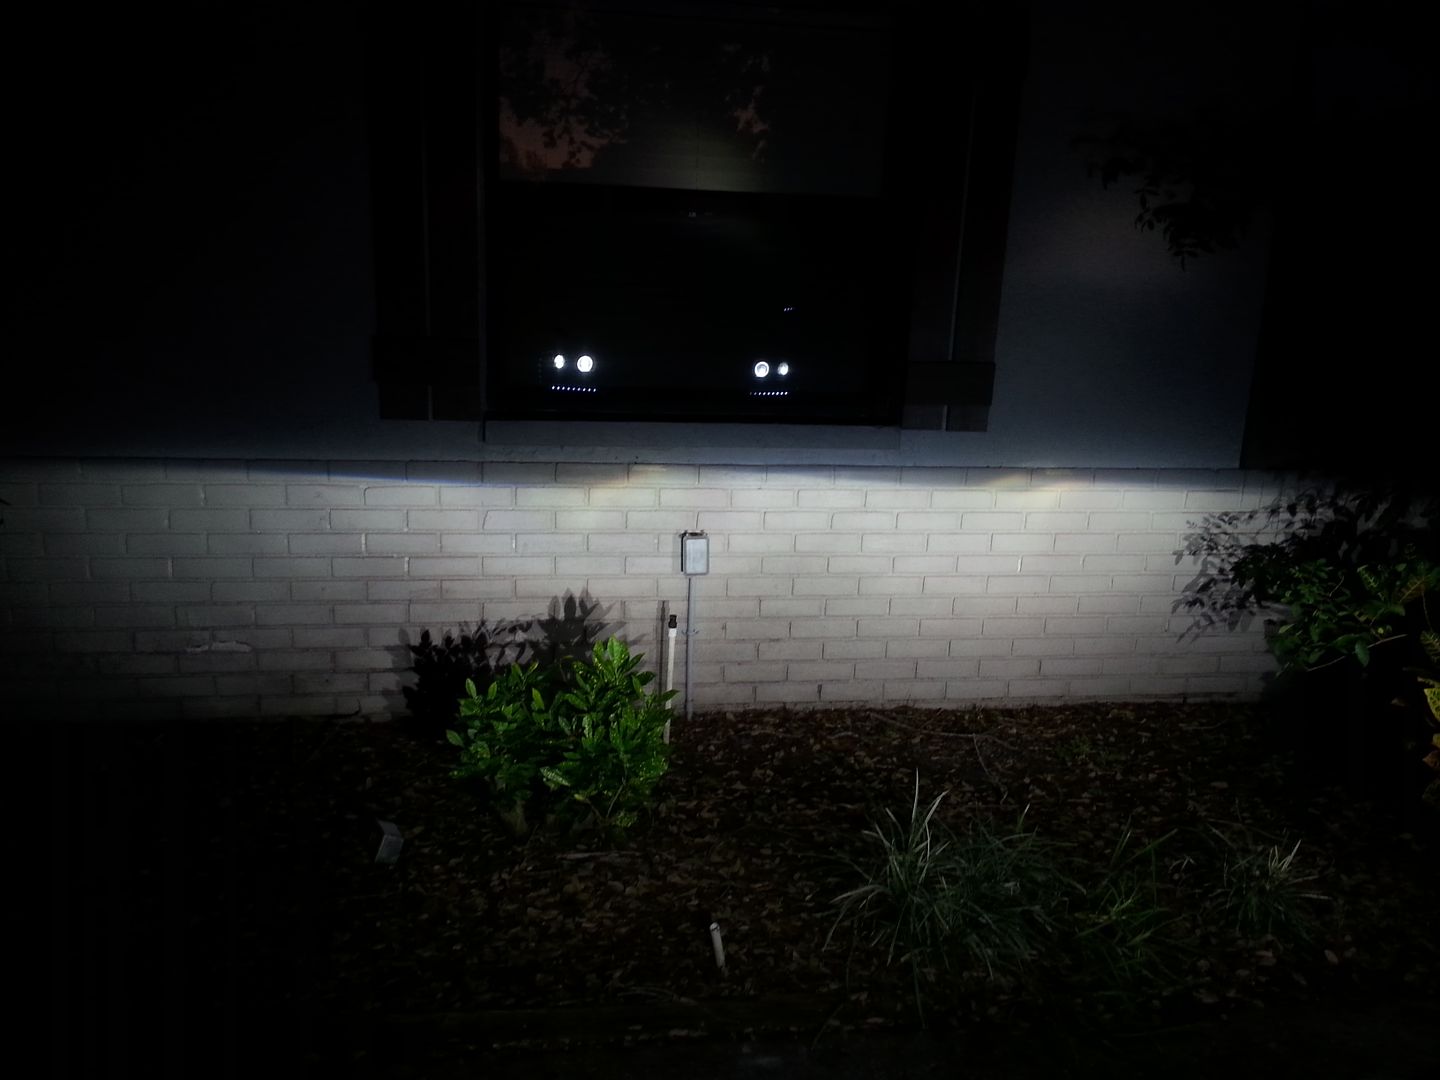
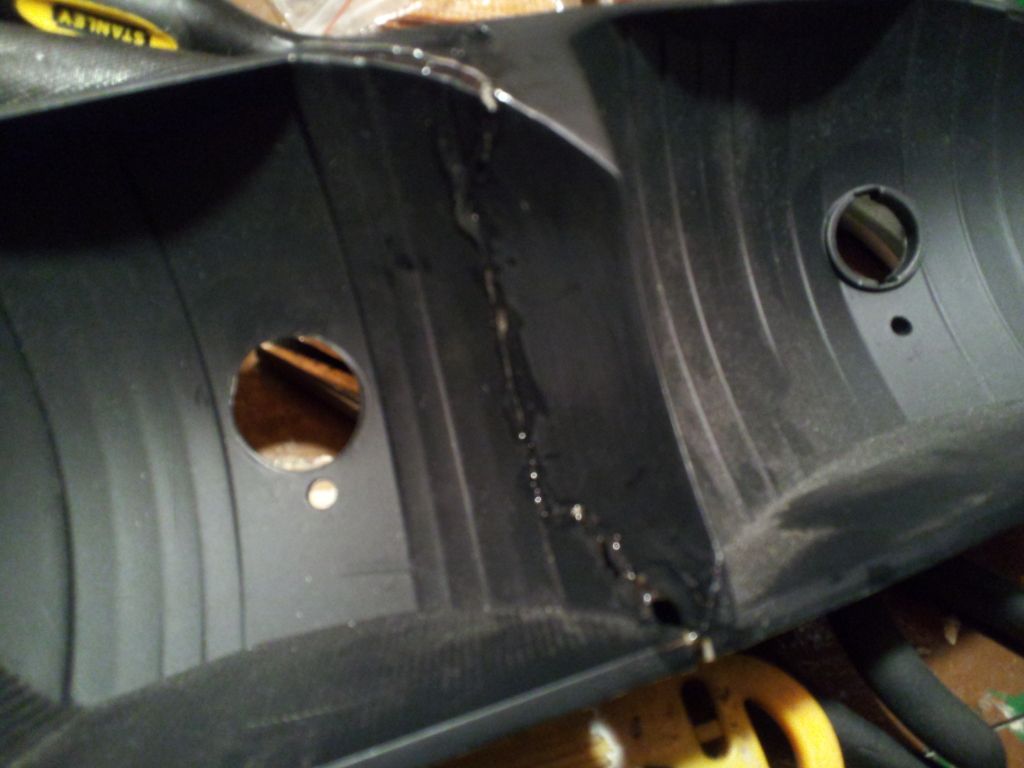
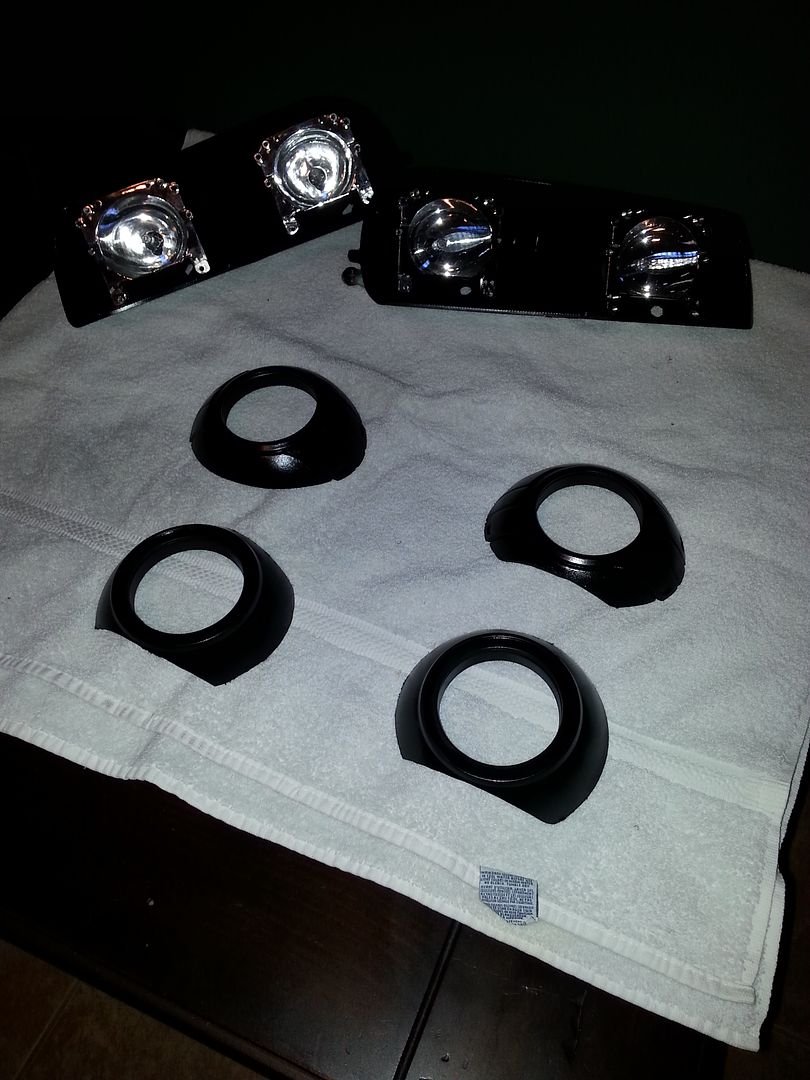
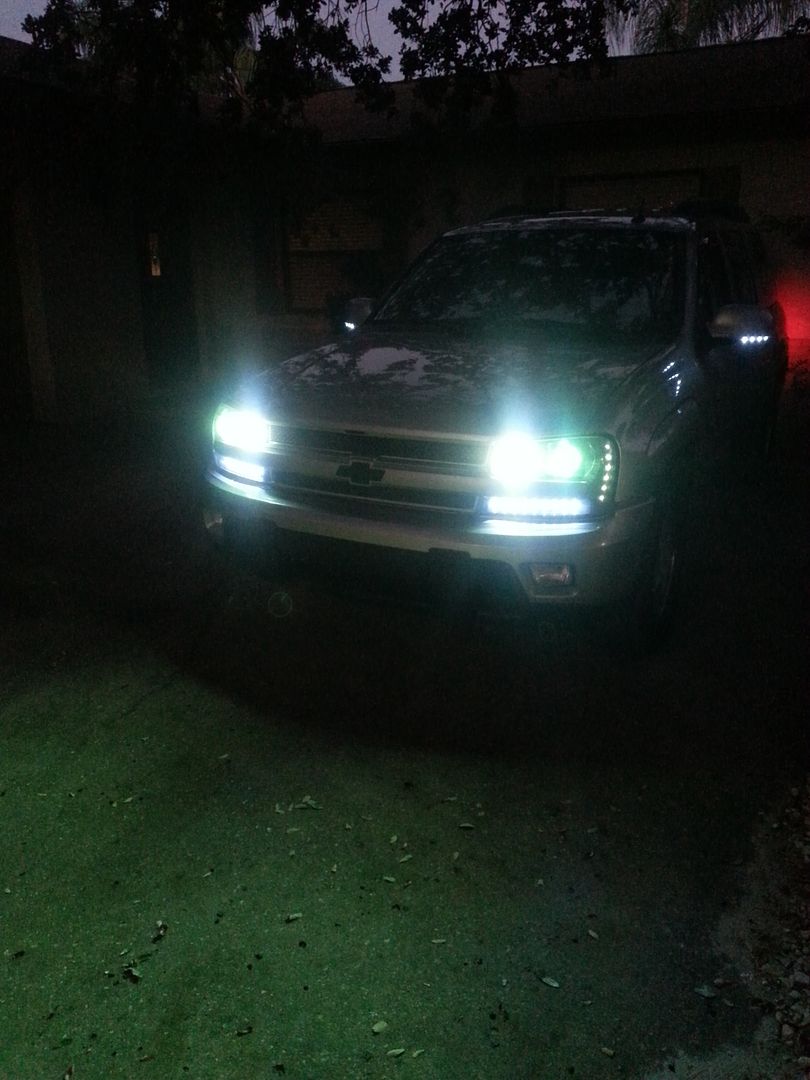
 I know right? I fought with these things for about 2 hours yesterday before the parking/turn signal strips would light properly. The shrink wrap on the pigtails was preventing them from seating and reaching the contact pins. As long as those don't act up some more, they are in to stay for a while, so you'll get to see them Thursday. Finally.
 But I need to fix my passenger light alignment anyway. This probably won't happen until spring if I had to guess due to weather and all.
 Me likey!! Gives me a much better idea of how LED strips inside the housing are gonna look. Any idea what size those are? 3528's maybe?