KNBlazer
Member
- Joined
- Feb 8, 2012
- Posts
- 811
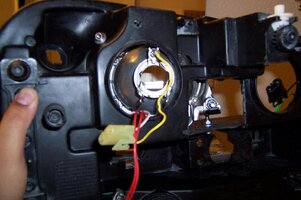
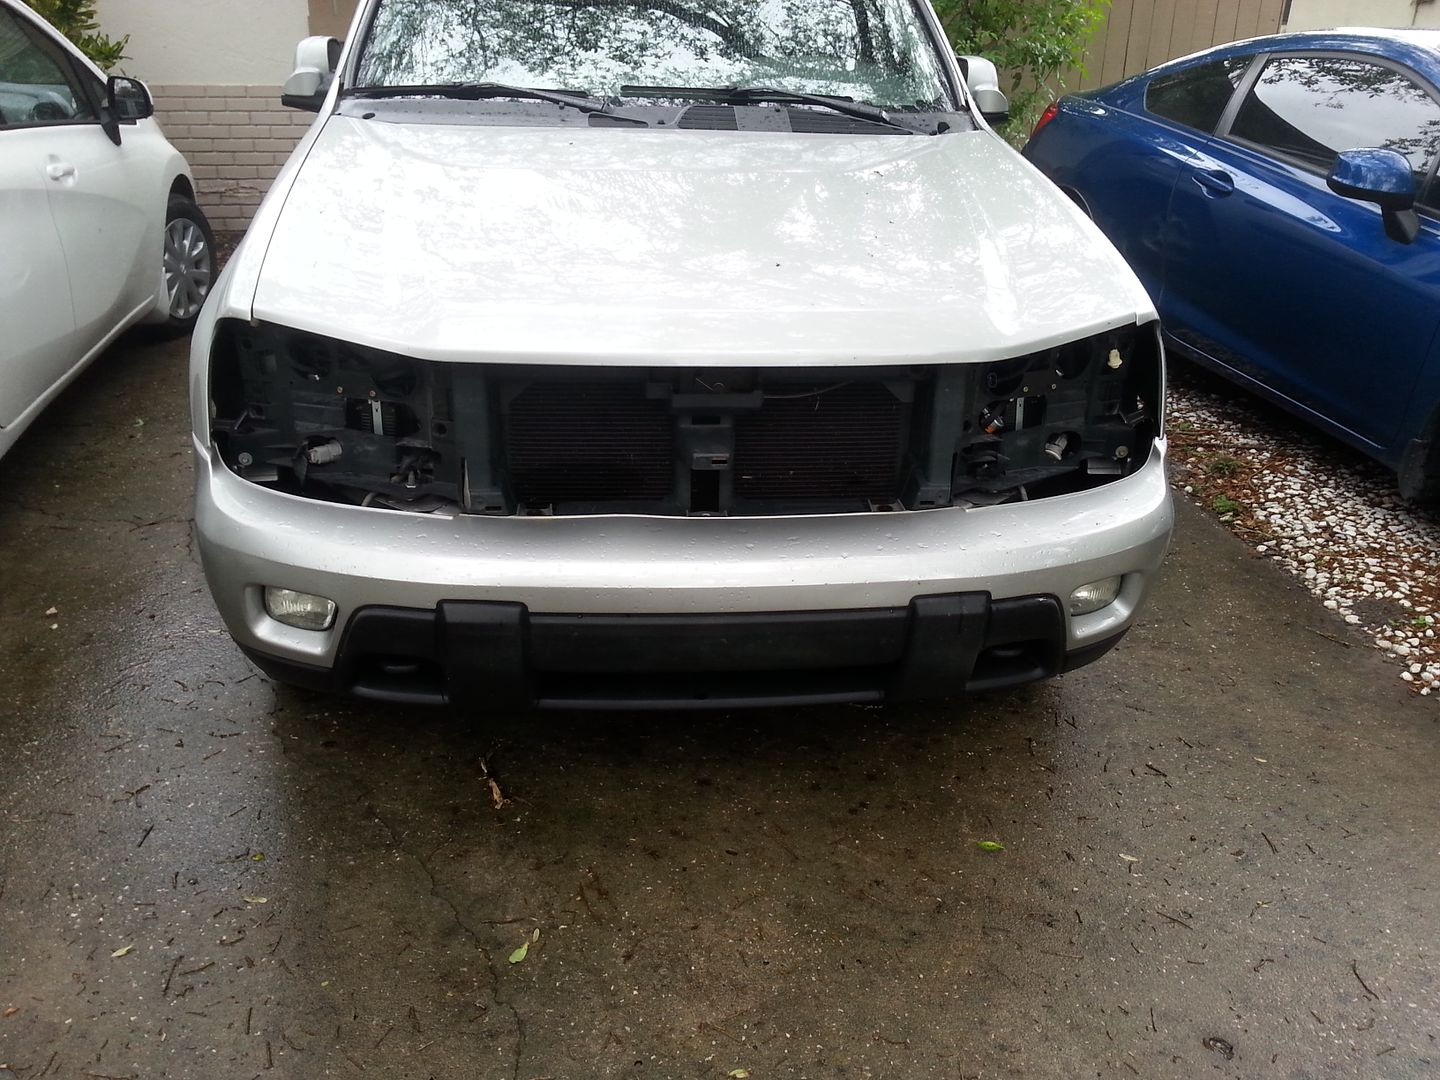
Blckshdw said:Completely dump the reflector bowls, which took up the most time trying to get those shaped and (un)seated repeatedly, and mount the projector directly to the base. I never even considered that. And with both bottom bolts being adjustable, that gives you your vertical, as well as rotational. How much flex do you have with that upper mount? Got any closer shots of that?
I initially was going to try and use the bowl, but after breaking the first one and then thinking about it a bit further, it was going to be crammed in there, so I tossed it....this is the only pic I have of the top...
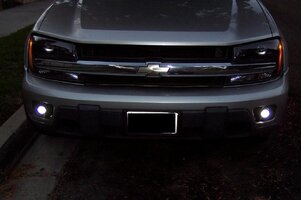


 I really like that look!
 Here we go again...

 I think this is the longest I've gone without modding it, since the early days when I first bought it.