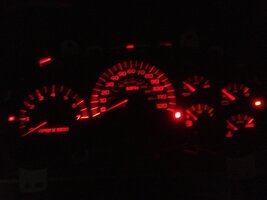
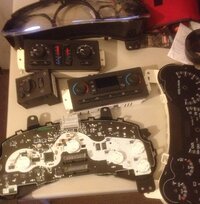
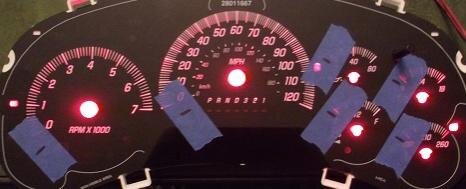
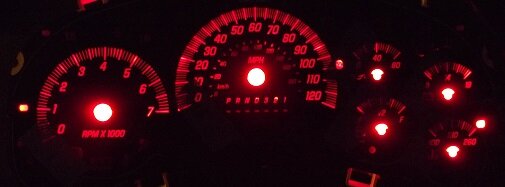
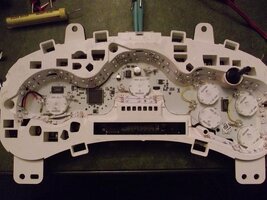
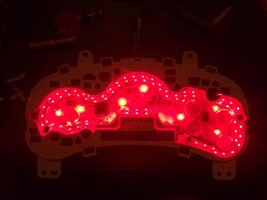
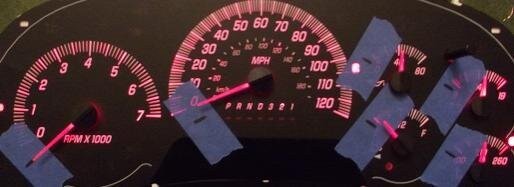
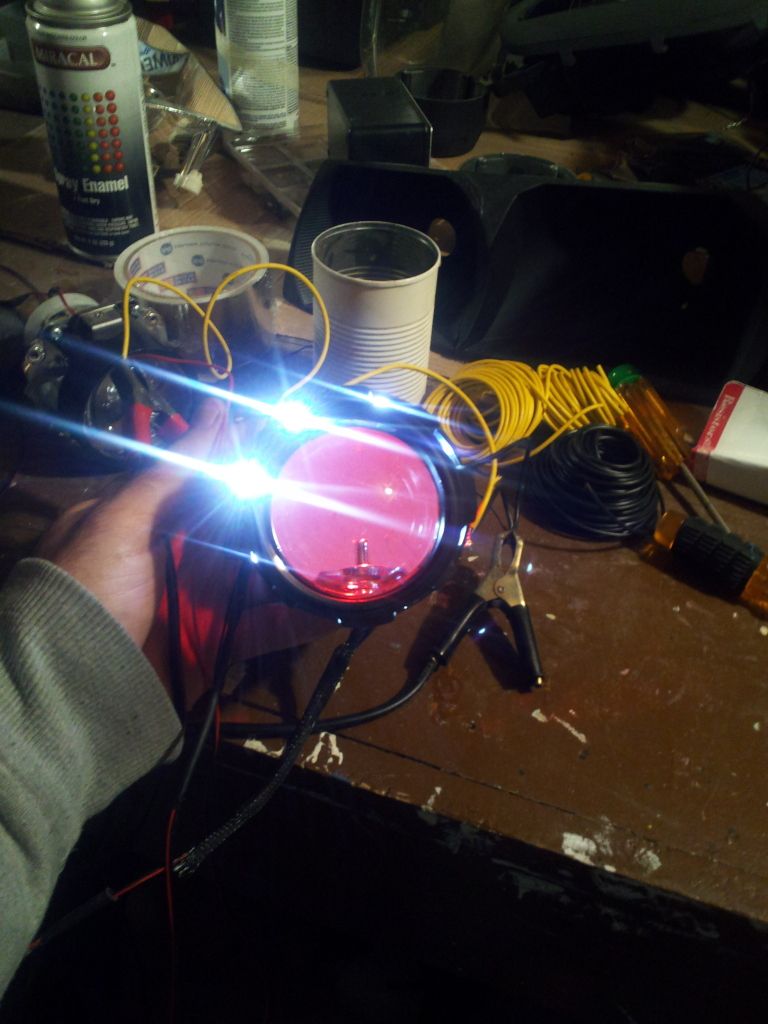
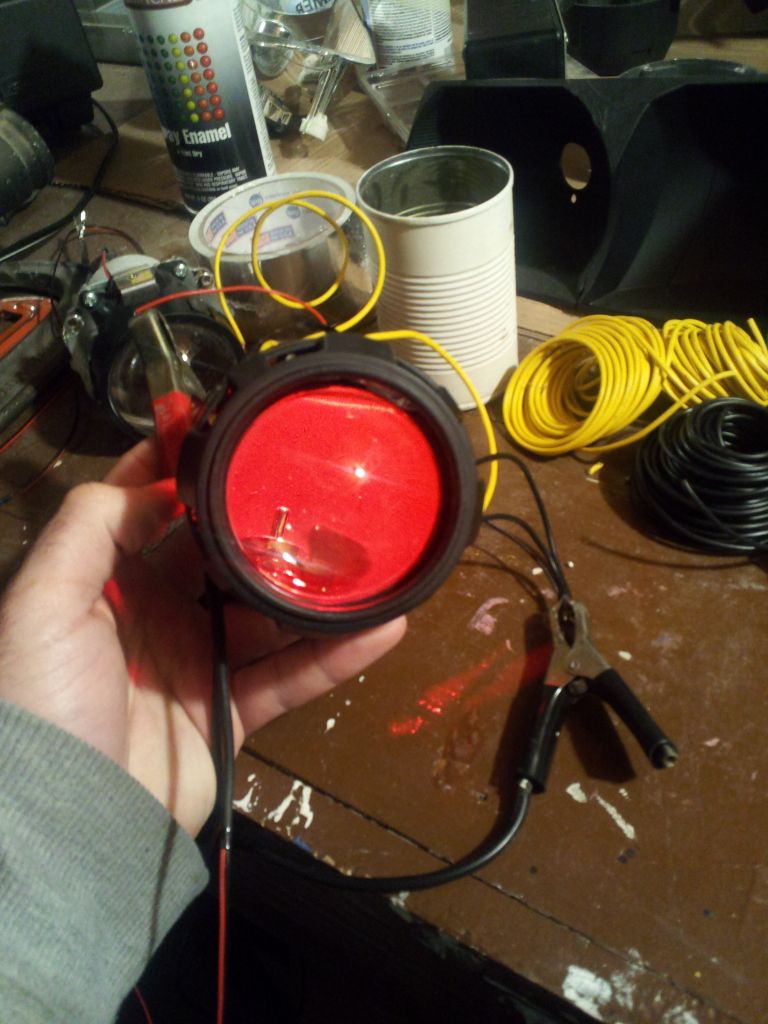
Red is a hard color to do. It does not light up like the blue. I am quite happy with every thing but my cluster. I recommend the 3mm for inside the small buttons in the factory radio

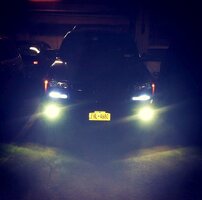
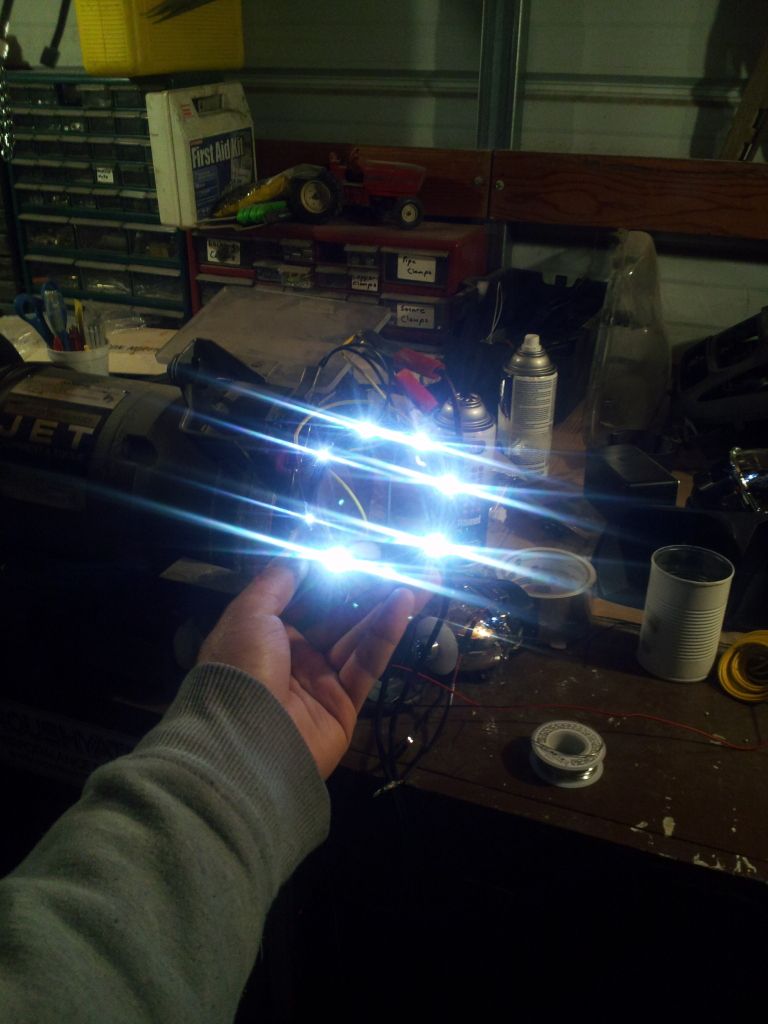
duh:you got a new headunit). As for the cluster I am still playing trying to find the best answer. Anyhow what I got was 13000mcd 5mm strawhats. I liked soldering my own resistors, because I could do them in the length I wanted. I went with strawhat style because instead of a beam(20 degree) they are more of an all over light(140 degree beam). The ones you listed dont give a spec for brightness(mcd=microcandella). So I question how much light they put out. I went with
100 x 5mm StrawHat Red LED 12000 mcd LED Ships from NYC | eBay. I also got my resistors from them as well. I also ordered some 8mm ones Sunday Got them on Wednesday. I have got excellent service from them both in shipping and they will answer your questions quickly.
I think Blckshdw has the headlight switch in the rest of his pic on page 2. As for the manual HVAC controller I have mine posted in the page 20 area.
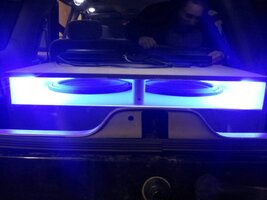
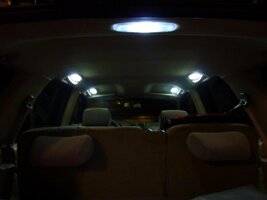
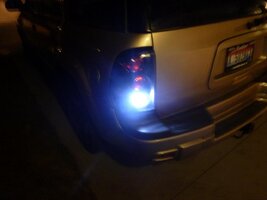
So in my latest order I got some 8mm strawhats I want to play with and first results are pretty good. I got a sampler pack with 9 colors in it. So I just took a couple and hooked them up to a resistor for a 14.7v source them used a 9v battery just to get an idea of what they will look like. Now this is 1 led on a 9v it looks pretty good what do you think?

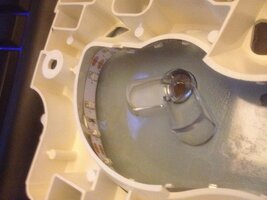
 ). BTW I recommend you use white LEDs under the temp sliders.
 )
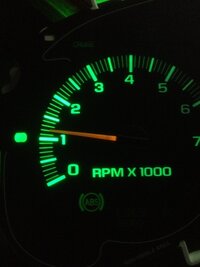
) None taken. I think some of it may have to do with some of the gauge faces having a slight blue tint to them, so blue shines better than other colors, especially red. I got lucky, since it's my favorite color, works out nicely.


 )
)


 any input would be great!! oh also cruise didnt work this morning but worked on the way home!! WTF!!!


 ) and would make life a million times easier. Nice find man!
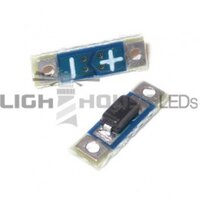
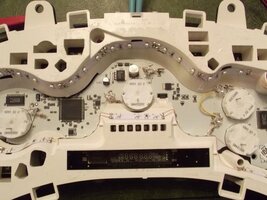
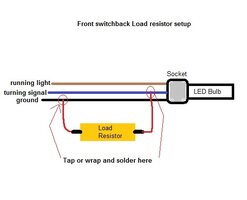
 My bad, yeah when I did them the first time, I ran them 1 to 1 like that with the 470 ohm resistors. When I went back to do the polarity pics, I redid both of the front doors with smaller wiring, and 1 resistor per set of contact pads so there was more room.