Parts Used
5mm blue Flat top LEDs
470 ohm resistors
18 gauge wire (smaller would be fine too)
13/64" Drill bit
RTV Silicone
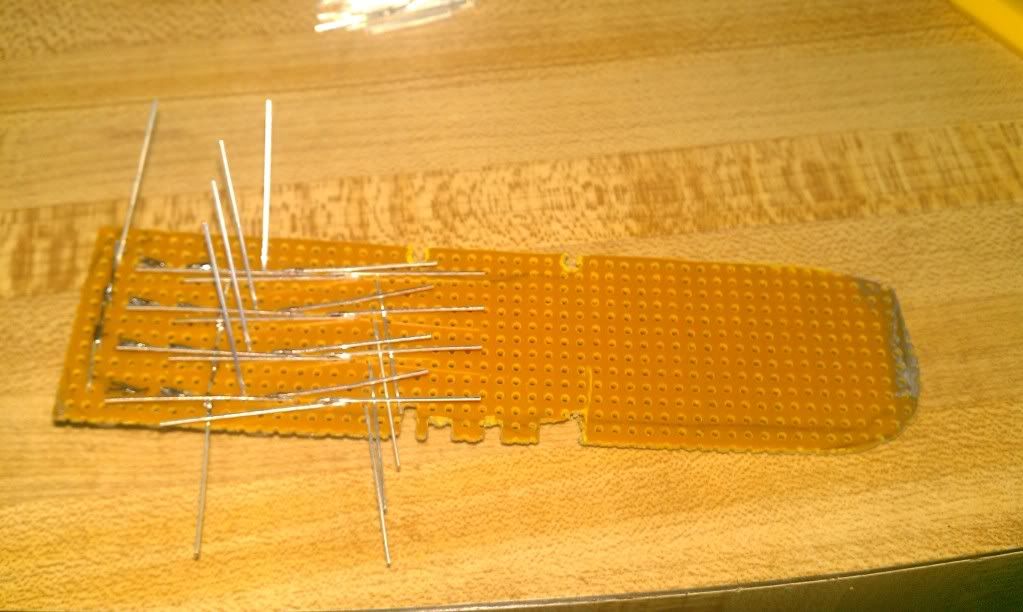
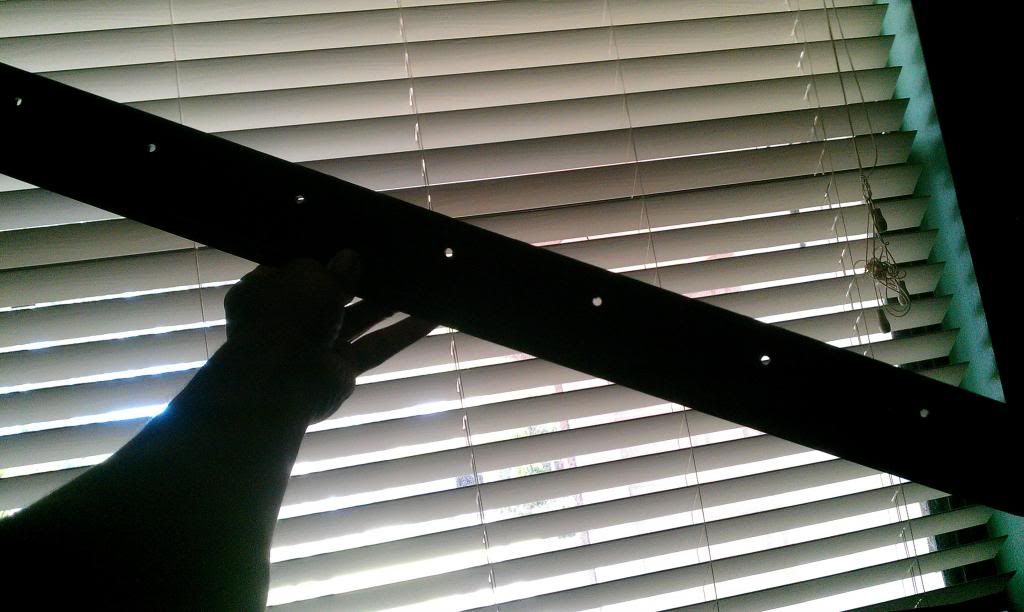
I initially decided to use the clips as my reference point for drilling the holes. The clips towards the front ends of the front door scuff plates are offline from the ones further back, so I used my calipers to mark points at a consistent distance from the inside edge.
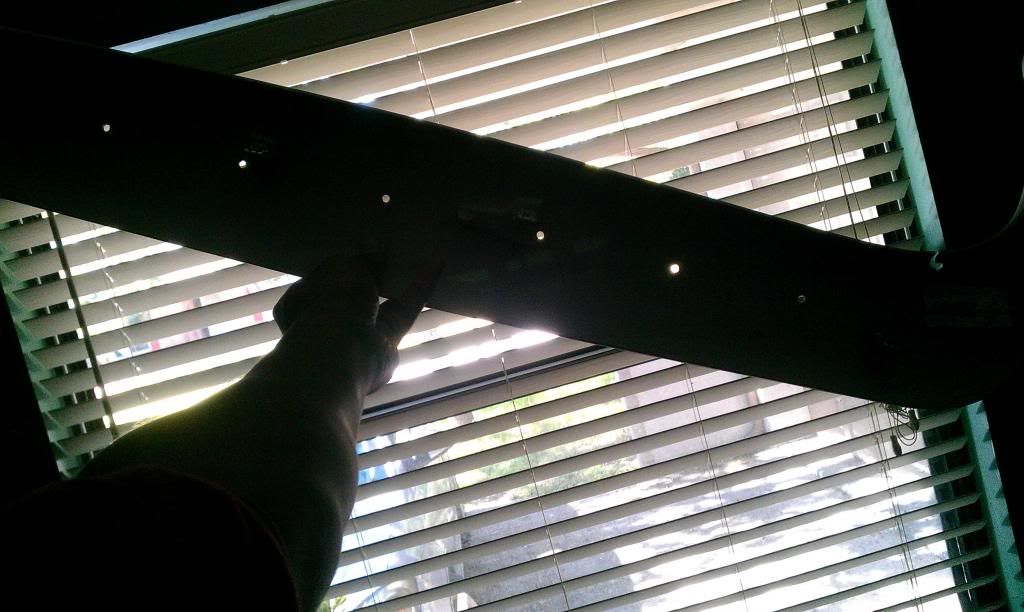
I used a small drill bit to make pilot holes, then held the boards up in front of a window to make sure the alignment was what I wanted, in case any of the holes were slightly off due to some curvature of the pads, I wanted to be able to use the larger drill bit to make the adjustment, but that wasn't necessary.
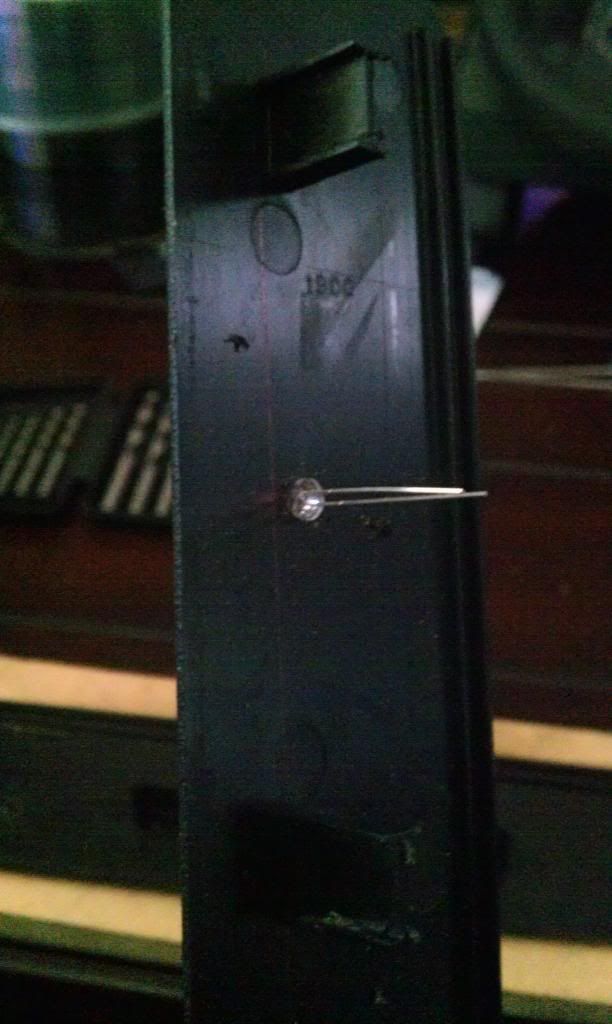
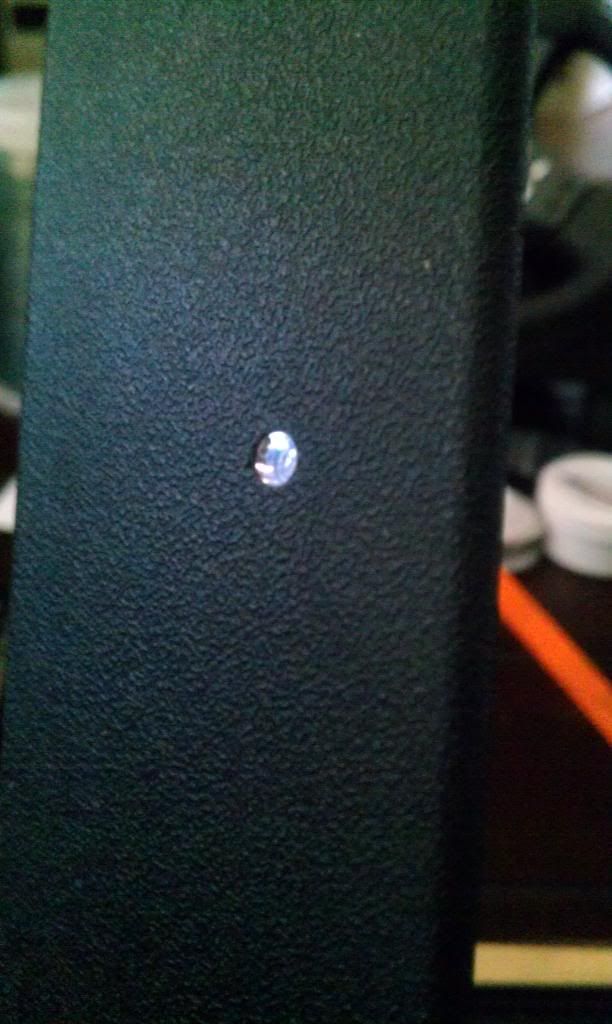
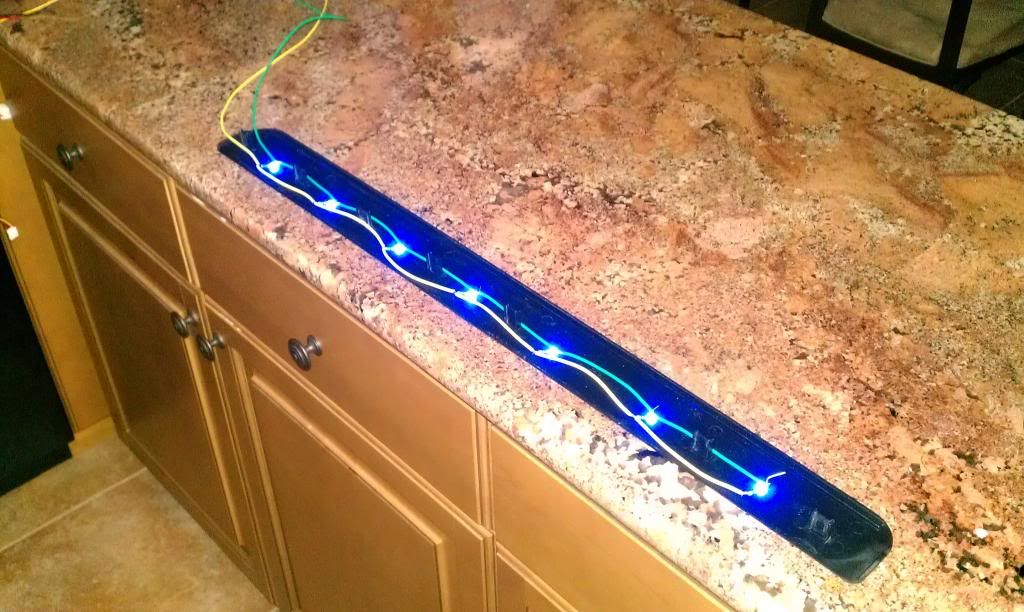
After using the 13/64" bit, the LEDs fit perfectly, with the lip at the base of the LEDs catching the pad. Looking from the top side, the LEDs aren't quite flush mounted, slightly recessed, but this was fine for me. If I wanted them flush mounted, I probably would use a small Dremel grinding bit to bevel the edge of the hole from the bottom to give a little more clearance.
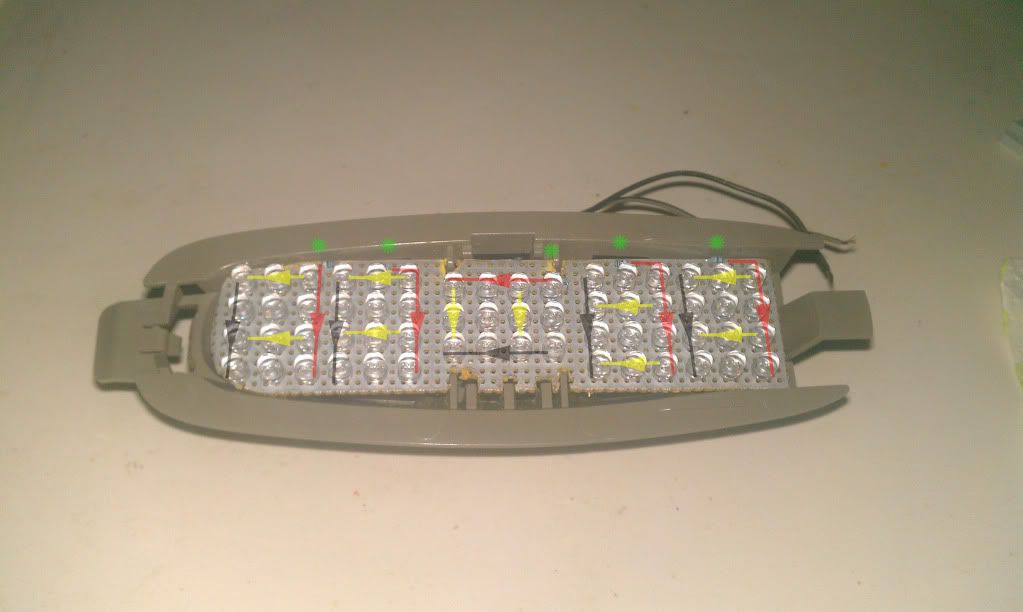
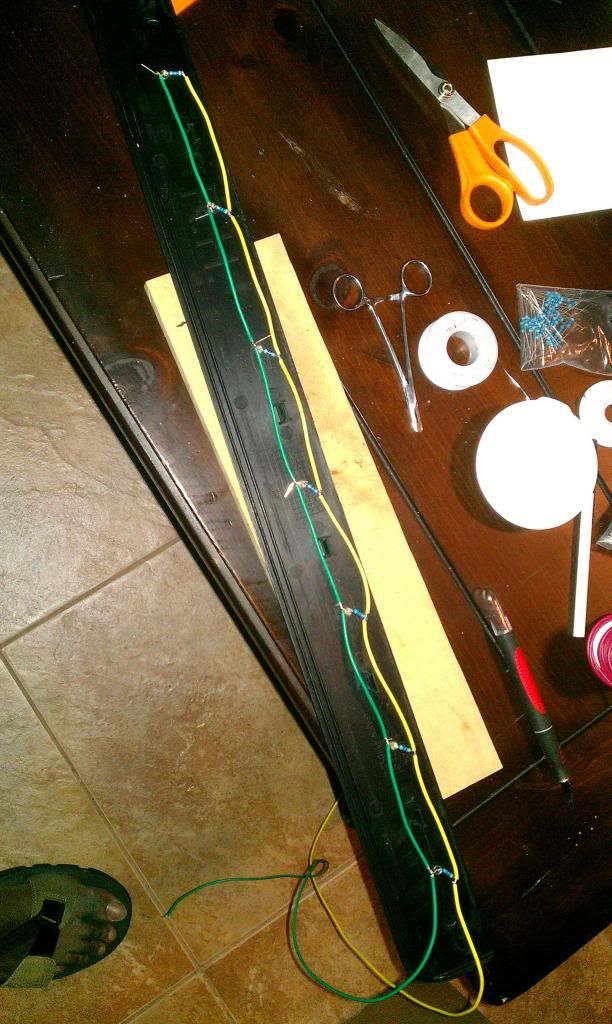
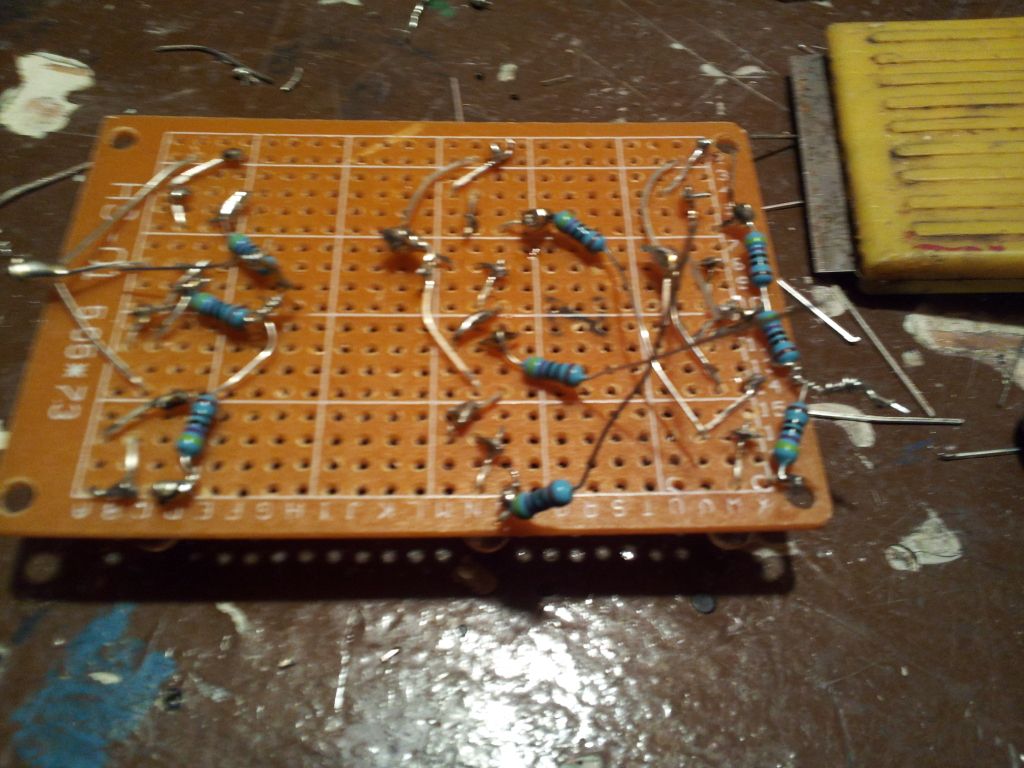
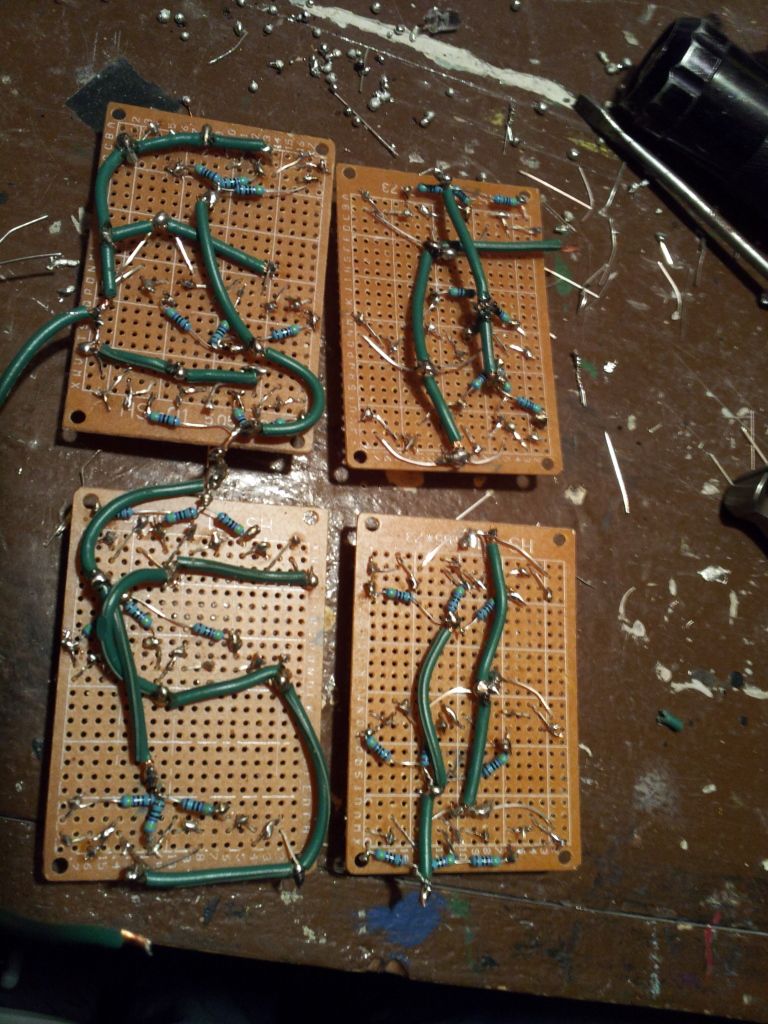
Since I had baggies of resistors laying around, I went with a 1 to 1 setup, instead of wiring up my LEDs in series/parallel. Plus since the underside of the pad won't be seen, I wasn't too concerned about making an 'as clean as possible' install. Here's one pad soldered up, with a power test viewed from the underside and top side.
Once satisfied with that, time to adhere everything in place and seal them from weather exposure. On the OS I saw people use electrical tape and/or some clear coat. Since I had a mostly full tube of RTV laying around, I decided to use that. I ran a small bead over the top of one wire's solder joint, across to the other, then used an old pick tool to spread the RTV out and get it around the wires, resistor and LED for a good seal on the back side
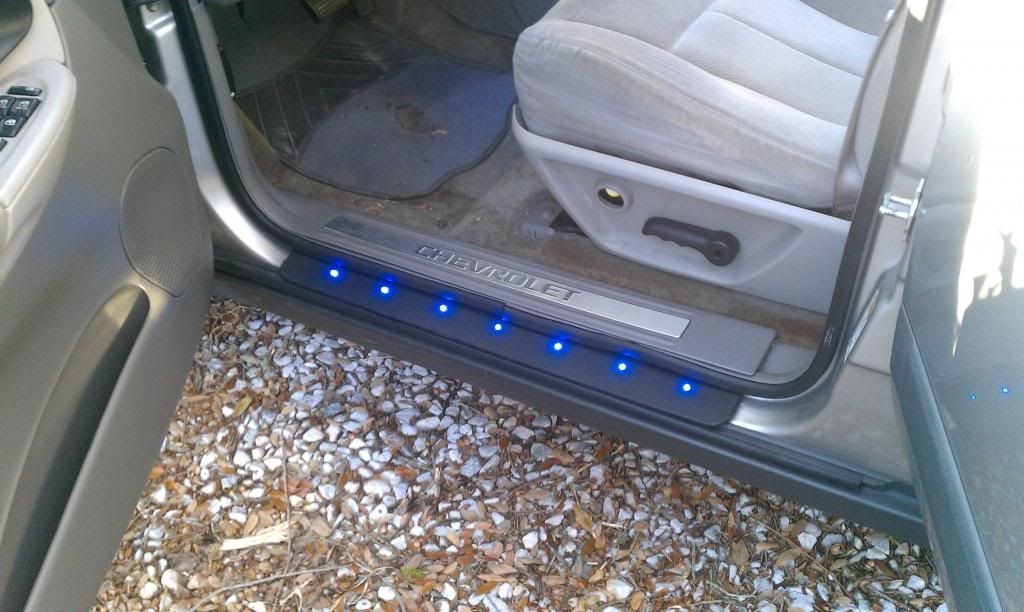
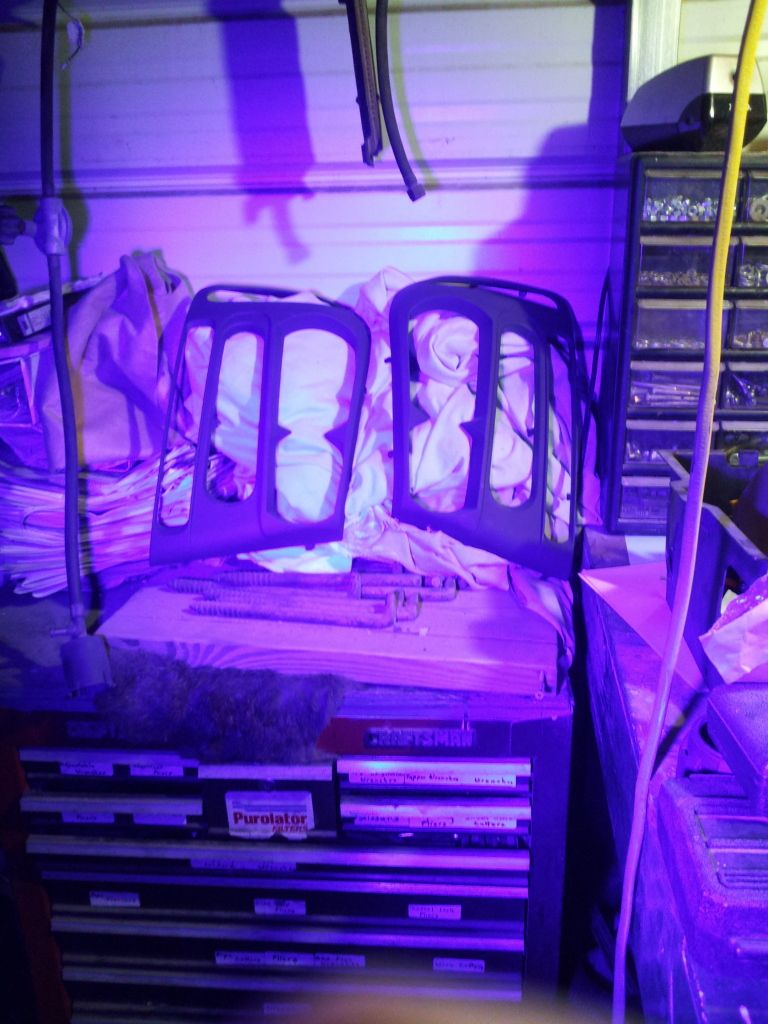
Repeat the same steps for the rear door scuff plates, then install.
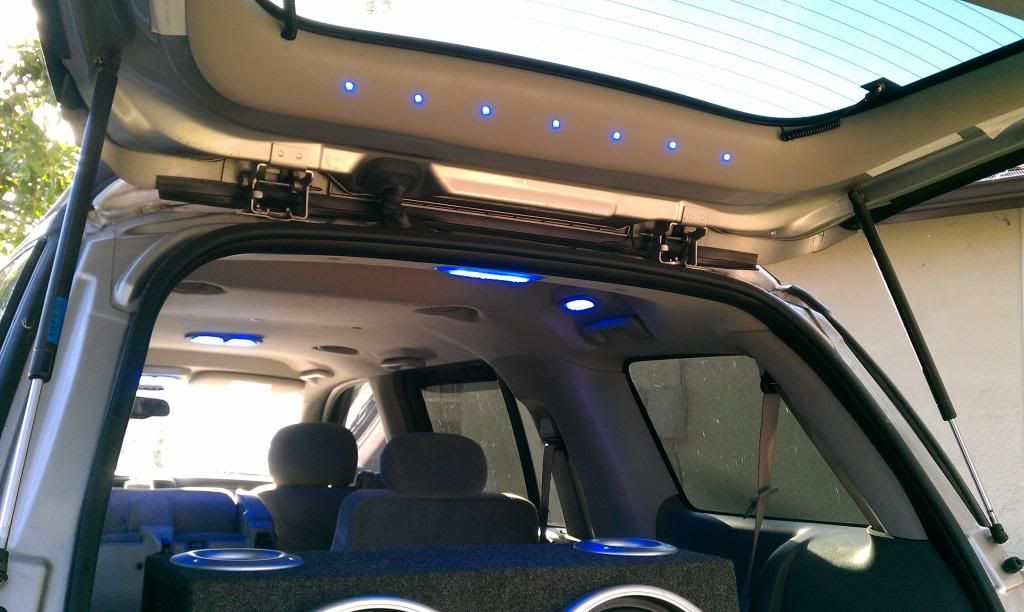
To take it a step further, I pulled the upper trim piece inside the lift gate. Since the tabs are offset, I used a piece of thread to get a straight reference line. Here are the pilot holes.
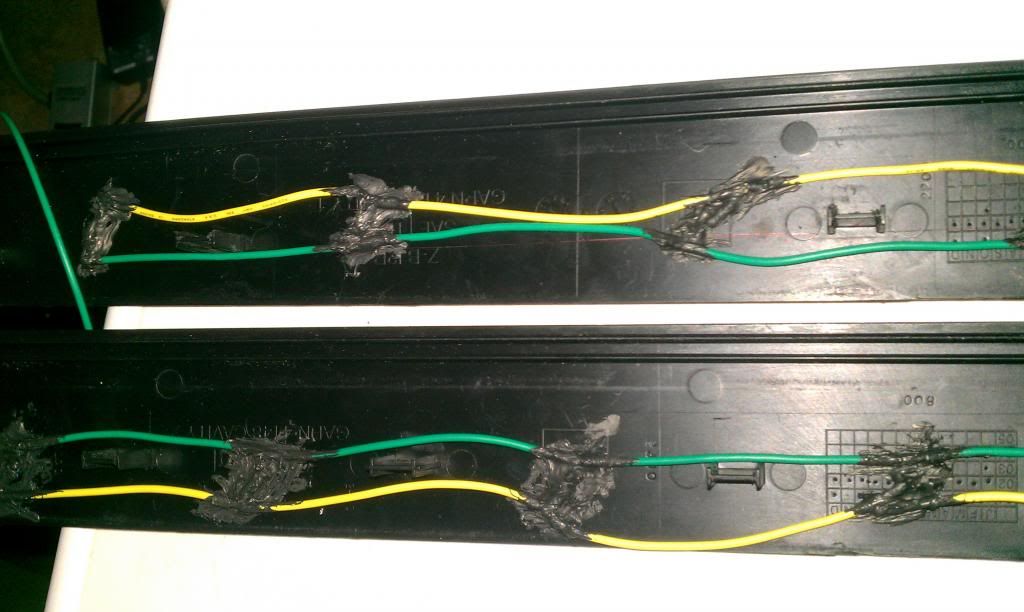
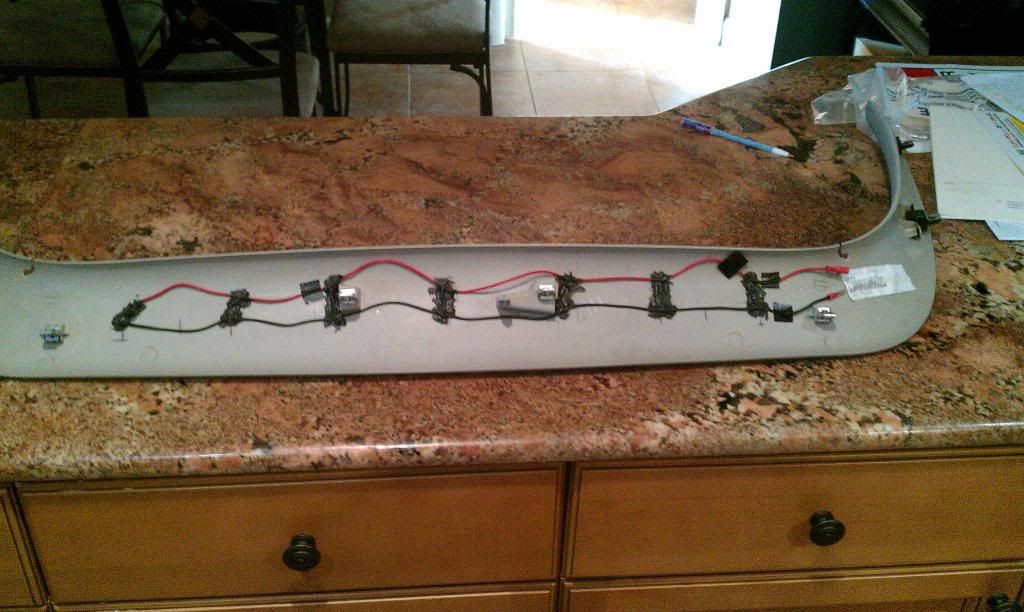
Backside wired up, soldered and sealed.
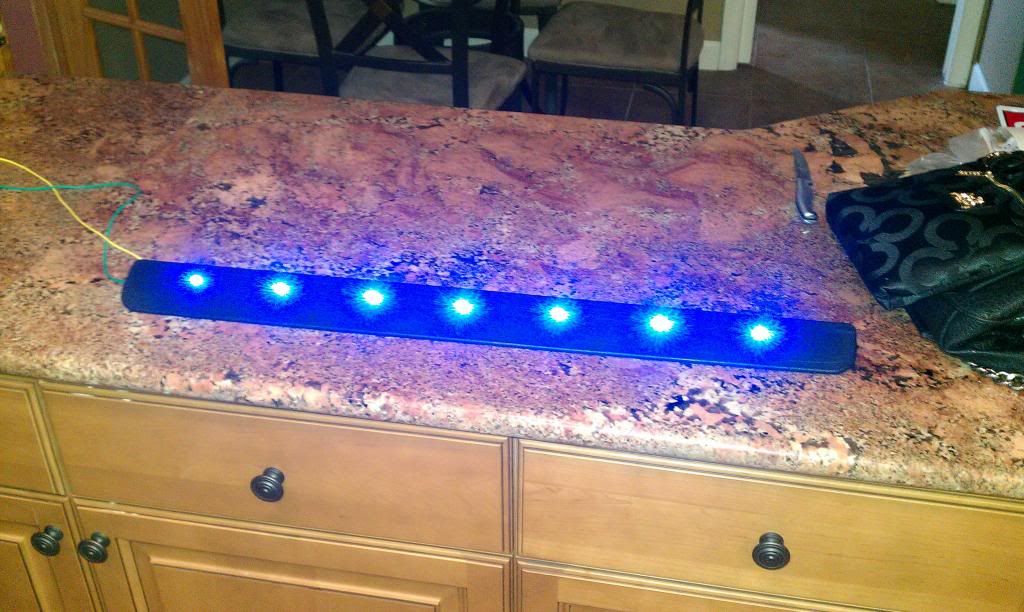
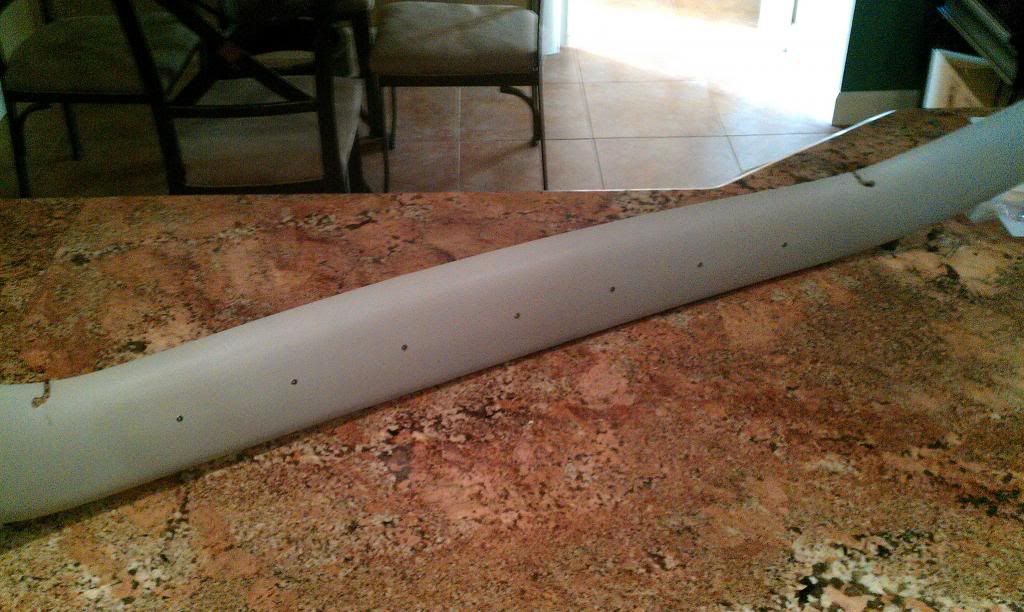
Front Side
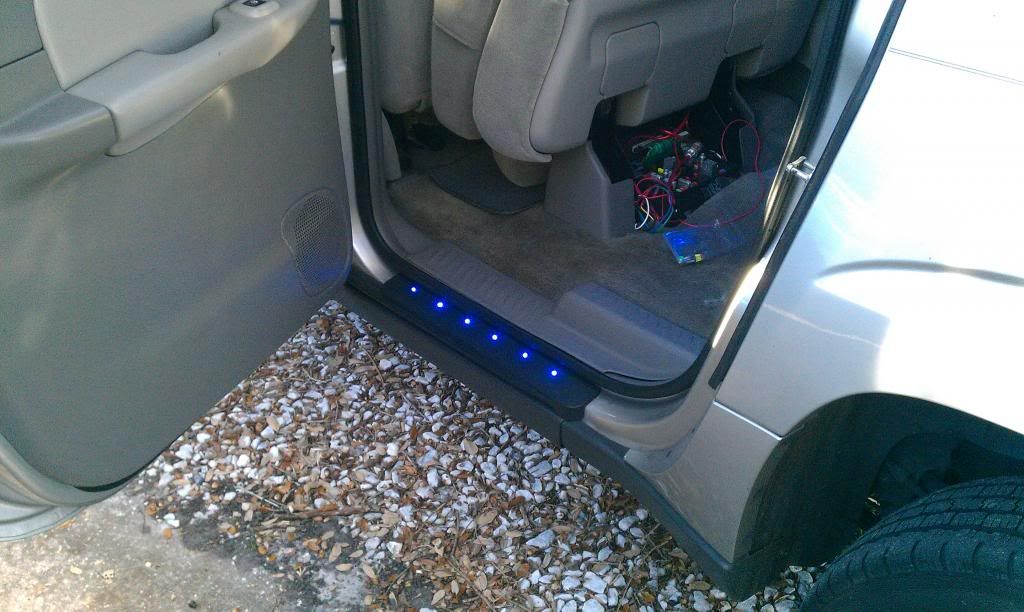
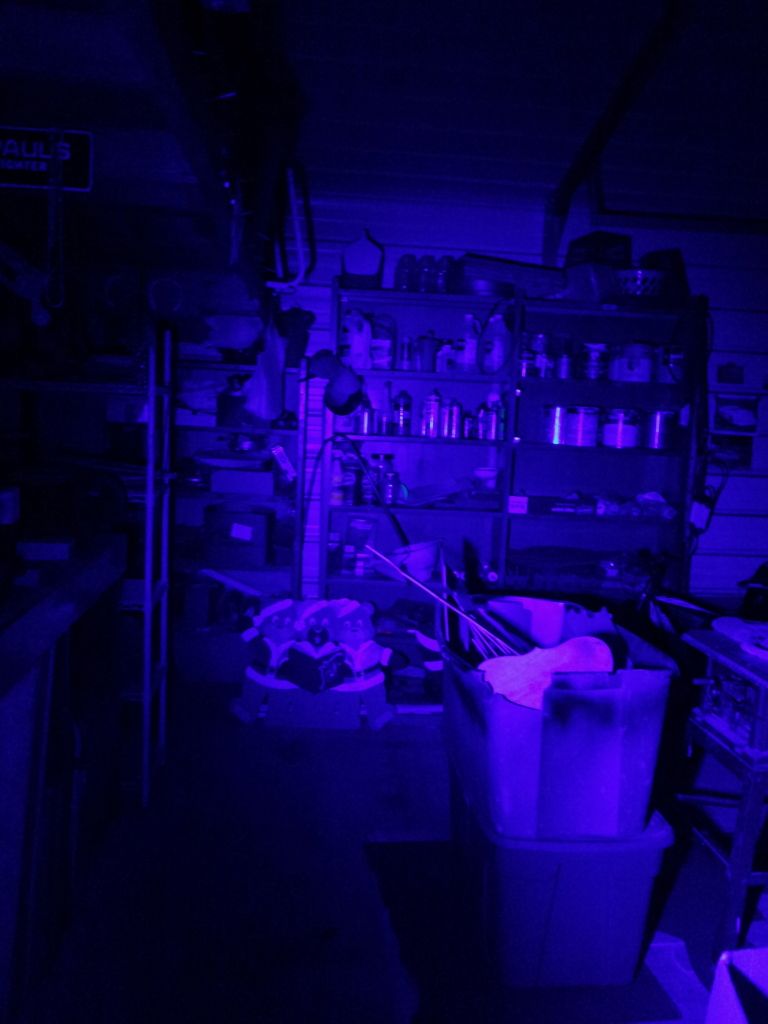
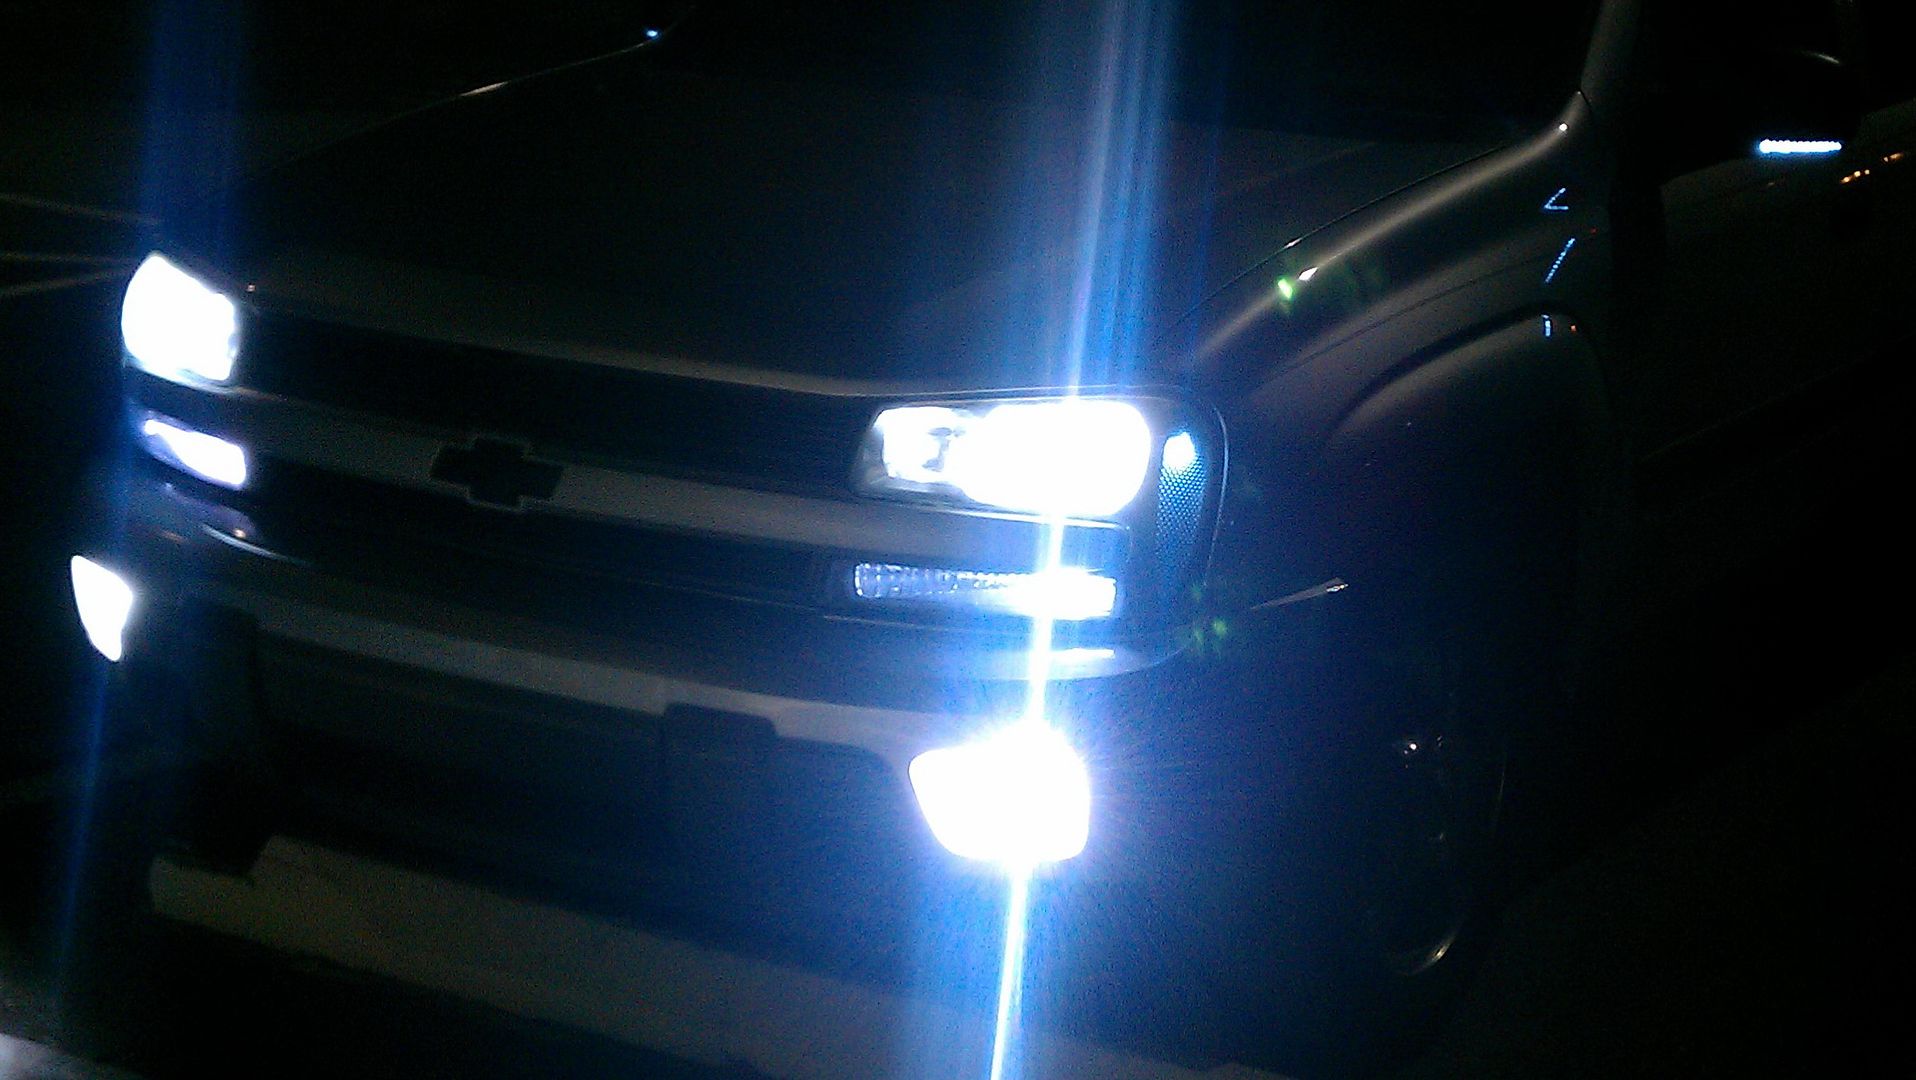
Installed


 Nice work man, looks good!


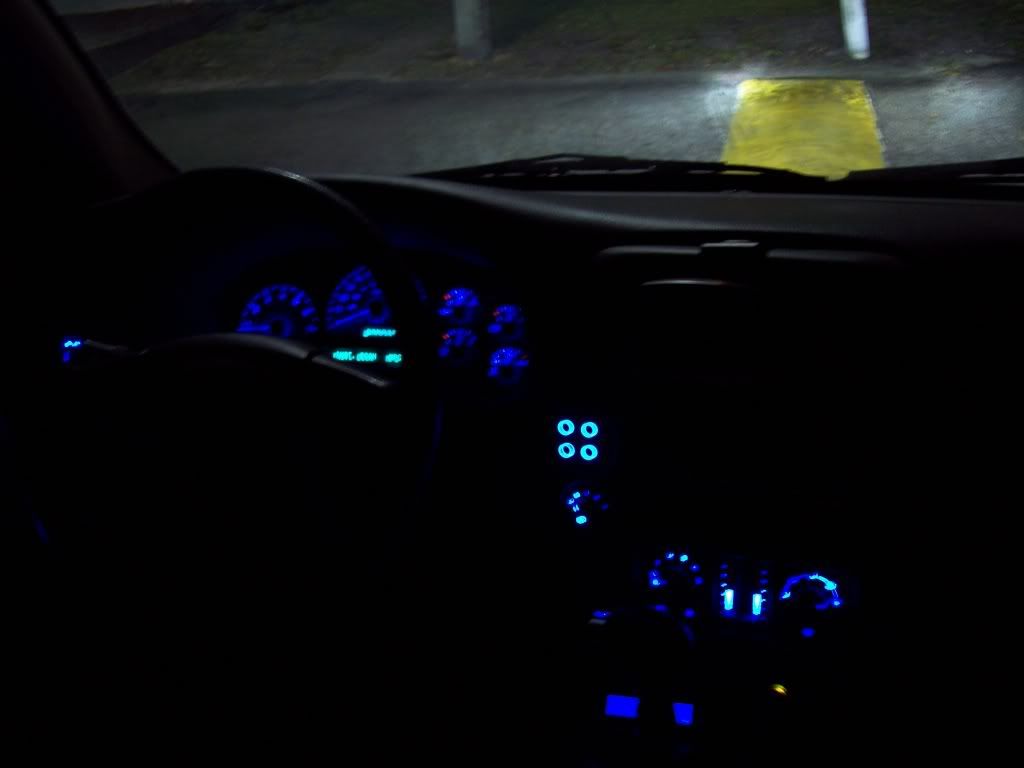

 Hmm, very interesting. I tried using a bunch of blue vinyl on my rear view mirror to do that. Ended up using a ton layered up, and it never quite changed the color enough, so I didn't bother trying it on the cluster. Looks like I'm gonna have to borrow your mod


 You'd need to use some LED strips or something, going into an empty 3757 base. Then you might get good light coverage.
 Mounted on the side of what?