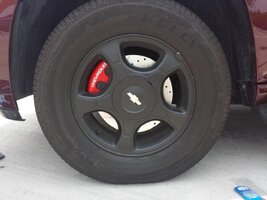
What did you do to your GMT today?

Status
Not open for further replies.

Playsinsnow

Member
Nov 17, 2012
9,727
IllogicTC said:
Read about it, a bit. And now thinking.

I have the digital HVAC, and the actuators have a total of 256 different positions they can take, and I can still never find a setting that's not too hot or too cold. First-world problems.

That's more choices than Goldilocks!

I stick with the same settings on year 7 as I did the first.

I still haven't figured out "auto" and what it wants to do haha
 

dmanns67

Member
Apr 3, 2013
32,979
Ohio
After work I am going to try my hand at applying vinyl tint to the tail lights again. I watched some videos online so hopefully I can lay it on without any bubbles or creases. Seems no one wants to touch TB tail lights even though I explain to them I have aftermarket tails installed with a completely smooth surface.
 
  • Like
Reactions: Mounce

Blckshdw

Moderator
Nov 20, 2011
10,778
Tampa Bay Area, FL
dmanns67 said:
After work I am going to try my hand at applying vinyl tint to the tail lights again. I watched some videos online so hopefully I can lay it on without any bubbles or creases. Seems no one wants to touch TB tail lights even though I explain to them I have aftermarket tails installed with a completely smooth surface.
Are you using the soapy water and squeegee method? Or the heat and gentle stretch method?
 

dmanns67

Member
Apr 3, 2013
32,979
Ohio
Blckshdw said:
Are you using the soapy water and squeegee method? Or the heat and gentle stretch method?
I have the squeegee with a felt tip on one side. I did not use soapy water, but I bought some Rapid Tac, http://www.metrorestyling.com/Rapid-Tac-4oz-Sprayer-p/rtac4oz.htm, with the film. I did use a little heat, but from watching some videos, I think I did not use enough Rapid Tac solution before applying the film to the tail lights which was causing the small bubbles and and creases. I also did not coat the outer surface of the film prior to using the squeegee. It was a fail all around :duh:

I have a decent size scrap piece of film that I am going to play around with to see what I was doing wrong. If it works out, then I am going to order another 24" x 24" piece of film.
 

Blckshdw

Moderator
Nov 20, 2011
10,778
Tampa Bay Area, FL
dmanns67 said:
I have the squeegee with a felt tip on one side. I did not use soapy water, but I bought some Rapid Tac, http://www.metrorestyling.com/Rapid-Tac-4oz-Sprayer-p/rtac4oz.htm, with the film. I did use a little heat, but from watching some videos, I think I did not use enough Rapid Tac solution before applying the film to the tail lights which was causing the small bubbles and and creases. I also did not coat the outer surface of the film prior to using the squeegee. It was a fail all around :duh:

I have a decent size scrap piece of film that I am going to play around with to see what I was doing wrong. If it works out, then I am going to order another 24" x 24" piece of film.
Yeah, that stuff basically does the same thing. Let's you slide and adjust the vinyl before setting it permanently. Hopefully you get it to play nice this time. :yes:
 
  • Like
Reactions: dmanns67

jpimp

Member
Feb 1, 2013
176
Did my control arm bushings this past weekend, got alighment yesterday...WOW what a difference. drives like a new ride now. :yes:
 
  • Like
Reactions: TexazReece
Dec 13, 2013
1,490
Osceola,Ia
jpimp said:
Did my control arm bushings this past weekend, got alighment yesterday...WOW what a difference. drives like a new ride now. :yes:
How was they to get out? How did you do it? I have a set of prothane to put in, just haven't gotten there yet
 

jpimp

Member
Feb 1, 2013
176
Midnyteryder196 said:
How was they to get out? How did you do it? I have a set of prothane to put in, just haven't gotten there yet
I took the easy way out and purchased all new dorman control arms from rock auto...made the job nice, quick and easy.
I saw a you tube video of a guy doing it though...doesn't look too too bad.

http://www.youtube.com/watch?v=aQCDn8L5eDs
 

MAY03LT

Original poster
Member
Nov 18, 2011
3,429
Delmarva
IMG_20140521_193000_906.jpg
IMG_20140521_193051_510.jpg

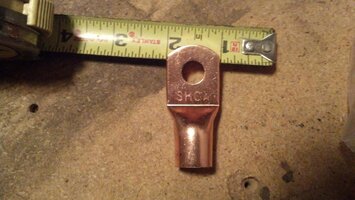
Well I got a bunch of these today and they didn't look this big in the picture from the website. Great scott, I'm gonna need battery extender extenders. :crazy:
 
  • Like
Reactions: yodaddy4200

HARDTRAILZ

Moderator
Nov 18, 2011
49,665
Bought some paint for it but waiting til the rain is gone.
 

yodaddy4200

Member
Feb 3, 2013
350
Bro did you get my pm a couple days ago? Lol I want one of those connectors for my ground...

Are those 4/0? That's the biggest I've found...


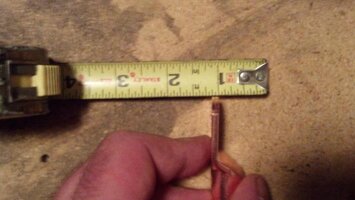
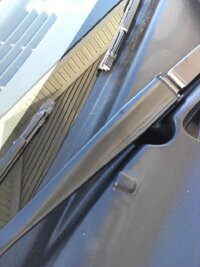
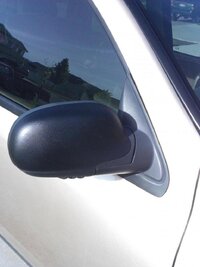
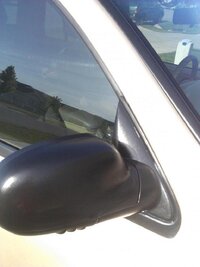
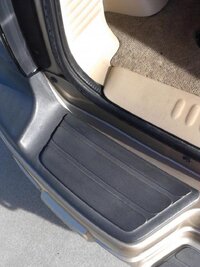
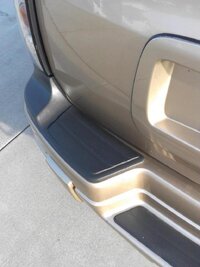
Washed and did some trim restoring. Oh and painted my wiper arms.

IMG_20140521_184518.jpg

IMG_20140521_175755.jpg

IMG_20140521_180006.jpg
IMG_20140521_180113.jpg
IMG_20140521_184553.jpg
 

MAY03LT

Original poster
Member
Nov 18, 2011
3,429
Delmarva
yodaddy4200 said:
Bro did you get my pm a couple days ago? Lol I want one of those connectors for my ground...

Are those 4/0? That's the biggest I've found...
No sir I did not.

These are sky highs 1/0 rings. Yeah. A little bigger then I was expecting lol.
 
  • Like
Reactions: yodaddy4200

yodaddy4200

Member
Feb 3, 2013
350
Correction... it wasn't a pm. I replied to a private conversation through email. Well I tried anyway lol.

I was basically just wanting your input on a new ring terminal for my ground. I want to redo it just to be safe...
 

Sparky

Member
Dec 4, 2011
12,927
Hey at least you won't have to worry about crappy connections with those!
 

shrek77

Member
Mar 30, 2012
252
Filled her up for the week. Stopped dead on $75.00 by itself while cleaning the windows. Drove 351.8 miles / 19.58 gallons = 17.96 MPG. 40% city 60% highway. Glad the winter blend is gone!
 

RayGumm

Member
Apr 16, 2014
630
Resonator Delete!!!

I may be too proud of myself, but It's my first real mod on this truck. And I am happy!

http://youtu.be/uTxTbh-i2Bs

Looks good and sounds better!

Yah, yah, I know, not supposed to rev the engine in park. I know. I will pay the price if I damaged the engine, I am sure. Couldn't resist.. :smile:

Took an 18" long 2.5" ID pipe with a slight flange on on end, slipped it over the stock pipe before the last hanger after cutting the resonator off, clamped it down, and put a cheapy chrome plated bolt-on tip on the end. About 1/2" clearance between the top of the tip and the plastic of the bumper. Took just shy of an hour, including video making and test drive.

:smile:

The mod bug has bitten. I shall have a dire financial situation forevermore. Haha
 

MAY03LT

Original poster
Member
Nov 18, 2011
3,429
Delmarva
yodaddy4200 said:
Correction... it wasn't a pm. I replied to a private conversation through email. Well I tried anyway lol.

I was basically just wanting your input on a new ring terminal for my ground. I want to redo it just to be safe...
PM'ing me here is the best way to get at me, even though sometimes they don't light up the notification thingy.

Hit me up though we gotta work on that grounding issue.

Sparky said:
Hey at least you won't have to worry about crappy connections with those!
I think they are going in the spare parts bucket lol. I tried three brands of 1/0 and they don't fit these 1/0 lugs. It must be a proprietary thing where you can only use SHCA wire with their lugs.


RayGumm said:
Resonator Delete!!!

I may be too proud of myself, but It's my first real mod on this truck. And I am happy!
Awesome man! I'm still rocking the soccer mom resonator.
 

blazinlow89

Member
Jan 25, 2012
2,088
I took it out of the garage after 3 weeks. Put it in before we left on May 1st, and disconnected the battery so it wouldn't drain. Truck has never idled that smooth on startup. Going to wash it this weekend and go play in the sand.
 

Sparky

Member
Dec 4, 2011
12,927
Noticed my headliner in the back of the truck has separated. The cloth is flopping around no longer attached to the liner board in several places. Poor thing is showing its age more and more :frown:

Replaced my CPAS. Original at just a couple hundred miles shy of 200K. I was surprised at how all the screens were not only intact but also fairly clean as well. The unit was caked on the outside with oil and the connector had oil in it, so it needed replaced. Hoping I'll see an improvement in how she runs now.

Also replaced the power steering pump that I had been putting off forever. Really not near as bad a job as I thought it may be. Worst part was that annoying spring clamp on the return line since there isn't a lot of room to wiggle it around.

Tomorrow, rednecking the body work :crazy: :biggrin:
 
  • Like
Reactions: TexazReece

Blckshdw

Moderator
Nov 20, 2011
10,778
Tampa Bay Area, FL
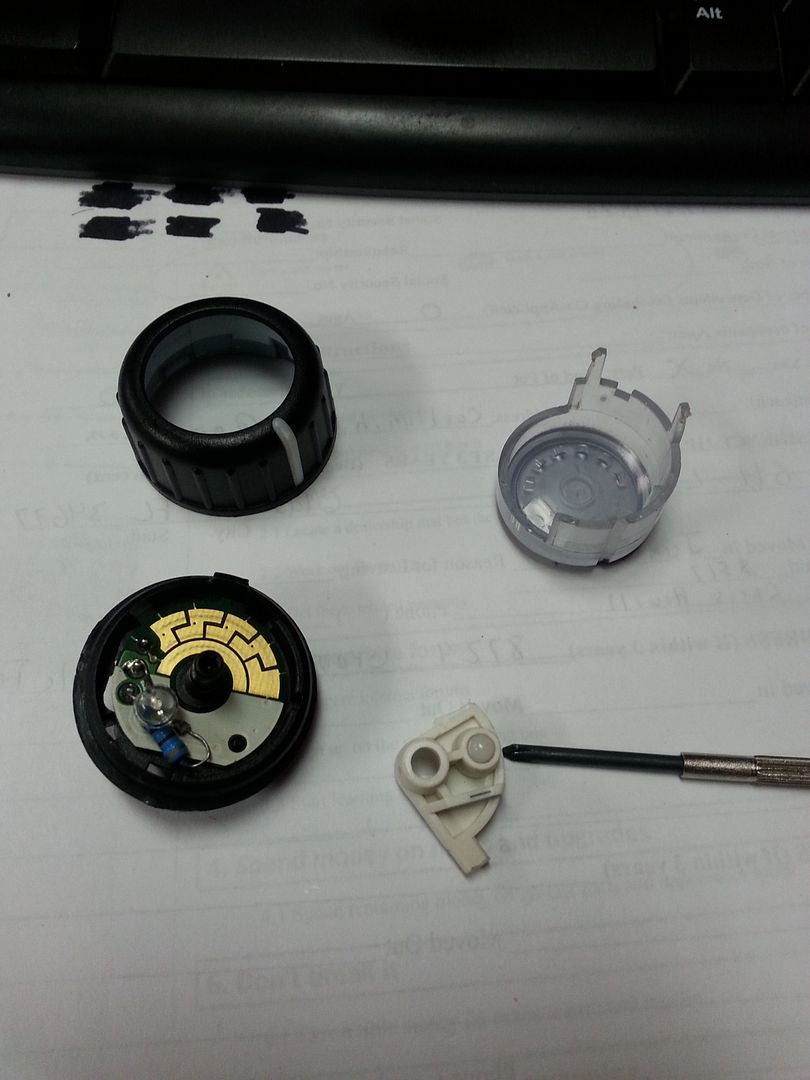
Fiddled with my driver's control switch for the rear HVAC system. After breaking it during the last mini meet, and putting it back together, I lost the click stop action between knob settings. Finally managed to get the thing apart again, and luckily at the time it broke, I noticed the small plastic pin responsible for the click stop action. (it's in the white piece, with the mini screw driver pointing at it) When mounted correctly, it sat too far down, and the rounded top did not engage the bumps on the underside of the cap (top right) Flipped it upside down, and it stood too high, getting caught between the bumps and couldn't turn the knob. So I'm guessing there was a tiny spring that provided the upward pressure, and I lost it!! :Banghead:

Ended up putting a small piece of Scotch tape on the underside of the dial to cap the hole that passed all the way through. Crammed a tiny piece of paper into the hole as a support and put the pin back in. Seems to turn more comfortably now, and has the click stop action back. We'll get a good test on the drive home in a couple hours. :thumbsup:

20140523_130510_zps14fwvyqx.jpg
 

bmcutright

Member
Apr 15, 2014
187
Got a face-full of used Auto-Trak II fluid while draining the transfer case. Fluid seemed very thin, greenish, wondering if it'd ever been changed in 160k miles. Need to figure out a way to get under it while level so I can check the fluid level.
 

Mark20

Member
Dec 6, 2011
1,630
Broke the drivers side temp slider on the HVAC control. One more lite burned out and finally got me moving to replace them. I knew it was tricky to get off but I found out the hard way I should have Dremel'ed the side out. Ordered a new unit from Rock Auto wasn't too expensive. Can I run the Voy without the controls in place without screwing up the blend door actuator?
 

Blckshdw

Moderator
Nov 20, 2011
10,778
Tampa Bay Area, FL
Mark20 said:
Broke the drivers side temp slider on the HVAC control. One more lite burned out and finally got me moving to replace them. I knew it was tricky to get off but I found out the hard way I should have Dremel'ed the side out. Ordered a new unit from Rock Auto wasn't too expensive. Can I run the Voy without the controls in place without screwing up the blend door actuator?
Been there, done that, hated it too!! You'll be fine driving without the control module in place.
 

HARDTRAILZ

Moderator
Nov 18, 2011
49,665
Wait...both sliders have lights...
 

Mark20

Member
Dec 6, 2011
1,630
I picked up a bunch of white LED's with built in resistors so any an all bulbs in the HVAC control were getting replaced.

I should try picking up another at a junkyard and try getting it open so I can replace the lights. I should pull the radio and do that next.
 

Blckshdw

Moderator
Nov 20, 2011
10,778
Tampa Bay Area, FL
Last night, I did this....

20140524_085810_zpsxm5vdwqv.jpg


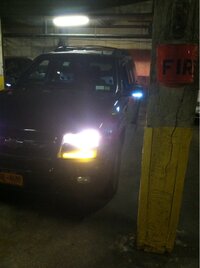
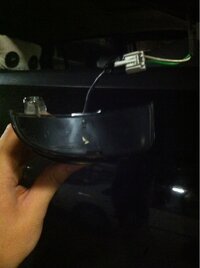
In preparation to check the parking light wiring running to the driver's side headlight. After replacing all of the aftermarket stuff that I've added, put the stock flasher module back in and swapped sockets, the front turn signal blips and blinks when the parking light should be on, when the engine bay is cool. :hissyfit:

20140524_092533_zps4cgv30or.jpg


Couldn't see any visible damage to the insulation, or on the turn signal wire either, to see where power could be bleeding over. The 194 line doesn't behave this way, so no idea what the deal is. Only other thing I can think to try (besides going back to stock :no: ) is to buy a pair of load resistors, try those with the stock flasher and see if those stop the problem. Not too keen on that idea, but I'm running out of options. :ugh:
 
  • Like
Reactions: dmanns67

gmcman

Member
Dec 12, 2011
4,673
Replaced the original rear sway bar links. Never really heard or felt much racket out of them unlike the fronts, but the top bolts were stubborn....PB Blaster wasn't going to help this. Soon as the hex head starting giving out at about 2-3 turns I had enough room for the blade. :cool:
 

Attachments

  • 0524141222s.jpg
    0524141222s.jpg
    145.6 KB · Views: 29
Status
Not open for further replies.

Forum Statistics

Threads
23,747
Posts
642,923
Members
19,327
Latest member
paintdobber

Members Online