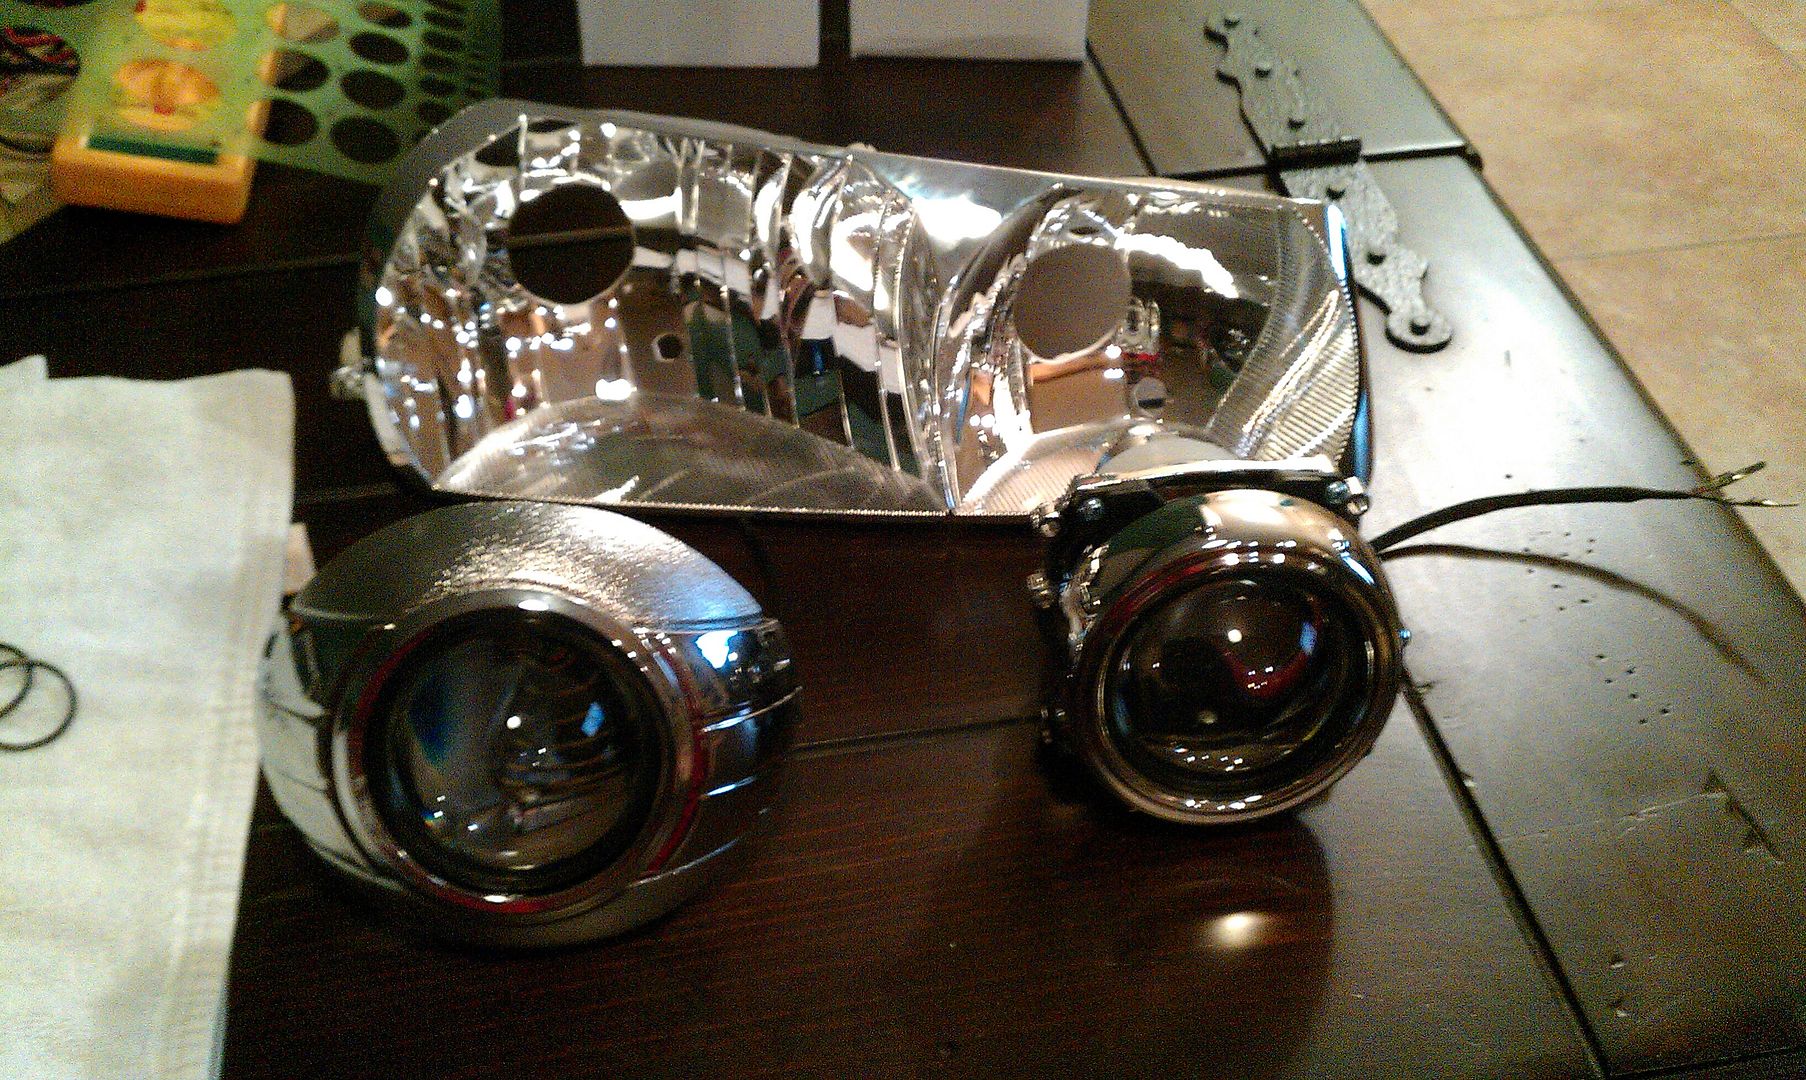
I ground down the back of the reflectors, almost flush like Chris did on his, so not much space to fill with epoxy. If I had really thought about it, I would have only ground down grooves for that locking ring's tabs, with enough wiggle room to make the necessary adjustments. Then your method would have been perfect. (I guess now I know for the next retrofit

)

Since my projectors shift slightly when I move the whole assembly, I was planning to epoxy them while on the truck, let that firm up for an hour or so, before taking them out again. I supposed I can get some epoxy around the shaft and under that lock ring if I remove my air box and battery cover.
As far as the hard part, if I wasn't obsessed with LEDs, then yeah, the hard part would be over. But I am the first to admit, I have a problem... And that's the first step to recovery... :wootwoot:
 This is the first thing of this nature I've tried and can't quite get the hang of


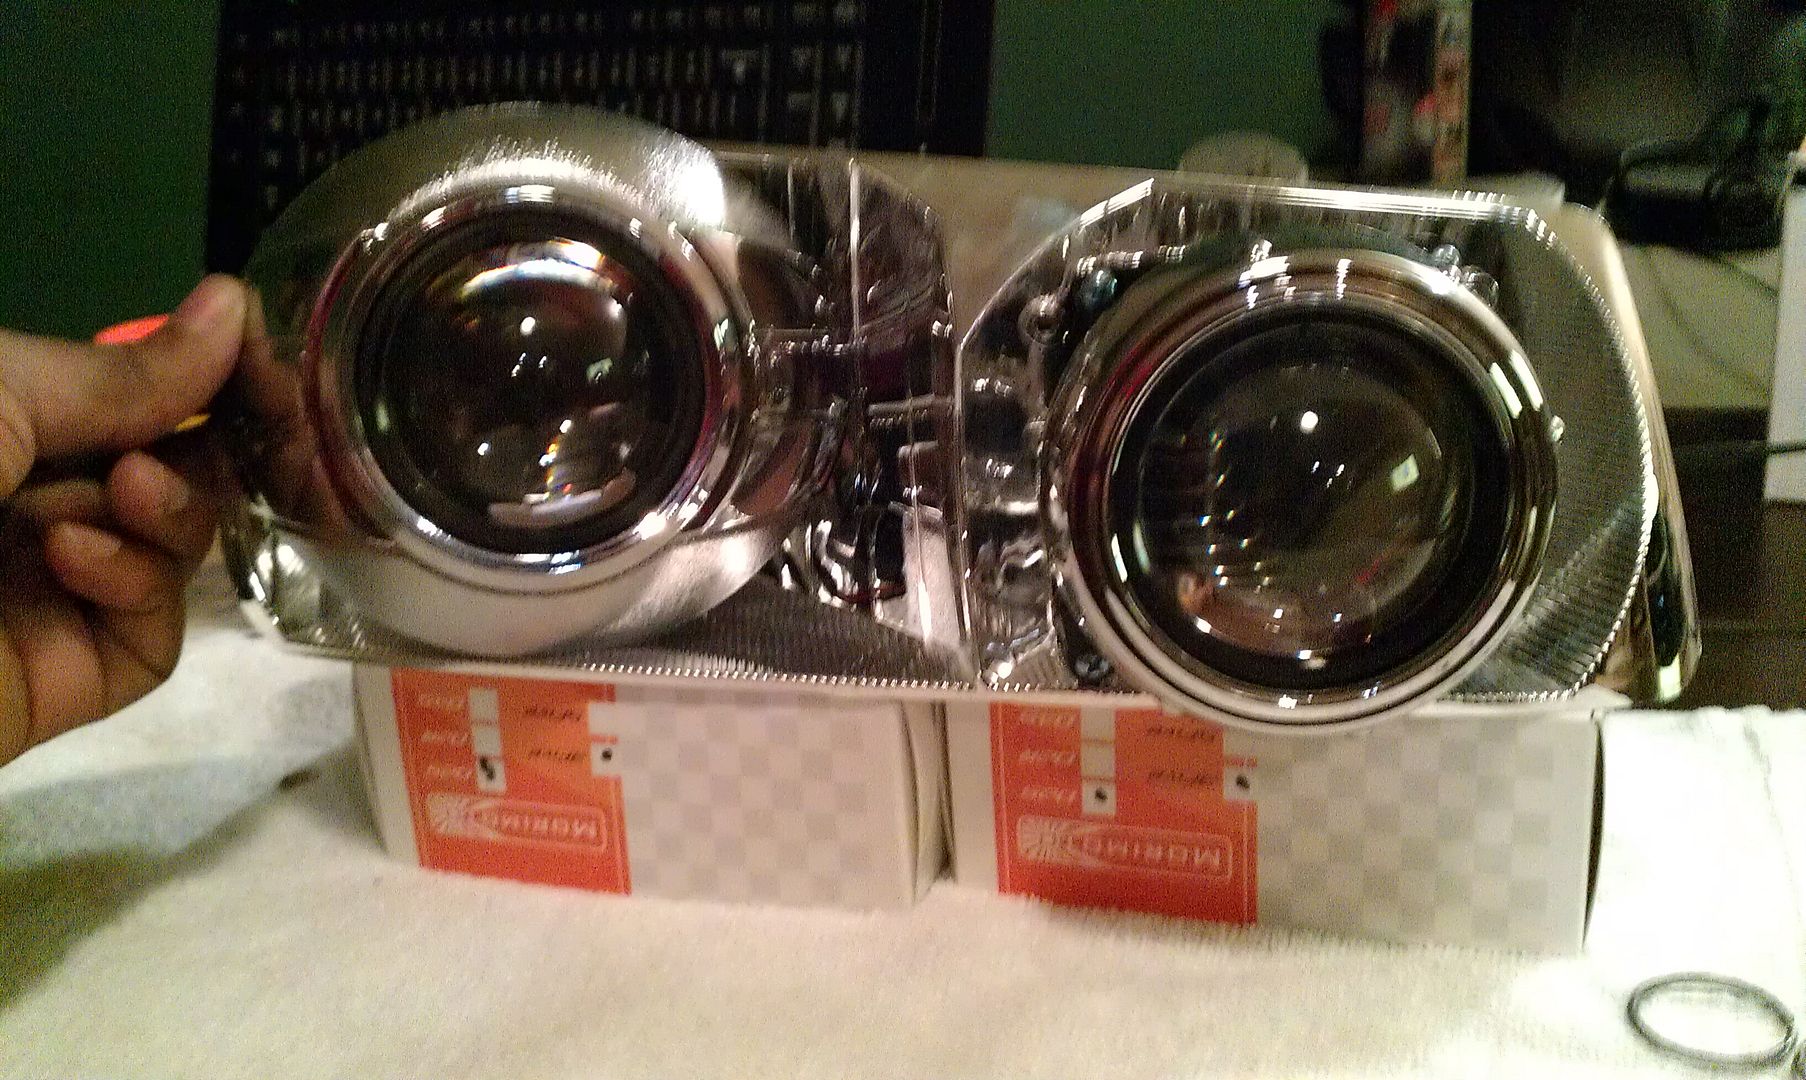
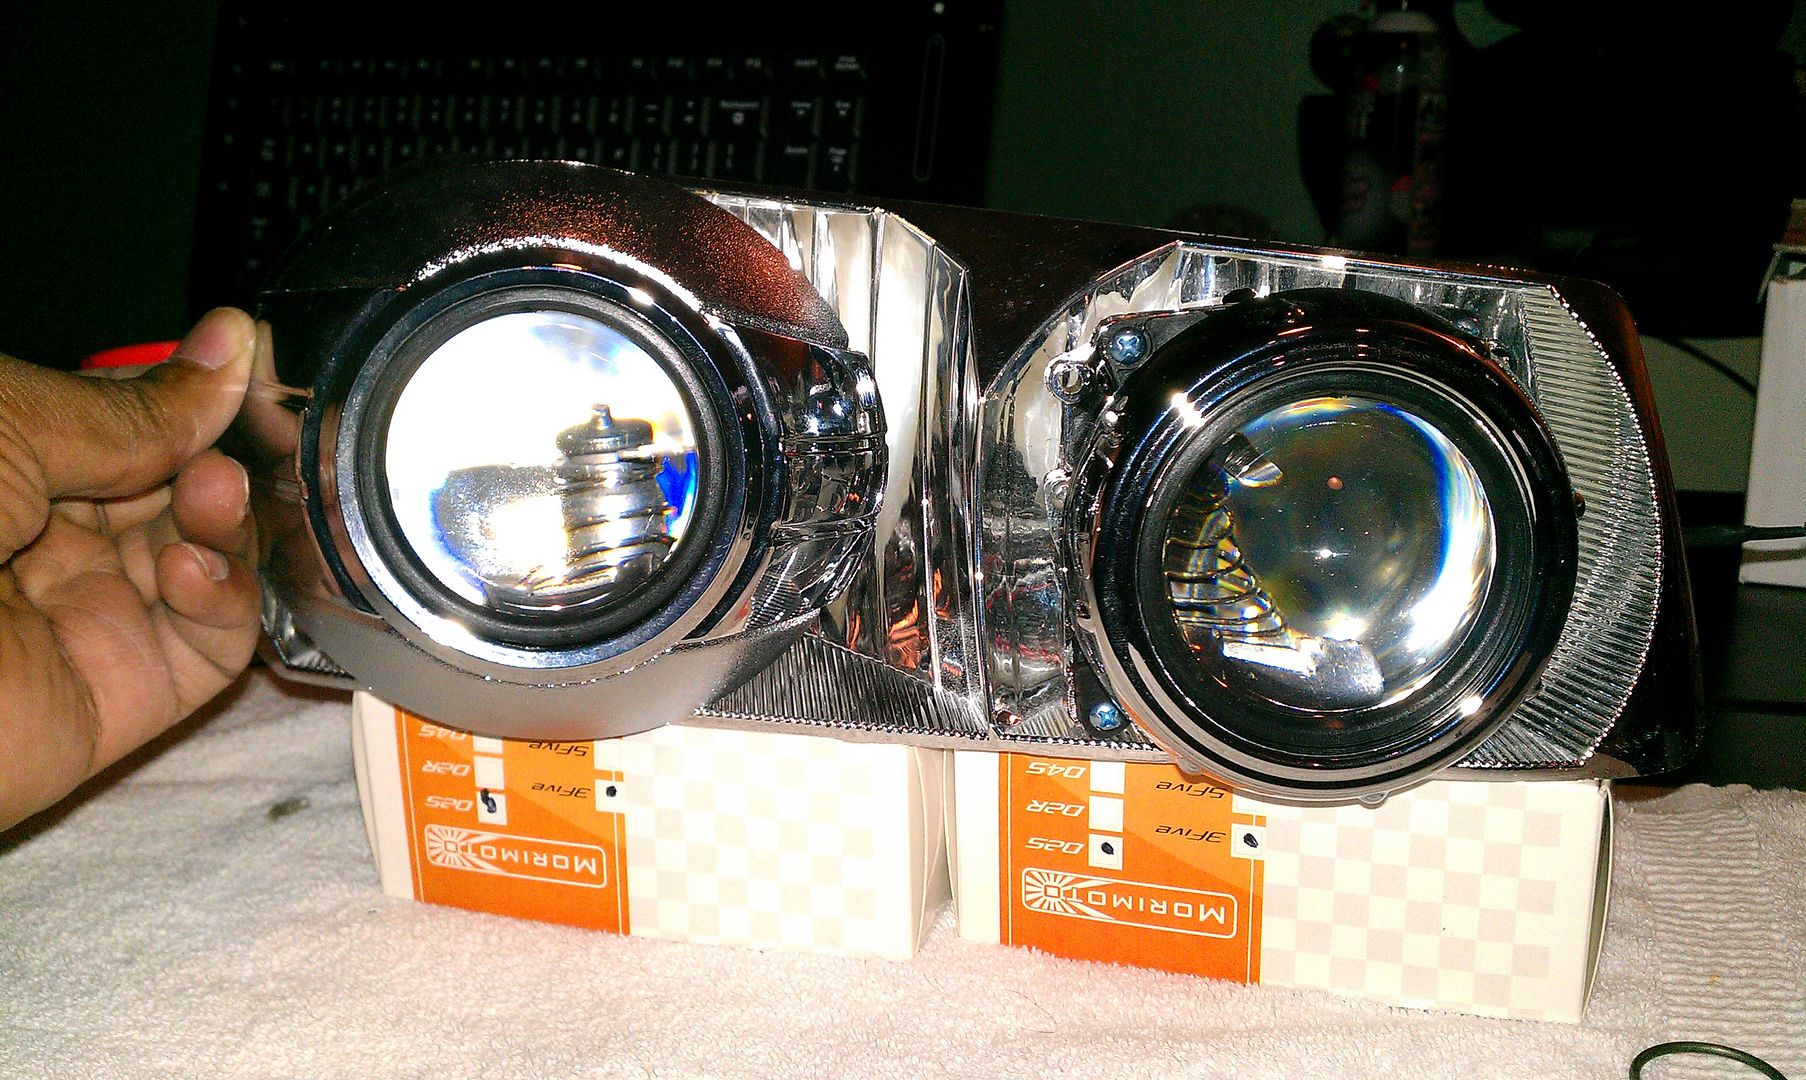
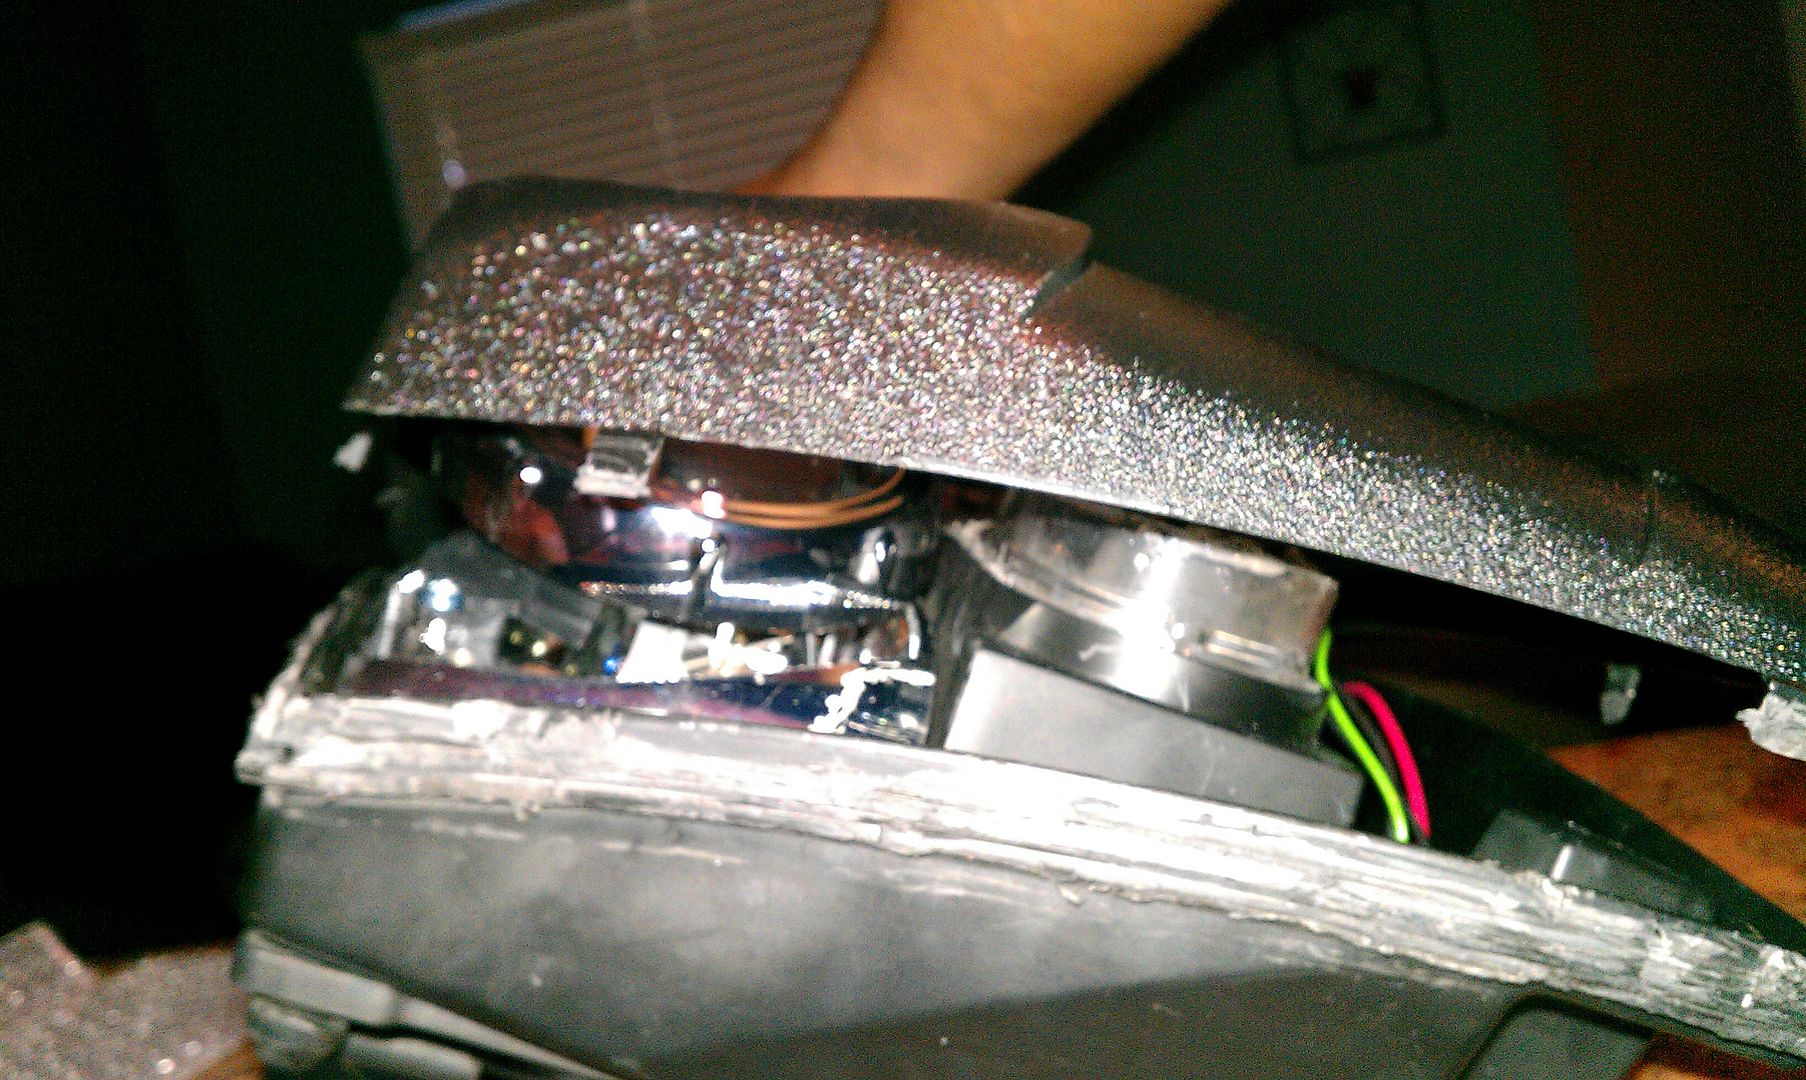
 Looking at Chris' pics, your Morimotos are different than mine. Mine have larger bases for the lens, and big ass mounting points for screws that sit on the floor of the high beam spot.
  It makes the cutoff way too high compared to the low beam one, and cocked to the side slightly. In the morning, I'm gonna try to trim the upper rim of the opening so I can raise the rear of the projector some to bring it down. Hopefully just a little bit will be all I'll need and can also get some clearance for those mounts so I can rotate it.
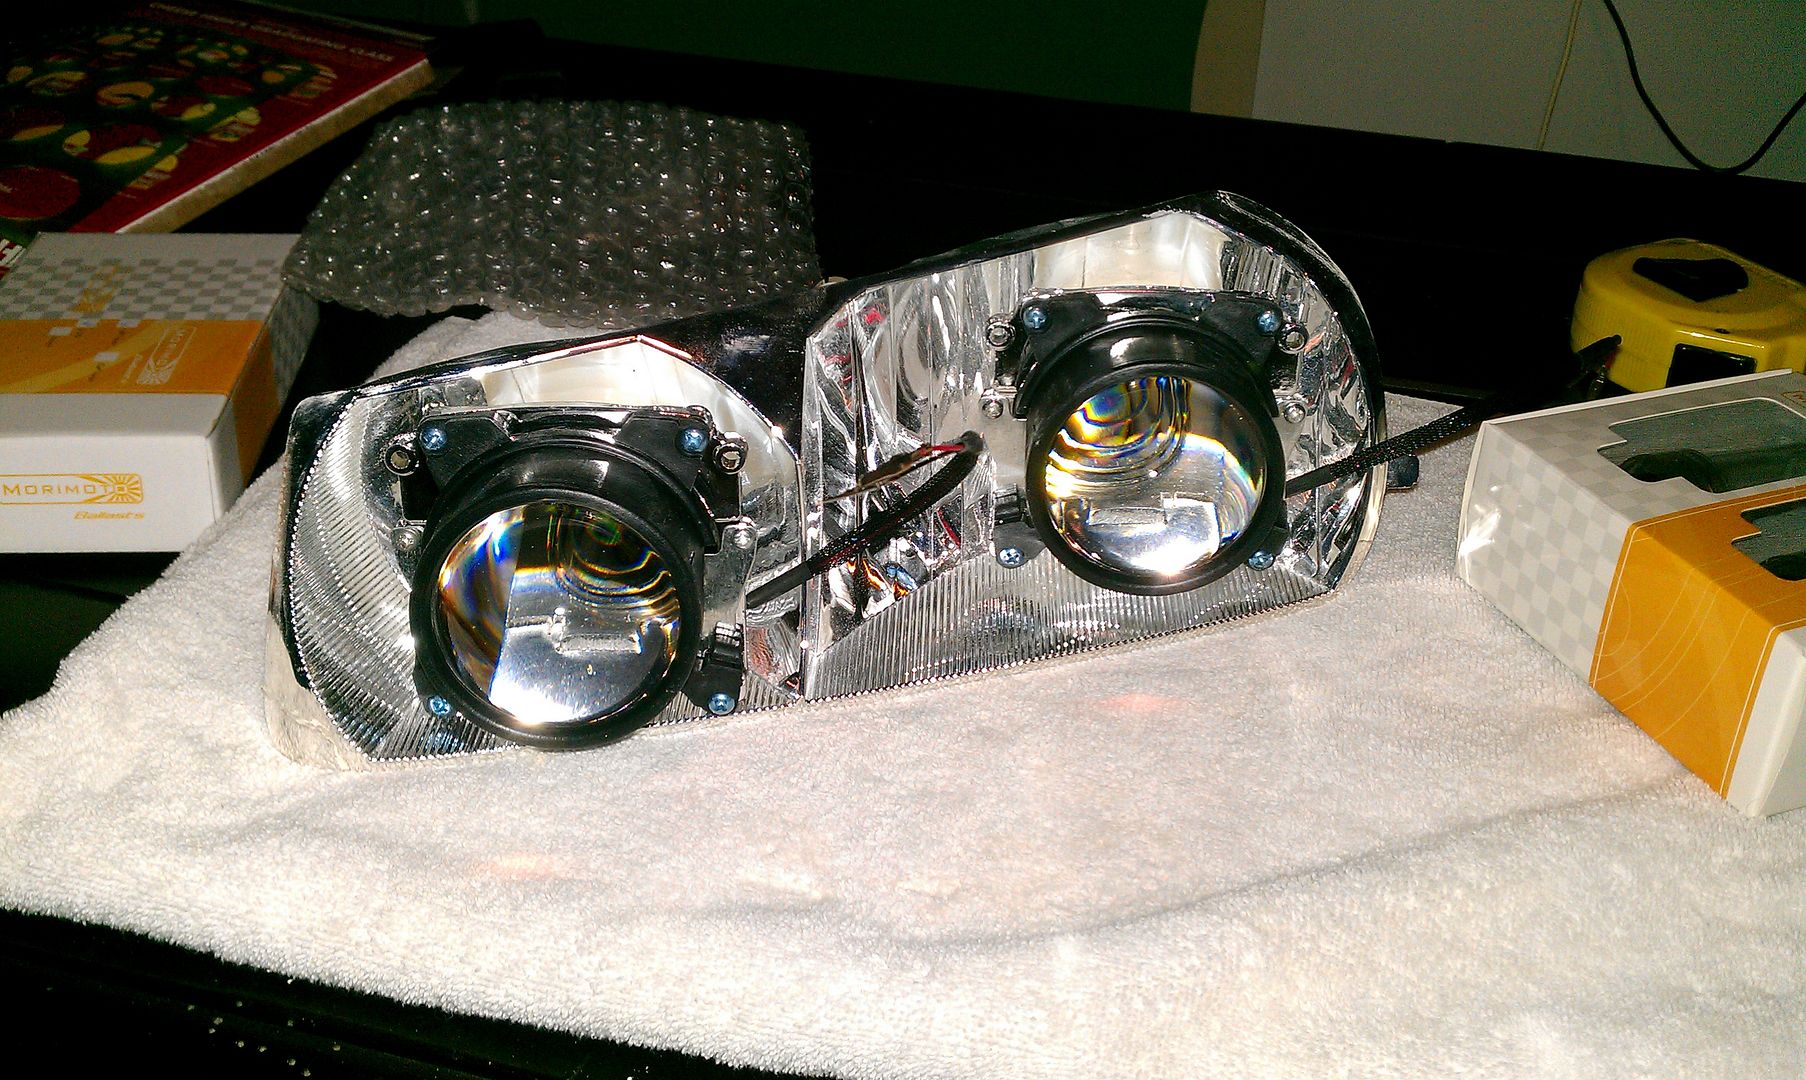
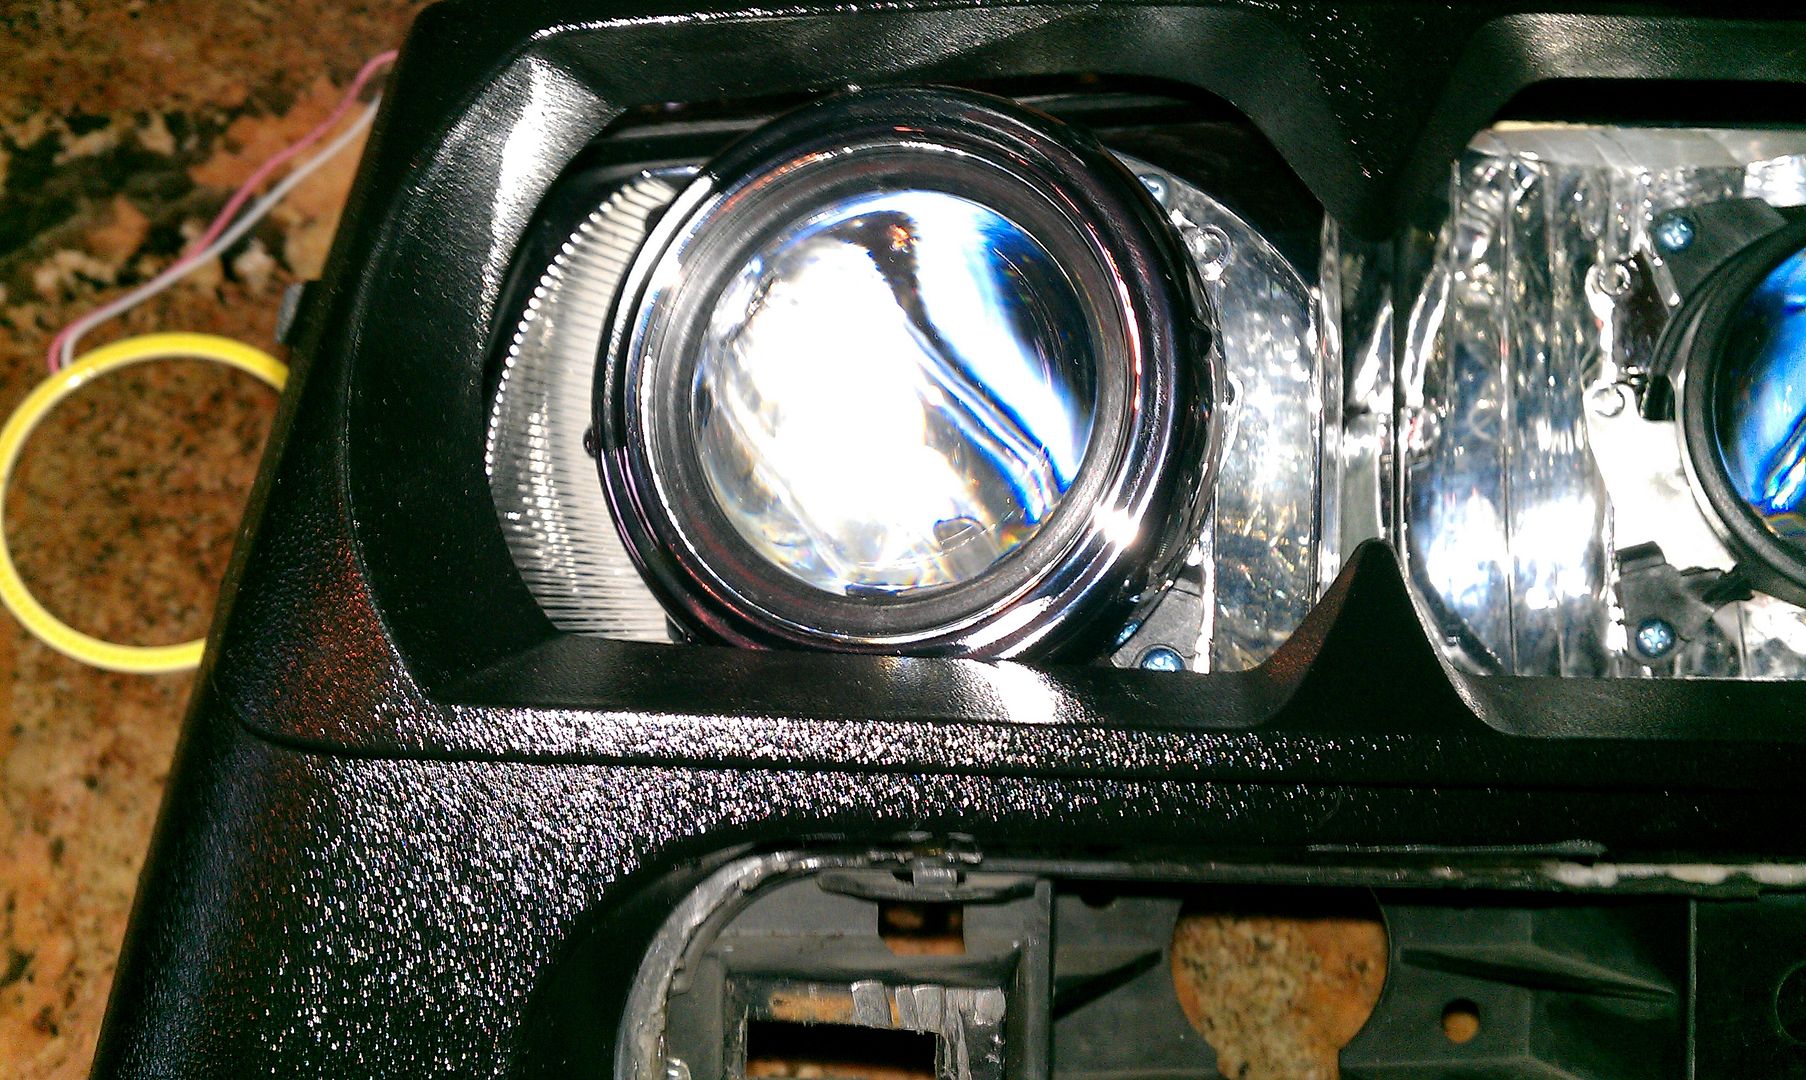
 Why do I have this sinking feeling, that when I try to test fit these on the truck to align both headlights to one another, the cutoff lines between the high and low beams on each side won't be far off, but the cutoff lines between the driver and passenger side will be at a slight angle to each other. That's how my luck works!


 BUT, the LED drivers don't play nice with the RGBs as I found out last week, and the handful of schematics for the monostable delay circuit don't quite work right. So at this point I don't even know what I'm gonna do there.
  I suppose I could get some prefabbed switchback strips, but that's not as sexy.