Sparky
Member
- Joined
- Dec 4, 2011
- Posts
- 12,927
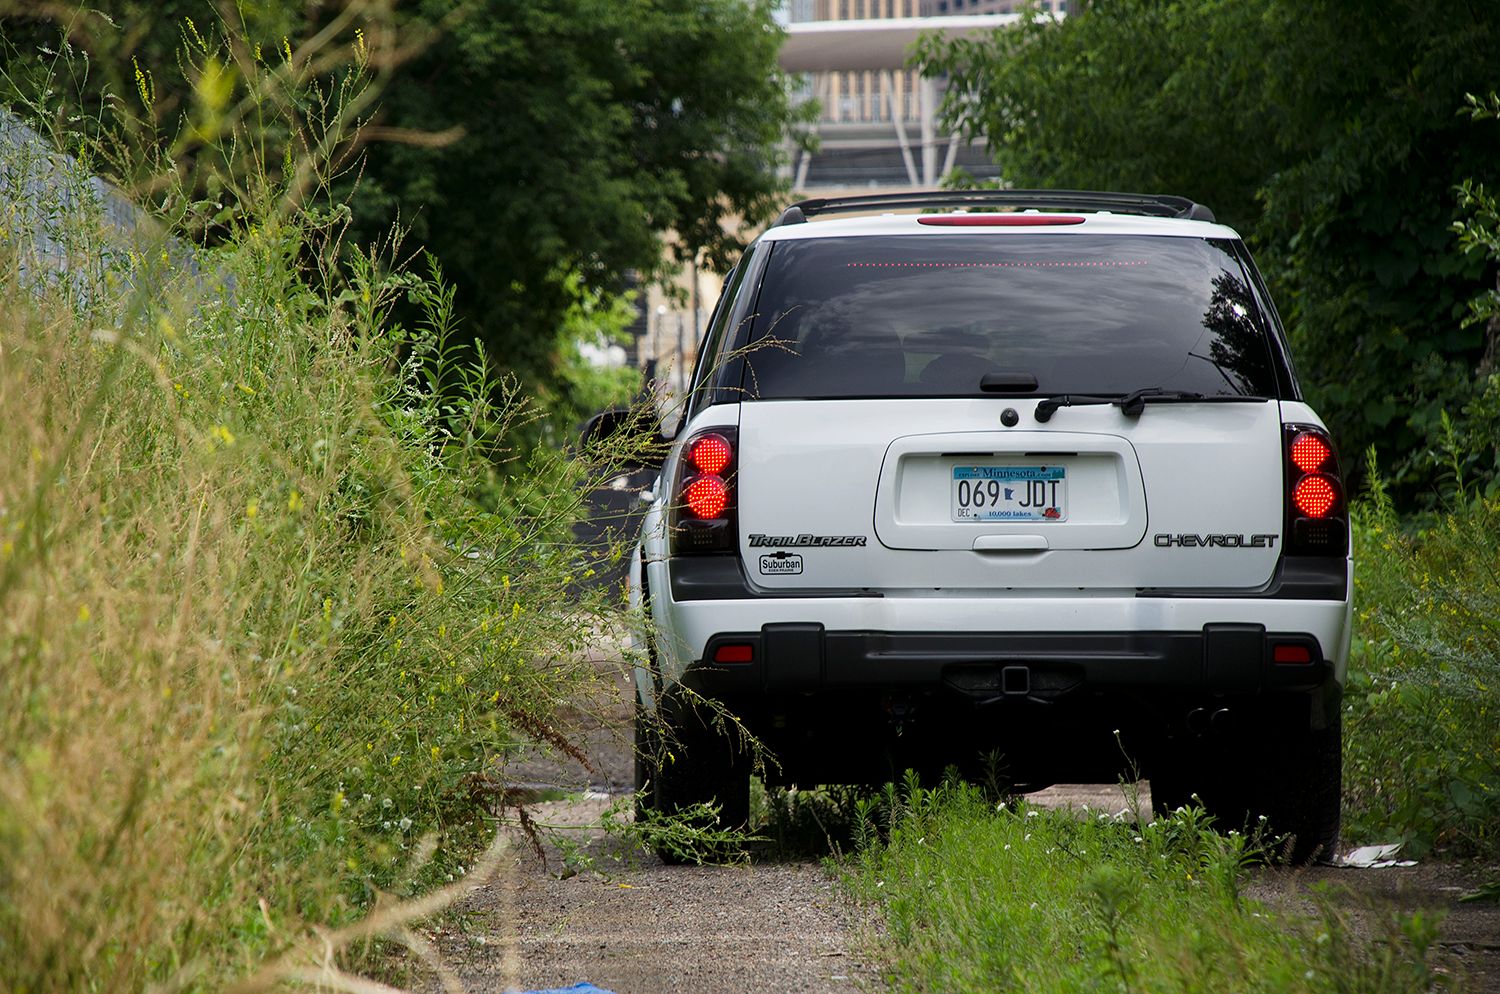
Well nobody can say they didn't see your tail lights!
You can say that again!Well nobody can say they didn't see your tail lights!
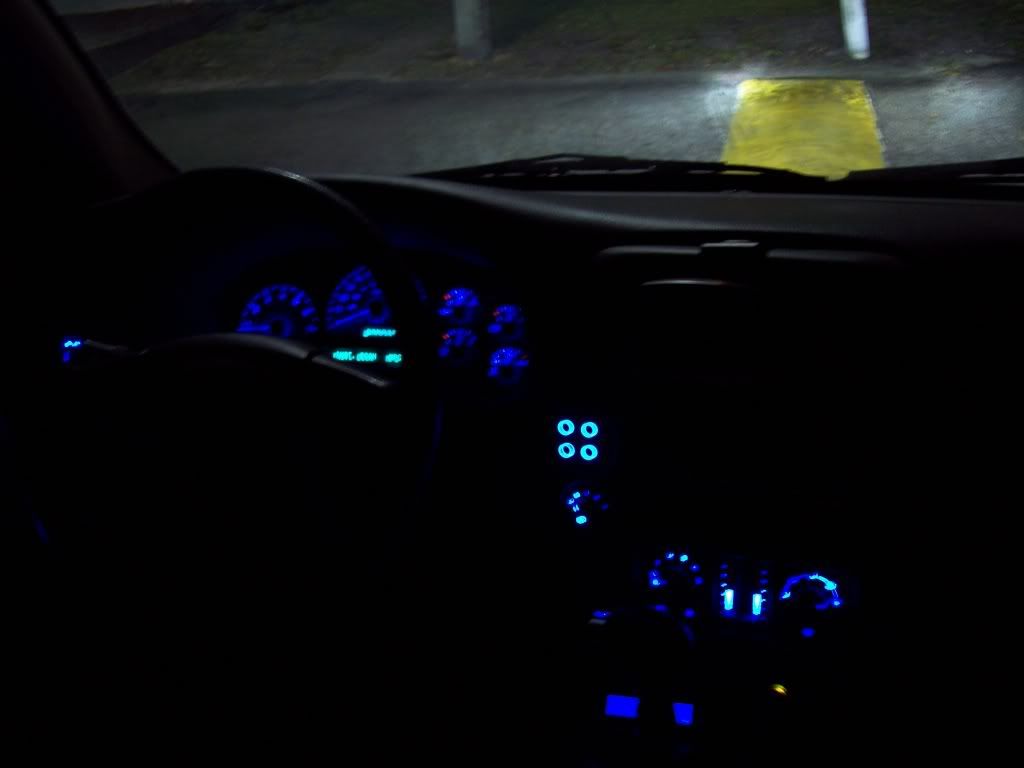
Here are the lights at night.

Thanks very much for the kind words. I am happy with how they turned out, worth the 20+ hours. I wish I could figure out a good solid way to make these quicker to sell, and I also wish someone still made the opti-drive pwm. I have copied the circuit in express PCB and changed a few things around but I do not want to print any of them because I do not want to run the risk of a lawsuit or something even though it would not be the same design, just the same function.
As for the reflector in the doors, I am pulling the panels off in the next couple of weekends to coat the inside of the door with por-15 (repairing the rust at the bottom seam of the door and coating from the inside to help further prevent moisture from getting to it)
Anyways, I will be taking a look at that area to see what would go into putting a light behind it (a couple rows of 5050 LED strip)


Yes, this is only an issue with these specific bulbs, and they were pretty darn expensive compared to what I usually buy (and pretty good quality).
I guess the diode explains it. The thing that confuses me is why one side is backfeeding the other through the parking light circuit (I assume), only when the engine is running.
If the LED bulbs have a diode bridge built into them, they don't "see" the polarity of the turn signal vs parking light signal. Any current that reaches it, will light it up.

You're killing me!

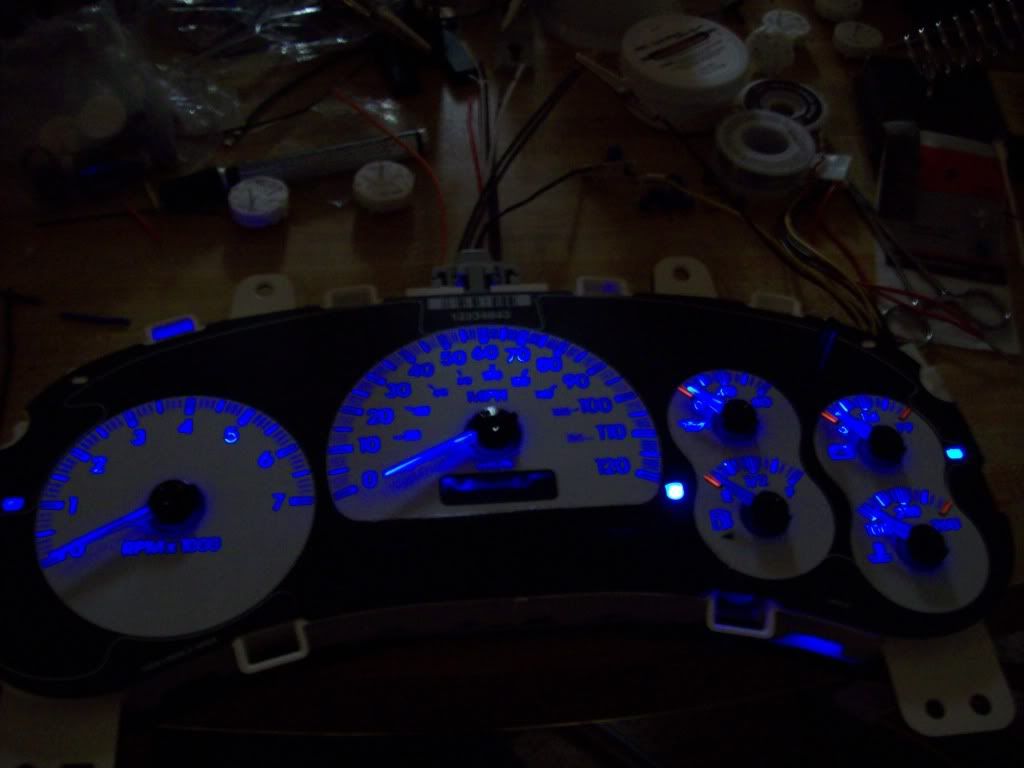
Items used:
- 5mm blue 5000mcd, 120 degree viewing angle, flat top LEDs
- 470 ohm 1/4W resistors
I had adding a DIC cluster on my list for some time before I actually did this mod, and I found a deal on a used Ebay cluster that I had to jump on. This turned out to be much more of an adventure than I planned, so here’s the story with some pics.
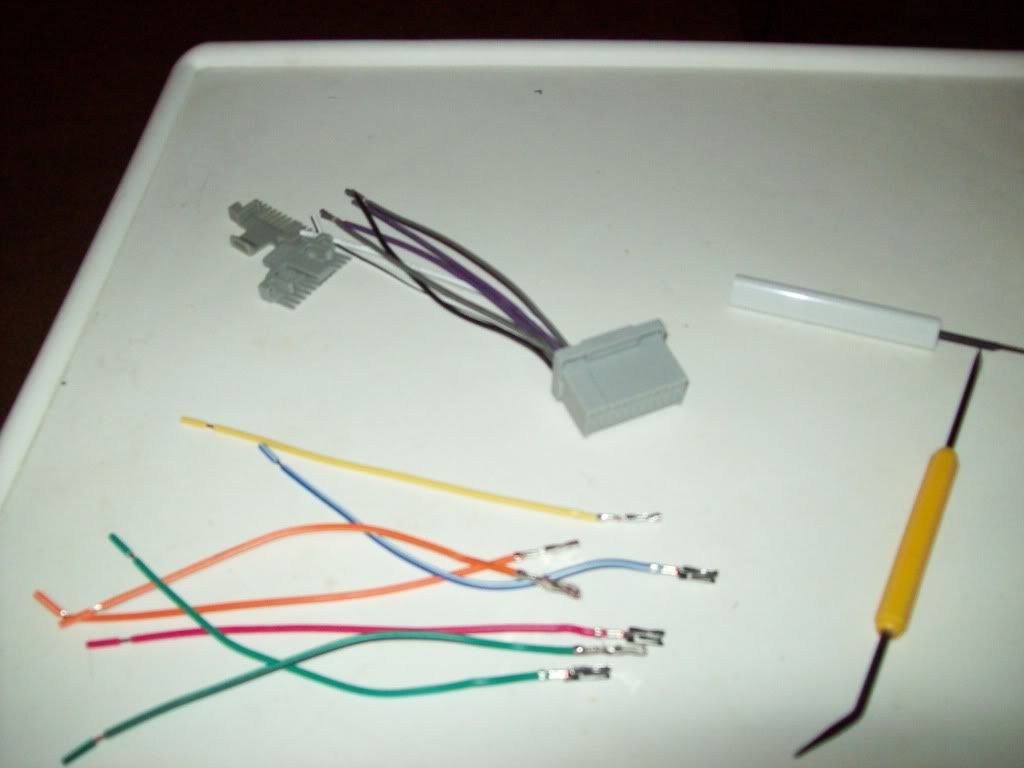
Started off by collecting all the goodies I’d need. GM radio harness for the pins, and to make a test bench so I didn't have to keep taking my cluster to the truck to check for polarity (LEDs of course) and testing the lights.
I didn't want to take a chance of bad stepper motors, so scooped up a set of those too.
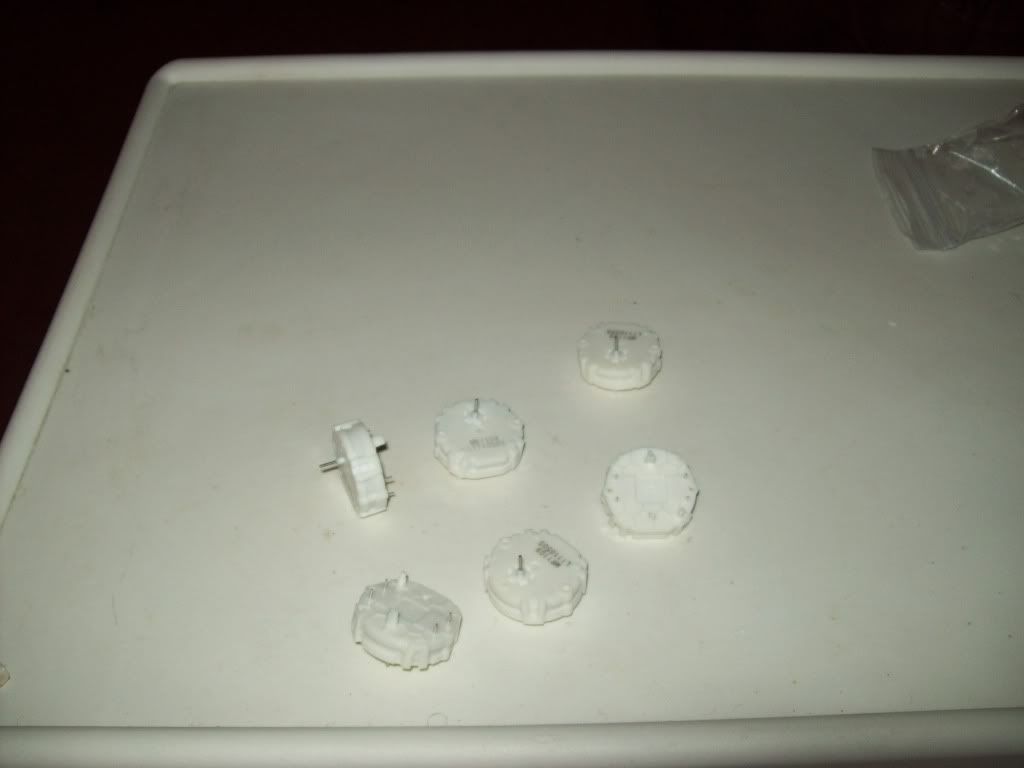
Between my handy pick tool and metri pack removal tool, I managed to get the pins out that I needed.
Some blue needles, since that's the theme I'm going with... Just had to eventually get a cluster.
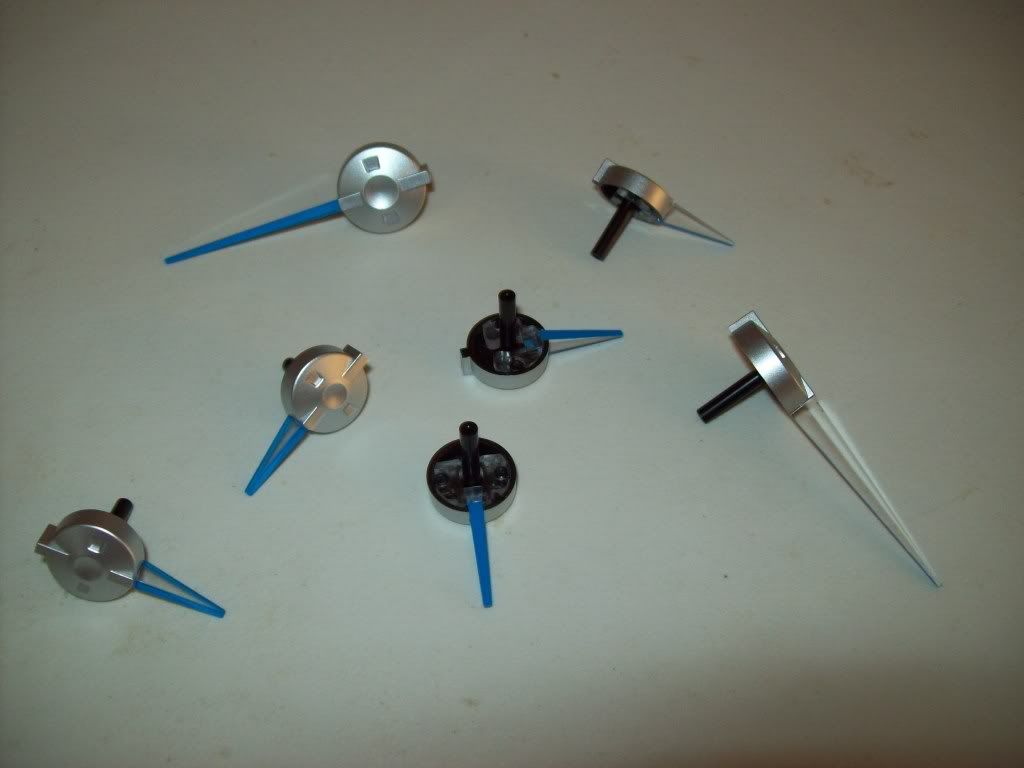
I found a deal I couldn't pass up on an 02 DIC cluster, so I jumped on it. Took the guy a while to ship it to me, but when it got delivered at work, I couldn't wait until I got home, so I ripped the thing open right at my desk. Sure enough, the cockeyed needles were staring me right in the face...
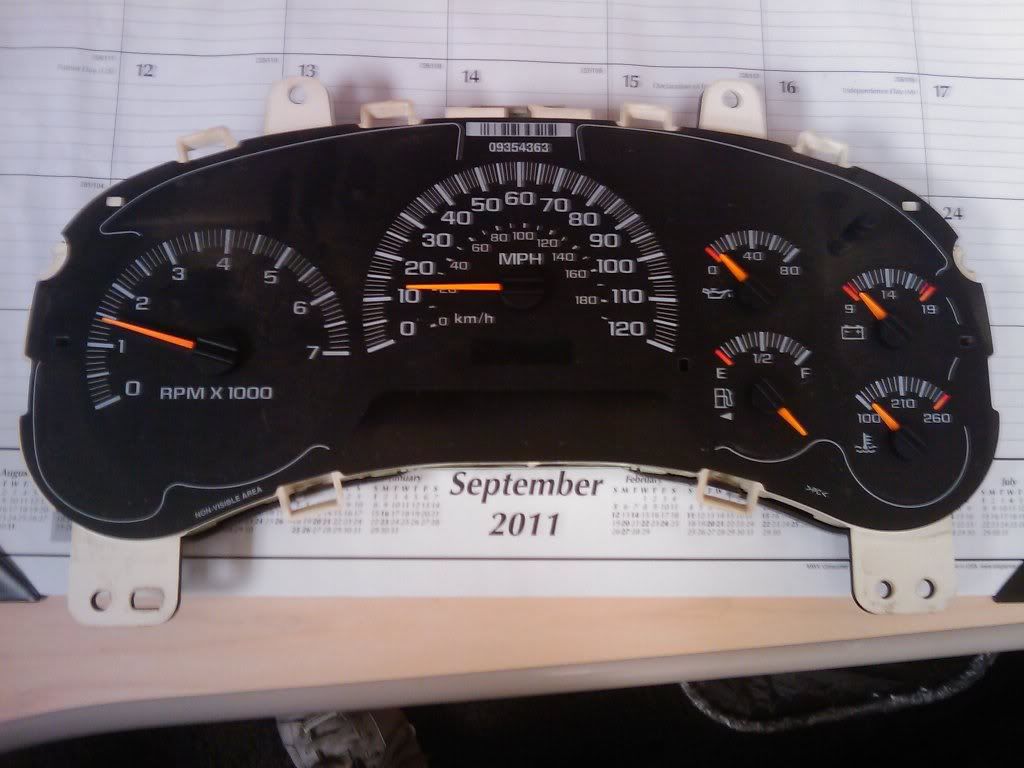
OK, so good, I didn't waste $30 on those stepper motors... Then I took the face gauges off and saw this!!
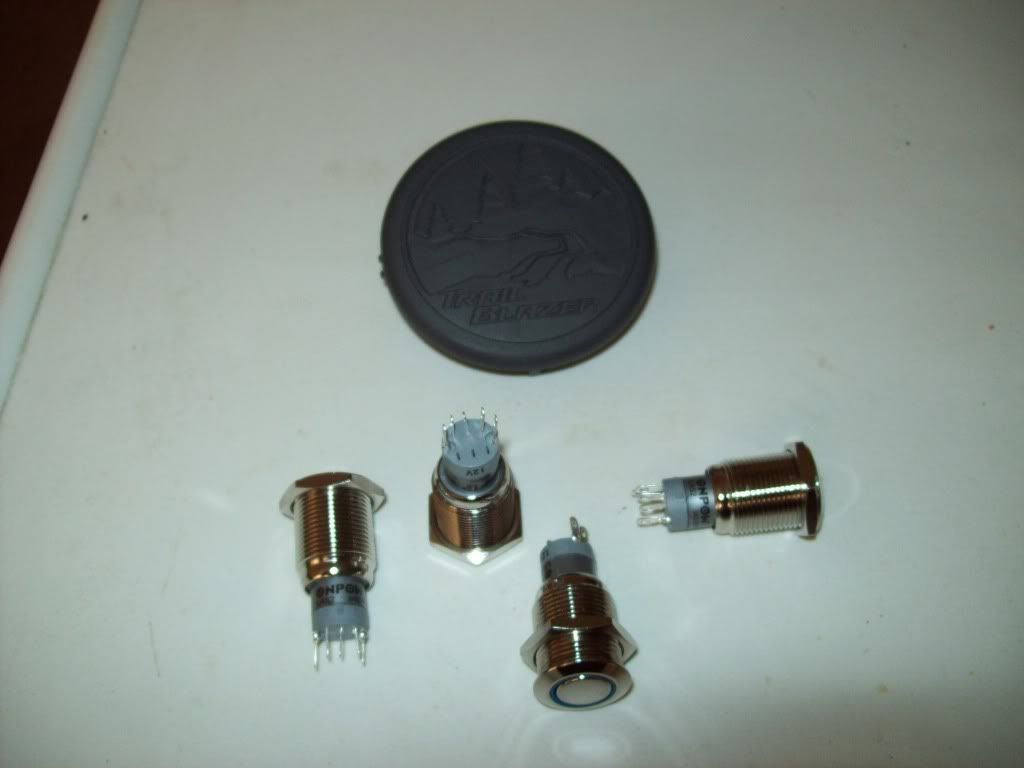
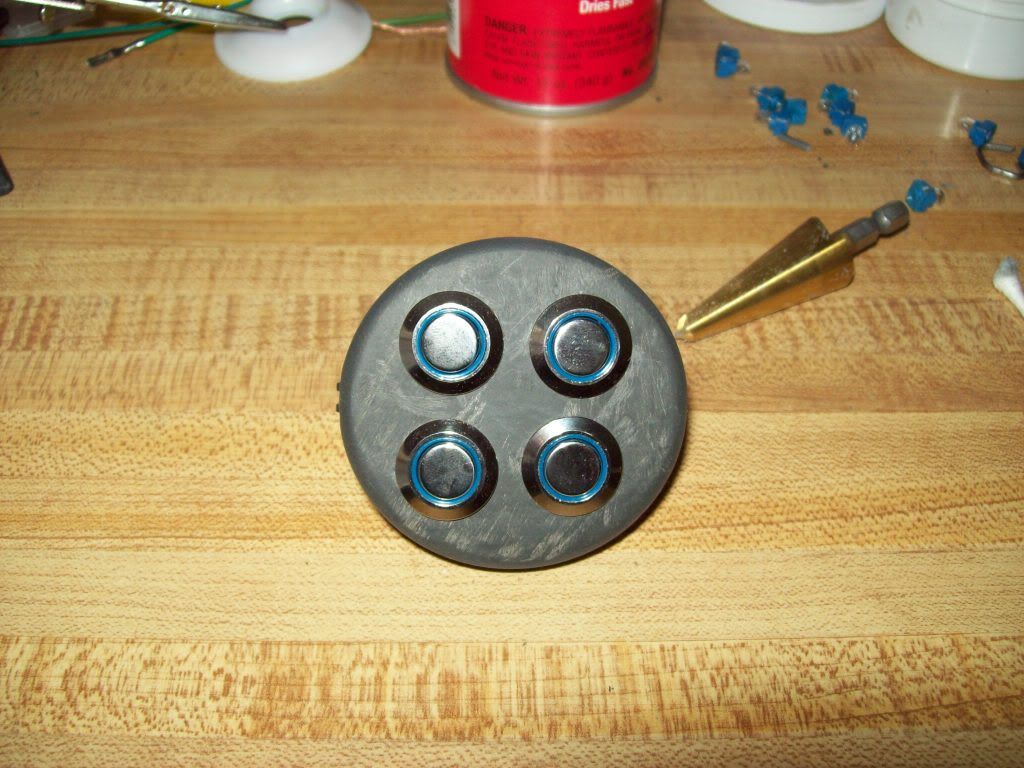
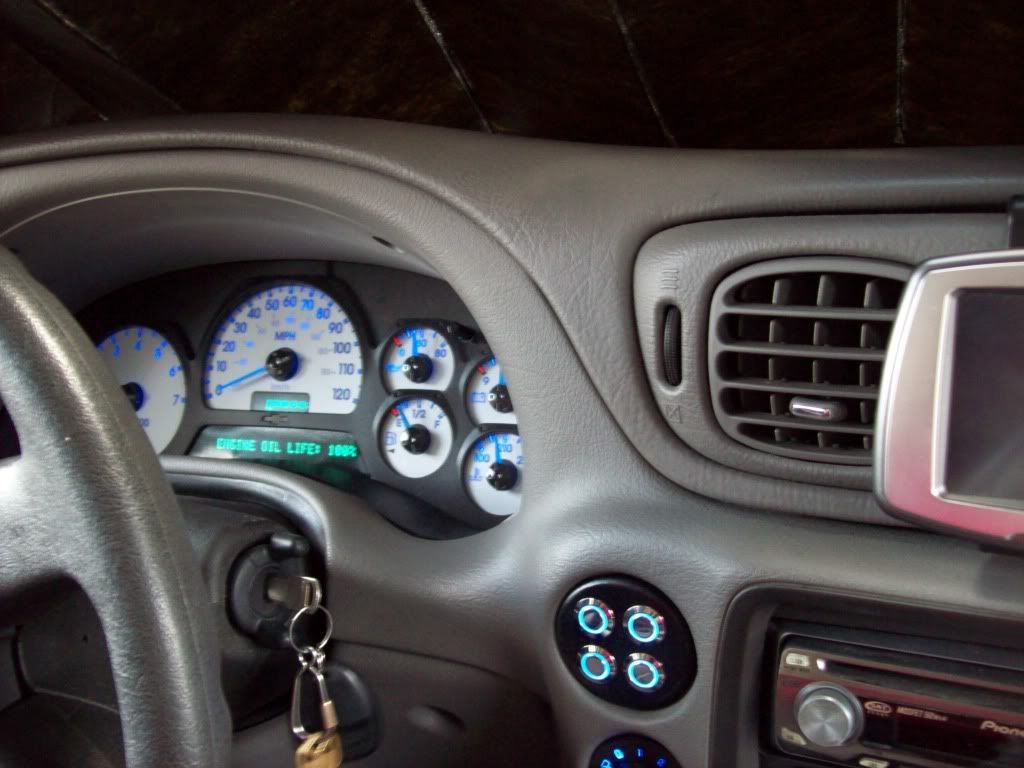
Umm, that's a standard cluster!! So I emailed the guy back, calmly, and asked him if he had the right one to send me. After a day or so back and forth, turns out they had 2 TBs in their inventory, one with DIC, the other without, and the tags on the parts got switched. He shipped out the correct one later that day. Since I decided I didn't want to spring for a new steering wheel and clock spring, I'd go the route that others did and mount some momentary buttons on the dash.
I got my hands on a spare 4WD switch placeholder (thanks JimmyJam), and ordered some blue LED backlit momentary buttons.
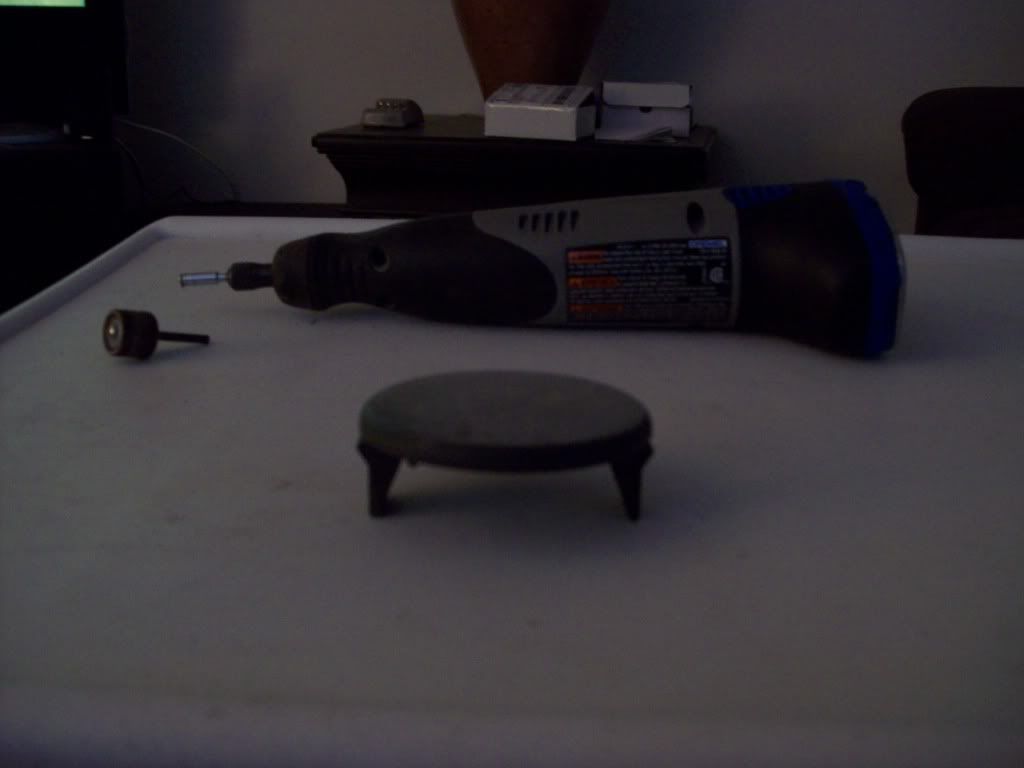
I didn't want to have all the raised stuff behind the buttons, so I ground it down with the trusty dremel, with the intention of smoothing it down and painting it.
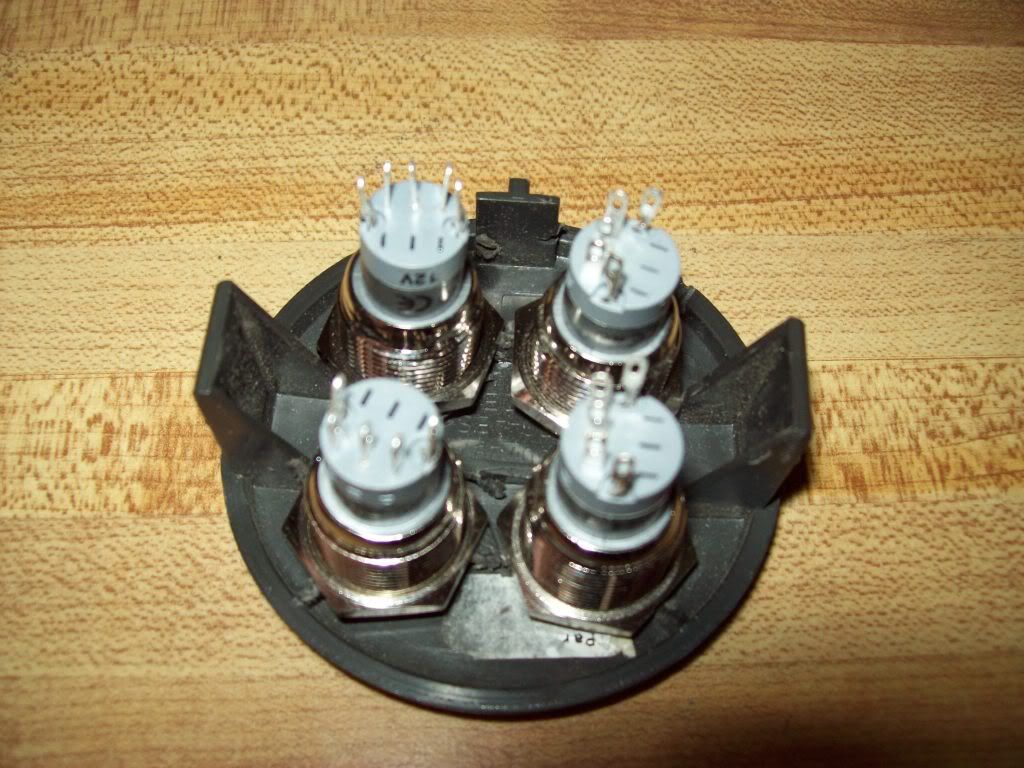
Test fitting: They were a lil larger than I expected, but I got them to fit. One of my mounting holes was a bit off, but I'm sure it will be one of those things where I'm the only one who notices.
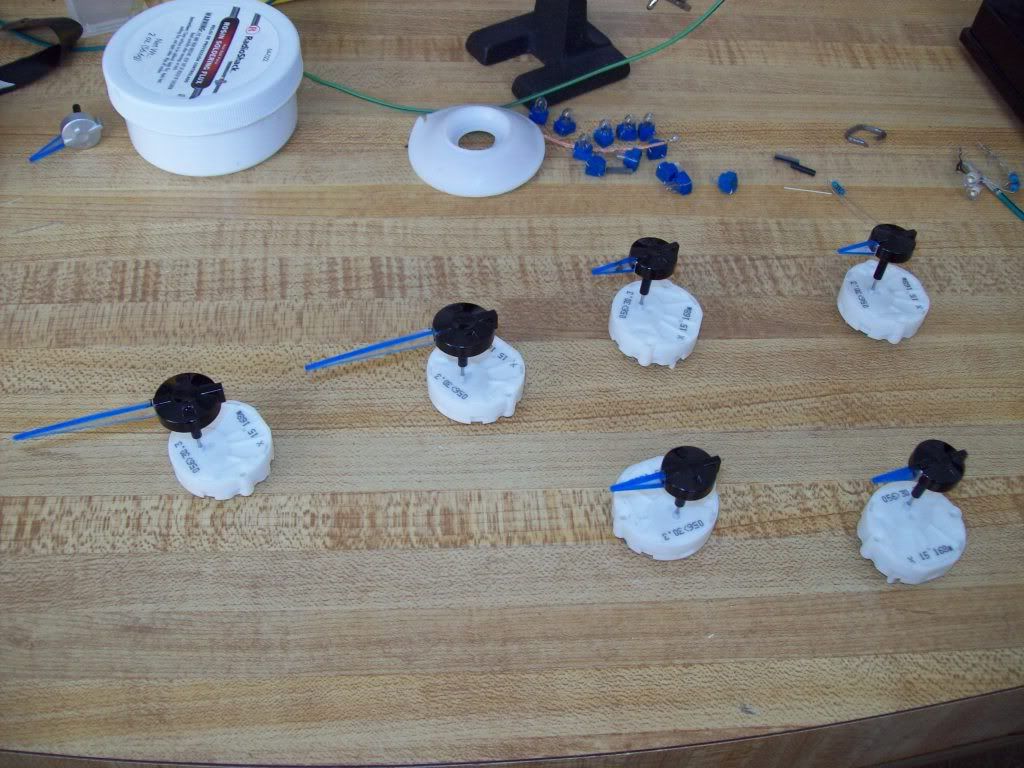
I wanted the hubs on the needles black, not silver, so I used a paint marker and hooked them up. Came out pretty good.
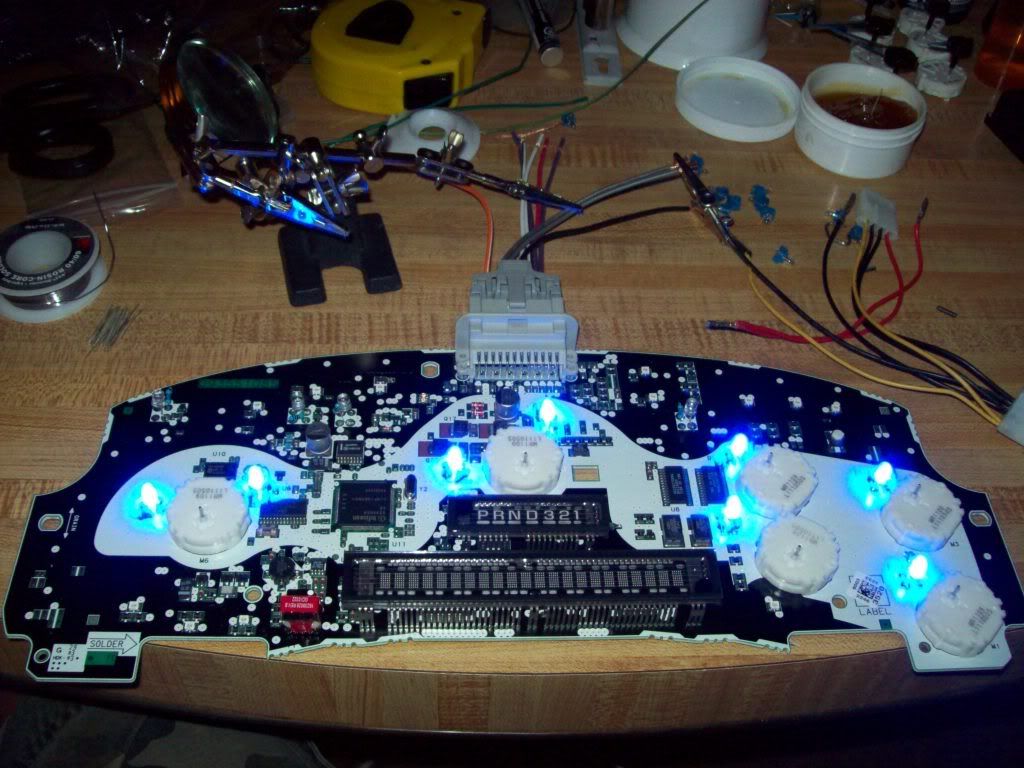
LEDs installed!
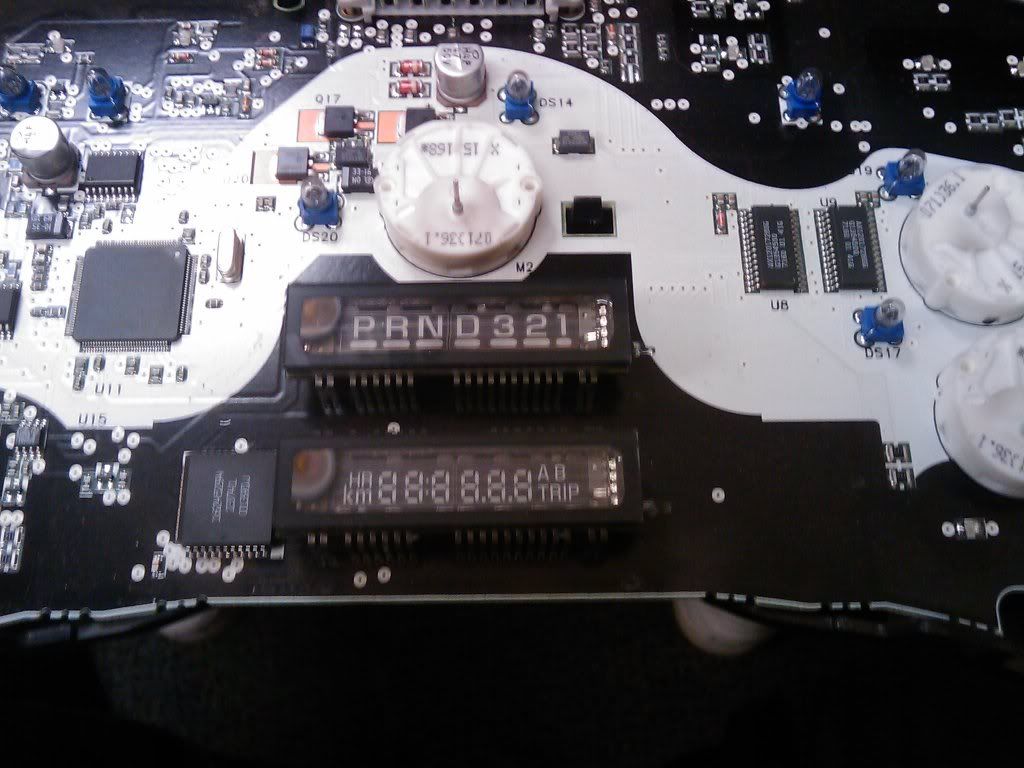
Then it was time to do a test with my original white faced gauges on the DIC cluster, and ran into a problem. (not pictured) The cutout for the standard face is only big enough to display the standard odometer, nowhere near wide enough for the DIC display. Looking through the backside of the faces, the room is there, but the overlay would need to be modded. I tried wet sanding and using a polishing pad with my dremel to try and get through the adhesive and backing, which for the most part succeeded, but the clear plastic became faded, hazy and warped in some areas.
So I decided to cut the whole section out, buy some clear plastic sheeting, and try NiteShading it so when the display is off, it appears black like normal, but you can still see the display clearly when running.
After that was done, put together a 6 connection weather pack (cheaper than the comparable metri pack connectors) conected up one end to my buttons and went to do a test in the truck.
3 of the 4 buttons lit up properly, while the 4th one flickered and blinked. I was worried I had a bad one, and they came from China. Although I had my stock cluster still plugged in, I pressed the buttons anyway. Moments after I did that, I noticed that even though my parking lights were still on, the lighting for the headlight switch, cluster, HVAC, overhead console etc were all out. Toggled the switch a couple of times, and noticed the doors were still lighting as they should. Crap, blew something... Found the fuse in the back and replaced it. Time to investigate.
Take the control panel back inside, remove the quick connects and test the faulty button on my power supply. Worked fine, so had to be an issue with the connectors I was using. Decided to scrap those, and solder everything up, although that would make it much more difficult since there are 2 wire bundles that go to all 4 buttons for the lighting power/ground.
I'm wondering how I backfed the illumination circuit, so I decided to swap the polarity for the LED rings for the hell of it. Guess what? They lit up anyway. Damn false advertising!! Since I was using the 2 ground outputs on the same wire, when I pushed the momentary button it sent current through the light and backfed into the illumination system, popping the fuse.
So off to radio shack I went, and picked up a bunch of diodes. Soldered everything up, and gave another test on the bench. Looks promising.
Installed the blue needles, and my tinted face plate, and gave that a test as well. No hot spots from using flat head LEDs BTW, so I was quite happy about that.
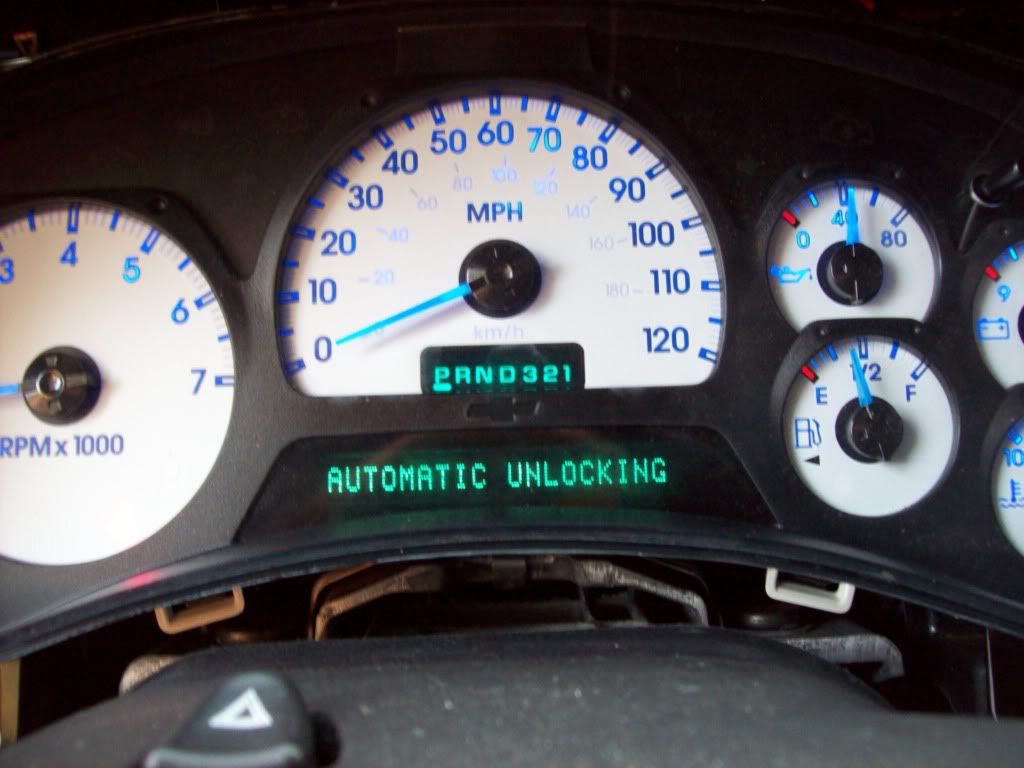
A last minute check in the truck to make sure everything worked properly prior to getting the mileage programmed and this mod adventure is complete!
Side note, I didn't even realize until after I took the new cluster back out, that I meant to check if the tint job I did was too light/dark. Considering it didn't dawn on me while installing or cycling through the different DIC options, I think I got it just right!
Here's the final install.

 for whatever reason, I'm not able to quote your post in my reply
 in the case of an LED, it simply won't light up when connected backwards.
By the short answer to both of your initial questions is yes. LEDs take much less voltage, and more importantly, less current than regular bulbs. So resistors are required or you'll fry them the instant you power them up.
Polarity is mandatory. Current has to go in one end and out the other. Think of it like eating food. You're quite happy when it goes through you in a certain direction, very unpleasant to think of it going the other way...
To test polarity, use your volt/multi meter (you should have one if you work on your own mods and maintenance) there are YouTube videos showing how to use them properly, as well as a thread on this forum I believe.
A low tech polarity tester some have used is to take an LED, and solder the proper resistor to it for a vehicle application. Then touch the leads to whatever you're testing. When it lights up, the position leg will be on the positive source, the negative leg will be on the ground.
Some useful reading for you as well.
http://gmtnation.com/forums/threads/how-to-get-started-with-led-and-resistor-mods.839/

Yep it is just soldered to one of the LED legs.

There's a tiny hole of a gap, underneath the door handle towards the keyhole where you can have wires ran from.Hey everyone. Just got a LED strip of 5M. So I am currently looking at every possible place to use them. Anyways I was thinking of the door handles. I saw a BMW I believe that when you unlocked it, the door handle would light up, perimeter lighting.I believe it should look really good on our handle design. I am thinking of wiring them into the Dome lights circuit. So if I open any of the doors the strip should light up. What are your comments
View attachment 77471
It's been done before, not recently though. I think the pics were on the other site. The guy used a small section, just 3 LEDs, and wired them up the way you are thinking.
There's a tiny hole of a gap, underneath the door handle towards the keyhole where you can have wires ran from.
. I want these to be powered by the Perimeter Lighting System. So these lights ONLY come on when I unlock the TB at night. DON'T want these to be wired to the dome lights circuit, as I think it would be a little too much.  ! This will have a switch seperate from any circuit to flip them on and off at will. The original modder had an idea to locate a hood ajar switch from the 02 model and add it to his LED strip so they come on when the hood is raised. If I can find the part I might go that way as well. For now a switch will do.. Hence the Hood Lighting mod is not a priority at the moment. So if I strike it out (for now) I will be able to get the other three done.


I want to put some LED strings under my hood. I feel stupid though because I did buy some LED rolls a while ago, but got the non waterproof kind


