gmcman
Member
- Dec 12, 2011
- 4,675
With the 4.2, the rocker doesn't push on the stem. The Kent Moore tool works on the outside of the rocker while still applying pressure to the keeper.
Are you going to replace all of them?
The labor involved I would also replace the intake manifold gasket.
Be sure to use a torque wrench...only 89 INCH pounds on all those 10mm bolts.
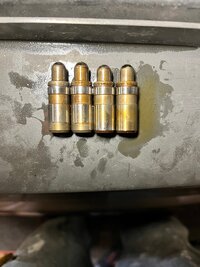
FWIW, I had a noise on one of mine also..I changed 4 of them to be sure.
I later developed another one going bad and had to go in there all over again...I then replaced all of them.
Are you going to replace all of them?
The labor involved I would also replace the intake manifold gasket.
Be sure to use a torque wrench...only 89 INCH pounds on all those 10mm bolts.
FWIW, I had a noise on one of mine also..I changed 4 of them to be sure.
I later developed another one going bad and had to go in there all over again...I then replaced all of them.