Tampa Bay Area Mini Meets!!

Blckshdw

Original poster
Moderator
Nov 20, 2011
10,665
Tampa Bay Area, FL
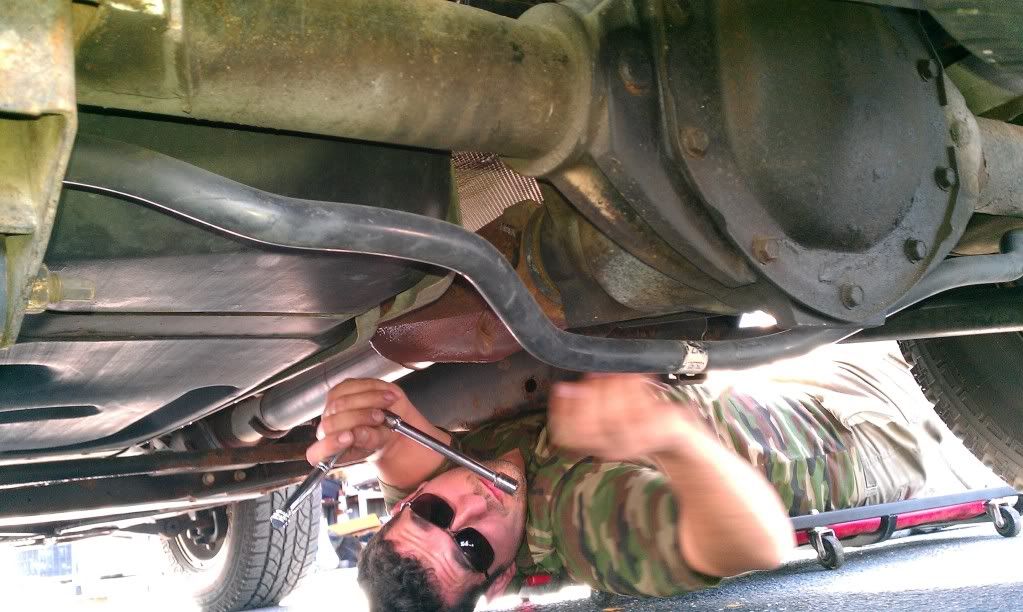
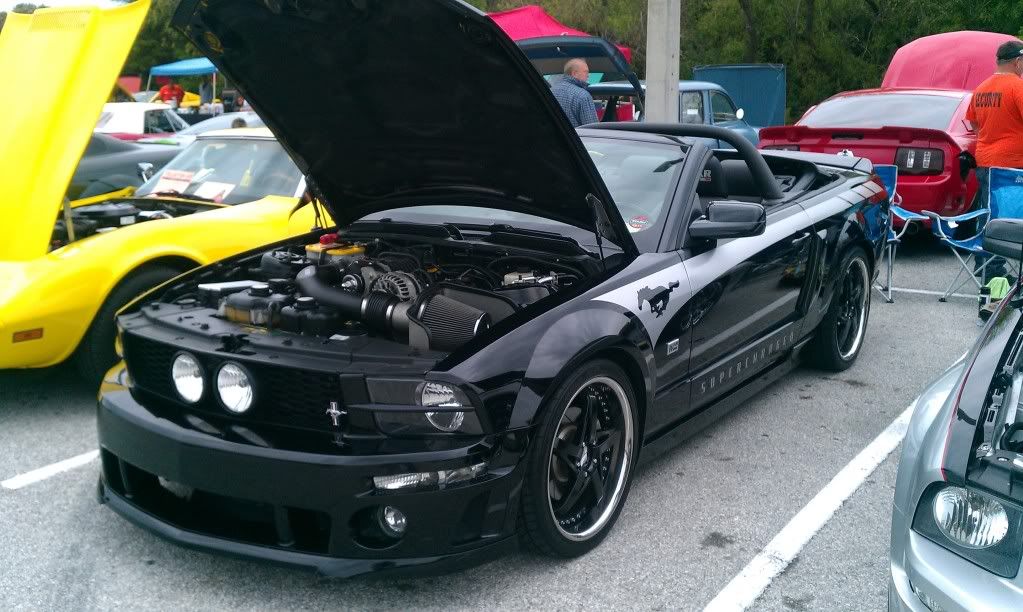
Back by popular demand (mainly mine) it's the documentation thread of your friendly bay area meet-a-holics!! :tiphat:

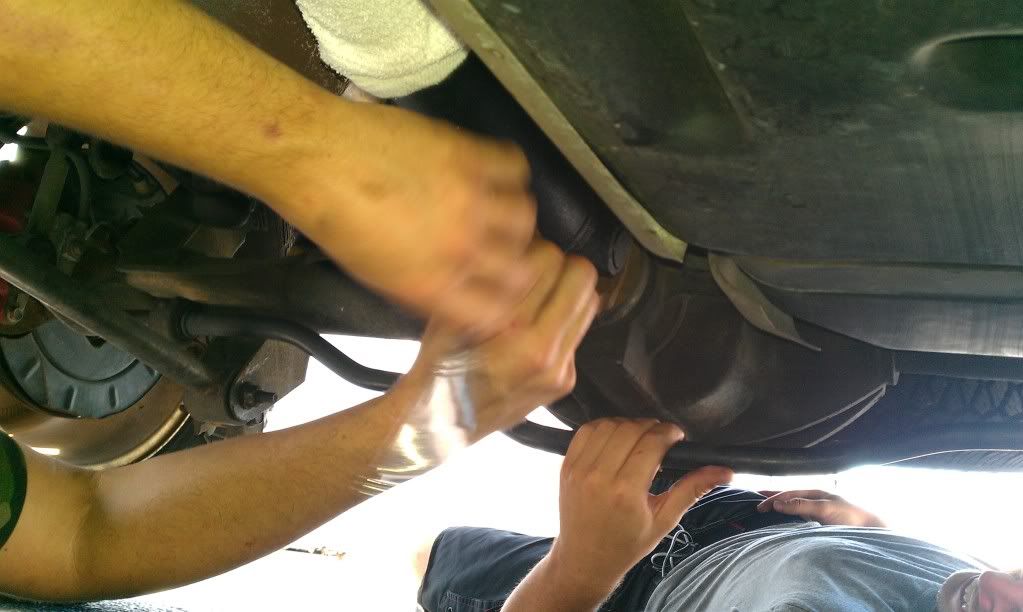
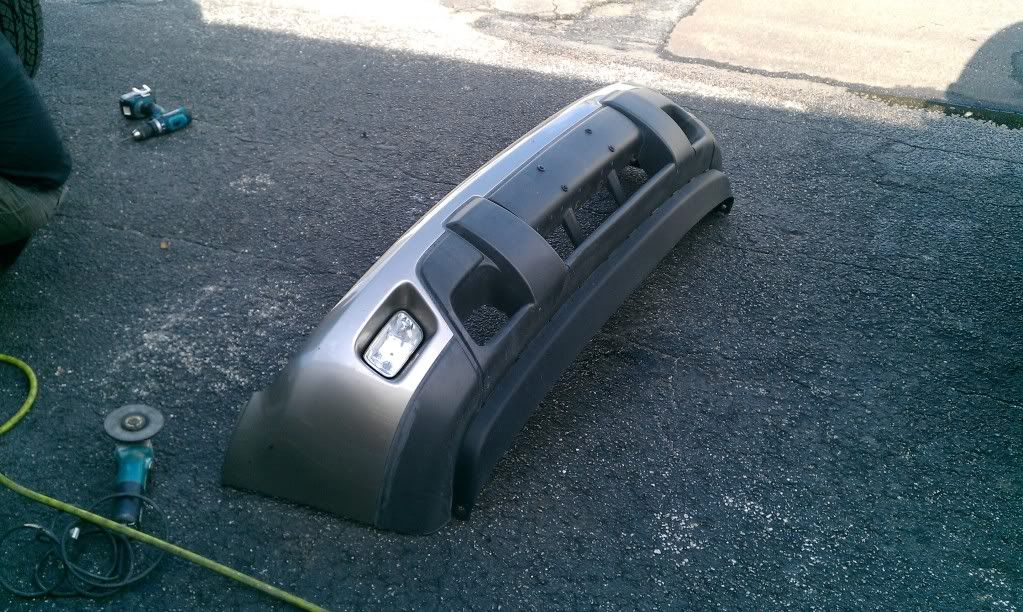
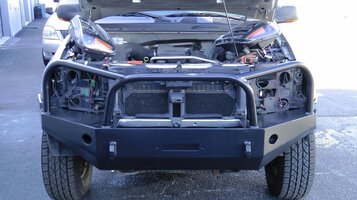
Saturday's main purpose was to install some BartonMD bumper action on Decembersend's TB. First, stock bumper cover's gotta go!

IMAG0233-1.jpg


IMAG0234.jpg


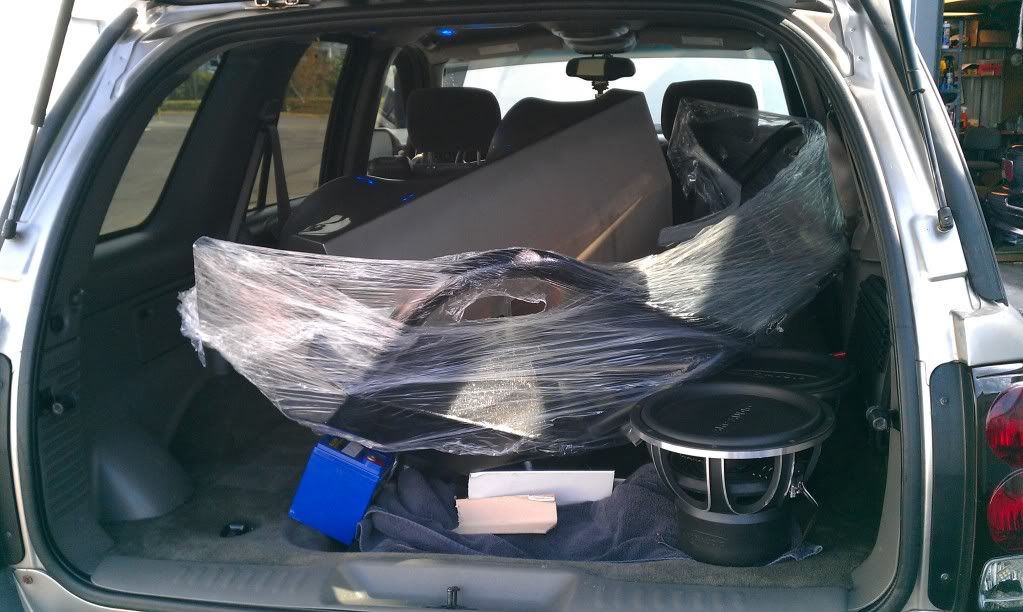
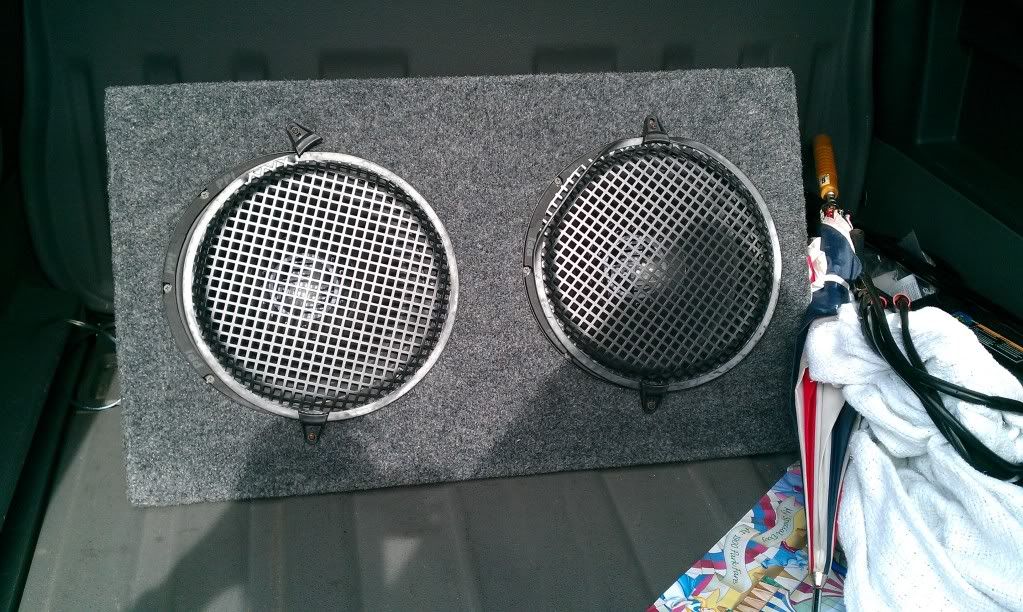
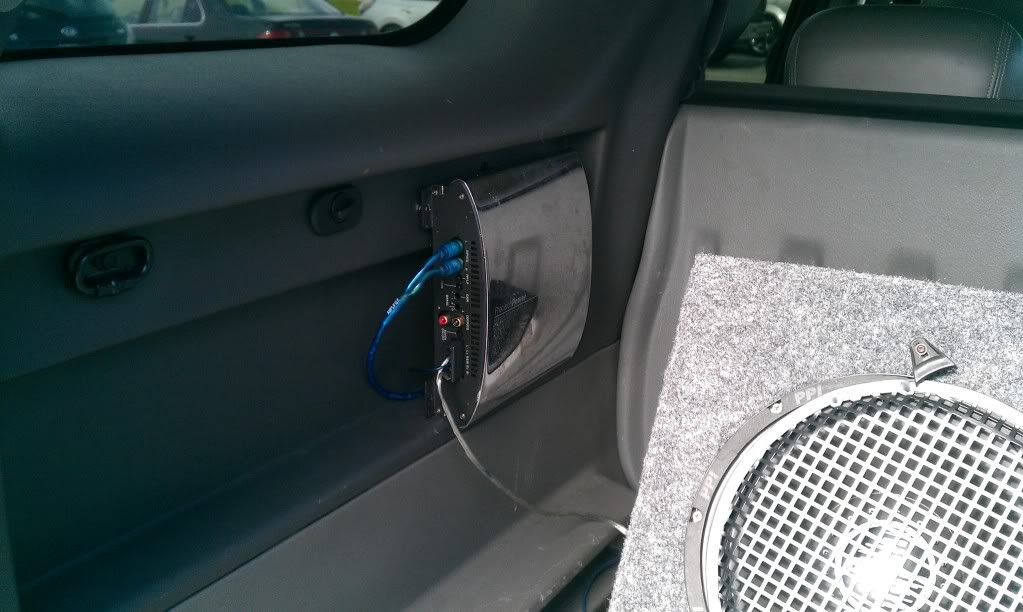
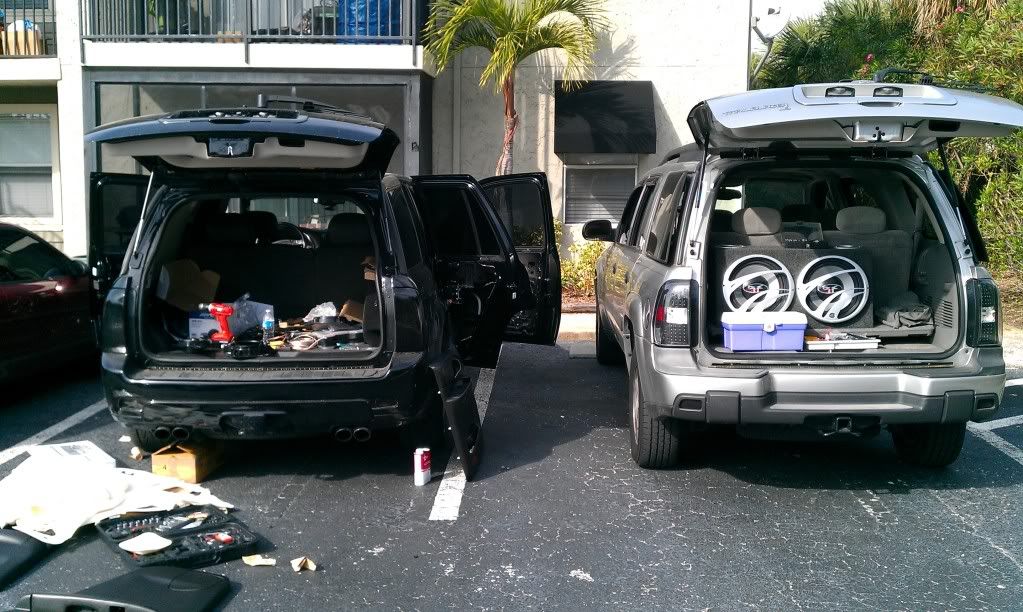
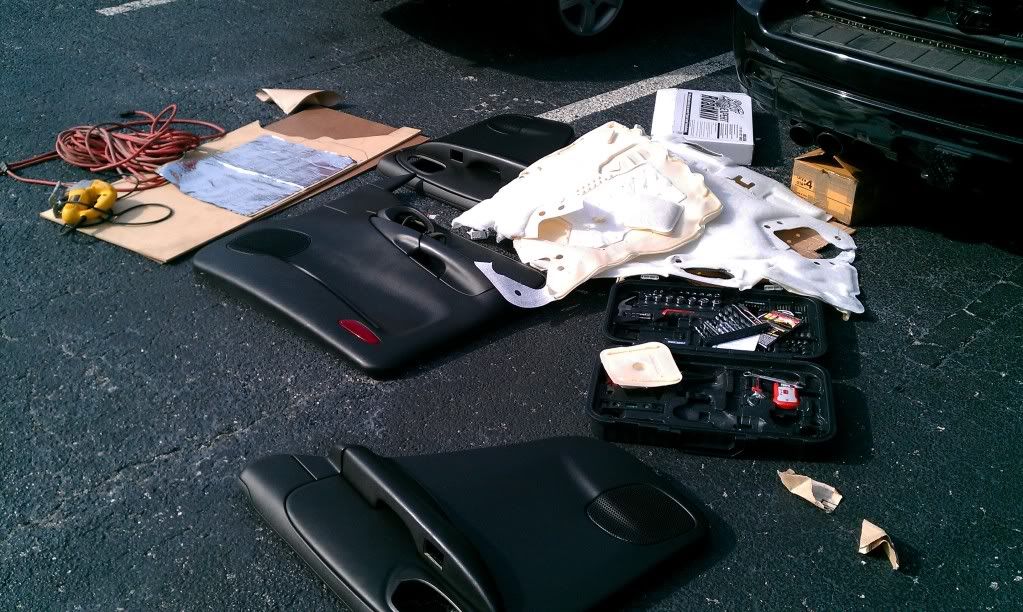
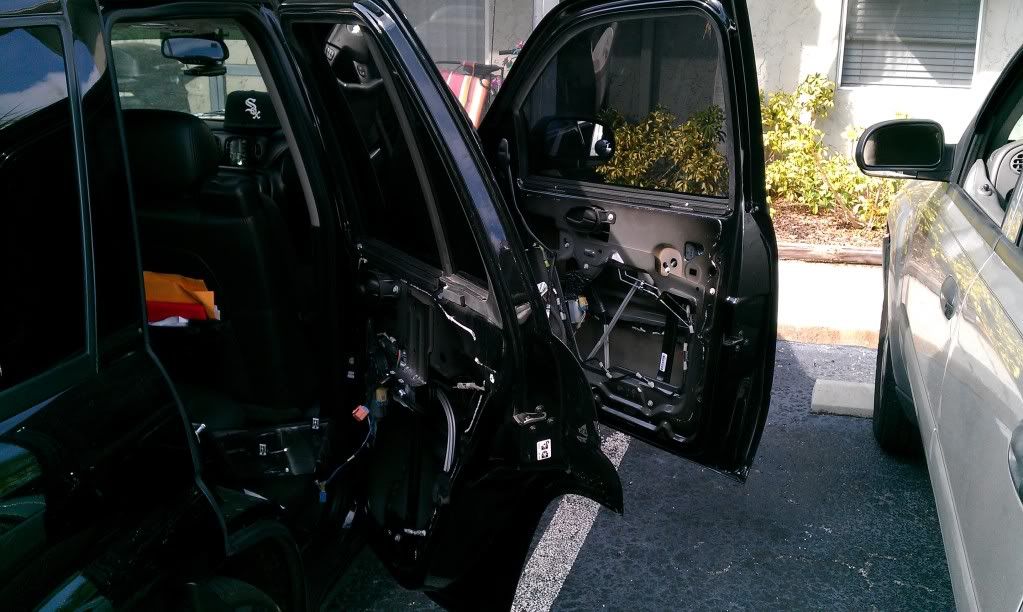
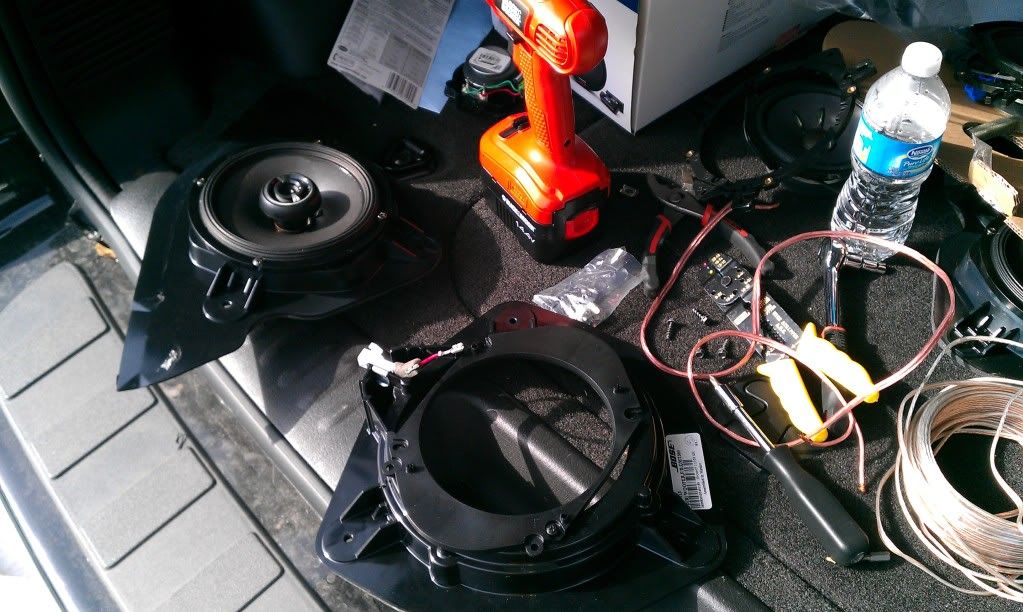
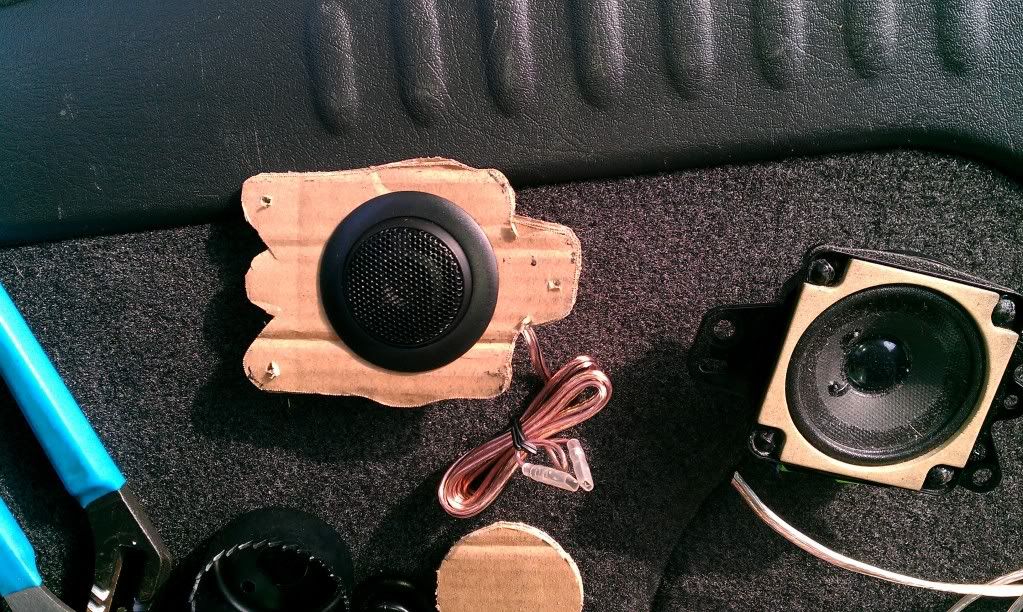
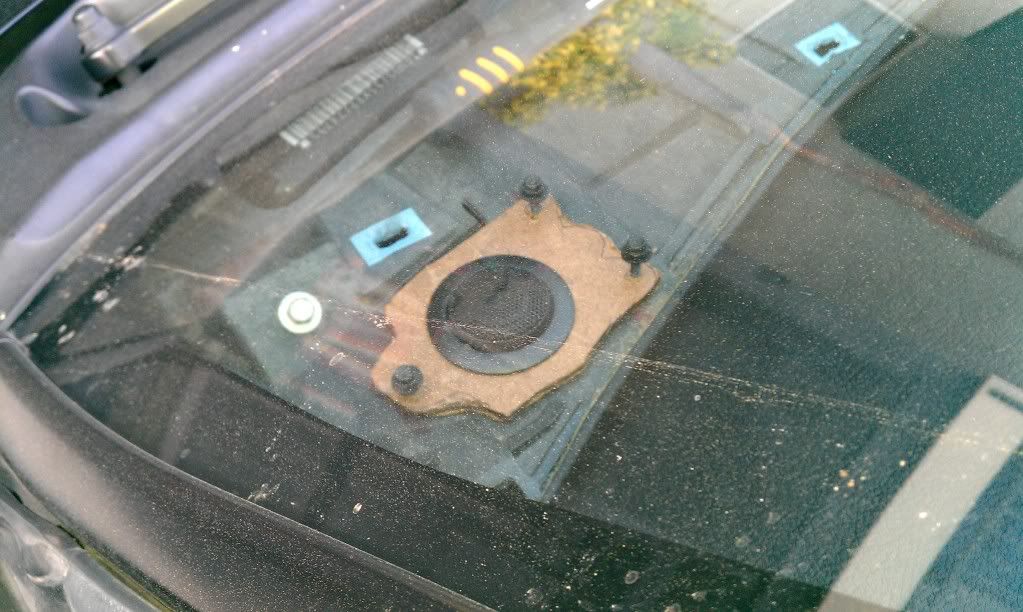
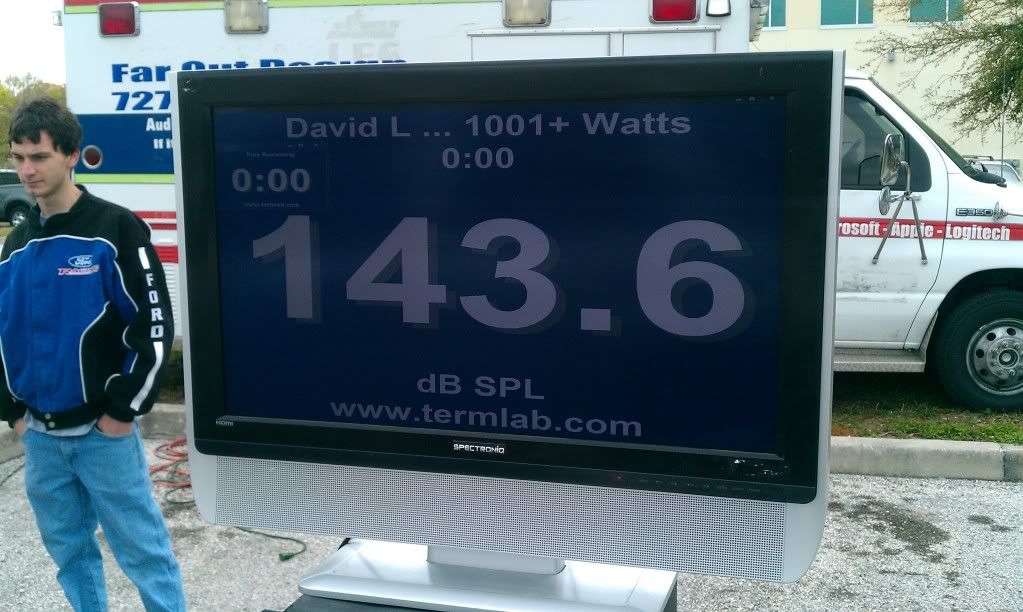
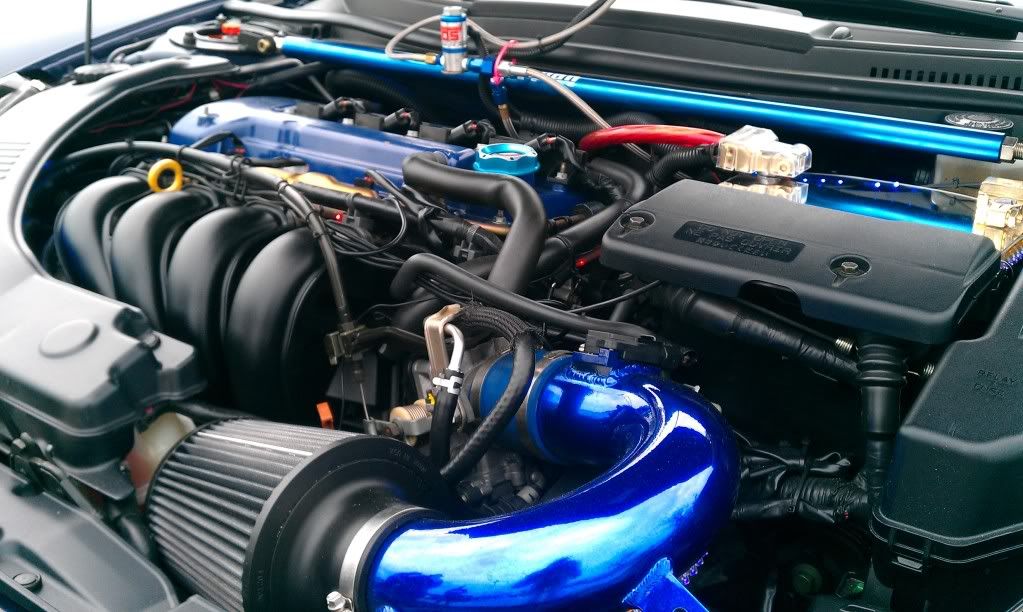
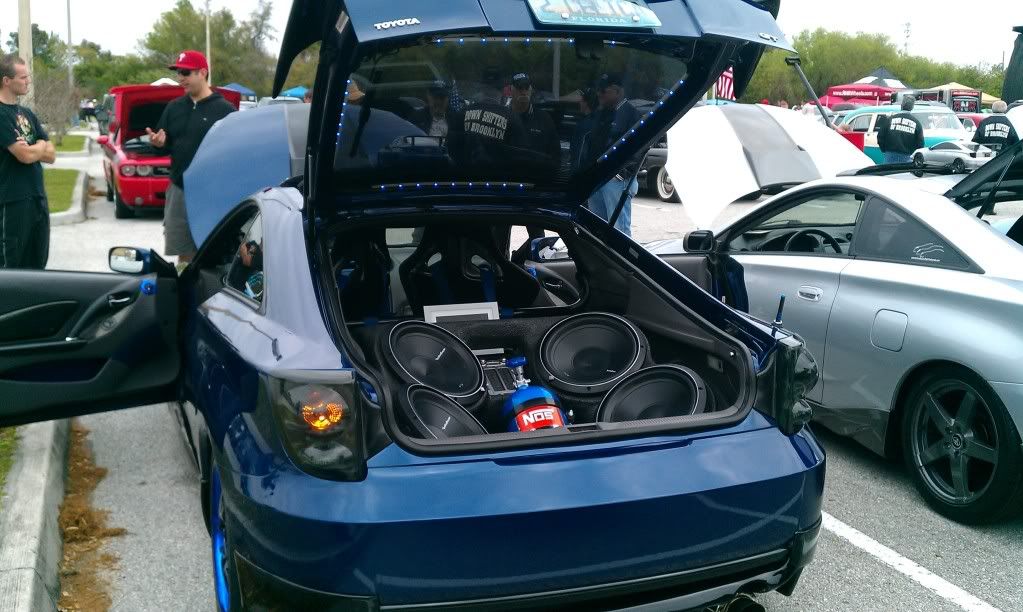
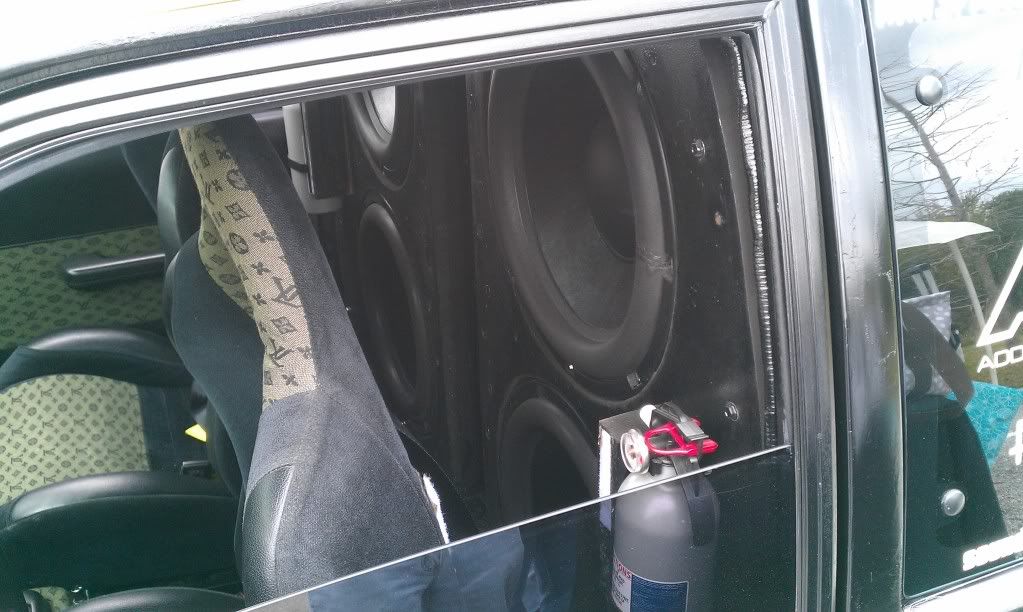
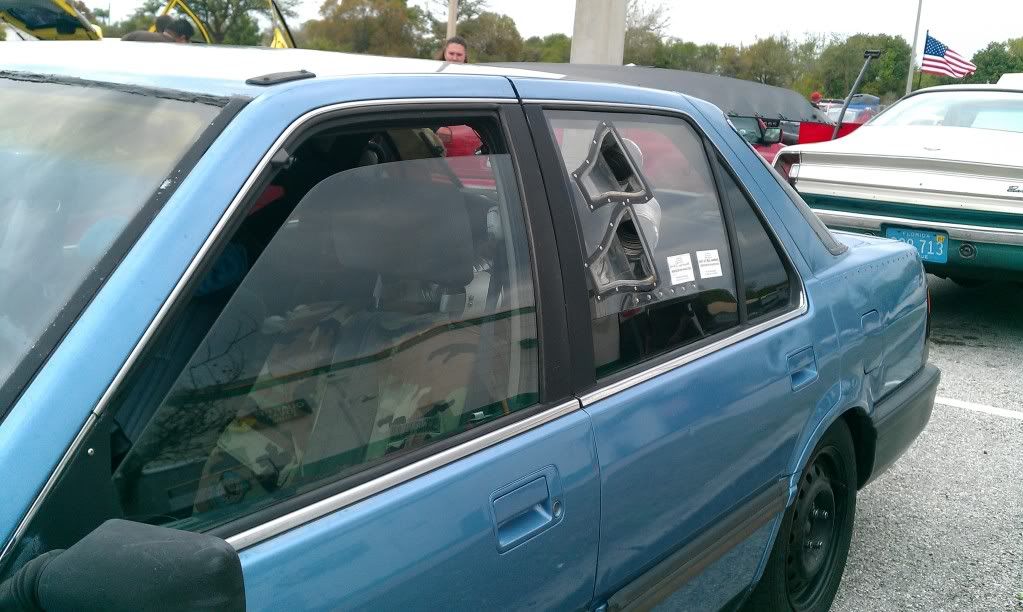
Here's a quick look at the new goodies. Had to disassemble the subs, so that made for a quiet drive up here. :mad: :tongue:

IMAG0235-1.jpg


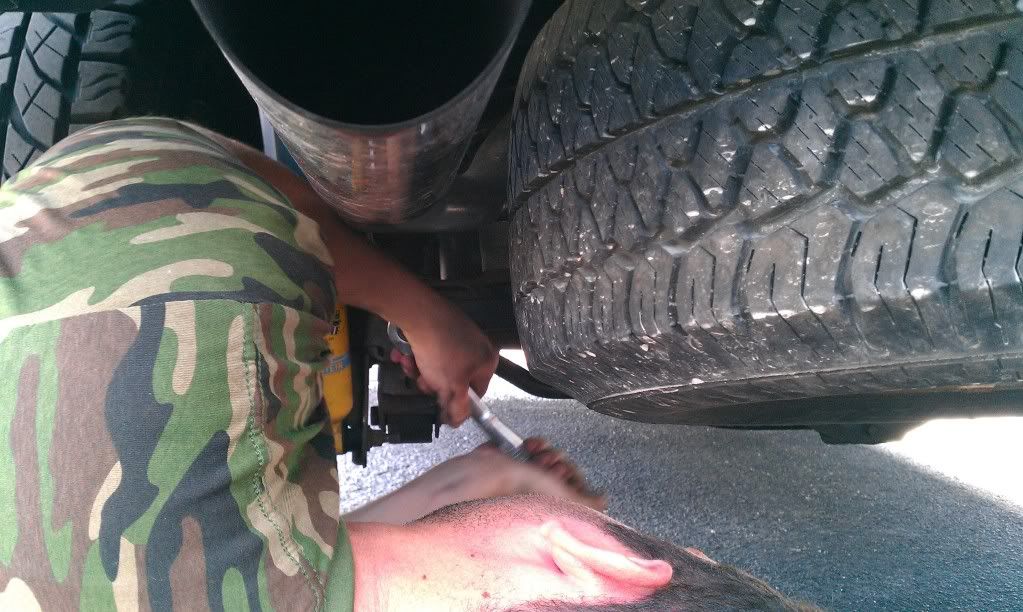
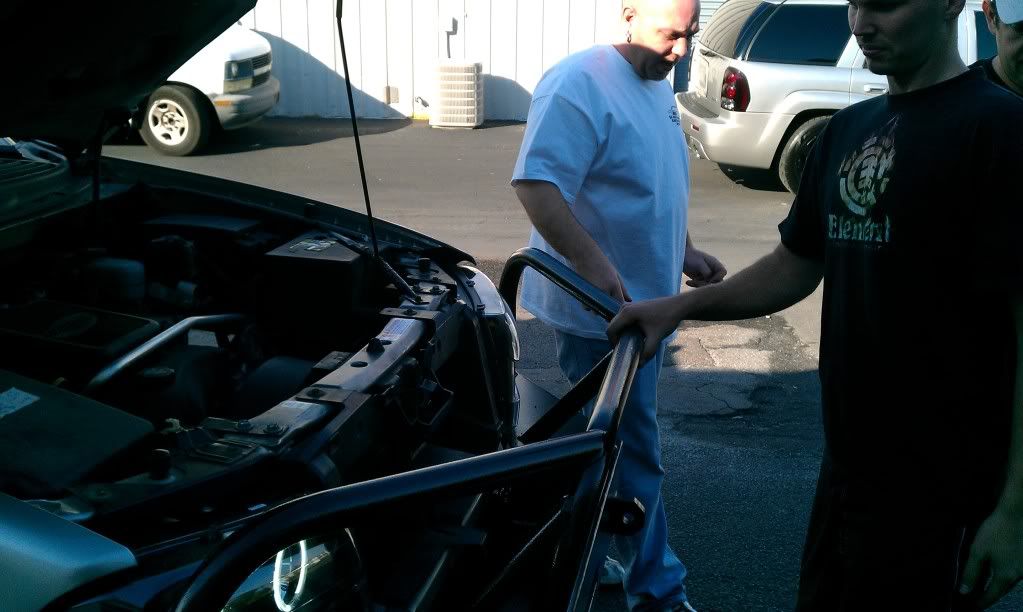
Game planning and removing the bumper support.
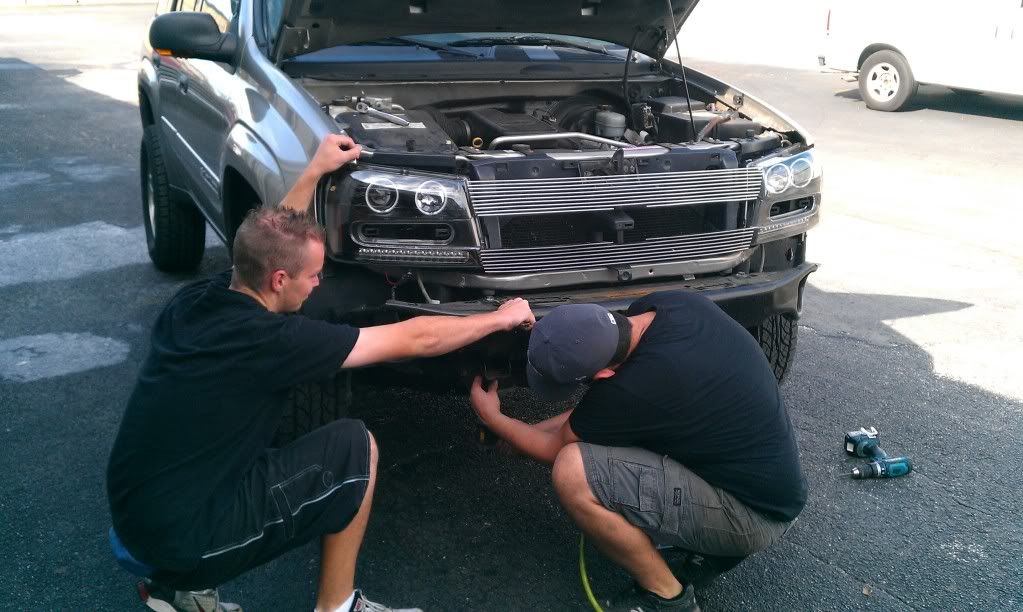
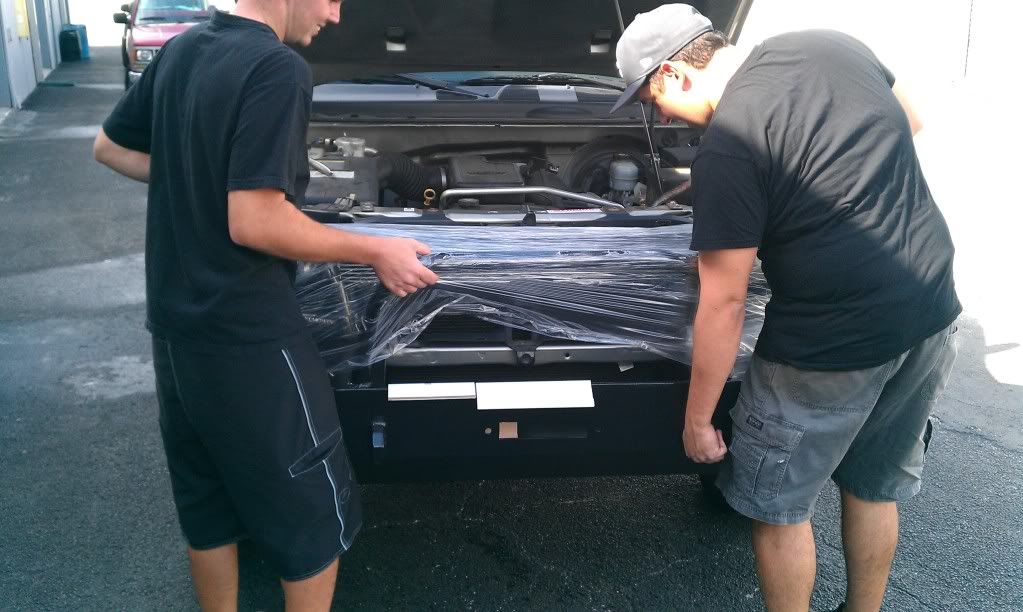
IMAG0236.jpg


IMAG0237.jpg


Test fit

IMAG0238.jpg


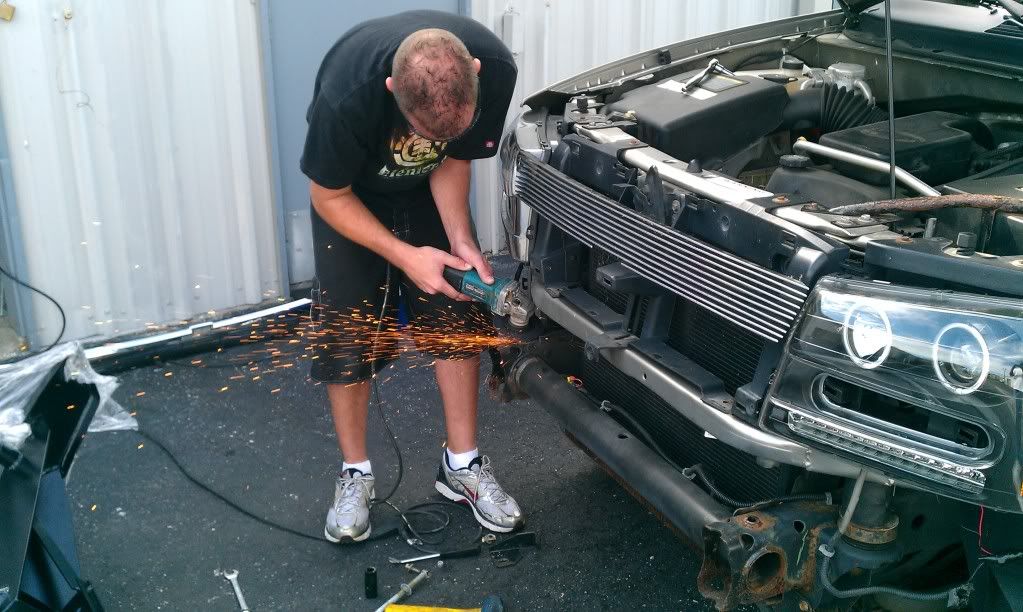
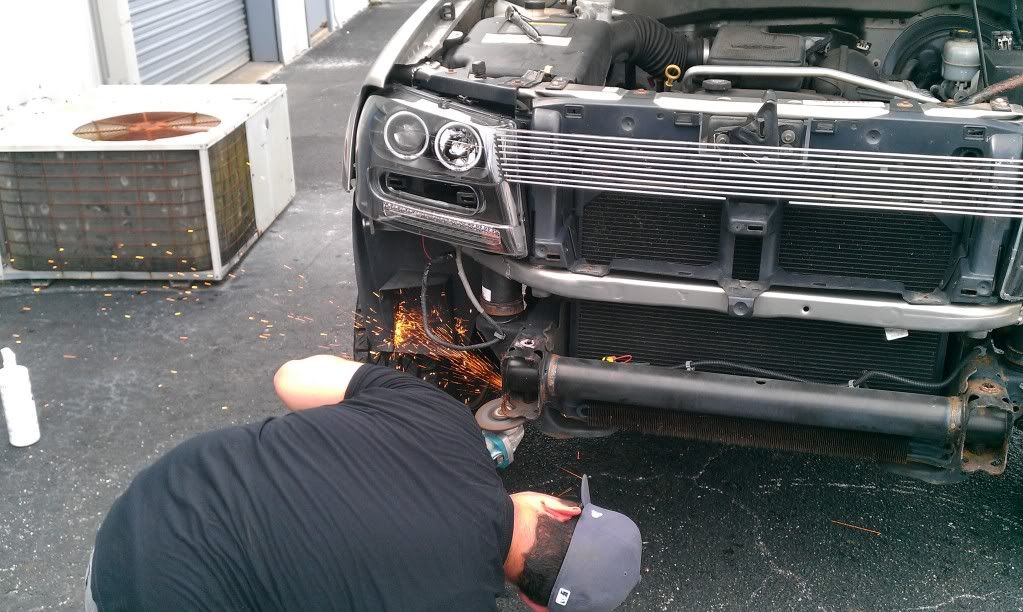
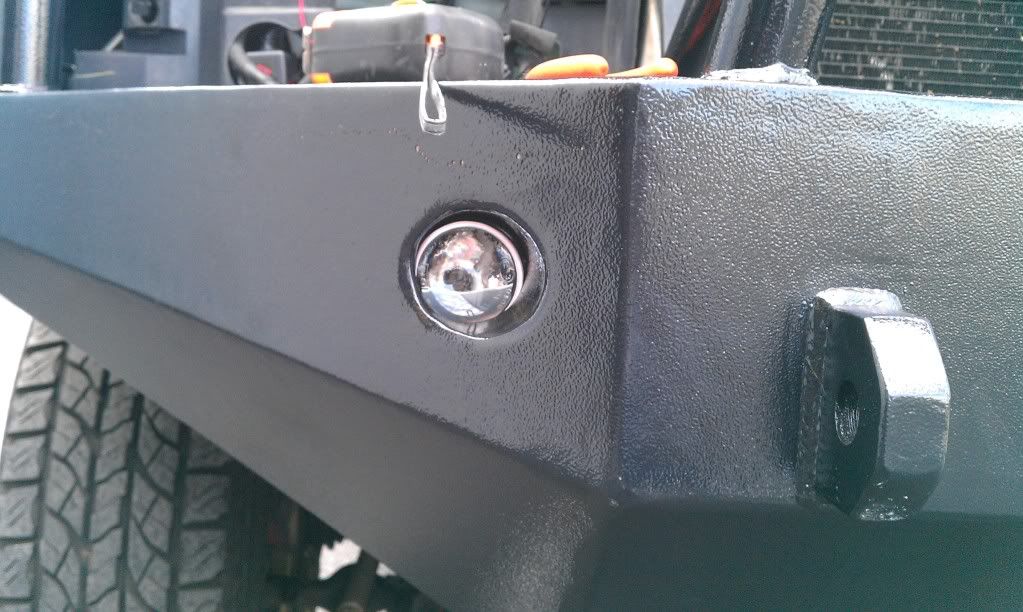
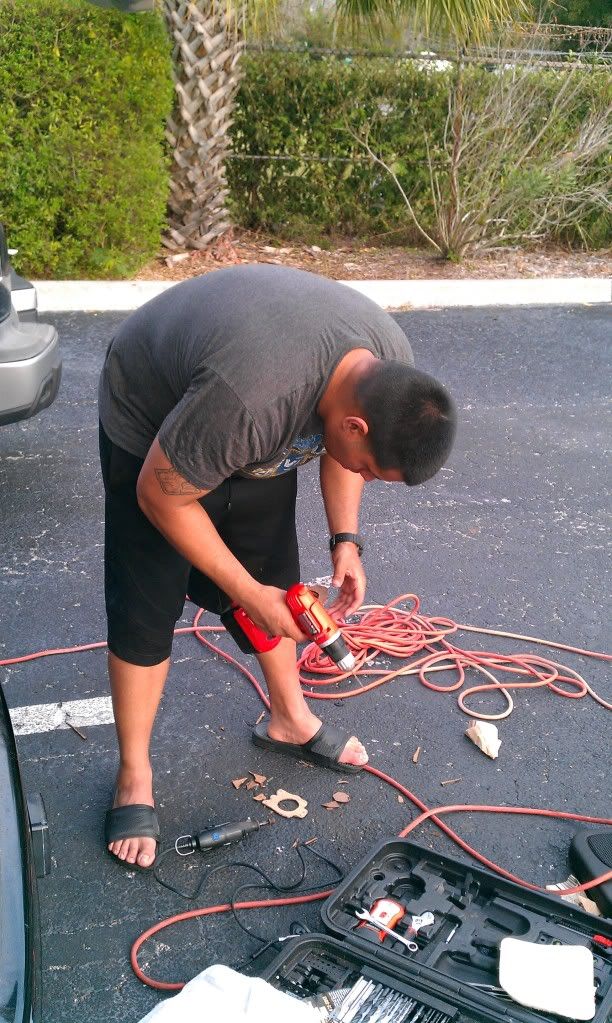
Time for some grinding

IMAG0239-1.jpg


IMAG0240.jpg


IMAG0241-1.jpg


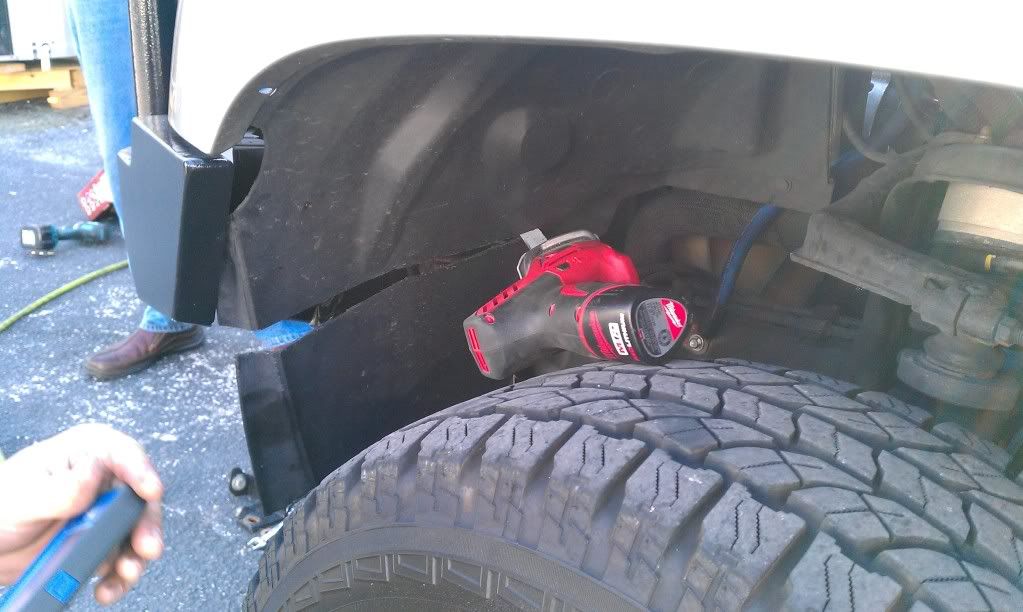
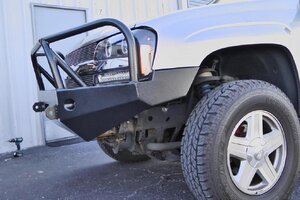
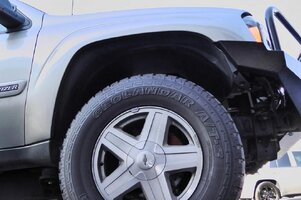
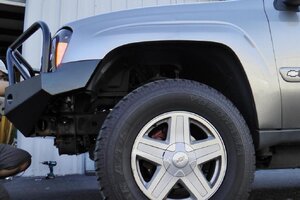
After bolting it up, time to cut the wheel wells.

IMAG0242-1.jpg


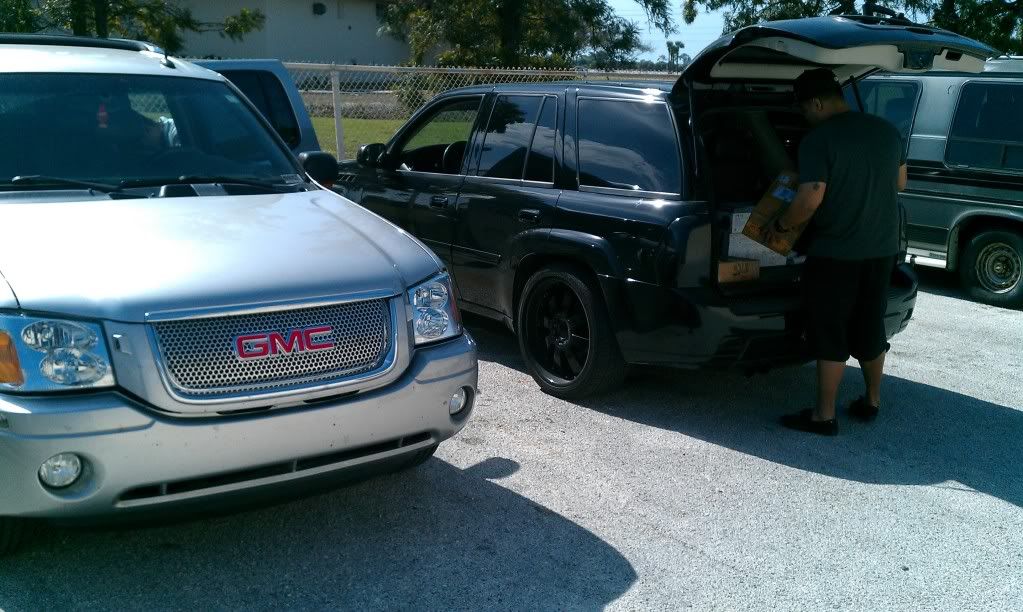
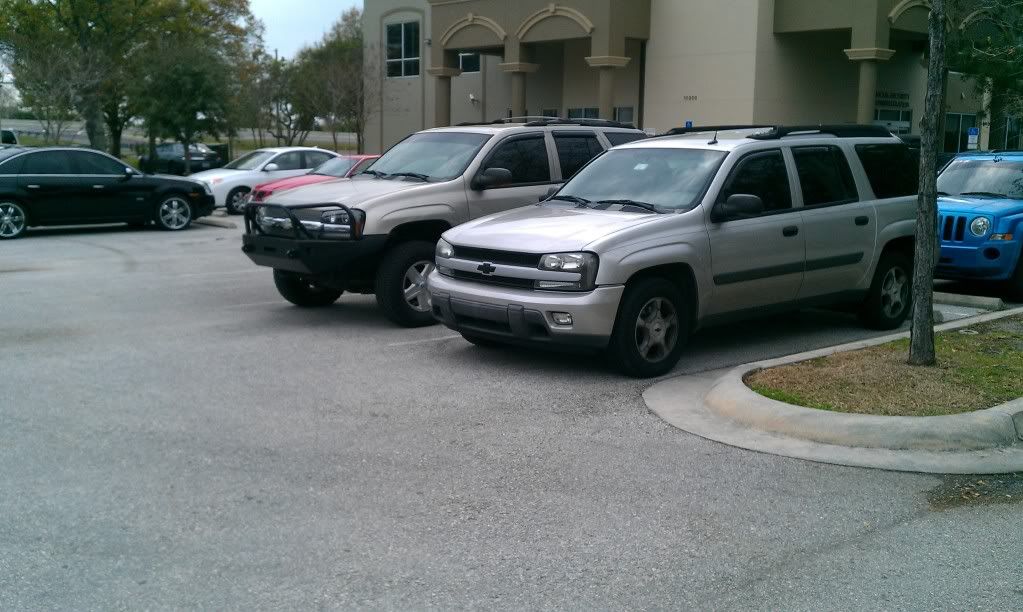
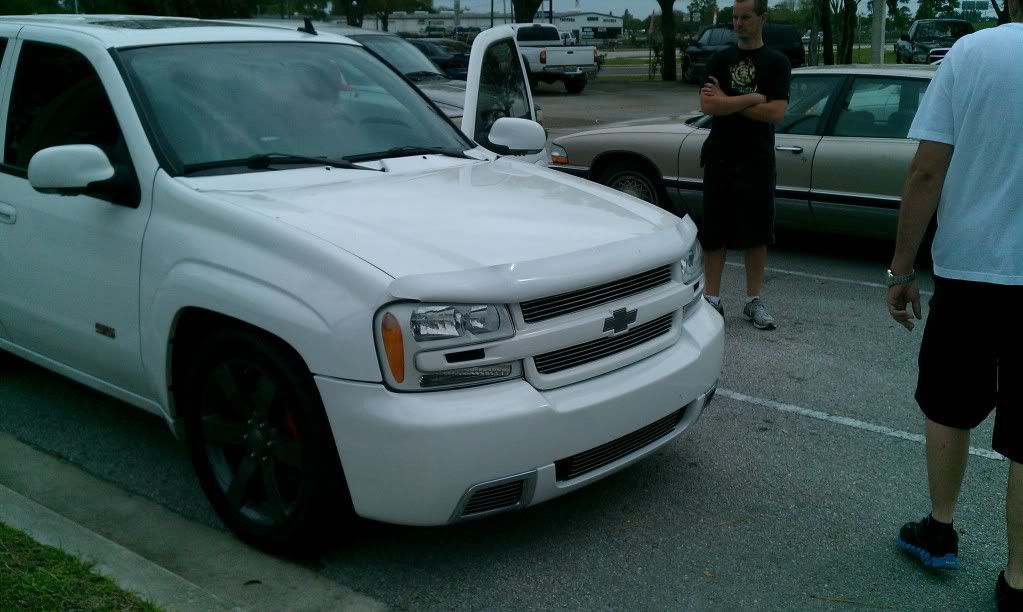
Not an official meet without 3 GMTs. Our buddy Jake from TBSSOwners dropped by to hang out.

IMAG0243-1.jpg


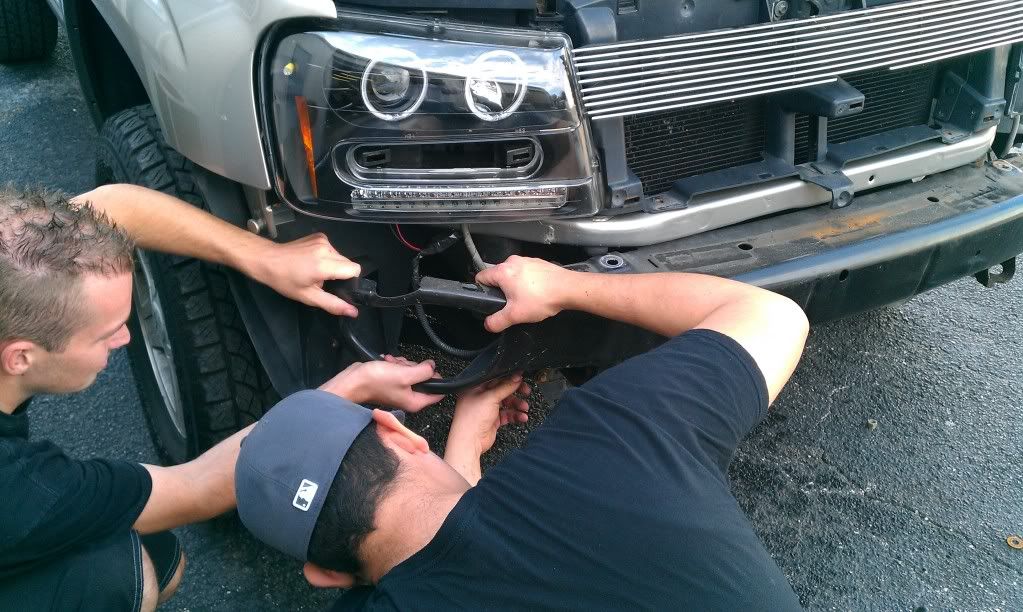
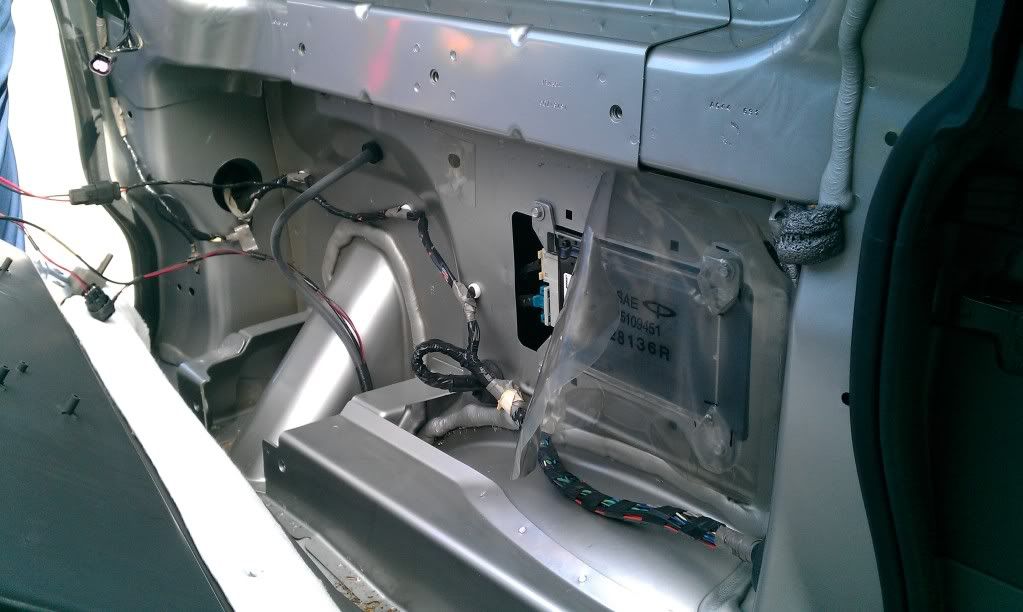
With the wheel wells cut, time to install the projector fog lights, then reinstall the headlights.

IMAG0244-1.jpg


IMAG0245-1.jpg


IMAG0246-1.jpg


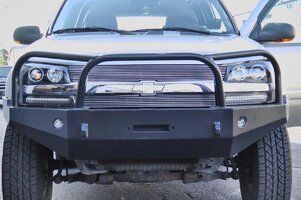
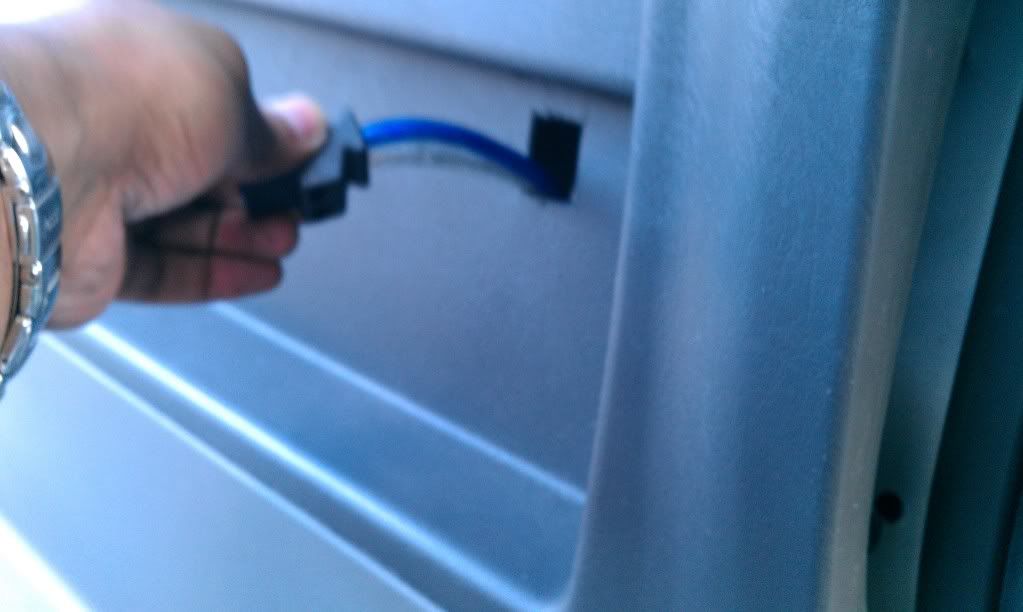
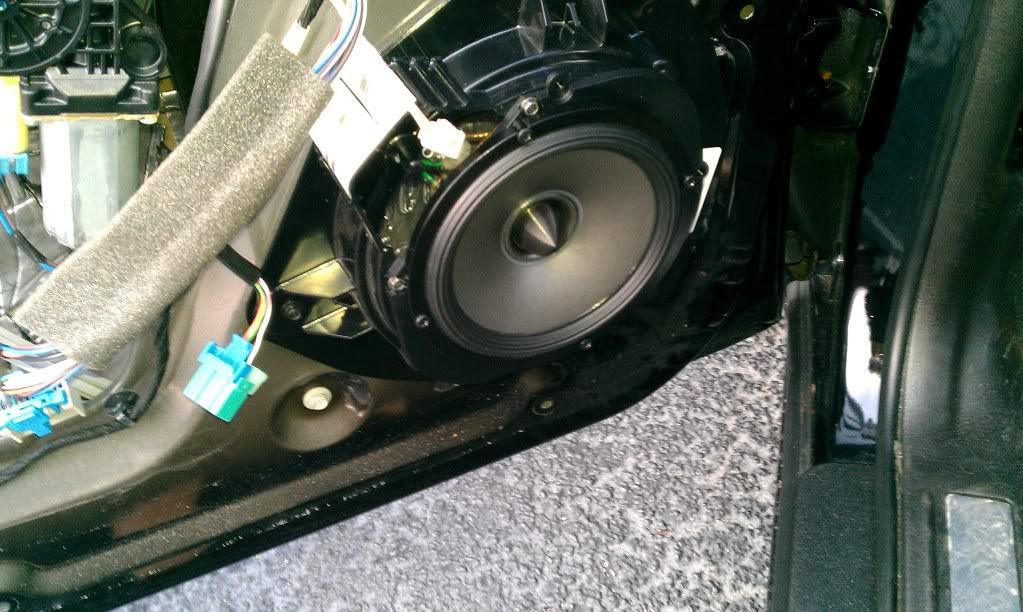
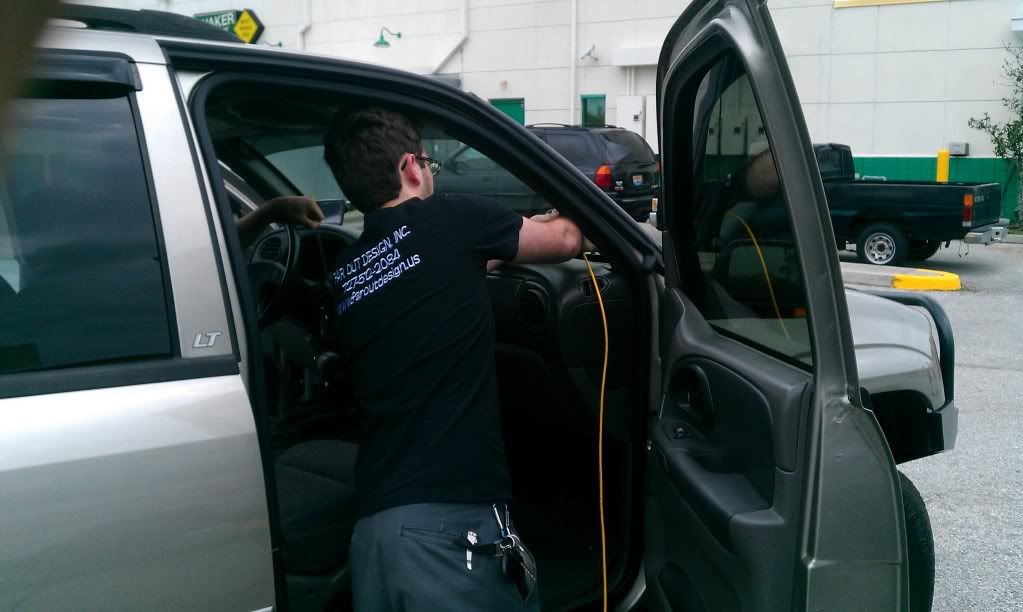
A quick test to make sure everything is hooked up right...

IMAG0247-1.jpg


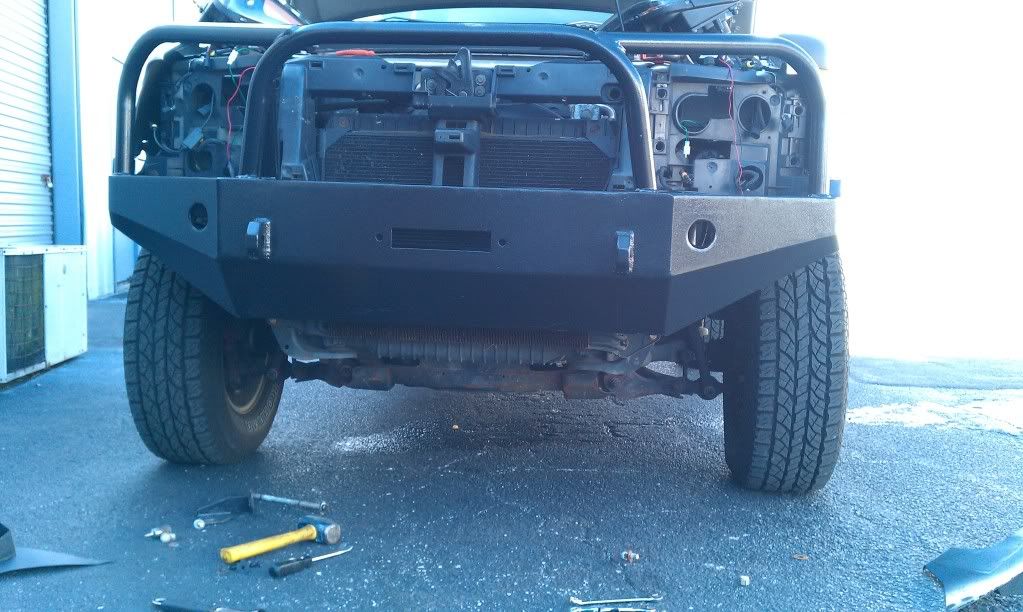
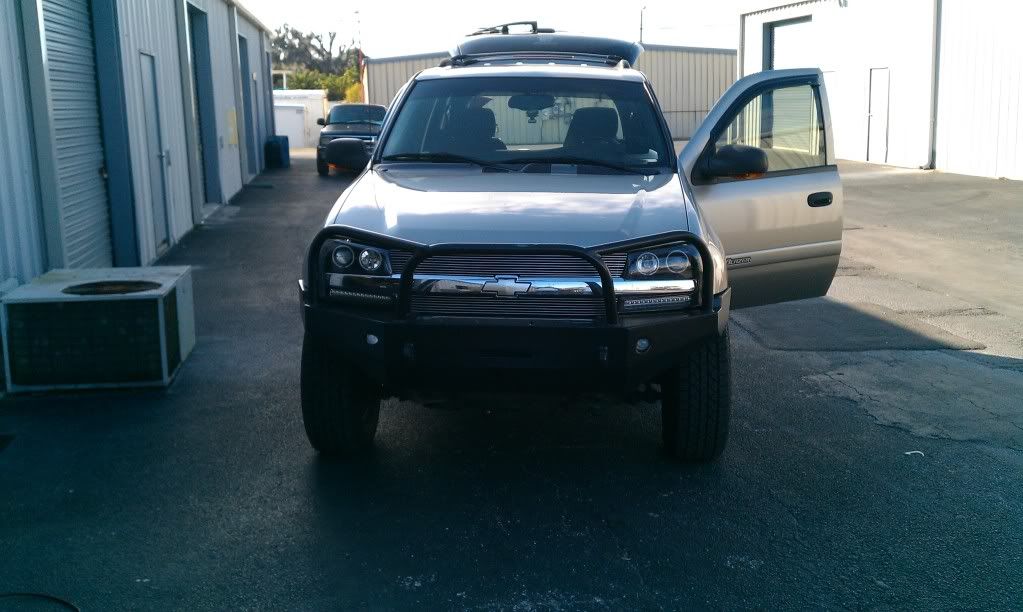
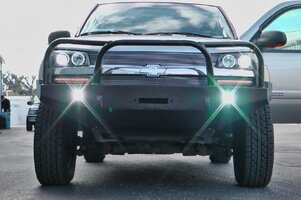
And then all buttoned up and ready for the road.

IMAG0248-1.jpg
 

Decembersend

Member
Dec 3, 2011
316
I never realized how many pics you took lmao.
 

Attachments

  • M1570004.jpg
    M1570004.jpg
    90.1 KB · Views: 26
  • M1570006.jpg
    M1570006.jpg
    95.1 KB · Views: 27
  • M1570007.jpg
    M1570007.jpg
    89.2 KB · Views: 31
  • M1570010.jpg
    M1570010.jpg
    80.6 KB · Views: 27
  • M1570011.jpg
    M1570011.jpg
    87.2 KB · Views: 26
  • M1570001.jpg
    M1570001.jpg
    99.5 KB · Views: 26
  • M1570008.jpg
    M1570008.jpg
    71.5 KB · Views: 26
  • M1570009.jpg
    M1570009.jpg
    96.9 KB · Views: 27
  • Like
Reactions: Capote

Blckshdw

Original poster
Moderator
Nov 20, 2011
10,665
Tampa Bay Area, FL
:dielaugh: Come on man, you know how I do! We forgot to invite Ceasar, hope he doesn't get mad for that :redface:
 

Bartonmd

Member
Nov 20, 2011
545
Um... you were only supposed to grind the top of the frame flat... The bottom keeps its tube nubs... If you took the bottom flat, like the top, you'll want to take the bolts off and put (2) 5/8" fender washers between the bottom of the frame, and the bumper... That's the reason it's sitting a little close to the body in the "wing" area...

Also, the light mounts are long enough that you can aim the lights and then bend the mounts to put the lights in the middle of the holes...

Looks good, though!

Mike
 

djthumper

Administrator
Nov 20, 2011
14,950
North Las Vegas
Looks good on there. You only have the suspension lift right?
 

Blckshdw

Original poster
Moderator
Nov 20, 2011
10,665
Tampa Bay Area, FL
Bartonmd said:
Um... you were only supposed to grind the top of the bumper flat...

:duh: His wife was telling him that before he drove up here!! :hopeless:
 

Blckshdw

Original poster
Moderator
Nov 20, 2011
10,665
Tampa Bay Area, FL
Now that I think about it, we did use some washers, but on the top of the bumper, instead of the bottom. I don't remember their sizes, but everything was pretty snug once we were done. Got a LOT of attention from people passing through while working on it. :thumbsup:
 

Bartonmd

Member
Nov 20, 2011
545
Yeah, the washers need to be on the bottom... The top bumper mount needs to sit directly on top of the frame... Since the lower tube nub is now gone, the (2) washers per bolt need to go in the place of the bottom tube nubs, between the bottom of the frame and the bottom mount of the bumper...

Mike
 

Blckshdw

Original poster
Moderator
Nov 20, 2011
10,665
Tampa Bay Area, FL
I'm pretty sure we put the washers on top of the bumper. David or Jimmy will have to confirm. I think I was running my mouth while they were tightening those down, so no pics... :redface:
 

jimmyjam

Member
Nov 18, 2011
1,634
I took a caliper to the bumper and it looked like it was made to snug the frame rail. He can always tap an alignment shim in there later
 

jimmyjam

Member
Nov 18, 2011
1,634
The washers were only added because the body lift bolts were too big and we couldn't get the perfect size bolts so we had to take up the slack to catch the threads. They are not between the bumper and the frame
 

Bartonmd

Member
Nov 20, 2011
545
jimmyjam said:
I took a caliper to the bumper and it looked like it was made to snug the frame rail. He can always tap an alignment shim in there later

Nope... Top smooth, bottom stock... It was made like that on Kyle's, and was on there, even after it was welded... Having been tightened down already, it's likely bent in at the bottom (Can see it in the pictures, actually), but it'll take a washer or 2 on the bottom, maybe with a little prying...

Mike
 

Bartonmd

Member
Nov 20, 2011
545
jimmyjam said:
The washers were only added because the body lift bolts were too big and we couldn't get the perfect size bolts so we had to take up the slack to catch the threads. They are not between the bumper and the frame

Yeah, he also needs to use his stock bolts, as they're larger than the body lift bolts (and they're stronger than grade 8)... Had I known he didn't have his stock bolts, I would have left the holes 1/2" like we had them on Kyle's, before I blew them out to 5/8" for the stock M14 bolts... The reason for using the stock bolts is because they fit tighter in the holes, and in the bumper holes, so that when you're winching at an angle, it doesn't rock the bumper up or down...

Mike
 

Blckshdw

Original poster
Moderator
Nov 20, 2011
10,665
Tampa Bay Area, FL
jimmyjam said:
I'm going to blame Carlton....

Shame on me. Guess we should take it off and ship it back to Mike then :whistle:
 

Bartonmd

Member
Nov 20, 2011
545
As I said, though, it's not a big deal... he just needs a pair of 5/8" washers on the bottom of the frame, on each rail, and to use the stock bolts...

Mike
 

Bartonmd

Member
Nov 20, 2011
545
The How-to PM from last week:

Mounting:

-Take your stock bumper and reinforcement bar off

-Grind the top of the frame, flat... Basically, grind off the top of the through-tube that the bumper bolt use, so it is flat with the rest of the frame

- Slide the bumper on over the frame, lining up the holes in the bumper with the bumper mounting holes in the frame.

- If you didn't have stock tow hooks, pull the captured nuts off of the stock reinforcement bar. Use the stock bumper mounting bolts and come up from the bottom of the frame, and use those stock mounting plate nuts on the top of the frame side of the bumper, and get finger tight. If you had stock tow hooks, I threw a couple of the M14 nuts in the box with your lights, for you to use, instead... Use your stock bolts, NOT the 3" body lift bolts...

- With the bolts in and nuts finger tight, pull the whole bumper toward the front of the vehicle, make sure the "wings" are level with the venders, and if at all possible, hold the bumper forward while tightening the bolts...

- With the bumper on, slide the winch down in it (remember, soleniod goes to the side of the winch, not right over the drum), and mark where you want to mount it...

- Pull the bumper back off, drill the holes, mount the winch, and put it back on... The winch has to be in the bumper before it goes on, or you can't get to the bolts, to tightem them...

ETA: I'm generally against sharing PMs publicly, but this is a how-to for posterity...
 

jimmyjam

Member
Nov 18, 2011
1,634
i'm the grease monkey, carlton is the intellectual...
 

djthumper

Administrator
Nov 20, 2011
14,950
North Las Vegas
jimmyjam said:
i'm the grease monkey, carlton is the intellectual...

LOL, but was it written in a schematic?
 

Blckshdw

Original poster
Moderator
Nov 20, 2011
10,665
Tampa Bay Area, FL
jimmyjam said:
i'm the grease monkey, carlton is the intellectual...

Sounds kinda like....

The-Fresh-Prince-LP-Hes-the-DJ-Im-the-Rapper.jpeg


djthumper said:
You trusted him to read the directions? :crazy:

Nah man, I'm in charge of MAKING documentation, not READING it!! :raspberry:
 

Blckshdw

Original poster
Moderator
Nov 20, 2011
10,665
Tampa Bay Area, FL
Another mini meet this weekend, this time down on the air force base. Today's mission, install a pair of 12" and an amp in Carlos' XUV. Ceasar showed up to supervise for a bit. Unfortunately since I was doing most of the work, I wasn't able to fullfill my usual paparazzi duties :frown:

In case anyone needs to know, the XUV has it's Bose amp on the driver's side, just like the other LWBs do, even though there's no rear HVAC system on the passenger side.

IMAG0266.jpg


We cut an access hole in the side panel, and ran all of the amp's wiring through there.

IMAG0267.jpg


We hooked up everything for a test run and nothing blew up, so I guess I know a few things in the electrical department. :biggrin:

IMAG0268.jpg


IMAG0269.jpg


Thanks to the info in the http://gmtnation.com/f35/2004-bose-amp-wiring-diagram-needed-1120/ thread, we grabbed a PAC adapter and tapped into the Bose amp for the RCA signal. Factory ground in the C pillar, power from the rear fuse block (only a 200W amp) and used the HVAC fuse for the remote turn on signal. Next time around, we'll be doing the aux input through the XM connector. :thumbsup:
 

Blckshdw

Original poster
Moderator
Nov 20, 2011
10,665
Tampa Bay Area, FL
Made another trip down to the AFB to do some modding. Jimmy and his new friend showed up...

IMAG0292.jpg


Carlos was working that day, so he swung by during his break to check out some of the goodies Ceasar got (Alpine type R's and some Stinger Roadkill sheets)

IMAG0293.jpg


But since we didn't rent one of the work shop bays, they kicked us out, so back to Ceasar's place to pull some panels.

IMAG0294.jpg


IMAG0295.jpg


IMAG0296.jpg


While I was swapping the stock speakers out and the new ones into the bases, Ceasar was busy lining the doors with sound deadener, so I didn't grab any pics of that.

IMAG0297.jpg


Inspired by May03LT's write up on http://gmtnation.com/f35/installing-aftermarket-tweeters-oem-bose-dash-location-420/ I used the stock tweeters to make a cardboard template for the new ones.

IMAG0298.jpg


IMAG0299.jpg


Ceasar Dremeled the templates out of some wood, while I fished the crossover wiring through the doors and up to the dash. Test fitted the wood brackets to make sure the holes were lining up.

IMAG0300.jpg


IMAG0301.jpg


IMAG0302.jpg


We started running out of sunlight, so we put the doors back together and wrapped things up. He'll have to go back to paint the tweeter brackets, and aim the tweeters in the dash and rear doors, but all in all, a pretty productive day. :thumbsup:
 

Blckshdw

Original poster
Moderator
Nov 20, 2011
10,665
Tampa Bay Area, FL
Today myself, Jimmy and David decided to hit up a car show at the Quaker Steak and Lube...

IMAG0356.jpg


IMAG0357.jpg


When we first got there, an audio company there was offering to meter your sound system, so David gave it a go.

IMAG0329.jpg


IMAG0328.jpg


IMAG0330.jpg


Then we walked around for a bit, and saw some cool rides.

Bumble Bee edition Camaro
IMAG0322.jpg


IMAG0325.jpg


His & Hers Roush supercharged Mustangs (I think they were newlyweds)
IMAG0323.jpg


IMAG0324.jpg


Another one
IMAG0345.jpg


Couple lifted trucks
IMAG0327.jpg


IMAG0326.jpg


Walked by a small group of Celicas, noticed one had blue LEDs on the headlights. You know that made me take a closer look...
IMAG0331.jpg


This one had them all inside the engine bay too.
IMAG0332.jpg


IMAG0333.jpg


IMAG0334.jpg


Another one had them around the rotors. How long they last, who knows...
IMAG0335.jpg


Wolverine themed Matrix
IMAG0336.jpg


IMAG0337.jpg


Make your own conclusions
IMAG0338.jpg


Mopar section
IMAG0339.jpg


IMAG0340.jpg


IMAG0341.jpg


IMAG0343.jpg


Military themed Nissan
IMAG0344.jpg


Vette CR1
IMAG0347.jpg


IMAG0346.jpg
 

Blckshdw

Original poster
Moderator
Nov 20, 2011
10,665
Tampa Bay Area, FL
In the far corner of the parking lot, was an audio group. One guy had a small green pickup with some serious power.
IMAG0348.jpg


IMAG0349.jpg


IMAG0352.jpg


The Crown Vic police interceptor next to it wasn't too bad either
IMAG0350.jpg


IMAG0351.jpg


And you can't have a show without a major question mark! This guy took an old beat up import, and fixed it up into... I dunno... First, rear window, ram air driver AC
IMAG0354.jpg


Steering wheel accessories: dual GPS, clock (wrist watch), cell phone mount and custom multi PC fan windshield defroster, and a width of the windshield multi rear view mirror
IMAG0353.jpg


IMAG0355.jpg


There were other 'improvements' but we were poking fun at them, so I kinda felt bad...
 

Blckshdw

Original poster
Moderator
Nov 20, 2011
10,665
Tampa Bay Area, FL
Maybe they're in a club similar to SSOwners?

:eek: 
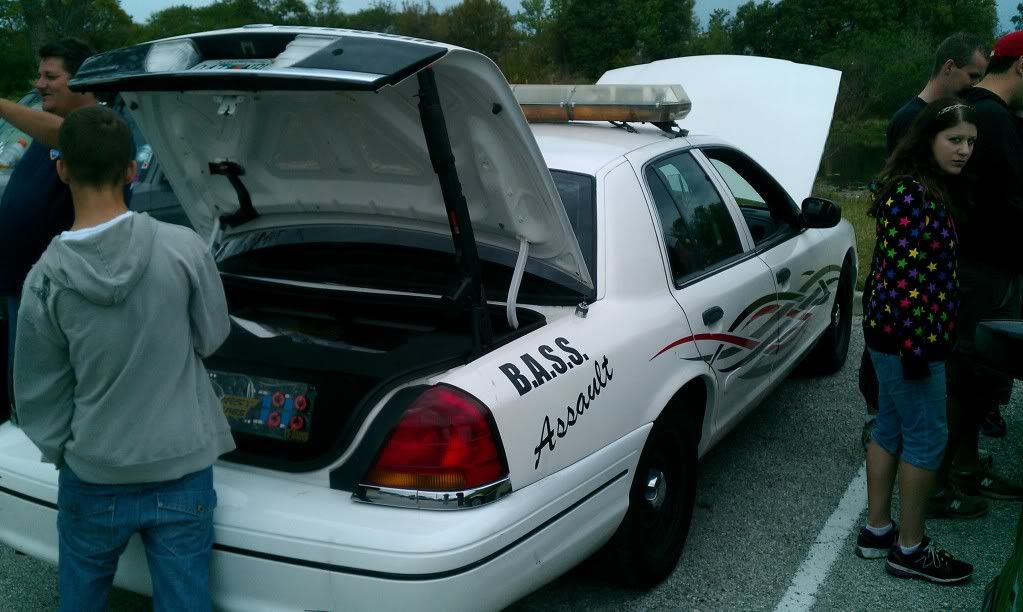
I just noticed, in the pic with the police car, your wife is giving me the evil eye... What's up with that? :laugh:
 

Blckshdw

Original poster
Moderator
Nov 20, 2011
10,665
Tampa Bay Area, FL
Today's adventure was swapping out David's rusty drive shaft with a not so rusty one :raspberry:

Out with the old...

IMAG0380.jpg


IMAG0381.jpg


IMAG0382.jpg


Junk yard drive shaft, cleaned up and painted

IMAG0383.jpg


In with the new

IMAG0385.jpg


IMAG0387.jpg


And for good measure, tweaking the panhard bar to get rid of an annoying clunk

IMAG0388.jpg


Not pictured, tried splicing in a secondary OBDII connector in my truck so I could run my Scangauge chord off that, and keep the whole thing hidden for a cleaner look. Power and ground connections worked fine, something going on with the data connection, so a recheck is in order. Also took my 80% complete CAI and test fitted it in David's truck to see how it fits on a GMT with a body lift.
 

Decembersend

Member
Dec 3, 2011
316
The clunk came back so Jimmy suggested torquing it down so I'm going to do that tomorrow if daylight permits after work.

Good news the drive shaft feels a hell of a lot better
 

Blckshdw

Original poster
Moderator
Nov 20, 2011
10,665
Tampa Bay Area, FL
At least we know where it's coming from now, that's a big step from where we were for what... The past year or so? :confused:
 

jimmyjam

Member
Nov 18, 2011
1,634
i'm not sure why its making that noise.. just that its coming from there...

i'll get the bar off of the junkyard one later in the week
 

Forum Statistics

Threads
23,273
Posts
637,499
Members
18,472
Latest member
MissCrutcher

Members Online

No members online now.