My wife's 03 Envoy XL fell victim to the air suspension giving out. The dealer wanted over $1500, but I did it myself for $640.
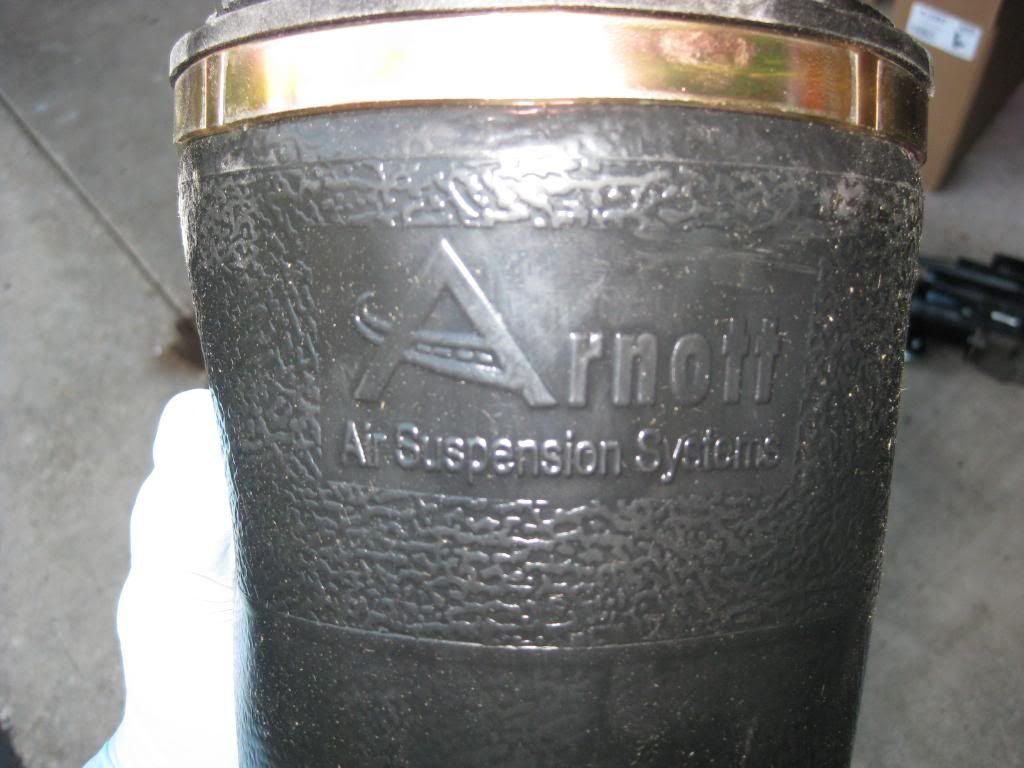
I ordered the air bags and compressor from Arnott. The sales guy gave me the ebay price and free shipping when I mentioned it.
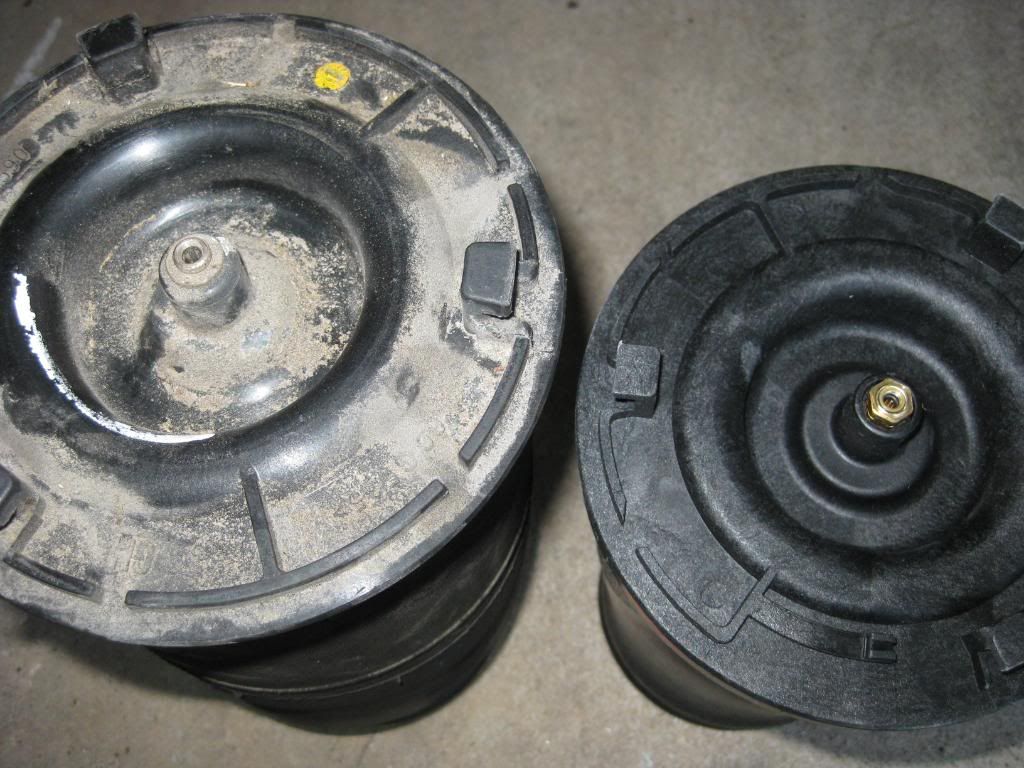
Here's some old vs. new comparison pics:
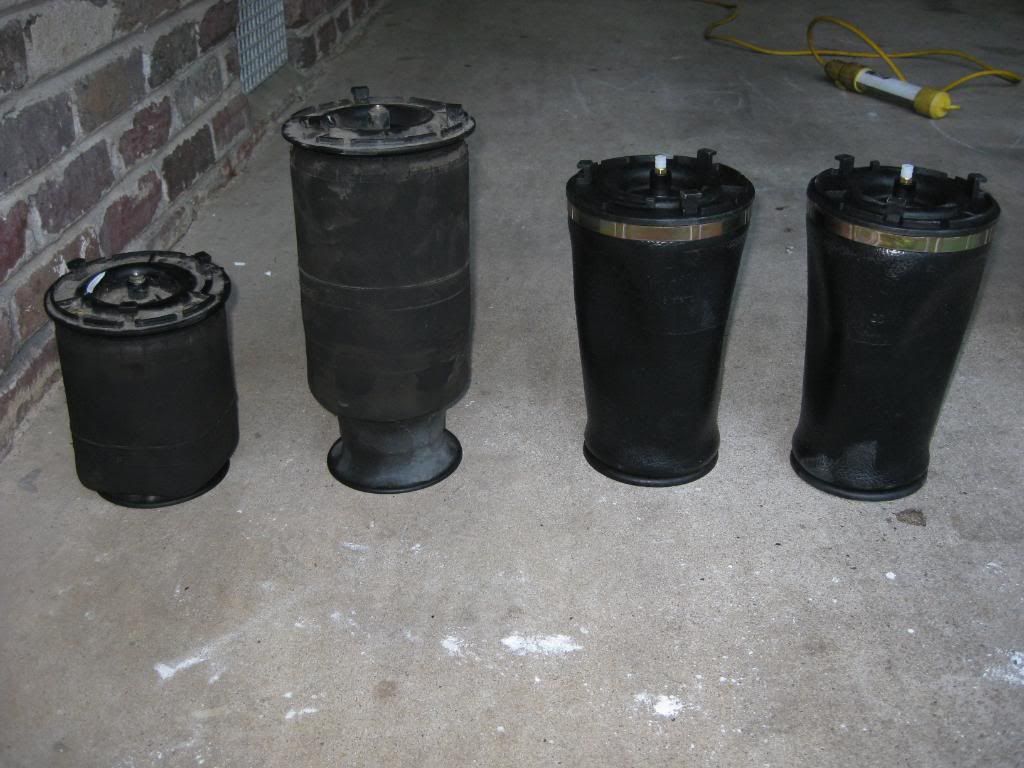
You can see the difference in the air line fittings on the top of the airbags.
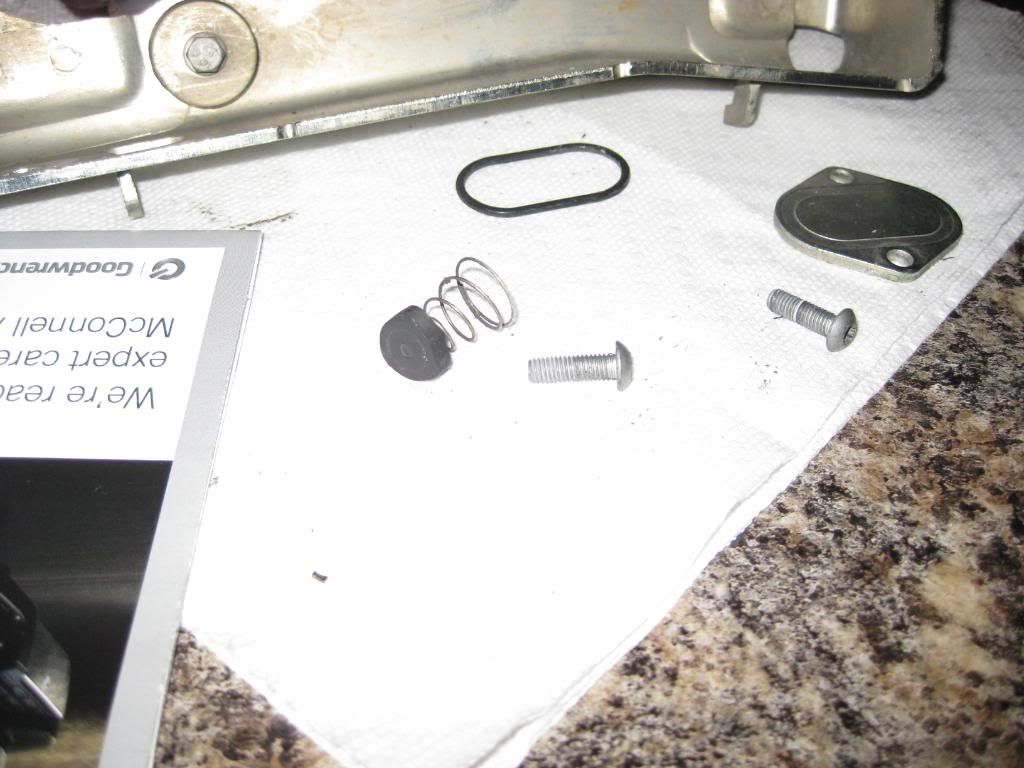
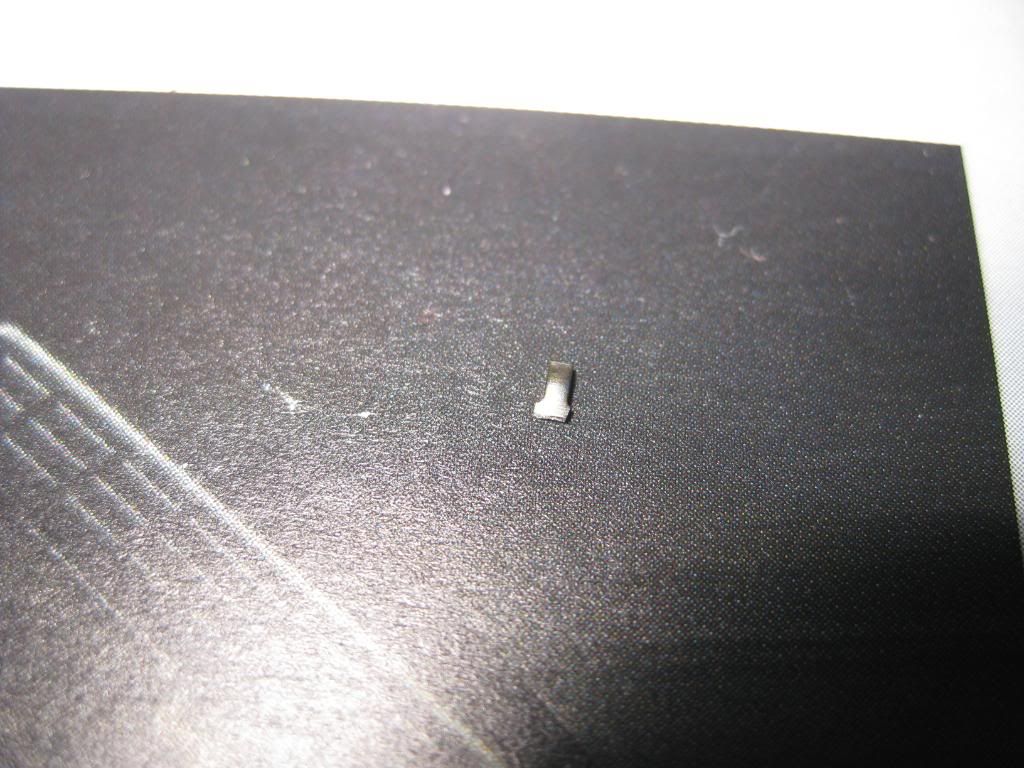
In this pic, I opened up the check valve from the old compressor. There was a small piece of metal that fell out. Not sure what it goes to, but I am sure it was important.
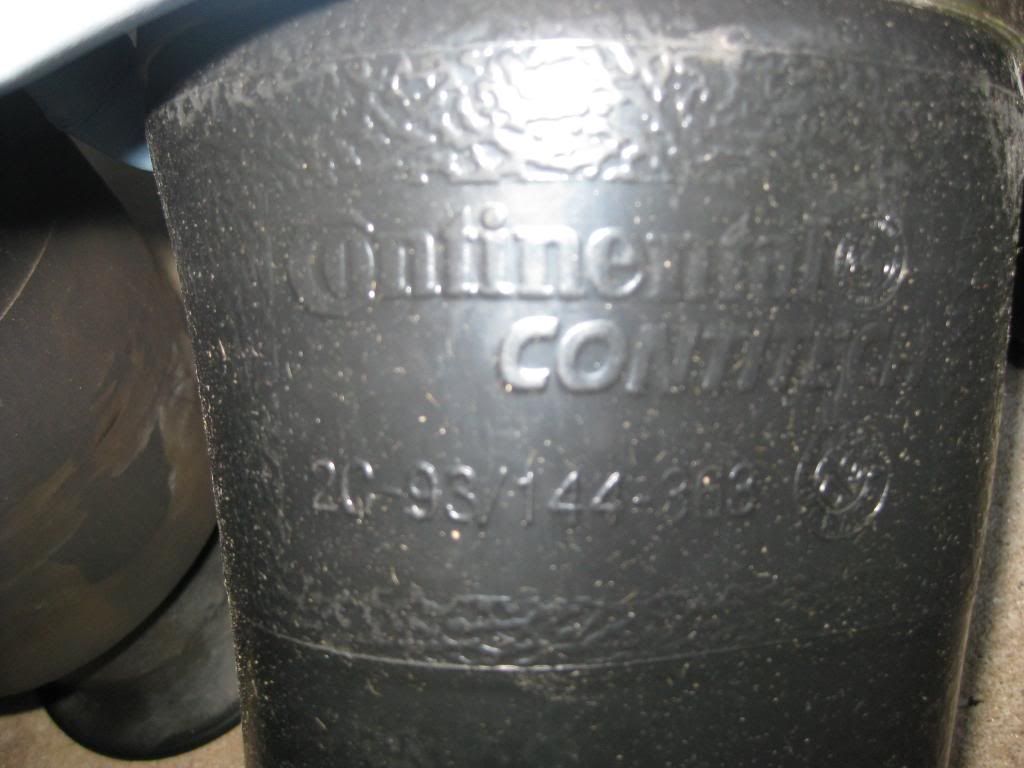
It looks like Continental makes the bags for Arnott.
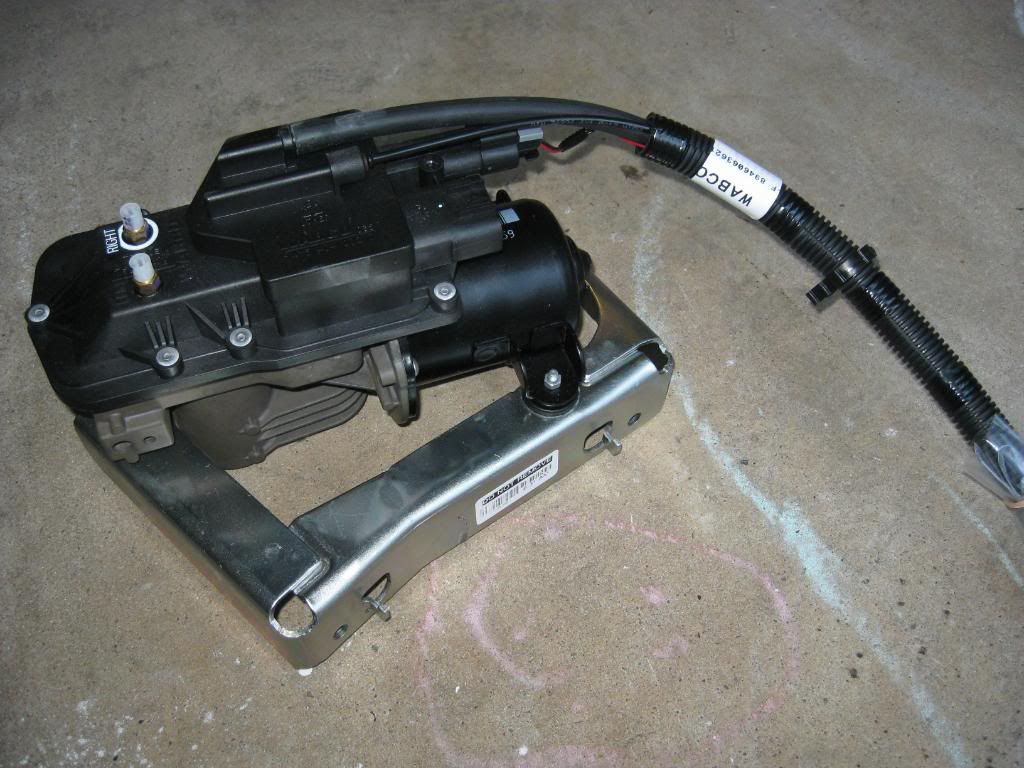
Also picked up a new OEM compressor from Arnott.
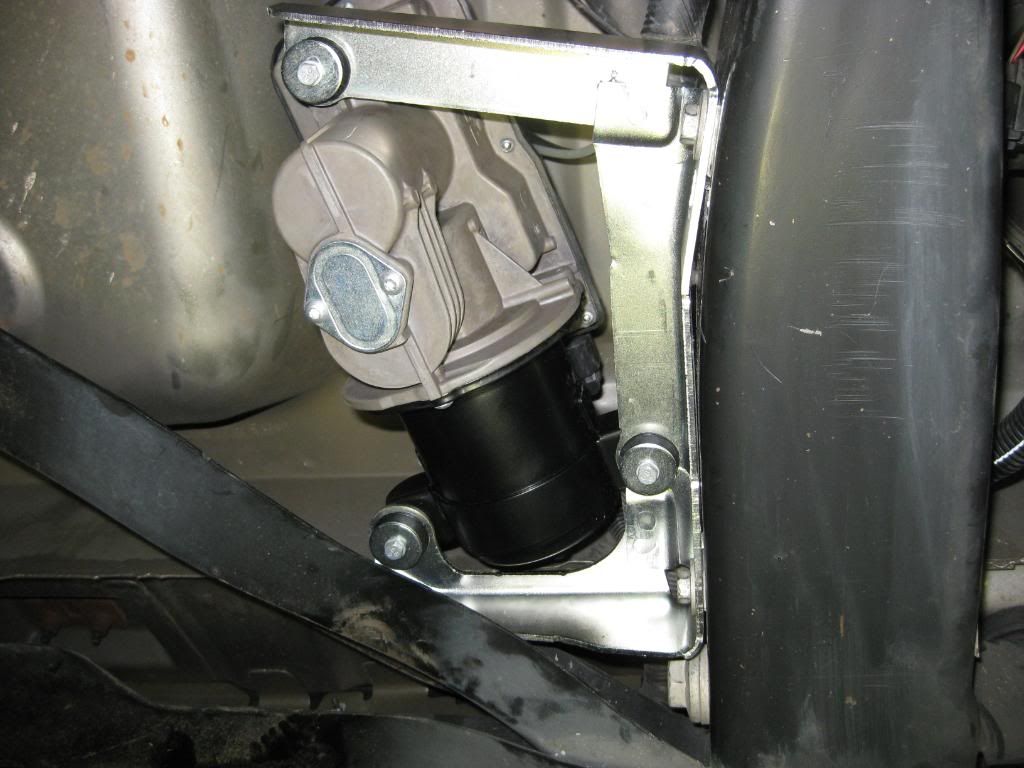
I began by replacing the compressor first. Be sure to remove the 30 Amp fuse for the ECAS in the engine bay fuse box. Next, remove the spare. Once you've got the rear off the ground and supported at the frame, you can begin disconnecting the compressor.
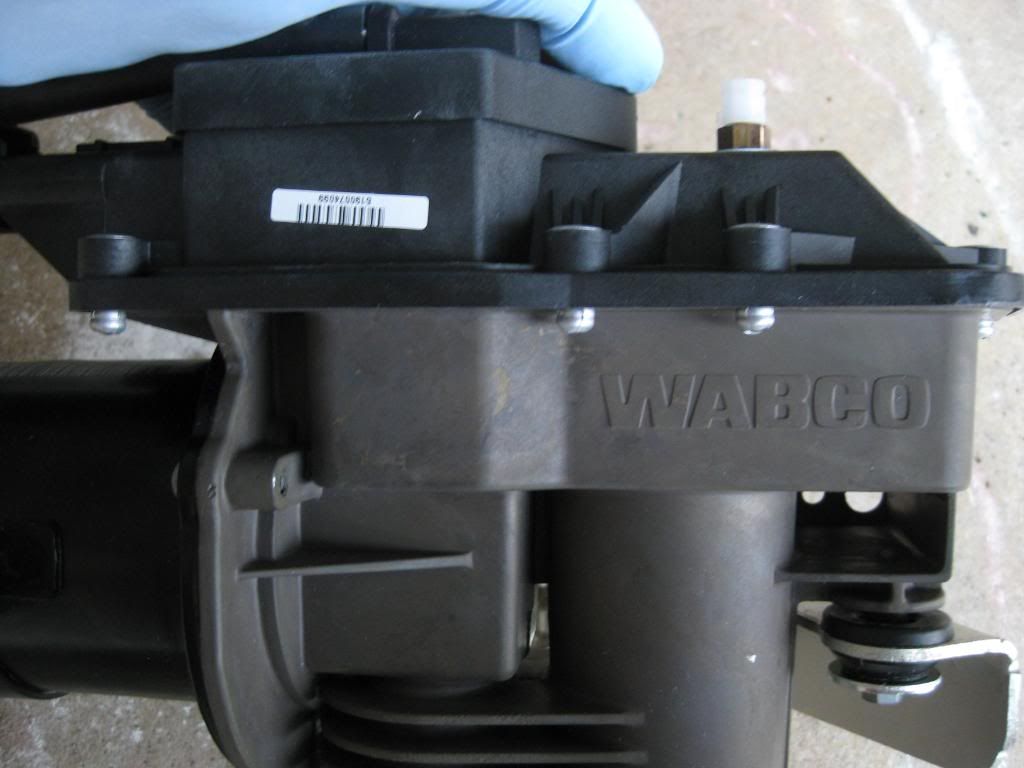
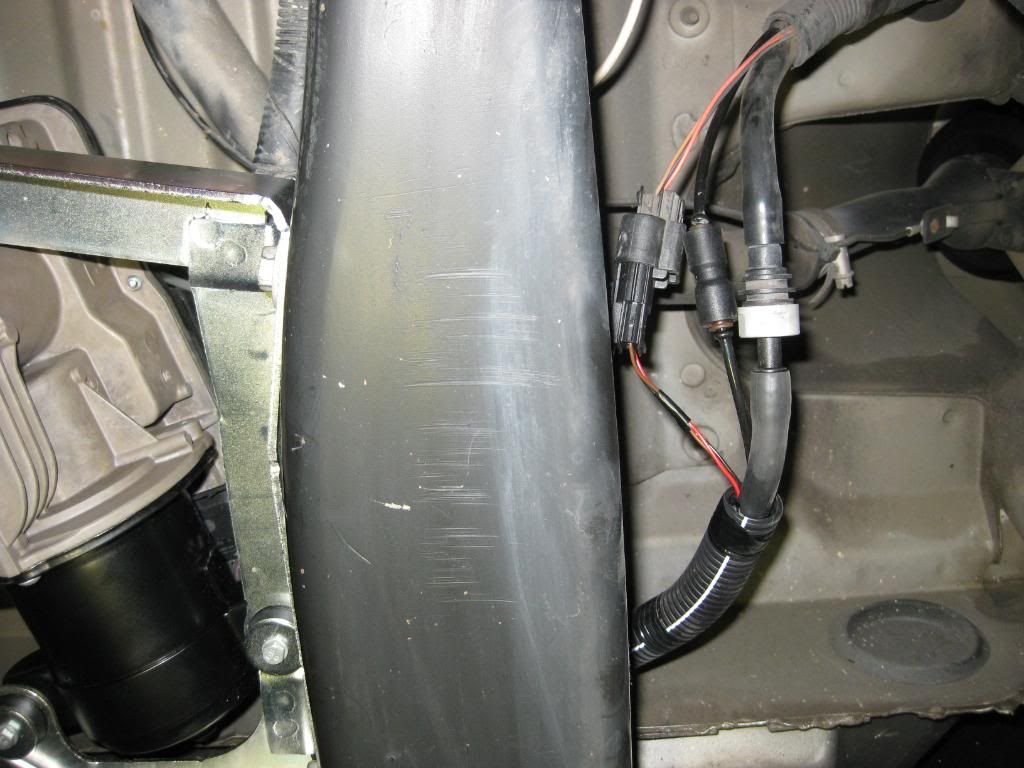
Start with the pneumatic/electronic connections. For the XL's it's located on the outside of the frame on the driver's side. The air lines have a friction type fitting. Just push down on the collar and pull on the air line.
Next, just unbolt the compressor and reverse the steps for installation.
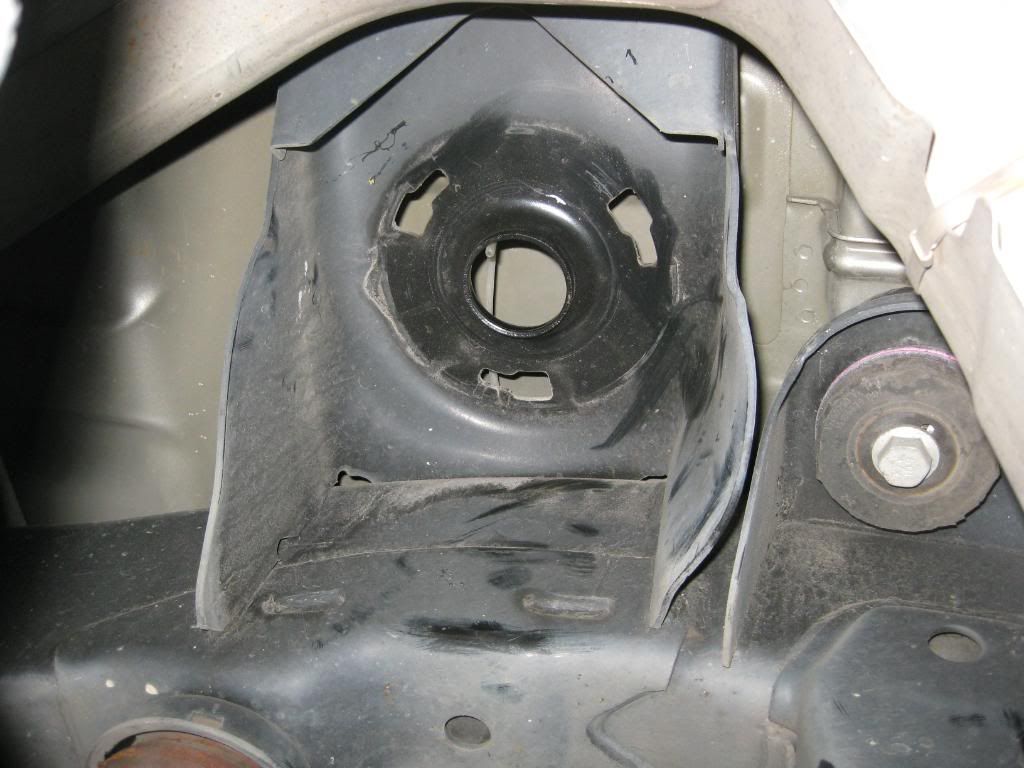
The removal of the airbags wasn't too tough. A good, firm counterclockwise turn (looking from below) will dislodge the unit. It's the same friction type fitting for the air line.
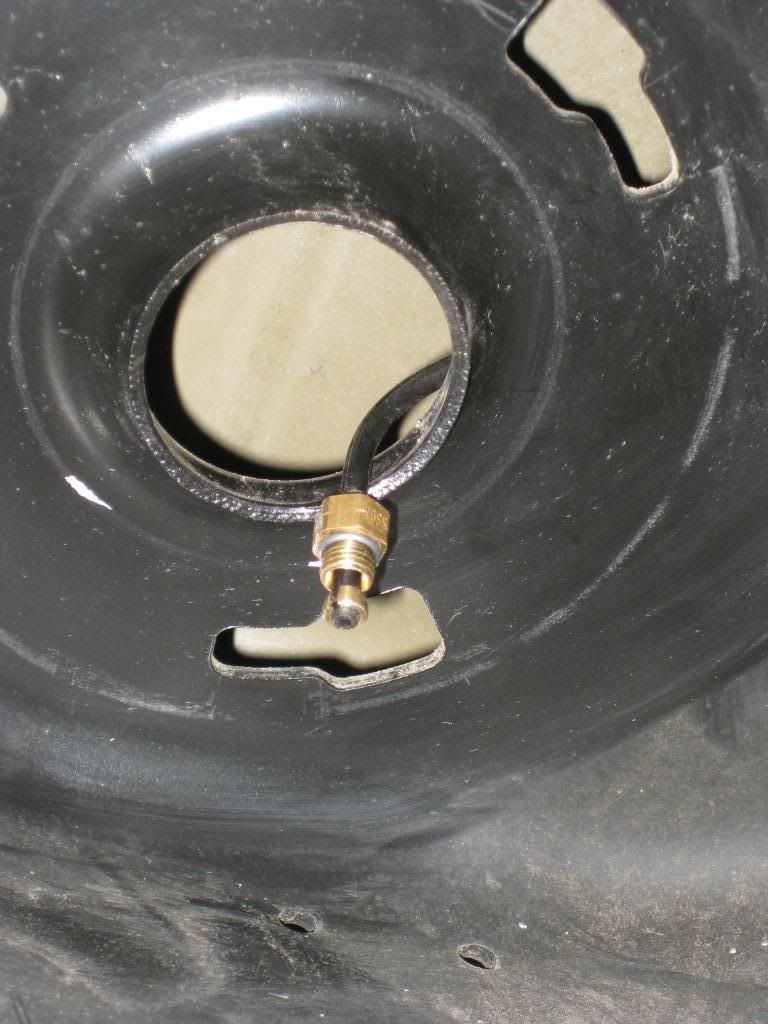
If you look closely, you can see the color of the air lines.
Black for driver's side.

Clear for passenger side.
The real challenge for me came when I installed the Arnott airbags. If you recall, the air line fitting is different from OEM. It is a compression type. There is a nut and a collar that provides the compression. To give me some slack in the air line, I disconnected some of the wire loom clamps. Once that's done, you have to slide the nut on the air line and then place the clamp 3mm from the end. Be very careful with the small clamp when expanding it. Don't ask me how I know. Let's just say I am thankful the old compressor used the same fittings.
Once you've got the fittings on the line, install it on the bag and insert the bag into the frame and turn clockwise to lock it in place. I had to play with it, but it did snug up. Now that you've got everything reconnected, replace the ECAS fuse up front.
I used my floor jack to raise the axle to fool the sensors and cause the pump to activate. I guided the bags onto the axle perches and it lifted the frame off of the jack stands.
Now, I did experience two loud pops/bangs while the bags were airing up. I thought they had burst, but I think it was them seating themselves fully.
That's it. You should be in business!
I ordered the air bags and compressor from Arnott. The sales guy gave me the ebay price and free shipping when I mentioned it.
Here's some old vs. new comparison pics:
You can see the difference in the air line fittings on the top of the airbags.
In this pic, I opened up the check valve from the old compressor. There was a small piece of metal that fell out. Not sure what it goes to, but I am sure it was important.
It looks like Continental makes the bags for Arnott.
Also picked up a new OEM compressor from Arnott.
I began by replacing the compressor first. Be sure to remove the 30 Amp fuse for the ECAS in the engine bay fuse box. Next, remove the spare. Once you've got the rear off the ground and supported at the frame, you can begin disconnecting the compressor.
Start with the pneumatic/electronic connections. For the XL's it's located on the outside of the frame on the driver's side. The air lines have a friction type fitting. Just push down on the collar and pull on the air line.
Next, just unbolt the compressor and reverse the steps for installation.
The removal of the airbags wasn't too tough. A good, firm counterclockwise turn (looking from below) will dislodge the unit. It's the same friction type fitting for the air line.
If you look closely, you can see the color of the air lines.
Black for driver's side.
Clear for passenger side.
The real challenge for me came when I installed the Arnott airbags. If you recall, the air line fitting is different from OEM. It is a compression type. There is a nut and a collar that provides the compression. To give me some slack in the air line, I disconnected some of the wire loom clamps. Once that's done, you have to slide the nut on the air line and then place the clamp 3mm from the end. Be very careful with the small clamp when expanding it. Don't ask me how I know. Let's just say I am thankful the old compressor used the same fittings.
Once you've got the fittings on the line, install it on the bag and insert the bag into the frame and turn clockwise to lock it in place. I had to play with it, but it did snug up. Now that you've got everything reconnected, replace the ECAS fuse up front.
I used my floor jack to raise the axle to fool the sensors and cause the pump to activate. I guided the bags onto the axle perches and it lifted the frame off of the jack stands.
Now, I did experience two loud pops/bangs while the bags were airing up. I thought they had burst, but I think it was them seating themselves fully.
That's it. You should be in business!
 These are Generation-II Rear Air Bags. I've got the same on my Voy. I got my local garage [$50.00 & coffee] to replace my system. I believe the compressor is on the outside rail on the passenger side on the SWB.