- Dec 5, 2011
- 1,584
Summary: How to replace upper ball joints and front wheel hub on a GMT360
Difficulty: 3 out of 5
Estimated Time: 1-1.5 hours per side
Part Numbers: Upper ball joint Moog k6664, Wheel hub Moog 513188
Cost: Ball Joint- $20-$100, Wheel Hub $100-$175 (depending on brand)
Tools Needed: Standard hand tools, 35mm axle nut, 24 piece ball joint service set, snap ring pliers, torque wrench and a grease gun. I'd also recommend a 1/2 inch socket set and breaker bar or impact wrench.
1) Pry off center cap. Remove axle nut with a 35mm socket. If you have an aftermarket axle shaft, it might be a 36mm nut instead.
2) Lift the vehicle in the air and support it with a jack stand.
3) Remove six 19mm lug nuts and set tire off to the side.
4) Remove the two 17mm caliper bolts and hang caliper so it's not hanging by it's brake hose. Set brake slides and pads aside.
View attachment 22859
5) Remove the two 18mm caliper bracket bolts and set aside caliper bracket.
View attachment 22860
6) Set the brake rotor aside.
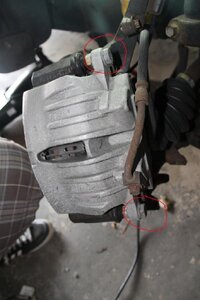
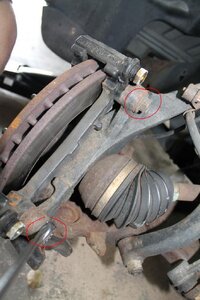
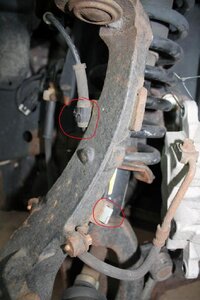
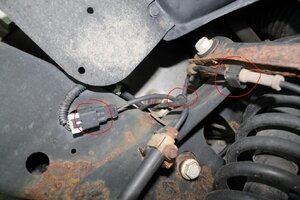
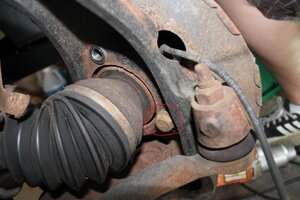
7) Completely remove the 5 plastic clips that hold the ABS sensor cable and unplug it, unless your new hub didn't come with the clips. Let it hang to the ground.
View attachment 22862
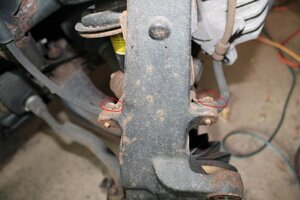
8) Remove the two 10mm bolts that hold the brake hose to the knuckle.
View attachment 22863
9) Remove the three 18mm wheel hub bolts. You may have to turn the steering wheel from side to side to get at the bolts.
View attachment 22865
10) My hub came out pretty easy after a hit with a hammer. Most hubs I come across aren't that easy, yours may not be so easy.
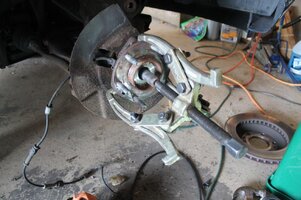
11) This maybe isn't necessary, but I used a puller to get the hub off the axle shaft. It was available so I used it, and it came off super easy. You might be able to tap the axle shaft out with a hammer.
View attachment 22866
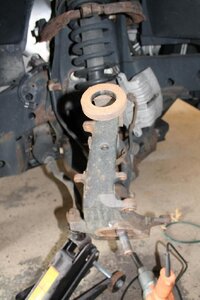
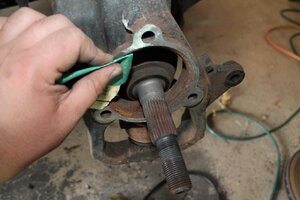
12) Once the axle shaft is out of the hub, remove the hub and dust shield from the knuckle. Also, clean the surfaces of the knuckle and dust shield of any rust or debris.
View attachment 22867
13) Remove the pinch bolt and nut (both are 15mm).
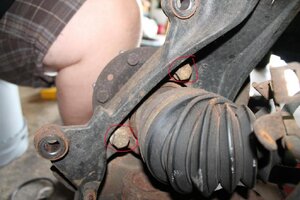
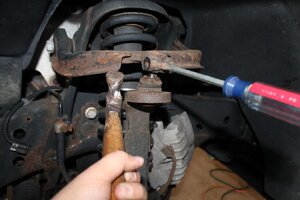
14) I wedged a screw driver to loosen up the upper control arms grip on the upper ball joint. Then, I was able to lightly tap up on the control arm to get it off the ball joint.
View attachment 22868
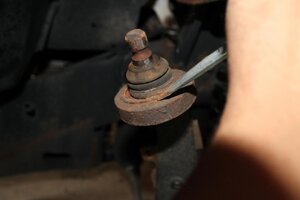
15) Remove the snap ring from the ball joint. I was able to tap it off with a screw driver and hammer.
View attachment 22869
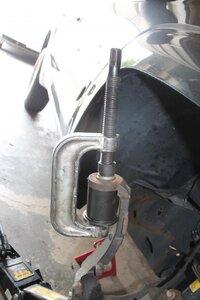
16) Here is the setup I used to remove the old ball joint. I didn't use the pieces as they were intended, since I don't think that the correct pieces came in the ball joint kit. The old ball joint came out with ease regardless. You'll have to be creative.
View attachment 22853
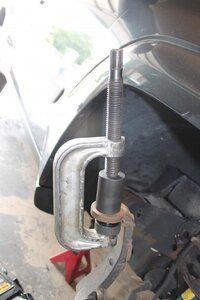
17) This is the setup I used to install the new ball joint. The kit does have the correct pieces for the install unlike the removal.
View attachment 22854
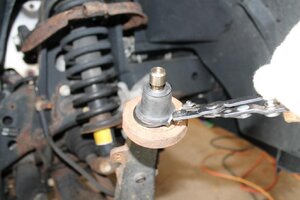
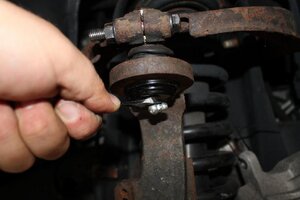
18) Install the snap ring.
View attachment 22855
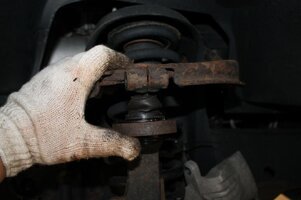
19) Push the ball joint and upper control arm together, I was able to maneuver it in place by hand.
View attachment 22856
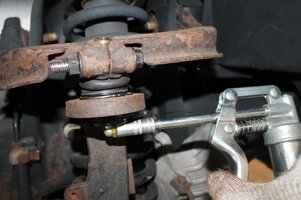
20) Install the pinch bolt (30 ft lbs), grease zerk, and then grease the ball joint with a grease gun.
View attachment 22858
21) Reinstall the dust shield and install the new hub assembly. Be sure to route the ABS sensor wire through the shield. The 3 hub assembly bolts should be torqued to 77 ft lbs. To get the hub on entirely, I had to tighten the axle nut down a bit to pull the axle into the hub (I torqued it down all the way later).
22) Reinstall the two 10mm bolts that hold the brake hose.
23) Route the ABS sensor wire and clip it back into place. There are a total of 5 clips. Plug the connector back in to the harness.
24) Put the rotor back on and reinstall the caliper bracket and bolts (110 ft lbs), slides, pads, caliper and caliper bolts (31 ft lbs).
25) Reinstall the tire, torque to 100 ft lbs.
26) Lower vehicle and torque axle nut to 103 ft lbs.
27) Install center cap.
Attachments
-
 IMG_1822.jpg67.7 KB · Views: 192
 -
 IMG_1824.jpg68.9 KB · Views: 97
 -
 IMG_1825.jpg62.6 KB · Views: 95
 -
 IMG_1829.jpg59.1 KB · Views: 86
 -
 IMG_1830.jpg55 KB · Views: 90
 -
 IMG_1832.jpg53.3 KB · Views: 86
 -
 IMG_1833.jpg74.4 KB · Views: 88
 -
 IMG_1809.jpg70.4 KB · Views: 91
 -
 IMG_1810.jpg88.3 KB · Views: 89
 -
 IMG_1811.jpg84.6 KB · Views: 86
 -
 IMG_1812.jpg90.1 KB · Views: 84
 -
 IMG_1813.jpg76.3 KB · Views: 84
 -
 IMG_1815.jpg81.8 KB · Views: 86
 -
 IMG_1816.jpg78.4 KB · Views: 86
 -
 IMG_1817.jpg94.4 KB · Views: 93
 -
 IMG_1818.jpg65.7 KB · Views: 89
 -
 IMG_1819.jpg65.4 KB · Views: 91
 -
 IMG_1821.jpg33.7 KB · Views: 90


