We have been having a fairly steady increase in the number of Engine Problems with the GM Atlas LL8 Motors that all eventually leave the Member Owners wondering about whether the problems involve the Lubrication System and prompt the Head Scratching Question of “I wonder what the Hell is Really going on inside of my Engine…?”. Part and parcel to that question leads toward focusing on the Oil Filter as the first place to look for any engine component breakdowns that will reveal themselves as evidential particles and residues during a proper Oil Filter Autopsy.
And that leads to the next exemplar question that is often faced by Large Snakes intent upon consuming the inner contents of an Ostrich Egg … without the desire to have to Swallow the Damned Thing Whole… or accidentally break open its shell and have all the Lovely Contents drain out all over the African Plains. That analogy is not such a far reach as a comparison here to wanting to Open up an Oil Filter to figure out what if anything a Dying Engine may have left in the wake of its decline as solid proof of other mechanical problems inside.
Just as in the “Snake with an Egg” issue… we face the dilemma of what will happen when we decide to either Cut, Grind, Snip, Shear, Drill, Hacksaw… or Hammer our way inside of the Thin Metal Cannister of the Oil Filters and wind up doing so much damage to it, that the metal remnants we create trying to Burglarize the thing leaves more metal particles and damage than might be discovered inside of its “Paper Filter Innards” and cause more harm than good by confusing the issue.
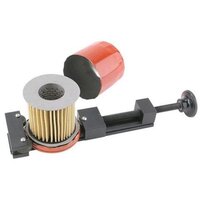
We will have to be as clever as that “Egg-Eating Snake in The Grass” and use a Specialty Tool to Cut Just Above The Base of the Oil Filter and separate the Thin Outer “Egg Shell” from the item… and not wreak havoc on its contents. After that proper “Surgical Cutting” happens… we should be prepared to empty the contents into several plastic containers (Opaque Milk Jugs work best because you can better see the color of the oil as it drains out… and be able to shine a bright Flash Light” from the outside in to look for any errant pieces of Metal. You can also run a strong Magnet along the outside of the containers to pull any Ferrous Metal particles up the container wall and get a closer look at them.
Making a closer examination of the lengthy Filter Paper inside should be done in a wider plastic container partially filled with Kerosene to dissolve the remaining thickened Oil and Sludge and sort of “Placer Mine” whatever is left in there for any particles of non-magnetic metals such as Babbitt Bearing that can appear as a mixture of Aluminum Silicate, Copper and in some cases even Lead (Pb… NOT #2 Pencil Graphite Carbon). After using a Soft Paint Brush to clean and loosen everything stuck between the Filter Paper Folds... All of these liquid and solid residues should be drained through Large Coffee Filters in order to isolate the Solid Particles and leave what is left behind isolated for a Magnified Inspection.
Any “Iron Metals” found can only come from the Crankshaft, Connecting Rods, Internal Gears, Valve Train and even link and Timing Chains on occasion. But if the reason for the Autopsy of the Oil Filter was due to hearing severe internal noises like thumping, pounding or grinding and anything metallic shows up during your examination that actually sticks to your Magnet… More than likely… a Major Engine Tear-Down will be the follow-on to get to the bottom of the problem… Or perhaps not ...and the R&R of the entire Motor in exchange for a Decent Donor Motor will demand serious consideration.
If ANYTHING is observed that looks metallic inside there… getting good close up images to post back here will allow your Brethren at GMT Nation to join with you in examining things more closely so that you can get as many critical opinions as possible to add to your thoughts about what to do next. Once the Autopsy is completed … put everything you have found left over from this analysis inside of Plastic Zip-lock Bags and then hang on to this evidence for comparison to other Oil Filter examinations you might have to conduct later on.
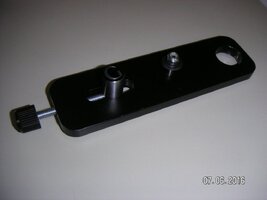
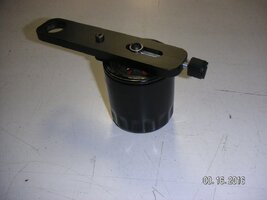
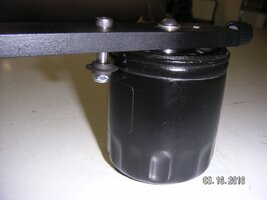
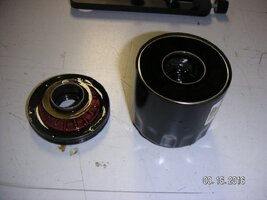
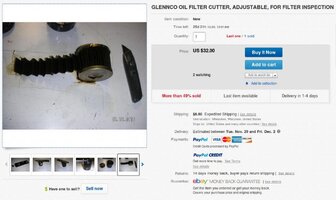
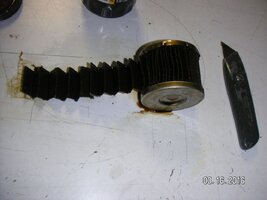
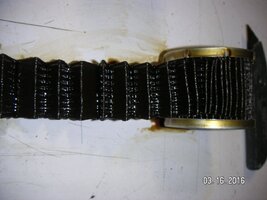
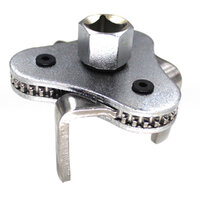
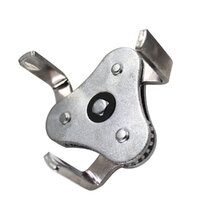
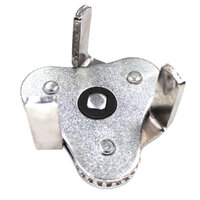
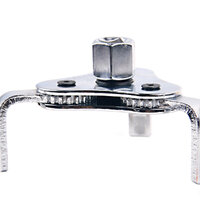
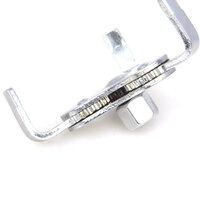
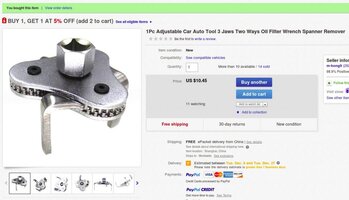
If you search eBay or Amazon for “Oil Filter Cutter” Tools… you will find a bewildering array that will start at around $38.00 and range as high as several $100s … Yeah … I know… it is absurd… but there really is no other way to do this right without the inconvenience and expense of having to pay a professional Mechanic to do this job for you. And unless you are looking over his shoulder during the tear down... you really won’t know the Truth of The Matter without doing this task First Hand yourself. Attached are some images that demonstrate how simple and elegant this apparatus really is… and convey the idea that without using something like this One Off Tool… the problem of “Eating this Egg” becomes very much more difficult:


Last edited:
