Hey guys,
I'm bumping my own thread bringing it back to life!

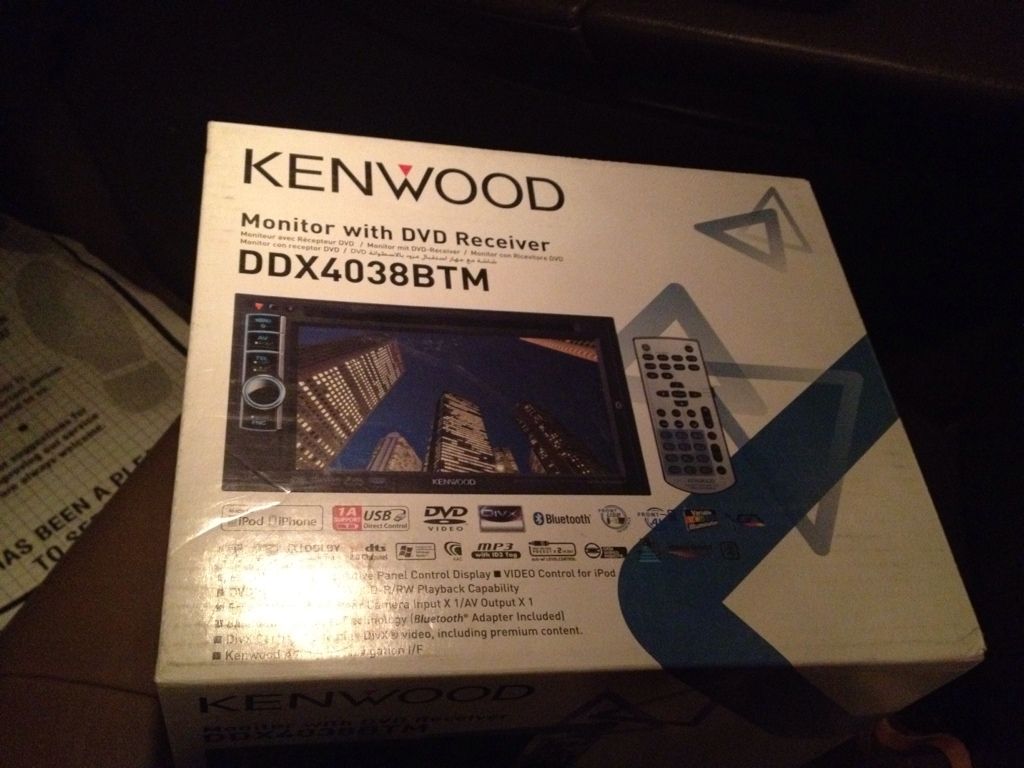
I need to finish this by tomorrow or I won't have another chance for an installation for another 6 months or so! Yesterday I went down to the market and checked out a few HU's so i'll be settling on one today probably. I got the LC-GMRC01 and the Axxess ASWC so yes i'm screwing the passengers in the back seat. No longer my concern lol!
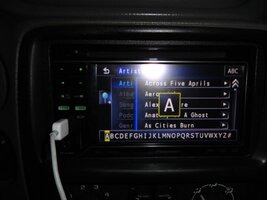
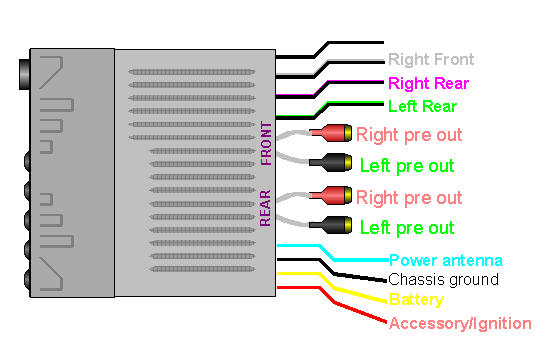
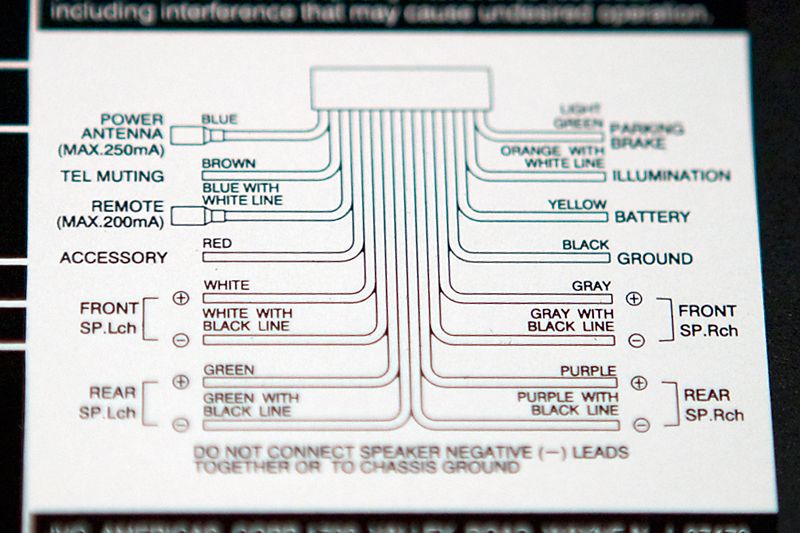
My question is would the wires from the aftermarket have the same color wires as the LC-GMRC01 interface? or would I need to go through the manual of the HU to find out which is which? By doing a quick google search saw a JVC HU wiring diagram and they seemed to be the same. (Pix attached in the end)
Only reason I'm asking is because I need to know how much time it'll take so can plan my day lol!

If the wire colors are completely different i'll go and buy my wife an anniversary gift first

I'm thinking of doing the wiring between the LC-GMRC01 and the HU wiring in my apartment where it's cool before taking anything apart in the heat downstairs lol! This is a first time for me, so any pointers would be good

Now to power up the aftermarket HU i'm assuming as soon as I plug it into the GM harness i'm good to go right?
Last but not Least I have a camera already installed and all the wiring is done. Is all what I need to do is just plug it into the AV slot into the HU? I'm pretty sure some sort of wiring needs to be done at the HU side but not sure what yet. It's already been hooked up to the tail lights to power up when in reverse.
I also understood earlier that the ASWC gets plugged into the LC-GMRC01 but now thinking that's Bullshit after going through the instructions.
Here's the installation guide steps for the LC-GMRC01:
1. Connect the Yellow wire to the radios constant/memory wire.
2. Connect the the Red wire to the radios accessory wire.
3. Connect the Black wire to the radios ground wire.
4. Connect the Blue/White wire to the radios amp or antenna turn on.
5. Connect the Orange wire to the radios illumination wire. If the radio does
not have an illumination wire just tape up the Orange wire.
6. Connect the Orange/White wire to the radios dimmer wire. If the radio does
not have a dimmer wire just tape up the Orange/White wire.
7. Connect the White wire to the radios left front (+) speaker wire.
8. Connect the White/Black wire to the radios left front (-) speaker wire.
9. Connect the Gray wire to the radios right front (+) speaker wire.
10. Connect the Gray/Black wire to the radios right front (-) speaker wire.
11. Connect the Green wire to the radios left rear (+) speaker wire.
12. Connect the Green/Black wire to the radios left rear (-) speaker wire.
13. Connect the Purple wire to the radios right rear (+) speaker wire.
14. Connect the Purple/Black wire to the radios right rear (-) speaker wire.
Here are the ones for the Axxess ASWC
1. Connect the Black wire of the ASWC (pin 6) to ground. You may use the same grounding point as the aftermarket radio.
2. Connect the Red wire of the ASWC (pin 12) to a 12 volt accessory wire, one that turns on and off with the ignition key.
3. Locate the correct SWC wire(s) in the vehicles radio or secondary harness as described in the vehicle information sheet found in the Axxess website. Connect the correct wire color(s) from the ASWC to the vehicles steering wheel control wire(s) in the vehicle.
We recommend that the wires are soldered for the best and most secure connection. T-Taps are not
recommended due to the higher chance of an intermitted connection (this means you Zack).
4. If you are using an Eclipse or Kenwood radio, plug the female 3.5mm connector with the Brown and Brown/White wires into the male 3.5mm connector of the ASWC harness.
* For Kenwood radios: Connect the Kenwood SWC wire (normally Blue/Yellow) to the Brown wire of the ASWC. Isolate and tape the Brown/White wire, it will not be used.
* For Eclipse radios: Connect the Eclipse SWC wires (Normally Brown and Brown/Black) to the Brown and Brown/White wires of the ASWC. Brown goes to Brown and Brown/White goes to Brown/Black.
5. For all other radios, plug in the male 3.5mm connector of the ASWC into the back of the
aftermarket radio, designated for an external SWC control interface. Please refer to the aftermarket
radios manual if you are in doubt where the 3.5mm connector of the ASWC goes.


 (I just hope they ship internationally LOL)


