Not the easiest job I've done but not impossible.
I thought I'd post my experience etc to benefit others who attempt it.
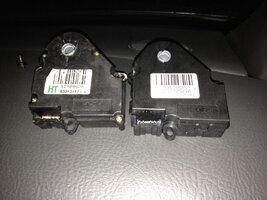
The part I used to replace it was a doorman 604-115
This is for the door that is at the top of the system on the drivers side.
You don't need to remove the entire dash to do this although it probably is much easier that way.
Before doing anything I removed the fuse (HVAC B) located under the rear seat behind the driver
I removed all the plastic panels on the driver side below the speedo.
There is a metal shield held in by (4) 10 mm nuts that surrounds the steering column.
To the right next to the center column is a triangular shaped bracket that has to be removed.
It is fastened from behind on the very right by two bolts that are hidden and impossible to reach.
On the side the can see, there are two 1/2" nuts that are tack-welded to the part.
Get your 1/2 deep 3/8 drive socket and a short ext on them and crack the welds loose and remove them. (You won't be putting them back unless you try to use some sort of speed nut and send the bolts in from the front)
OK, the bracket is loose but it is trapped by a piece of plastic that secures the dash knee cover.
At this point you can try to get the bracket off by prying it over the studs, hoping the plastic will bend enough (It did'nt for me) or you can be proactive and cut it at the top an try bending it to the right which should give you enough room (probably what I should have done)
Now that you have the bracket removed, you also need to remove the duct for the driver side floor heat that runs from the center to the left.
Be careful there is a sensor in the back of the duct, I pulled the duct loose and the pushed it down and out of the way leaving the sensor connected, there is enough room to do this.
Your almost there! The actuator is located behind the bracket that has the studs which held the shield and the triangle bracket.
It is secured by two screws, use a 7/32 or 5.5 MM deep socket to remove the uppermost one.
The hard one is the one just behind the bracket, you cant get a socket wrench on it but the 7/32 small socket by it self will fit.
It is not very tight, I was able to remove it using use my fingers turning the socket. People with big fingers are not going to be able to do this.
Now that the screws are out you have to remove the actuator from the shaft.
Here is where a special tool from GM or some homemade "C" shaped press is used to get it off the shaft.
I was told the shaft is glued to the actuator, mine was not.
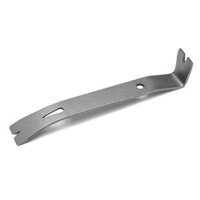
Well I didn't use the tools but I used a small pry bar which I use for small nails and carefully pried it loose, it came apart very easily using the long curved part of the tool.
View attachment 20170
Installation of the new actuator:
The new part came with the drive gear centered, no problem, just move the stud on the door shaft to allow for it to fit in the actuator.
The stud on the mode door has flats on two sides and also has a piece about 1/2 long that extends beyond. This is the part that fits the shaft tightly into a hole that has small teeth. I assume this is take the slop out and for more precise drive of the door flap. This is the connection you are trying to release when you pry it apart.
Once you have it lined, up reverse the disassemble procedure give the new actuator a good push at the drive area to make sure it seats well. Securing the screws will help to fully seated the shaft in the actuator.
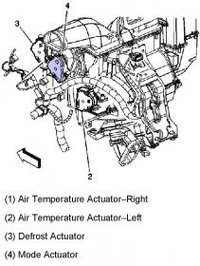
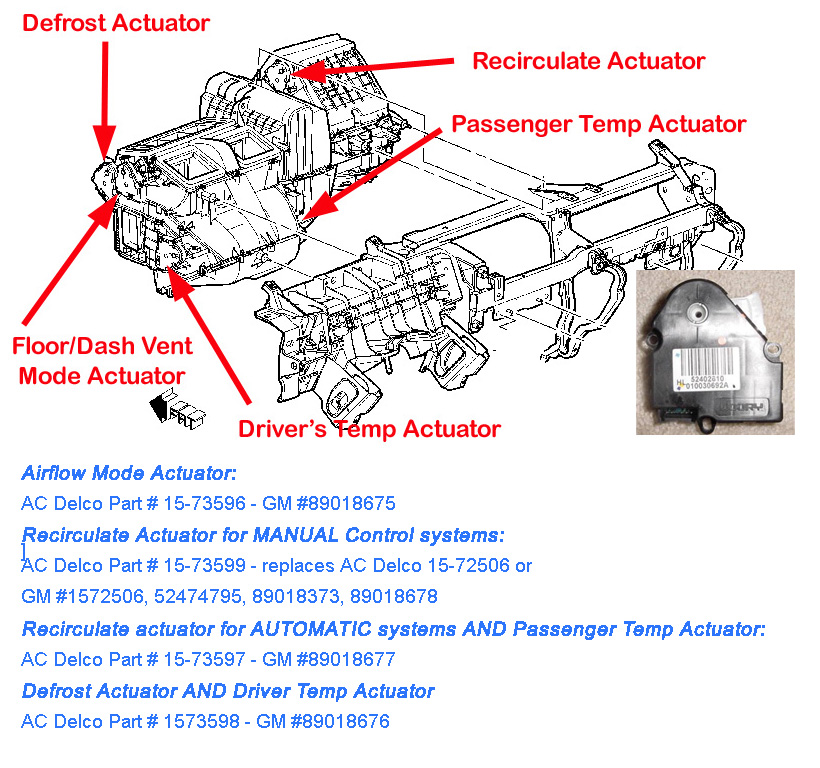
A good drawing of the entire AssemblyView attachment 20173
Important:
When you re install the fuse, turn the ignition key to the "on" position and leave it here for about 40 seconds before starting the vehicle. This allows actuator to re-calibrate.
Hope this helps!


