- May 13, 2013
- 235
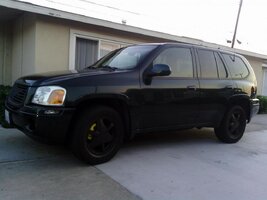
I've been using all of the things I have learned on here to mod my truck. I'll post more as I do the projects. My list of mods include:
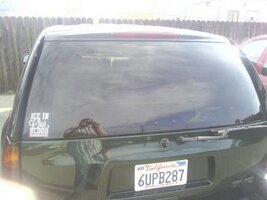
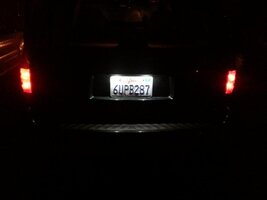
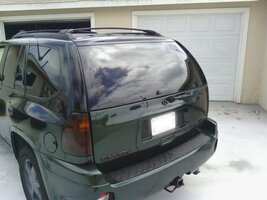
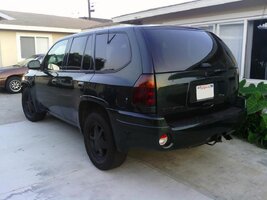
Nightshade Taillights
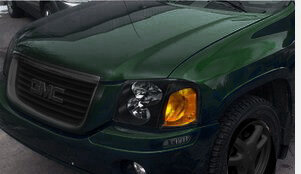
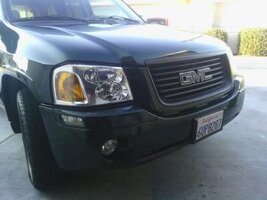
Plastidip emblems
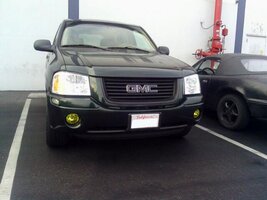
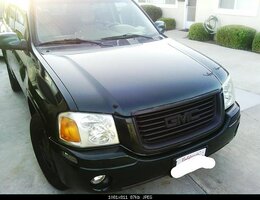
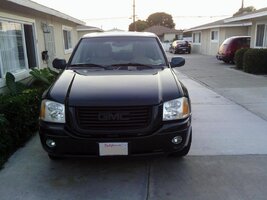
plastidip whole grille
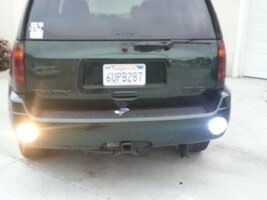
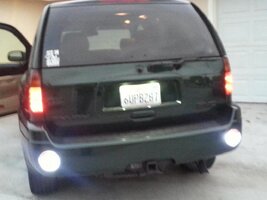
Plastidip black lower grille vent (it's hard to see even when you are looking straight at it since my voy is polo green. But it's the front bumper lower vent under the license plate. I taped it off and did it flat black.)
painted engine bay
painted stock exaust flat black (going to remove that dang trash can soon)
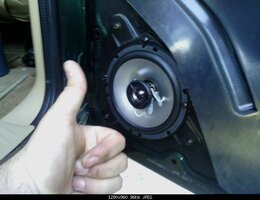
replace factory speakers with Kenwood 2 ways
K&N drop in filter
removed door panel molding
removed roof rack
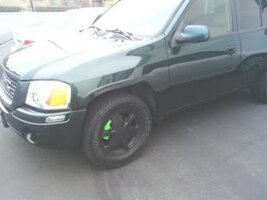
plasti dip wheels black
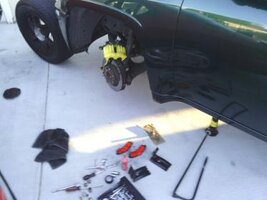
painted calipers yellow
removed black pillar molding
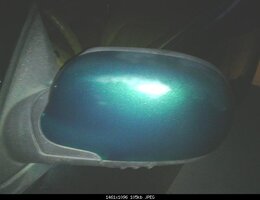
color matched rear view mirror caps
used ultimate compound and restored faded paint
as well as the regular maintenance what's the point of it looking good if it runs like crap.
Future Mods
Belltech Stage 2 Lowering kit (already got a deal on it since I'm in the auto industry :wootwoot:
22" cadillac escalade wheels with GMC center caps (WAAAYYYYYY in the future)
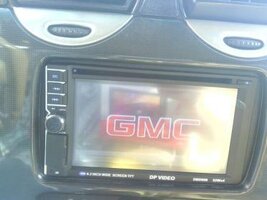
New Kenwood double din head unit
12" sub & amp
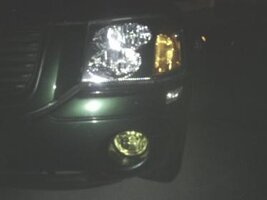
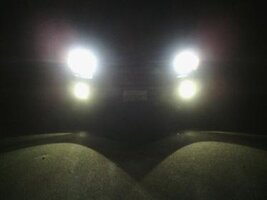
Headlight mod ( black housing with one coat of nightshade on orange turn signals)
Resonator delete
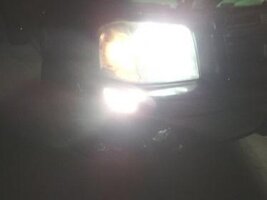
HID Upgrade
View attachment 30607
View attachment 30608
View attachment 30609
View attachment 30610
View attachment 30612
View attachment 30611
View attachment 30613
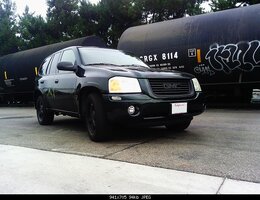
I need to get some updated pictures of the whole truck since I've worked on it. You may notice gun metal grey wheels, those are gone as well as the plastidipped hood stripes.
Nightshade Taillights
Plastidip emblems
plastidip whole grille
Plastidip black lower grille vent (it's hard to see even when you are looking straight at it since my voy is polo green. But it's the front bumper lower vent under the license plate. I taped it off and did it flat black.)
painted engine bay
painted stock exaust flat black (going to remove that dang trash can soon)
replace factory speakers with Kenwood 2 ways
K&N drop in filter
removed door panel molding
removed roof rack
plasti dip wheels black
painted calipers yellow
removed black pillar molding
color matched rear view mirror caps
used ultimate compound and restored faded paint
as well as the regular maintenance
what's the point of it looking good if it runs like crap.Future Mods
Belltech Stage 2 Lowering kit (already got a deal on it since I'm in the auto industry :wootwoot:
22" cadillac escalade wheels with GMC center caps (WAAAYYYYYY in the future)
New Kenwood double din head unit
12" sub & amp
Headlight mod ( black housing with one coat of nightshade on orange turn signals)
Resonator delete
HID Upgrade
View attachment 30607
View attachment 30608
View attachment 30609
View attachment 30610
View attachment 30612
View attachment 30611
View attachment 30613
I need to get some updated pictures of the whole truck since I've worked on it. You may notice gun metal grey wheels, those are gone as well as the plastidipped hood stripes.
Attachments
-
 IMG_20130814_075046_0.jpg58.6 KB · Views: 377
 -
 IMG_20130728_143449_0 (1).jpg38.7 KB · Views: 85
 -
 IMG_20130821_200505_0.jpg23.5 KB · Views: 369
 -
 1273338_10200895516008429_433911818_o.jpg36.6 KB · Views: 373
 -
 1275216_10200942051531788_1511476912_o.jpg46.1 KB · Views: 373
 -
 IMG_20130906_185312_0.jpg29.7 KB · Views: 373
 -
 1237267_10200968948644199_1371289627_o (1).jpg37.5 KB · Views: 375


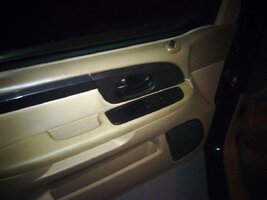
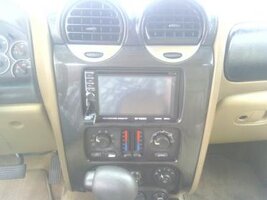
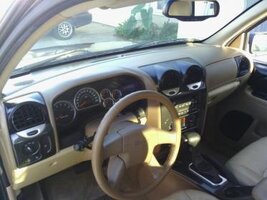
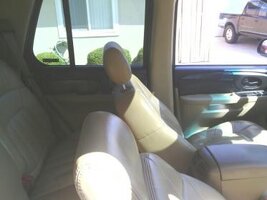
 and I notice the overspray in this picture. I cleaned it off already with some q tips and acetone. I guess I should have taken another picture but oh well. I plan to do the two rear like this probably tomorrow & the center dash (my trim is the carbon fiber look, but all of the tan is going black. ) then eventually a few pieces on the dash as well. I don't know, the dash is negotiable right now.
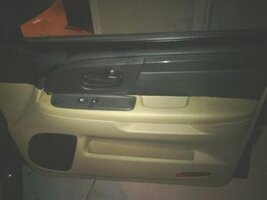


 only because you mentioned it, any time frame on the belltech shocks? Only pics I see of the belltechs are with plus size wheels