dude I'm fighting back tears of anger/frustration right now!
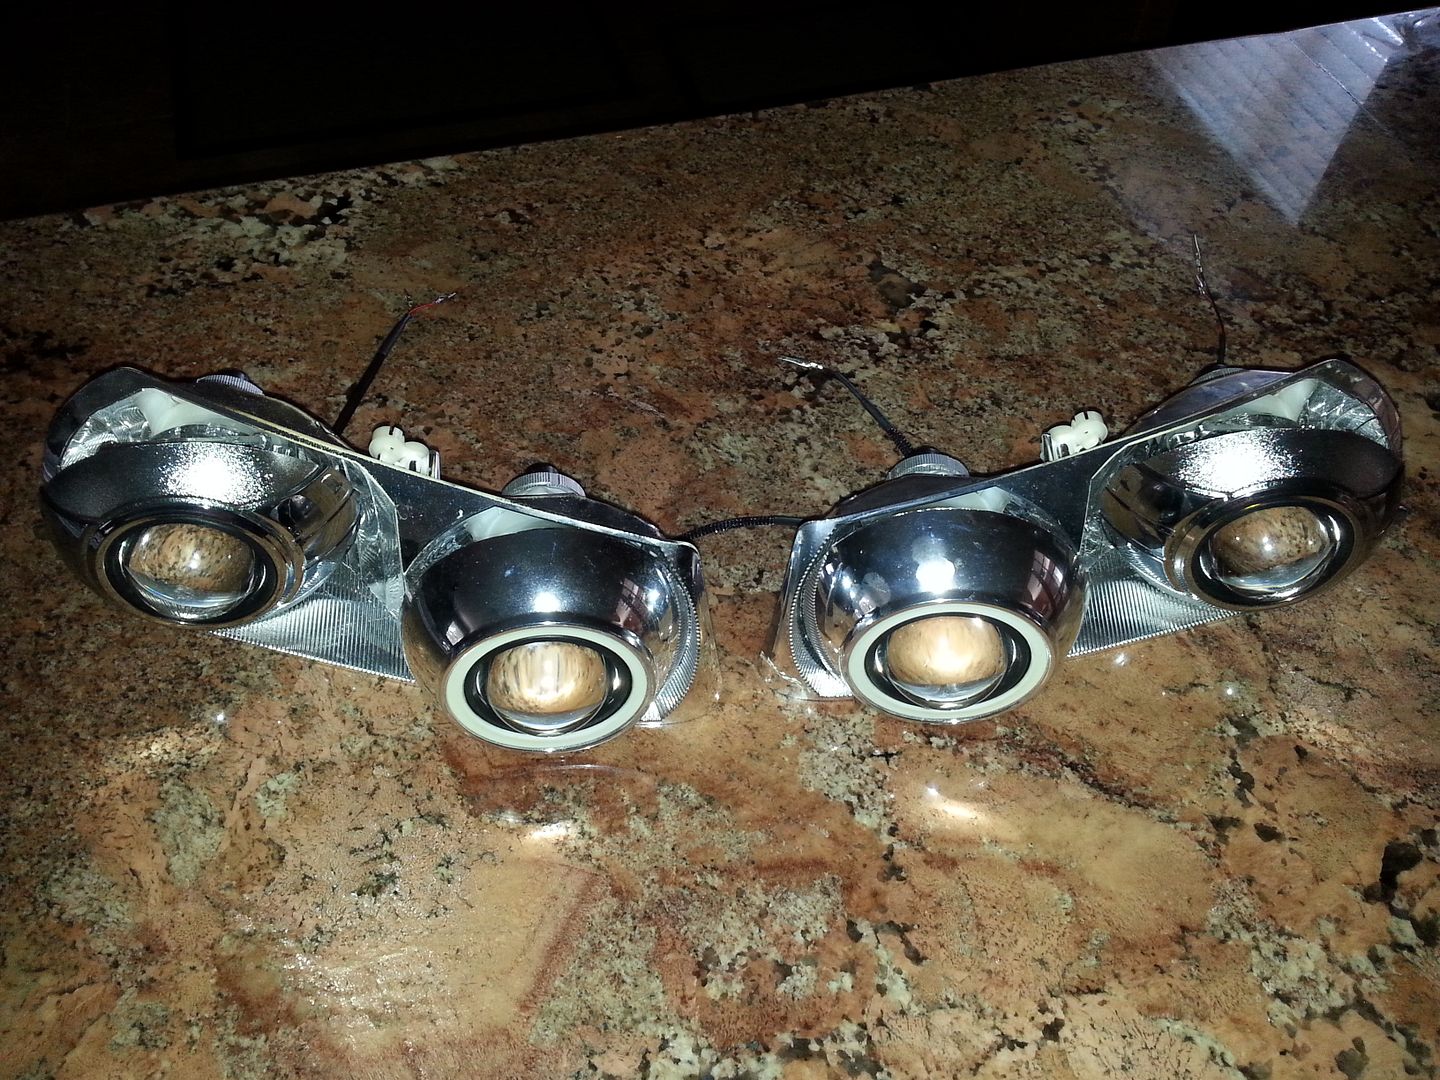
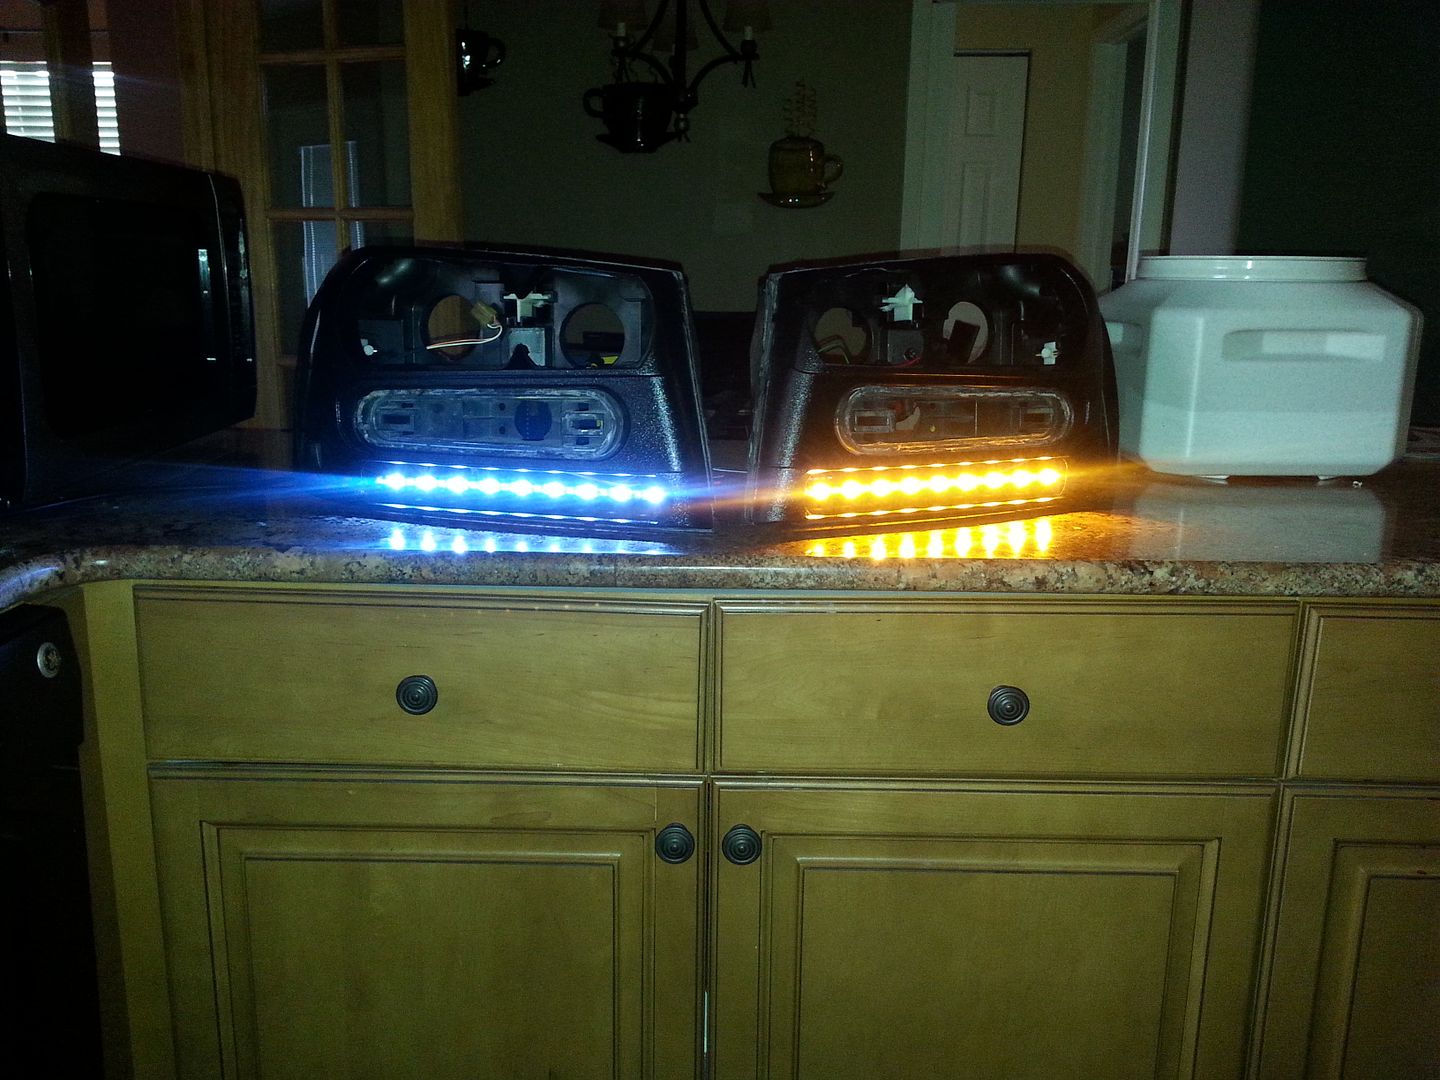
got everything aimed and jb welded up good and sturdy...popped one of the mounting tab brackets off (easily fixable as it broke off of the bowl with a good chunk for plastic weld to grab) but then I started testing everything for the final time, and 2 of my led's on my halos are out

fkcu MEEEEEEEEEEEEEEEEEEEEEEEEEEEEEE......I thought all the damn headaches with this project were behind me.

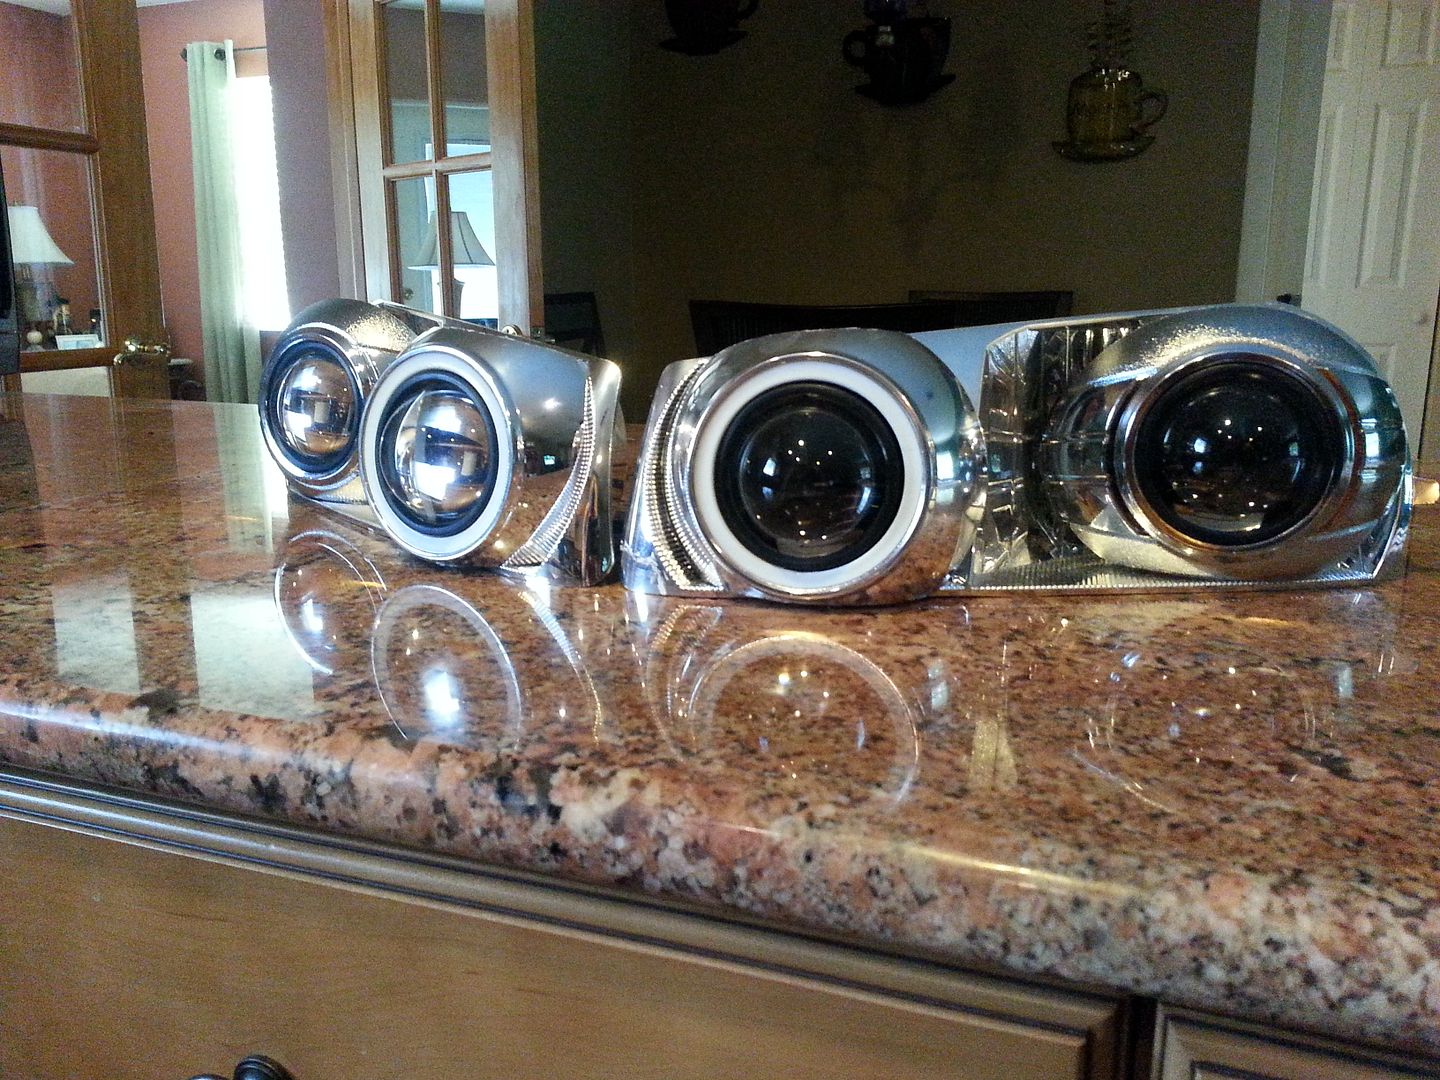
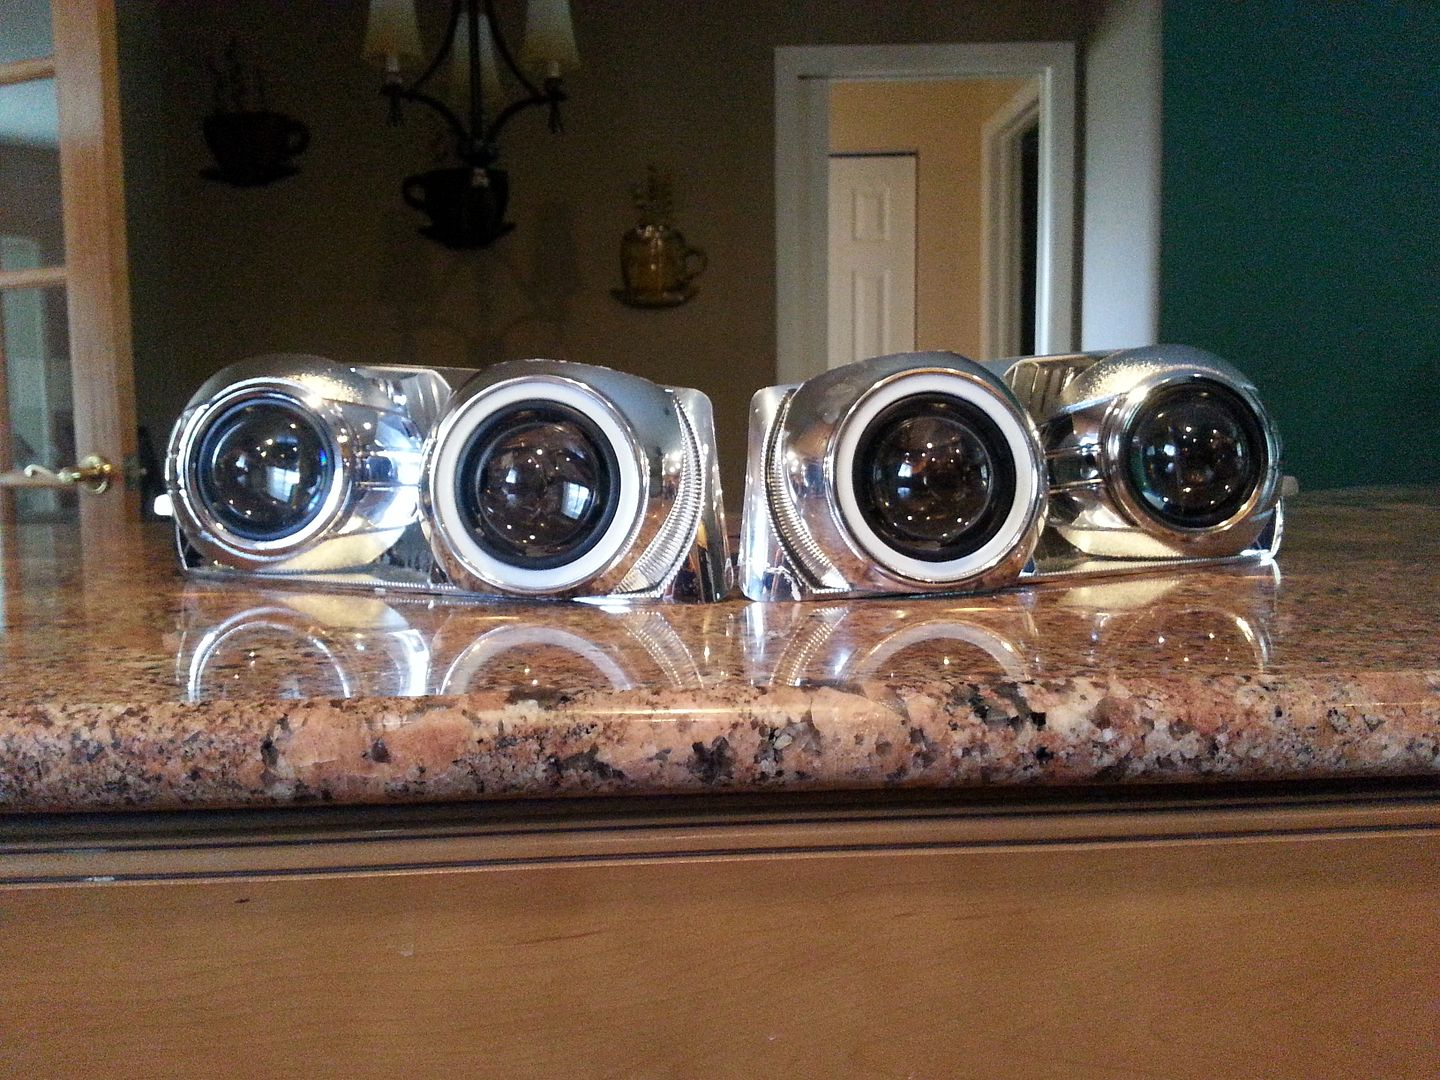
so, since the mini h1's shroud mount from the back of the projector bowl, and the projector is already welded into place, I can either:
1-rip it all back apart, fix the led's, and jb weld it back again
2-try my damn best to wiggle and poke around with a pick to get them on.
3-say fuck it and go without them...which I'm really not too keen on considering how much work this whole thing has been.
excuse me, while I go make myself a considerably strong drink~


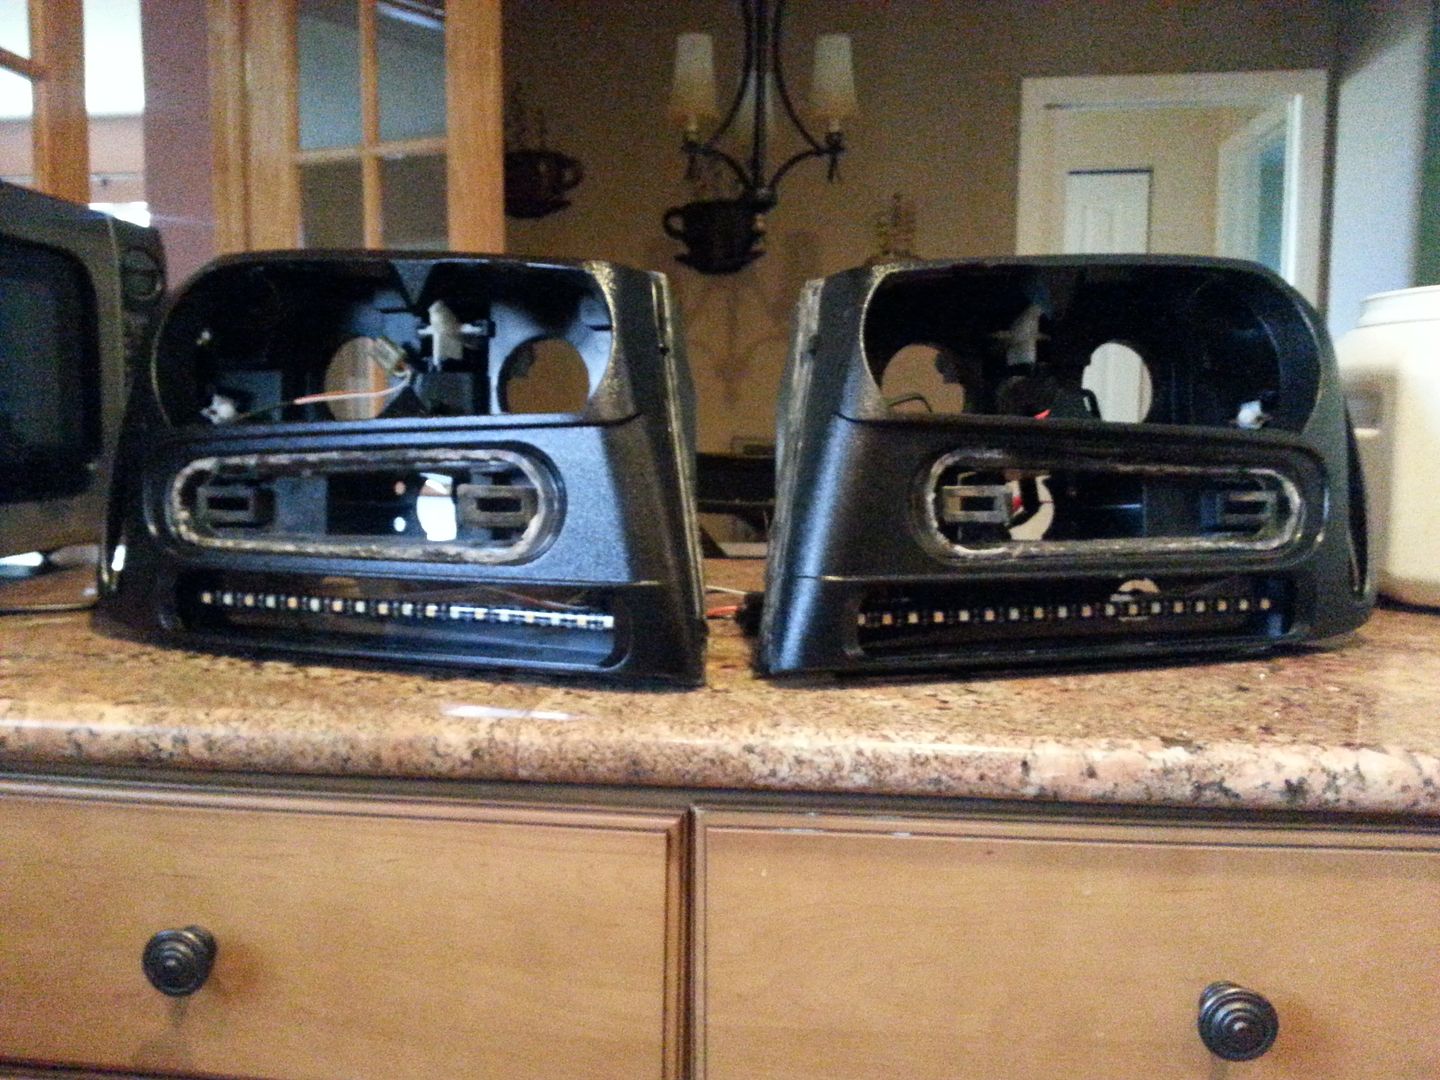
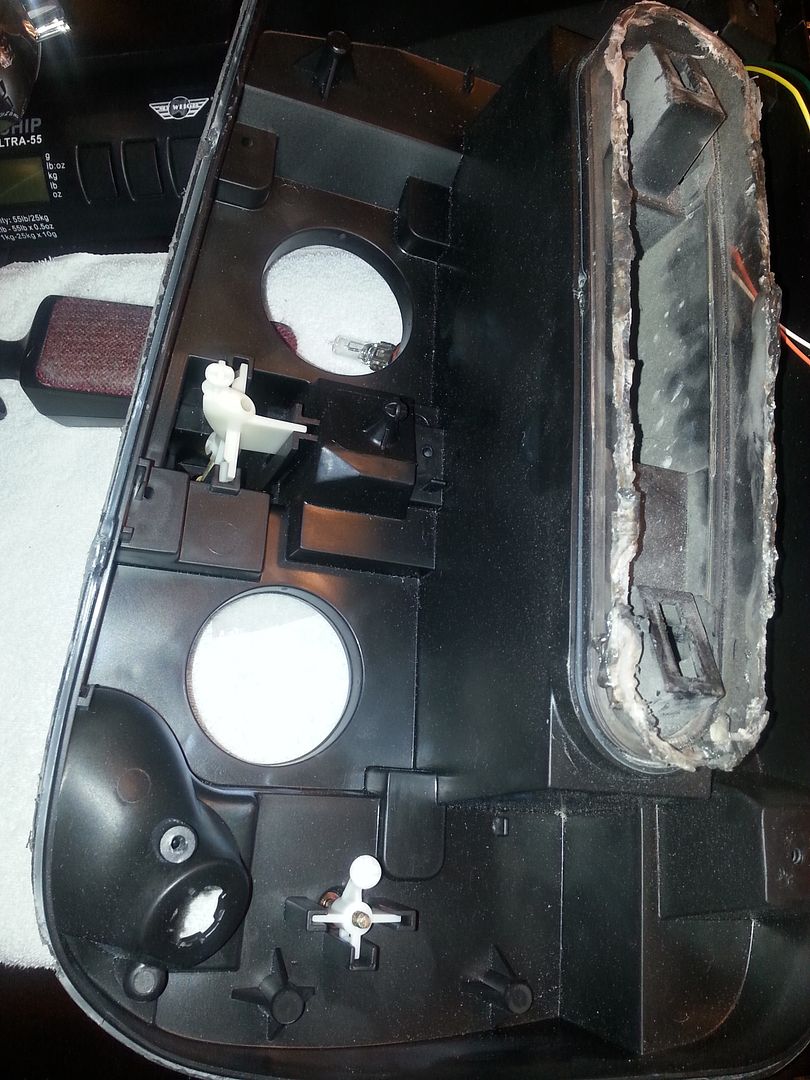
 ... or try to pull the reflector bowl out of the housing above a tile floor, with no type of padding underneath you, and then drop the damn thing right on one of it's corners


 One of my worst nightmares, getting everything tested and put together, and then have something fail...