- Apr 27, 2014
- 19,409
You may be asking yourself, why would I want to rebuild my ignition switch? Well after you see how simple it could be you may decide to give it a try. The design is overly simple, and unless your switch has melted very easy to refresh. This procedure will save you money, and if you are broken down this procedure may get you on the road quickly.
I am going to take this further and suggest to you that you need to change/refresh your switch whether you know it or not. If you are experiencing any of the following, start with the ignition switch!
♦ Misfires
♦ Rough idle
♦ Poor Fuel Mileage
♦ Power loss
♦ Transmission not shifting
♦ Instrument cluster not working
♦ Lights dimming
♦ Any of the following codes P0740, P0753, P0758, P0785, P1860, P1633, and more
♦ Random CEL codes, that come back over and over again
♦ Many other symptoms not listed
Supplies needed:
♦ Contact cleaner
♦ Emery cloth minimum of 320 but 600 grit would be best.
♦ Heat gun/hair drier
♦ Dielectric greas
♦ Basic hand tools
Let's begin shall we?
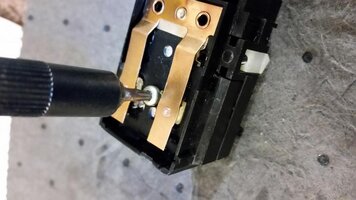
After removing the "dust caps" (side covers) from the switch remove this screw. This will disassemble the entire switch.
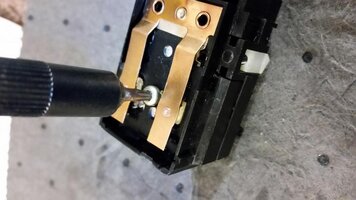
It will look like this
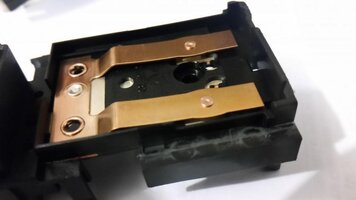
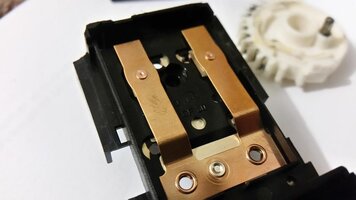
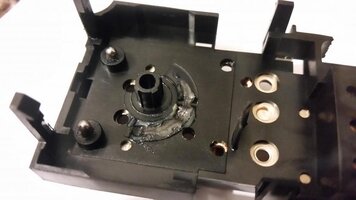
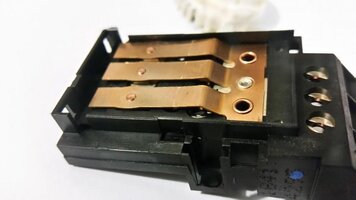
At this point it will be necessary to remove all of the old grease from the switch, and thoroughly clean the moving parts, pins, and case.
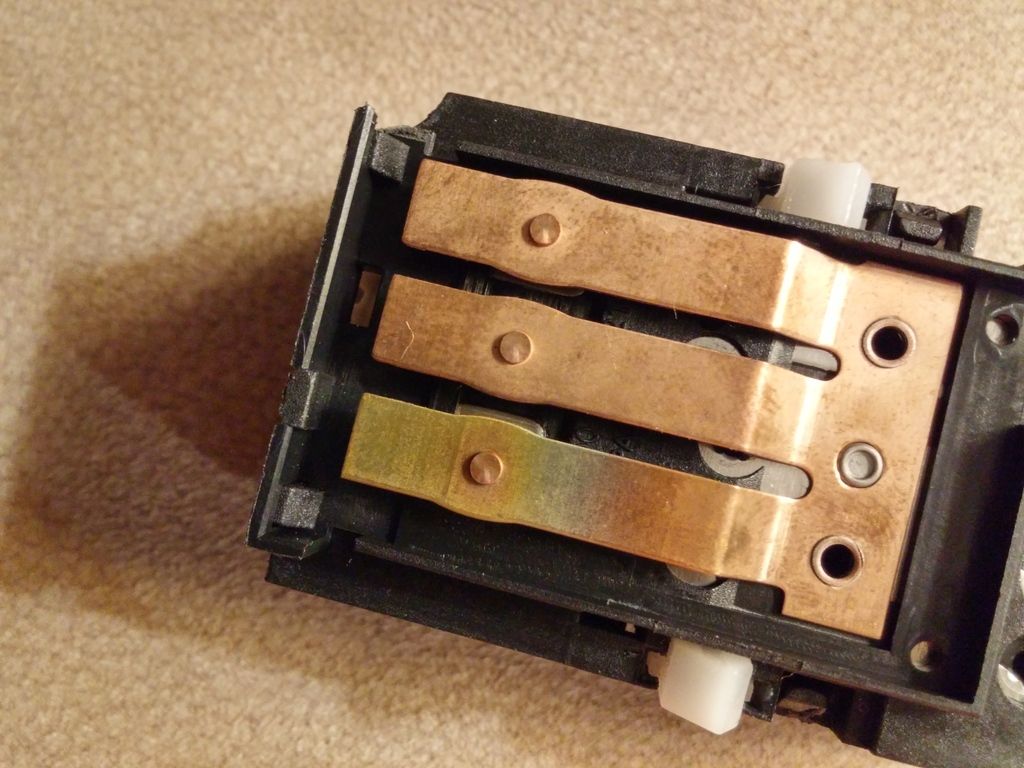
Next you are going to clean the contacts, they are made out of copper and easily get corroded.
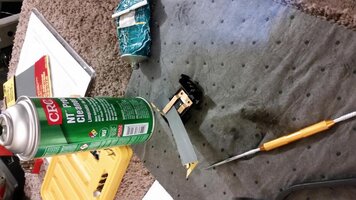
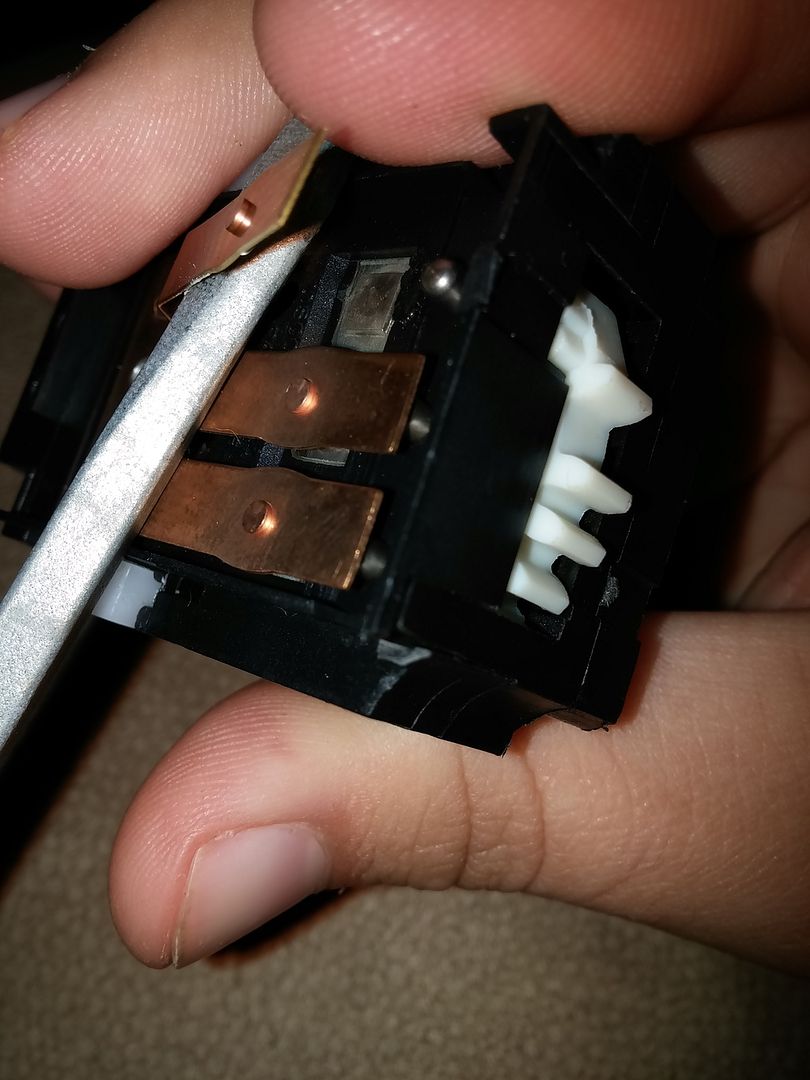
It is CRITICAL that use use a fine sandpaper, I chose a 1000 grit sand paper, However as you can see in some of the picture the best material to use is emery cloth strips.
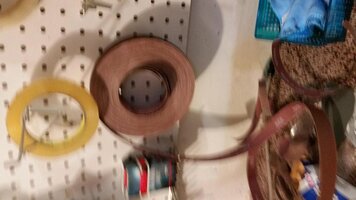
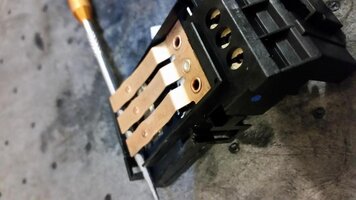
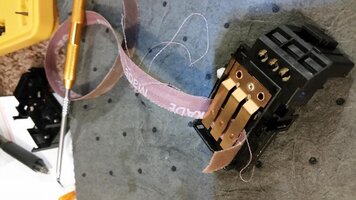
You will need to pull the emery cloth back and forth many times, you need to think of this as polishing not sanding. You want a very smooth surface because you need maximum contact surface.
Once you have cleaned the contacts and verified they are shiny, spray them with some contact cleaner and dry thoroughly with a heat gun or blow drier.
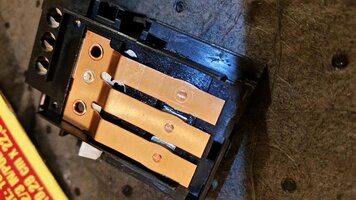
Now comes the dielectric grease. This will keep the contacts from getting corroded in the future.
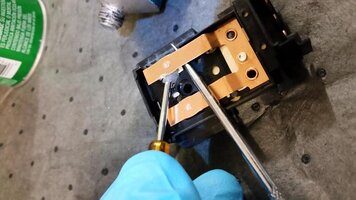
Also apply the grease where the pins and moving parts will make contact with the case.
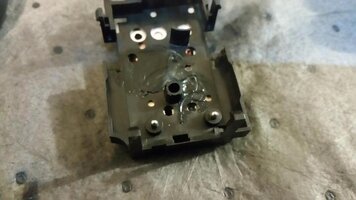
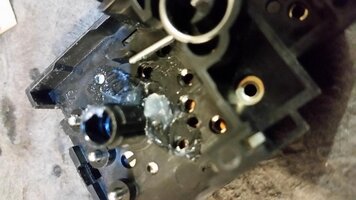
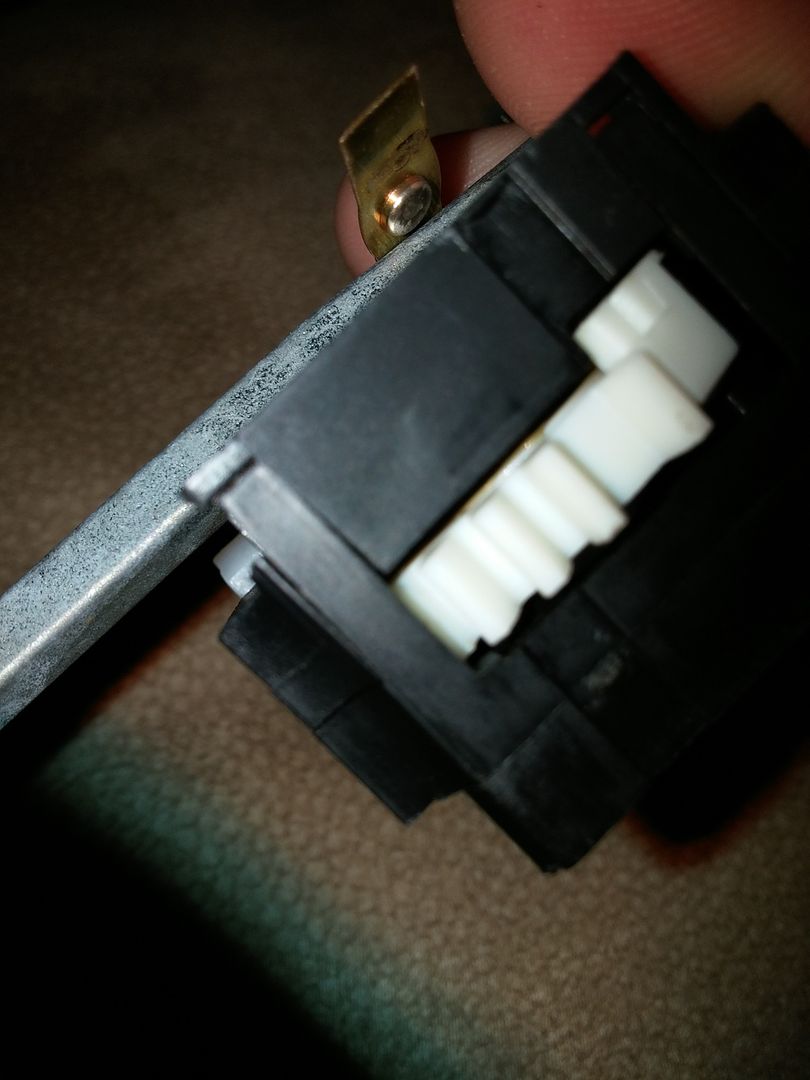
Reassemble the switch, don't worry the gear will only go in one way.....don't force anything.
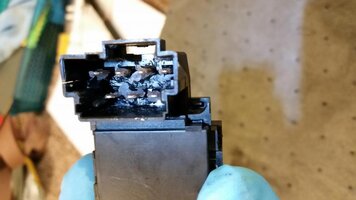
Snap the dust covers back on. Then ad some dielectric grease to the main power pins.
DONE! The devil is in the details, this is a simple procedure but you must be thorough for it to be beneficial!
If you have any question about this procedure feel free to send me a private message.

9490 <--- For searching purposes
I am going to take this further and suggest to you that you need to change/refresh your switch whether you know it or not. If you are experiencing any of the following, start with the ignition switch!
♦ Misfires
♦ Rough idle
♦ Poor Fuel Mileage
♦ Power loss
♦ Transmission not shifting
♦ Instrument cluster not working
♦ Lights dimming
♦ Any of the following codes P0740, P0753, P0758, P0785, P1860, P1633, and more
♦ Random CEL codes, that come back over and over again
♦ Many other symptoms not listed
Supplies needed:
♦ Contact cleaner
♦ Emery cloth minimum of 320 but 600 grit would be best.
♦ Heat gun/hair drier
♦ Dielectric greas
♦ Basic hand tools
Let's begin shall we?
After removing the "dust caps" (side covers) from the switch remove this screw. This will disassemble the entire switch.

It will look like this


At this point it will be necessary to remove all of the old grease from the switch, and thoroughly clean the moving parts, pins, and case.
Next you are going to clean the contacts, they are made out of copper and easily get corroded.

It is CRITICAL that use use a fine sandpaper, I chose a 1000 grit sand paper, However as you can see in some of the picture the best material to use is emery cloth strips.


You will need to pull the emery cloth back and forth many times, you need to think of this as polishing not sanding. You want a very smooth surface because you need maximum contact surface.
Once you have cleaned the contacts and verified they are shiny, spray them with some contact cleaner and dry thoroughly with a heat gun or blow drier.

Now comes the dielectric grease. This will keep the contacts from getting corroded in the future.

Also apply the grease where the pins and moving parts will make contact with the case.


Reassemble the switch, don't worry the gear will only go in one way.....don't force anything.

Snap the dust covers back on. Then ad some dielectric grease to the main power pins.

DONE! The devil is in the details, this is a simple procedure but you must be thorough for it to be beneficial!
If you have any question about this procedure feel free to send me a private message.

9490 <--- For searching purposes


