Welcome to GMT Nation...
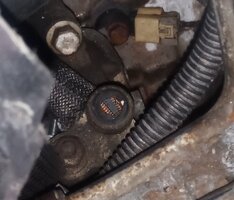
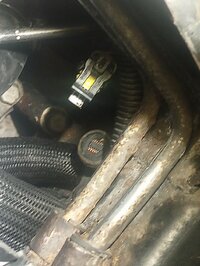
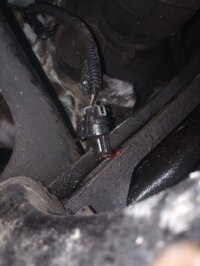
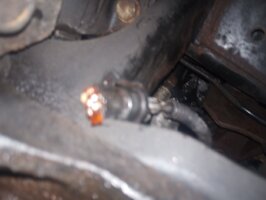
It looks like you might have accidentally Snapped off the
Air Conditioner Compressor High Side Pressure Sensor-Switch on the Upper Top Rear HI-LO Bolt On R-134A Manifold Lines:
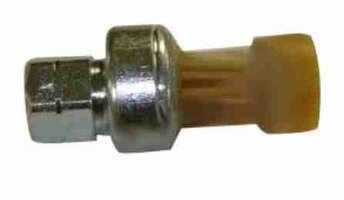
Buy 2002-2009 Chevrolet Trailblazer A/C High Side Pressure Switch GPD for a low price of $25.97 at PartsGeek. FLAT RATE SHIPPING on most GPD 1711438 orders.
www.partsgeek.com
But Not to Worry... That component relies upon a Schrader Valve nested within the Internal A/C Compressor Port that should close off any escaping R-134A Refrigerant when you begin to quickly unwind the Broken Threaded Portion
(with the exposed IC Chip shown in your image)
The New HP A/C Switch should come with a Green Internal "O" Ring from ACDelco (or GPD) that simply Threads in
(or in this case... ON) and the Internal Sensor Touch Pad thus presses down on the Internal Schrader Valve Pin and allows the contained High Pressure inside the A/C System access to the New Sensor-Switch.
Just unplug the Broken Piece shown in your Images from the Harness and then plug that Harness Connector back in after you purchase a replacement ACDelco (or GPD) OEM HP A/C Line Sensor and use Care and Caution
NOT to use TOO MUCH Torque when Tightening it down. It would
NOT hurt to also apply some
Nylog "Blue" to the Threads and upon the "O" Ring to ensure a Good Seal on the A/C Compressor side as well:
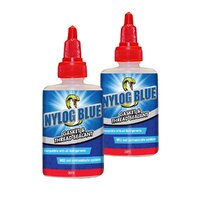
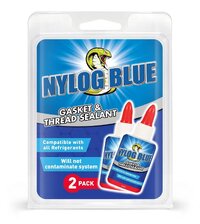
Make certain to clean the adjacent area first around the Old Sensor with Brake-KLEEN and allow it to thoroughly Dry and do likewise with the Harness Connector to avoid allowing any Dirt and Contaminants inside those Fitting Mate Ups,
That Should Do It!
