You are in Luck... It is remarkable that this information is still available to us, but as the OEM Tech 2 Provider, Bosch has produced this PDF to explain all of the operational aspects of the relationships between the Tech 2 and the CANdi Devices:
View attachment 118571
Additionally... Prior to hooking up the Tech 2 to the DLC... Try performing these "Assured Connection Steps" in the following order:
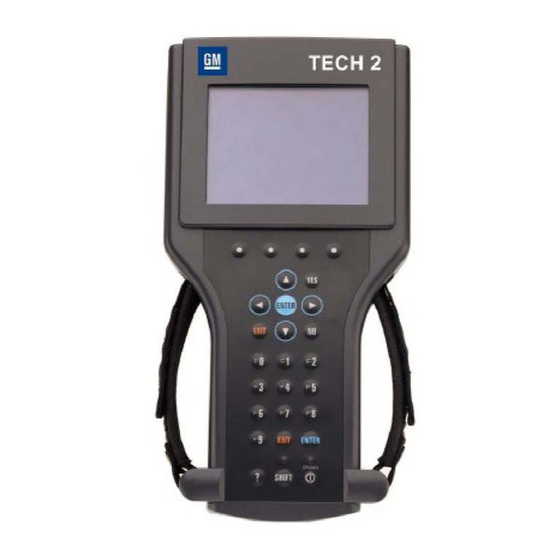
(1) ALWAYS Plug the Power Connection through the Power Port on the DLC Cable and NOT via the Power Port on the Tech 2 Base Unit.
(2) Slide the VCI Lock Lever to one side in the base of the Tech 2 and after removing it, use some CRC Electric Spray Solvent to flush out any Post-Manufacturing Detritus that may interfere with it getting a good, unbreakable connection between its internal tines and the Logic Board in the Base of the Tech 2. Allow the solvent to air dry and then re-insert the VCI Unit FIRMLY BUT GENTLY and slide the Lock home.
(3) Likewise, do the same operations with the CANdi Module-Cable with its very fine tubular copper Male-To-Female interface. Take special care to observe the difficulty with getting the S/S Locking Tab to completely LOCK when pushing the two sides into each other.
(4) Perform a Good Diagnostic of your DLC Port inside the Vehicle and have a look at THESE Training Videos on how to assure that it is functioning properly:
(5) Be very fastidious with your "GYMKO" Tech 2 whenever it comes to the Basic Setting Up of your Gear ...and create an "Orders Procedures" Method that will almost guarantee that the steps you take will solve most connection problems.
(6) Visit and Review ALL of the Tech 2 Training Videos provided by "DrShock" via THIS YouTube Link to his Channel:
Hi, I'm DrShock and welcome to my channel about older technology and keeping it going. It's where I share how we do automotive restoration, repair, and maintenance projects. I also share tool reviews, tool repair, computer restoration, and electronics repair projects here. I am a technologist...

www.youtube.com
CRC QD Electronic Connections Cleaner is THE BEST Solvent for doing these "Clean Ups":
Buy CRC 05103 QD Electronic Cleaner -11 Wt Oz: Electrical Cleaners - Amazon.com ✓ FREE DELIVERY possible on eligible purchases
www.amazon.com
View attachment 118569
Remember that
"Big Problems ...have Small Beginnings" and very often can be run to ground by following these methods.... BOL
(Best Of Luck)
PS... I am including
THE TECH 2 Paths BIBLE PDF that covers The Step By Step Key Pad Buttons to press for ALL Diagnostic Aspects of your Tech 2. They are in Alphabetical Order and address using the Function, Entry and Exit (Yes and No) and Numeric Orders of Operation to follow that will assure your Successful Diagnostics:
View attachment 118572