In my research I found a thread on the OS detailing this process by cutting the bottom cover off, but all the useful bits (pictures) were hosted on Photobucket, so the thread was useless.
For anyone who wants to tackle this job on their own, there's no need for an A/C machine or removing literally everything. I got by with just hand tools, a bunch of weeknights, alcohol, and a sawzall. No, really, you don't have to remove half the stuff other threads say. I actually removed a lot more than I had to because I had no idea what I was doing. Please learn from me.
Tools Needed: impact wrench, breaker bar, sockets, wrenches, saw.
Time: I'd estimate I took about 20 hours because of how exploratory this was, YMMV
Difficulty: Yes
The process:
- Remove the dashboard. I was able to remove it by myself, but in hindsight, removing the rearview would make it less of a fight. Note I didn't remove the steering wheel or the seats.
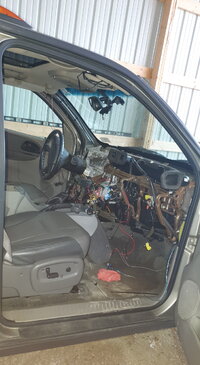
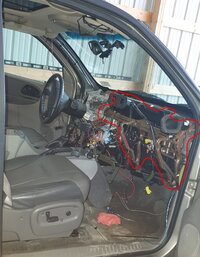
- Remove the top vent ducts to remove the passenger side of the metal support (circled). The nuts in the middle are tack welded but can be broken easily. I hit them with a chisel and they spun loose with a breaker bar. It's a little tricky to remove, but will come out with some persuasion.
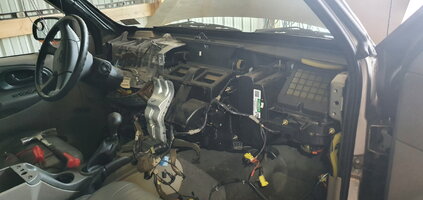
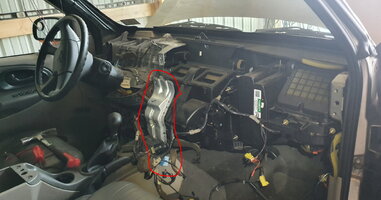
- Remove the center console to remove this metal support (be sure to collect all of the things you dropped under the console over the years).
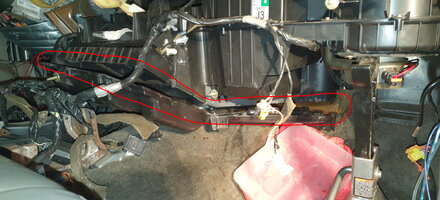
- Remove A TON of little black 7mm and gold ~6mm screws from the bottom of the HVAC box. Here is a picture of the HVAC box with the bottom cover gone. We are ideally trying to get this cover off. I couldn't get it off completely, but was able to get the core out regardless.
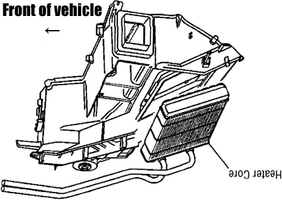
- You should now either be able to remove the bottom cover (hah) or at least pry it open enough to reveal the heater core!
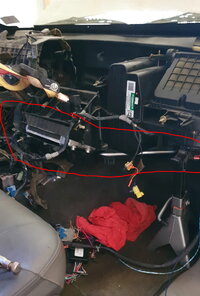
- I couldn't remove the """QUICK""" connects at the firewall (f&*% whichever Imagineer at GM designed this), so I had to cut the heater core lines. This enabled me to feed the lines out into the engine bay where I could get screwdrivers on the quick connects to pop them off. Here's where I cut:
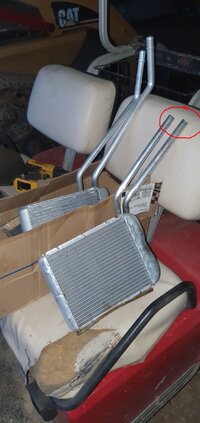
- Even with the coolant drained, cutting the lines made one hell of a mess, but I got the old heater core out!
- It took some finagling to get the new core in. I also needed the help of a second person to hold the metal lines steady while I re-attached the """QUICK""" connects in the engine bay.
- Reassemble your interior in the reverse of how it came apart. I needed a second person to help me get the dash back in.
Bonus! Take note of how many screws you had leftover to share with your online friends here. I had about a dozen screws and one nut leftover.


 I pray I never have to do this in the Envoy.