- Dec 4, 2011
- 13
Sorry if it is in the wrong place.
Difficulty: easy if you know how to weld or know someone that does.
Estimated Time: 45min with vacuuming out crap from under the seat.
Part Numbers: None
Cost: FREE!
Tools Needed:
socket wrench
18mm socket
flat headed screw driver
welder
The drivers seat in my Trailblazer broke from me plopping down on it when I get in. At first only one of the front adjustment arms was broken, so I lowered the front of the seat all the way down. That was fine till the other side broke. So I could now flop the front of the seat bottom up and down. It was getting annoying, every time I got in or out it would shift around, so something had to be done about it. I looked and looked and found nothing online on how to fix it. So I am writing this so others know how easy it is to fix.
Step One:
Remove the seat:
Move the seat all the way forward, there are two plastic cover that need to come off. I used a flat head screwdriver to pop them off. Be careful as they are only plastic and will break if to much force is applied. Take your 18mm socket and remove the two nuts. Now move the seat all the way back. Remove the one plastic cover. Remove the nut and the one bolt next to the center counsel. Unplug the power from under the seat. Lift the seat out.
Step Two:
Inspect the damage. Mine was bent on one side, so I had to bend it back straight. Line up everything, making sure it is all straight and were you want it. Get out your welder and put down a tack weld. MAKE SURE TO ONLY WELD THE TUBE AND THE ARM. If both sides are broken like mine was, make sure that the other side is where you want if and tack into place. Double check it is where you want it and then lay a bead down, making sure to get good penetration on the arms and the tubes. Let it all cool down, in the mean time I vacuumed out the 9 years of crap that was under the seat.
Step Three:
Put the seat back in. Put the one nut and one bolt in the front, replace the cover. Plug in the power. Move the seat all the way forward. Put the two nuts and covers on. Make sure everything works the way it should and moves up and down.
THAT IT! :wootwoot:
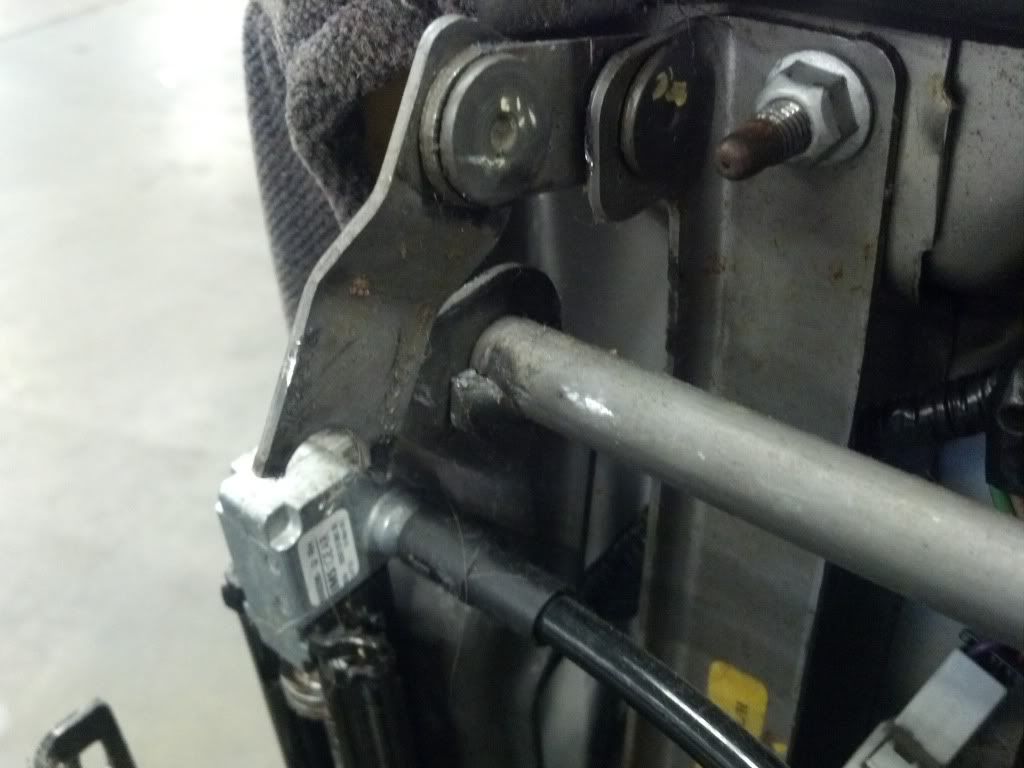
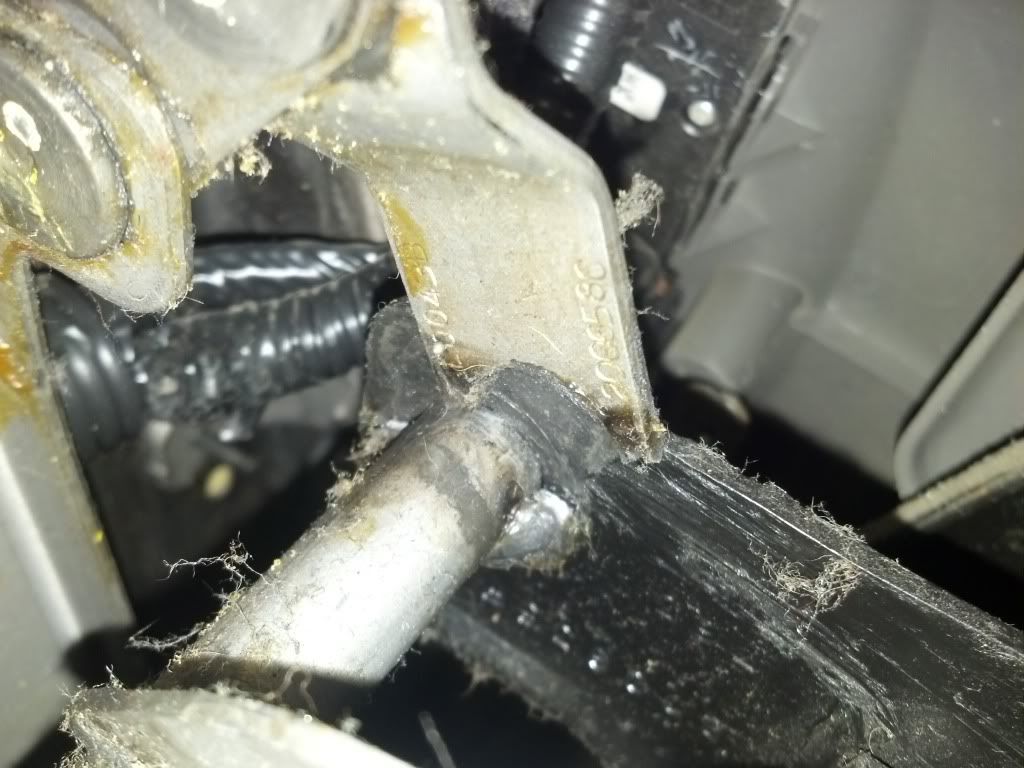
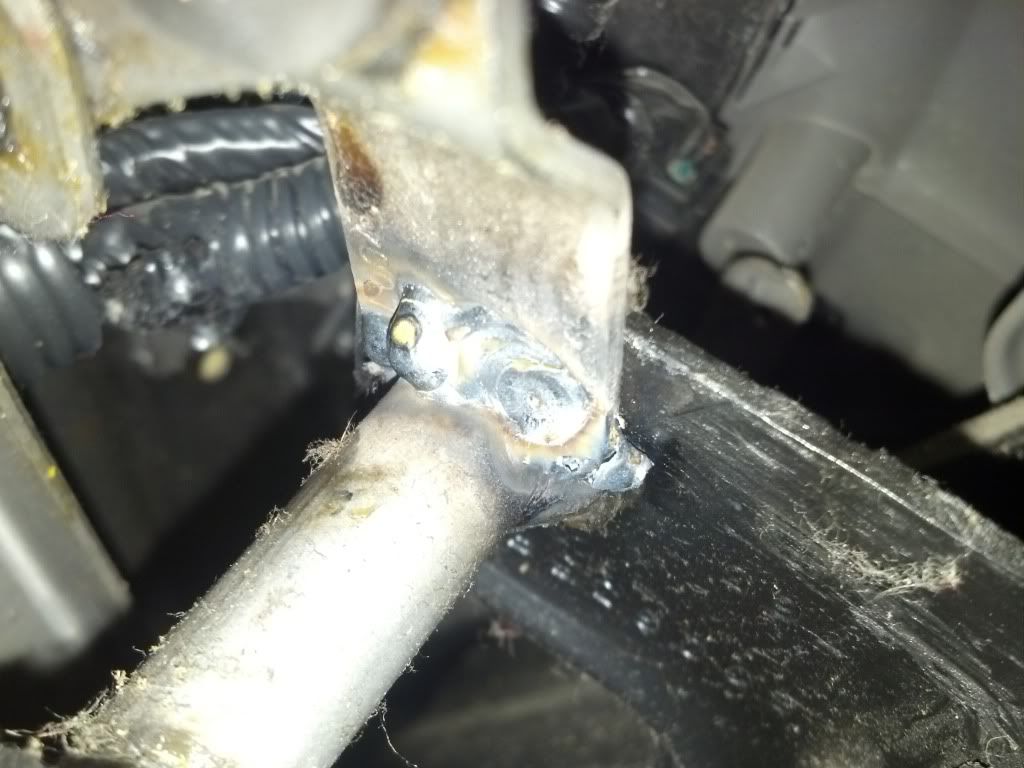
Here are some pictures of the broken arms and the before and afters.
Broken Arms
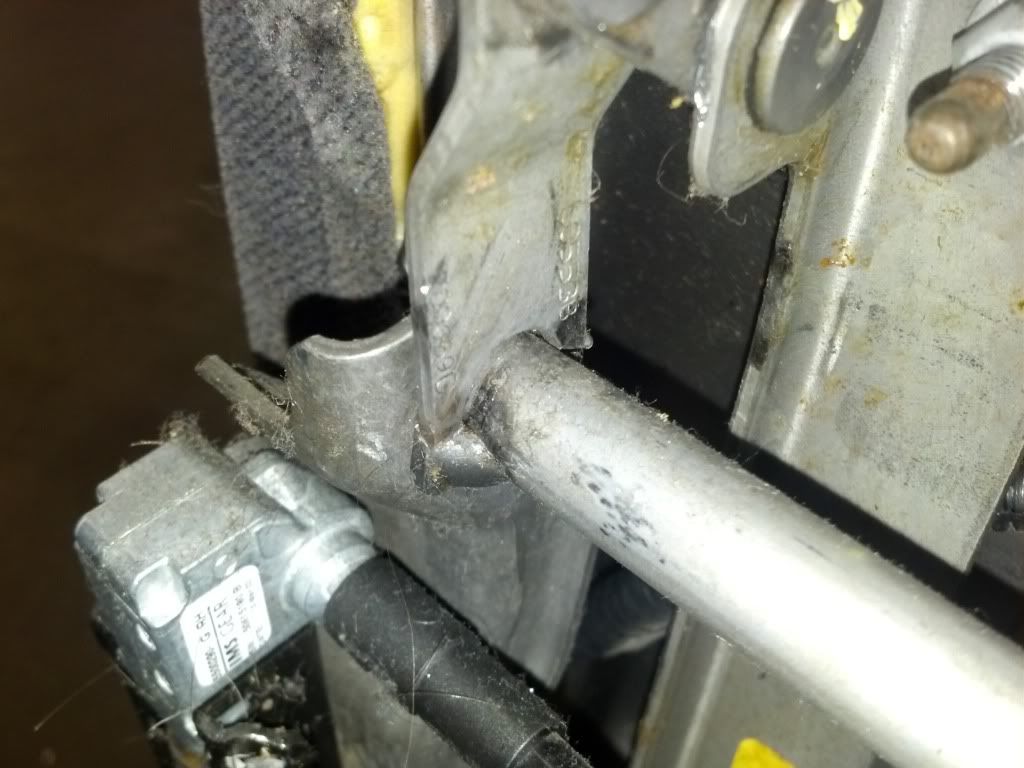
All lined up ready to weld

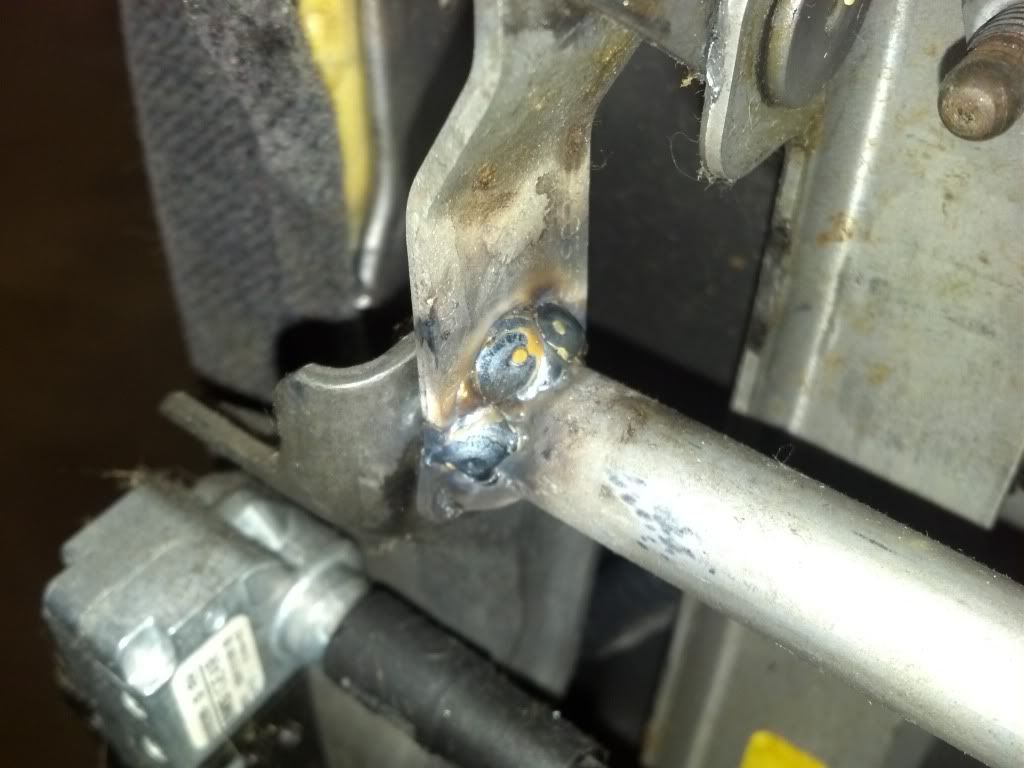
All welded up. Might not be pretty but they are hell of a lot stronger then what was there.
Difficulty: easy if you know how to weld or know someone that does.
Estimated Time: 45min with vacuuming out crap from under the seat.
Part Numbers: None
Cost: FREE!
Tools Needed:
socket wrench
18mm socket
flat headed screw driver
welder
The drivers seat in my Trailblazer broke from me plopping down on it when I get in. At first only one of the front adjustment arms was broken, so I lowered the front of the seat all the way down. That was fine till the other side broke. So I could now flop the front of the seat bottom up and down. It was getting annoying, every time I got in or out it would shift around, so something had to be done about it. I looked and looked and found nothing online on how to fix it. So I am writing this so others know how easy it is to fix.
Step One:
Remove the seat:
Move the seat all the way forward, there are two plastic cover that need to come off. I used a flat head screwdriver to pop them off. Be careful as they are only plastic and will break if to much force is applied. Take your 18mm socket and remove the two nuts. Now move the seat all the way back. Remove the one plastic cover. Remove the nut and the one bolt next to the center counsel. Unplug the power from under the seat. Lift the seat out.
Step Two:
Inspect the damage. Mine was bent on one side, so I had to bend it back straight. Line up everything, making sure it is all straight and were you want it. Get out your welder and put down a tack weld. MAKE SURE TO ONLY WELD THE TUBE AND THE ARM. If both sides are broken like mine was, make sure that the other side is where you want if and tack into place. Double check it is where you want it and then lay a bead down, making sure to get good penetration on the arms and the tubes. Let it all cool down, in the mean time I vacuumed out the 9 years of crap that was under the seat.
Step Three:
Put the seat back in. Put the one nut and one bolt in the front, replace the cover. Plug in the power. Move the seat all the way forward. Put the two nuts and covers on. Make sure everything works the way it should and moves up and down.
THAT IT!
:wootwoot:Here are some pictures of the broken arms and the before and afters.
Broken Arms
All lined up ready to weld
All welded up. Might not be pretty but they are hell of a lot stronger then what was there.

