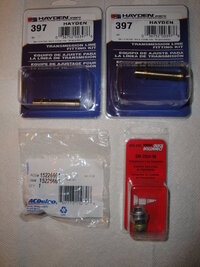
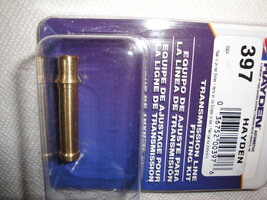
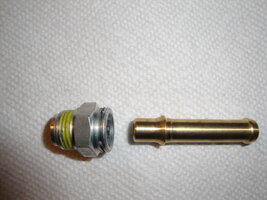
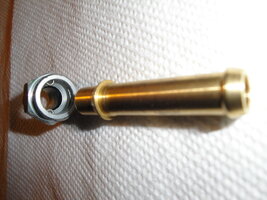
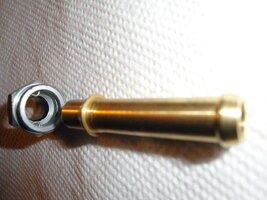
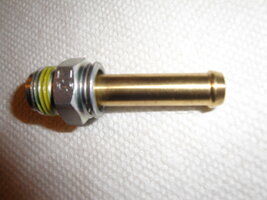
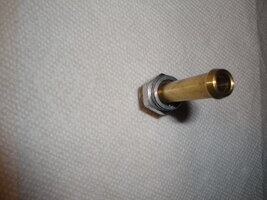
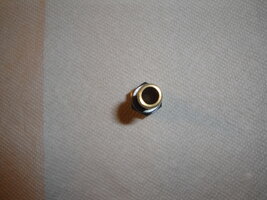
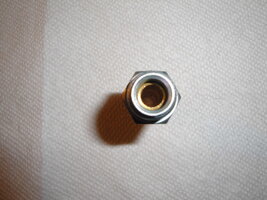
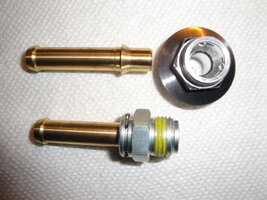
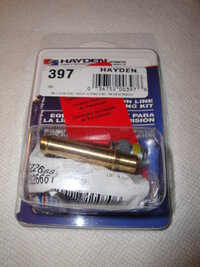
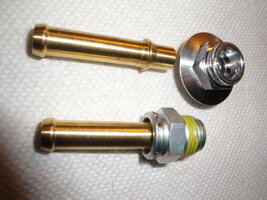
For anyone interested in building a Simple Adapted Transmission Cooler-To-Coolant Line Fittings-To Flush Hose KIT… Just pick up a pair of THESE:
https://www.amazon.com/Hayden-Automotive-397-Transmission-Fitting/dp/B000EPRCAC/ref=au_as_r?_encoding=UTF8&Make=Chevrolet|47&Model=Trailblazer|489&Year=2003|2003&ie=UTF8&n=15684181&newVehicle=1&s=automotive&vehicleId=1&vehicleType=automotive
…. Then… get some 3/8” Fuel Line (Clear Acrylic Lines work Better because then you can SEE what is actually happening while you Flush Out the System) About 10’ to 12’ in length ought to be enough to go down and then up and then over the fender Well or over the front of the Vehicle and run back down to where the Input Line Side over to the MityVac Vacuum Pump… and the Output Line Side should run over to an Empty (5) Gallon Bucket with the Lid firmly installed…. Then Drill out a snug hole to slip the 3/8th “ Outgoing Dirty Transmission Fluid Line right into the Bucket through the hole in that lid.
Now that you have isolated the Transmission Cooler completely from the 4L60E Transmission with no risk of contaminating it... fill up the MityVac with 2-4 Quarts of Transmission Fluid Flush, set the MityVac Dial to the Pressurization Setting… and VERY SLOWLY ...begin pumping in that New, Clean AT Flush into the Cooler to gradually push that Old, Dirty Mung Fluid out of the Gunked Up Innards of the Transmission Cooler and any other Extra Cooler installed. Remember… This stuff works best when you allow the in-going Flush to sit inside the coil tubing for around 10-15 Minutes before continuing to once again… Pump the stuff on through.
After you have Pumped out the New Flush and the Old, Dirty Mung Fluid Stream begins to run CLEAN…. Just add New Dexron IV AT Fluid to the MityVac right on top of any residual AT Flush left inside the MityVac and simply Pump that stuff into the Cooler until you can see a nice, translucent Cranberry Red Fluid Stream escaping from the Out Going Line… and STOP.
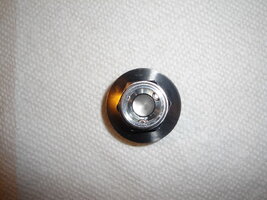
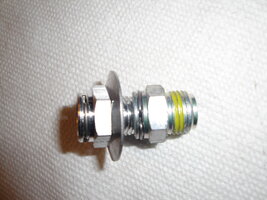
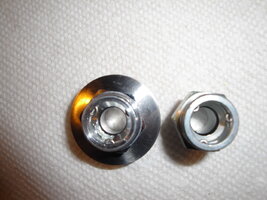
Now you have a Sparkling Clean and Pre-Primed Transmission Cooler ready to have the Coolant Flush Kit In and Out Lines removed by using a small Pick to remove the Clips that have retained the Holden Transmission Line Adapters in place during this task and just re-set those two Clips around the Fittings and re-install the 4L60E Coolant lines into the access ports in the Radiator by pressing them both in gently until you hear them report with a “CLICK!”. You’re DONE!
About those Clips…
https://www.amazon.com/dp/B0013FBQXG/?tag=gmtnation-20
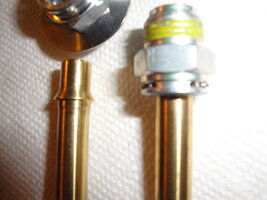
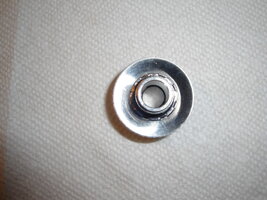
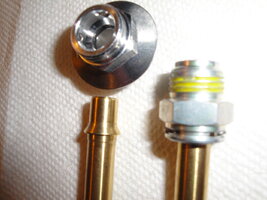
I have added in a great many images on my Photobucket that show how these Coolant Line Fittings really work on the GM 4L60E attachment points, as there are MANY Misconceptions on how to get the lines OUT and back IN without having them Leak and Fail afterwards. These are EASY to pull out and push back in if you completely understand How these Clips Work. Whether you are Re-Using the Old Clips or better yet… installing Brand New Retaining Clips around these fittings… the Technique is to ONLY LIFT AND UNWIND THE CLIPS FROM EITHER ONE SIDE ...OR THE OTHER… EITHER CLOCKWISE OR COUNTER-CLOCKWISE… BUT NEVER FROM BOTH SIDES. These are actually very delicate and it is quite easy to Distort their shapes and cause them NOT TO WORK.
Before re-installing the Coolant Lines… these Clips must be installed in a like manner… hooking one of the Clip Ends into any of the Three Slotted Grooves of the Fitting and then simply Rolling the other end around the outer edge of each Fitting without flexing, pulling, bending or changing their oddly shaped design ...until All Three Sections of the both Clips insert completely into all Three Slots of both Fittings. Then it is just a matter of aligning the nozzle ends of the Transmission Cooler Lines and sliding them inside until they literally “CLICK” into place. As I mentioned… Congratulations… You are Done!
 http://s557.photobucket.com/user/60...TRAILBLAZERENGINEREPAIR/MITYVAC?sort=3&page=1

 I'm not pulling the trigger yet but thanks for the link to a good deal.