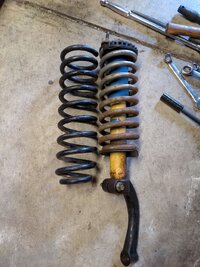
Hello I made a post already on trailvoy with details and photos. Most of which you don't need to read. I just have an issue replacing factory coils with an aftermarket strut Bilstein 4600.

 www.trailvoy.com
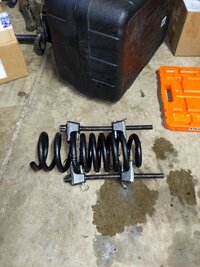
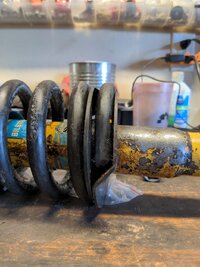
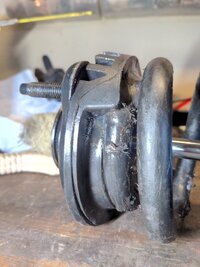
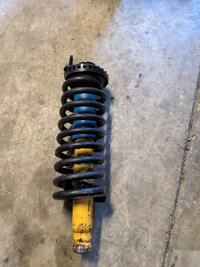
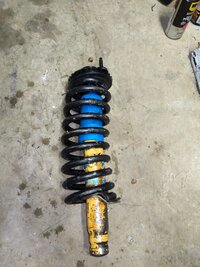
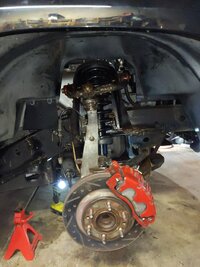
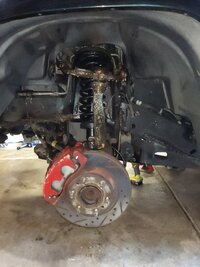
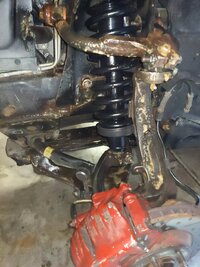
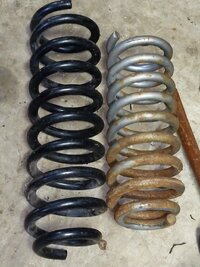
My main concern currently is compressing the black spring. I can compress it to where the strut will fit bottom to top, but the new mount needs more compression to be flush and allow me to tighten the nut and washer. However this is my first time compressing a coil spring and it's obviously dangerous but if I continue to compress the spring itself will bottom out against the safety pins.
What should I do? Try again and compress until it's closer to bottoming out?
if I compress the spring and the coils touch that's the most dangerous point correct? but for my purposes I'm very close to getting the new strut mount centered just need a little more compression... I was going to rent another pair of spring compressors and also work in an enclosure.
Other than that I don't know what to do.
Any help is greatly appreciated. There's more photos and text on the linked post. And yes I just bought preloaded assembly to skip this process, but I did want to give it one more go as safely as possible.
Installing factory spring coils on aftermarket struts
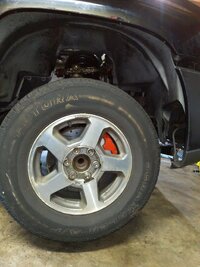
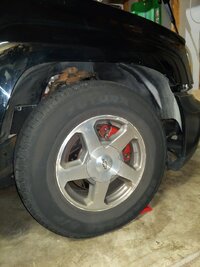
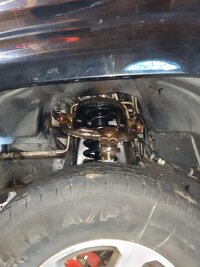
Hello, not sure if my title is precisely what I'm dealing with, but the gist of my repair is that I need to replace the rear coils which are custom and not attached to the vehicle, basically floating and removable by hand when the vehicle is raised. I was intending on following the instructions...
My main concern currently is compressing the black spring. I can compress it to where the strut will fit bottom to top, but the new mount needs more compression to be flush and allow me to tighten the nut and washer. However this is my first time compressing a coil spring and it's obviously dangerous but if I continue to compress the spring itself will bottom out against the safety pins.
What should I do? Try again and compress until it's closer to bottoming out?
if I compress the spring and the coils touch that's the most dangerous point correct? but for my purposes I'm very close to getting the new strut mount centered just need a little more compression... I was going to rent another pair of spring compressors and also work in an enclosure.
Other than that I don't know what to do.
Any help is greatly appreciated. There's more photos and text on the linked post. And yes I just bought preloaded assembly to skip this process, but I did want to give it one more go as safely as possible.