MrDJ
Member
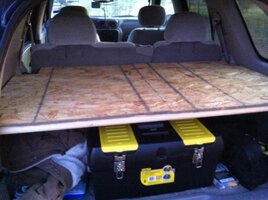
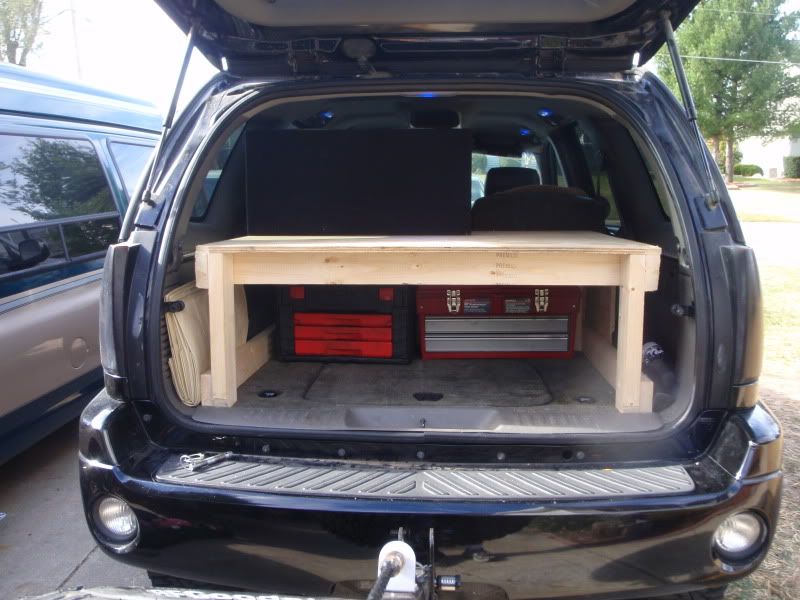
Well, here is what I have so far...
View attachment 16891
I started off with a 1.25" piece of dowel rod that was 49.5" long and drilled a 3/8" hold about 2 inches deep in both sides...
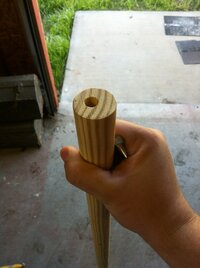
View attachment 16892
Then I added a 3" piece of all-thread to both sides and used silicon to seal it in place...
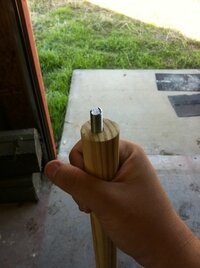
View attachment 16894
Here is a picture of the dowel rod in place in the back...
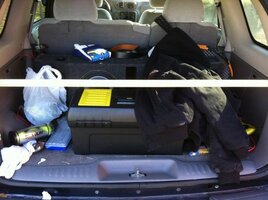
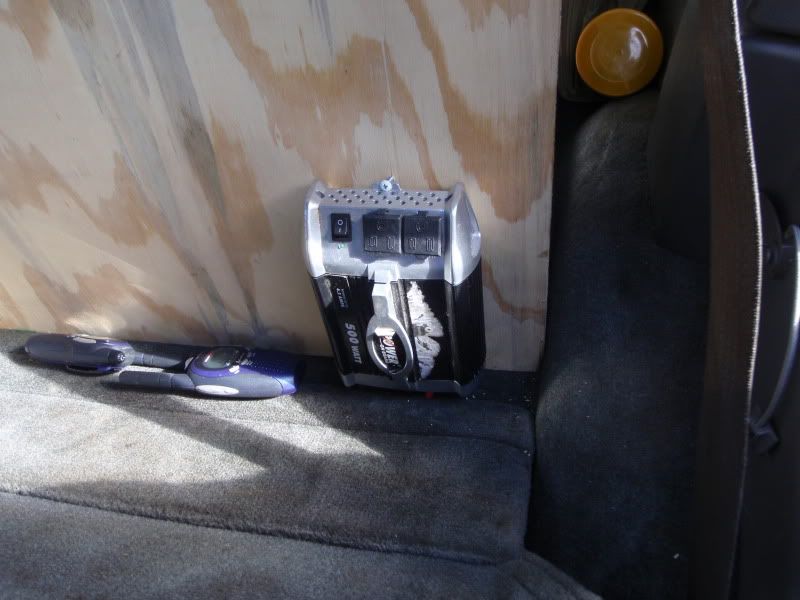
View attachment 16895
View attachment 16896
The whole thing is divided into 2 sections. Next, I plan to smooth out some of the cuts and talk to some places about getting it covered. I also plan to wire a white light under the cover against the wall because it is pretty dark on the bottom when the cover is on...
What do yall think?
View attachment 16891
I started off with a 1.25" piece of dowel rod that was 49.5" long and drilled a 3/8" hold about 2 inches deep in both sides...
View attachment 16892
Then I added a 3" piece of all-thread to both sides and used silicon to seal it in place...
View attachment 16894
Here is a picture of the dowel rod in place in the back...
View attachment 16895
View attachment 16896
The whole thing is divided into 2 sections. Next, I plan to smooth out some of the cuts and talk to some places about getting it covered. I also plan to wire a white light under the cover against the wall because it is pretty dark on the bottom when the cover is on...
What do yall think?

 on how to accomplish this. Having been in a headlight to headlight crash before I'm pretty motivated to make sure that thing wouldn't go anywhere.
![1220011536[1].jpg](/forums/data/attachments/102/102991-619e11713f7077a26413c1db6c52b631.jpg)