Blckshdw's Projector Retrofit Builds

Blckshdw

Original poster
Moderator
Nov 20, 2011
10,685
Tampa Bay Area, FL
Mounce said:
So, uh, how's it coming along? :yes:
:ugh: Slacking again. I managed to Dremel out some material from the brackets I'm using as mounts, and put the bowls back together but haven't put them back on the truck to test and see if I have enough rotational adjustment. Should probably do that this weekend. Having daylight savings switch doesn't help, it doesn't get dark down here until 8pm, so I usually lose my interest to leave the house by then. Maybe I'll test the rotation this weekend... Maybe.
 
  • Like
Reactions: yohshua and Mounce

Blckshdw

Original poster
Moderator
Nov 20, 2011
10,685
Tampa Bay Area, FL
Dead thread revival!! You know I'm good for doing that every few months. So puppy sitting took up a LOT more time during my vacation than I anticipated. I think if I ever got a dog, or 2 of my own, my mod bug would go extinct. :yes:

Anyway, did some shaping, trimming, and repeating to get my upper mounts to the point I think they will do the job. The relief cuts allow the 'fingers' to be bent more easily by hand, to get close to the contour of the reflector bowls.

20151230_092011.jpg

20151230_092043.jpg


Got them mocked up after drilling and tapping the projector mounting point.

20151230_093338.jpg

20151230_093416.jpg

20151230_093514.jpg


I misplaced my JB Weld, so will hunt around the house for that. If I can't find it, will have to make a run to the store for some. Won't take very much, since the friction on the back sides of the reflectors is holding them in place for now.

Ordered some connectors with wire leads for hooking up the LED strips to my demon eye killer (when the low beams come on) so it's modular in case I need to take things apart down the road. Forgot about the high beams, need to get some 9006 male pigtails to hook up to the high beam connector. Won't be using a bulb in the 9005 socket. :no:
 
  • Like
Reactions: Sib and dmanns67

Blckshdw

Original poster
Moderator
Nov 20, 2011
10,685
Tampa Bay Area, FL
After getting my headlight repaired yesterday, got back on the ball this morning and worked on getting the shrouds trimmed and fitted. The shroud centric rings needed some modding. The inner ring was too small to fit over the RX350s, but the shroud itself was too big. My solution was to cut the inner ring, and 'front facing' area, leaving only the part that the shroud mounts to.

20160103_103608.jpg


Small observation, these things lost a LOT of their structural integrity after doing this. Obviously that doesn't matter in the grand scheme of things, but it surprised me how they went from a sturdy item, to almost mush in my hand afterwards. But the idea panned out perfectly, the modded rings fit snugly on the RX350s

20160103_104140.jpg


Then it was on to fitting the Ocular shrouds. Nice wide coverage for our low beam buckets, just wish their height carried to the edges sometimes :frown: The bottoms required minimal trimming to clear the reflector bowl. I gave the tops angled trims to clear the bezel when seated.

20160103_103630.jpg


Put them on the truck real quick for a little motivational boost. :biggrin:

20160103_094038.jpg


Next, needed to mod the bezels a bit. Dremeled a notch in the bottom area of the low beam buckets to clear the shrouds. Couple of test fit shots.

20160103_101108.jpg

20160103_101237.jpg


Pretty pleased so far. Due to some frustrations, I did cut some corners on prep work and protection. :mad: Nicked a small bit of chrome on one shroud, and got some permanent marker elsewhere, but I don't think anyone will notice them once everything's done unless they look for it.

Wanted to have the demon eyes mounted and wired up with the demon eye killers so I could test them, but the USPS didn't deliver my pigtails yesterday as they should have. :hissyfit:
 

Blckshdw

Original poster
Moderator
Nov 20, 2011
10,685
Tampa Bay Area, FL
Seems like every time I fix one issue, I end up breaking something else. I finally realized what was causing the area around the stationary mount to break. While taking the reflector bowl out yet again to make an adjustment to the projector mount, I heard a loud cracking noise. After a few choice curse words, I find this... (top of the right bulb clip)

20160108_233845.jpg


Since the reflector bowl was aimed a bit higher than before, and the projector was rotated the last time, the bulb clip was caught on the edge of the 9006 opening of the headlight base. So the harder I pulled, the more stress I put on it until it gave. :mad: Previously, when trying to pop the reflector bowl IN, it was getting hung up on the same spot, and pulling the stationary mount forward, and that's how it broke.

Used my soldering iron to attempt to plastic weld the crack closed, and the JB Welded the front and back. Got out the Dremel and widened the access so the projector wouldn't get caught up anymore. JB Welded the clip stop back on, and let it cure. Put things together this morning, back to the truck this evening for some testing.

20160109_181049.jpg


Driver's side hot spot has moved, and the cutoff is blurry. When I took the projector apart to JB weld it, the bulb shim fell out, and I forgot exactly where it was and guessed where I had it. Took things out to adjust the shim, and find this...

20160109_183314.jpg


JB weld didn't hold the bulb clip, and it broke free. :mad: I think I still have the OEM screws, so I'll try to fab up a support brace out of a piece of aluminum. JBWeld that piece back in, and stick the tab of aluminum to it for strength, and the screw hold it steady. I think between the shims being out of place, and no pressure on the side of the bulb that needed it the most, is why the driver's side is out of whack.

In other news, I did get the demon eyes working, and there's a lot less light bleed after taping up all the openings of both projectors with tons of aluminum tape.

20160109_185555.jpg


20160105_194212.jpg


20160105_194741.jpg


I swear the mod bug Gods want me to NEVER get this project completed! :hopeless:
 

Blckshdw

Original poster
Moderator
Nov 20, 2011
10,685
Tampa Bay Area, FL
All this back and forth trying to help 
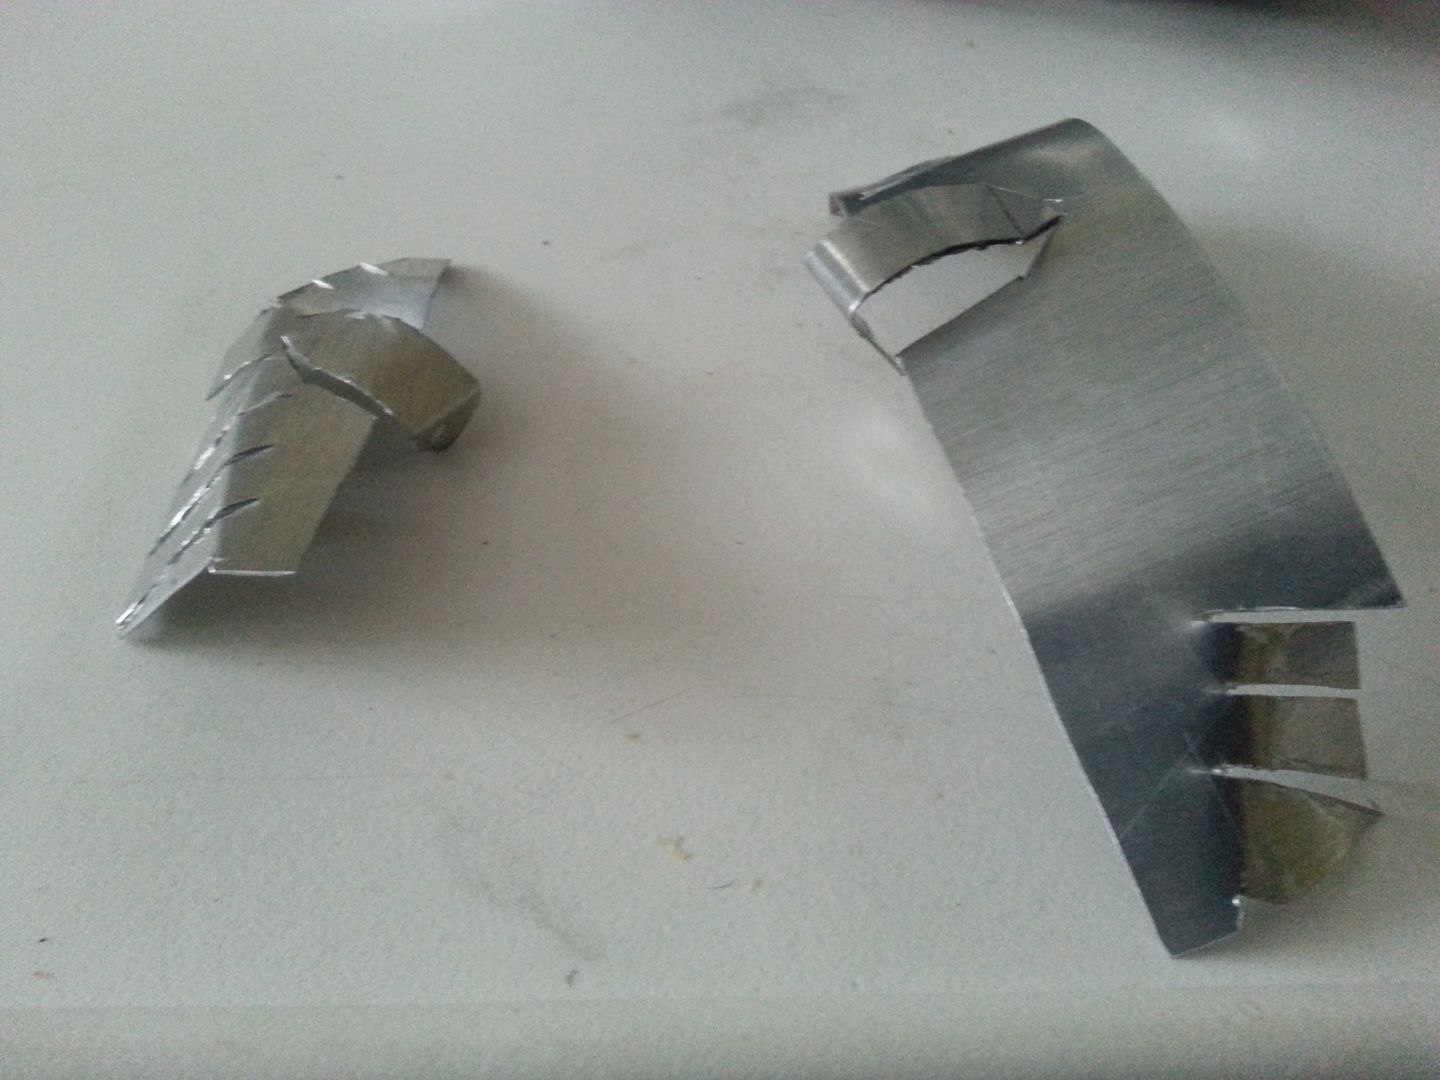
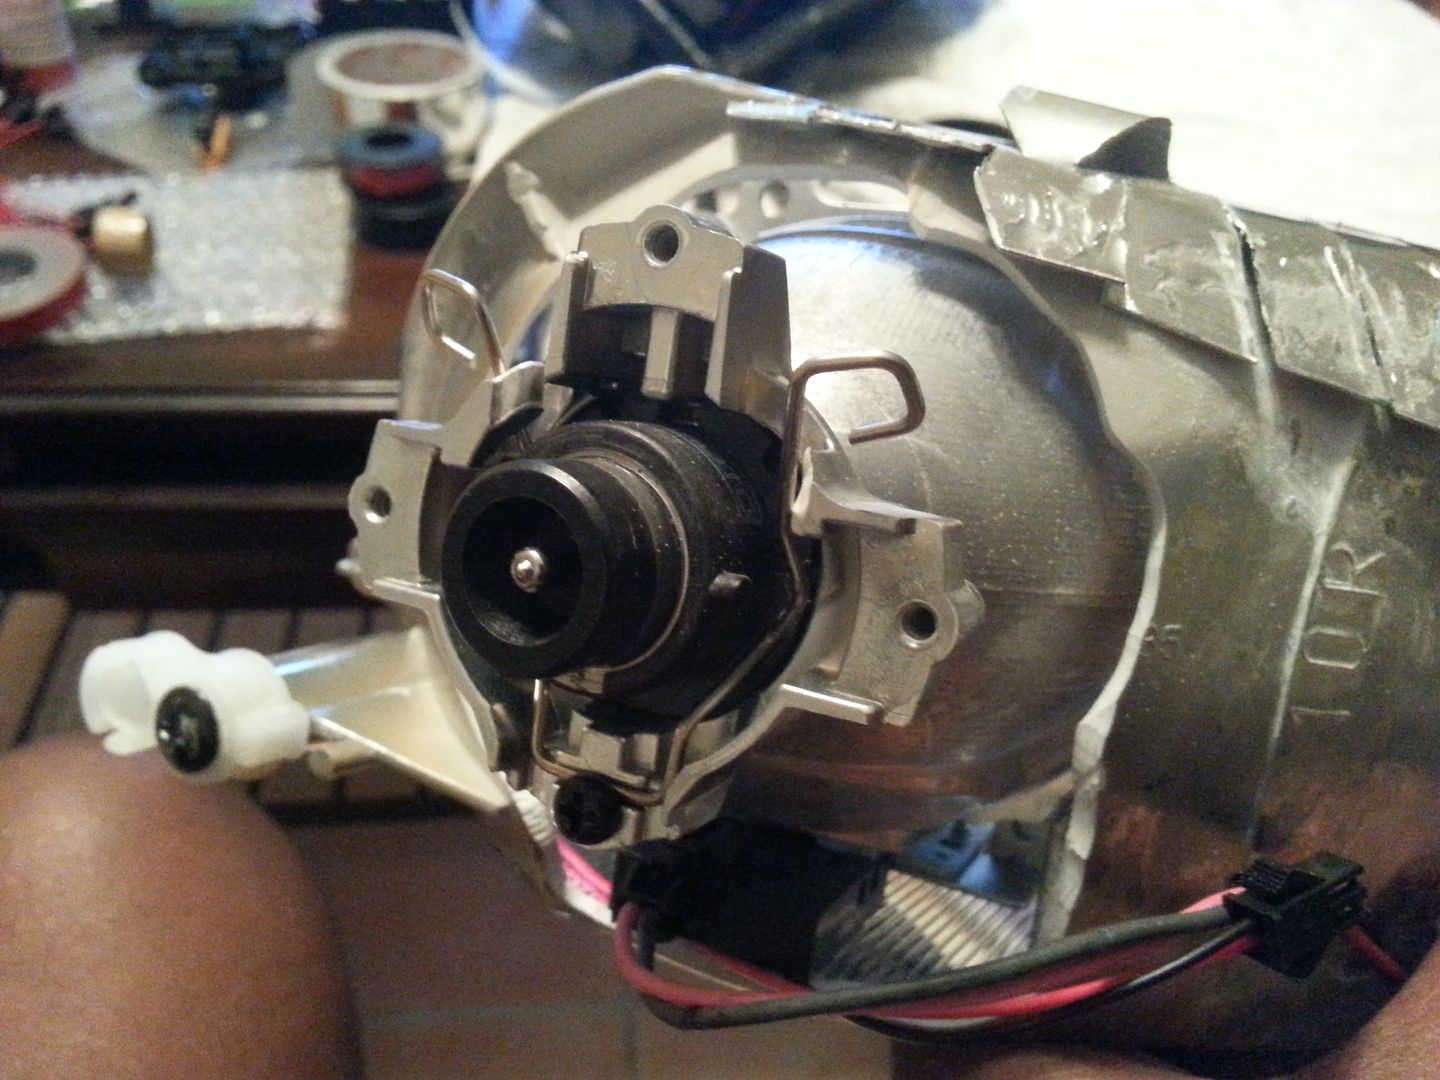
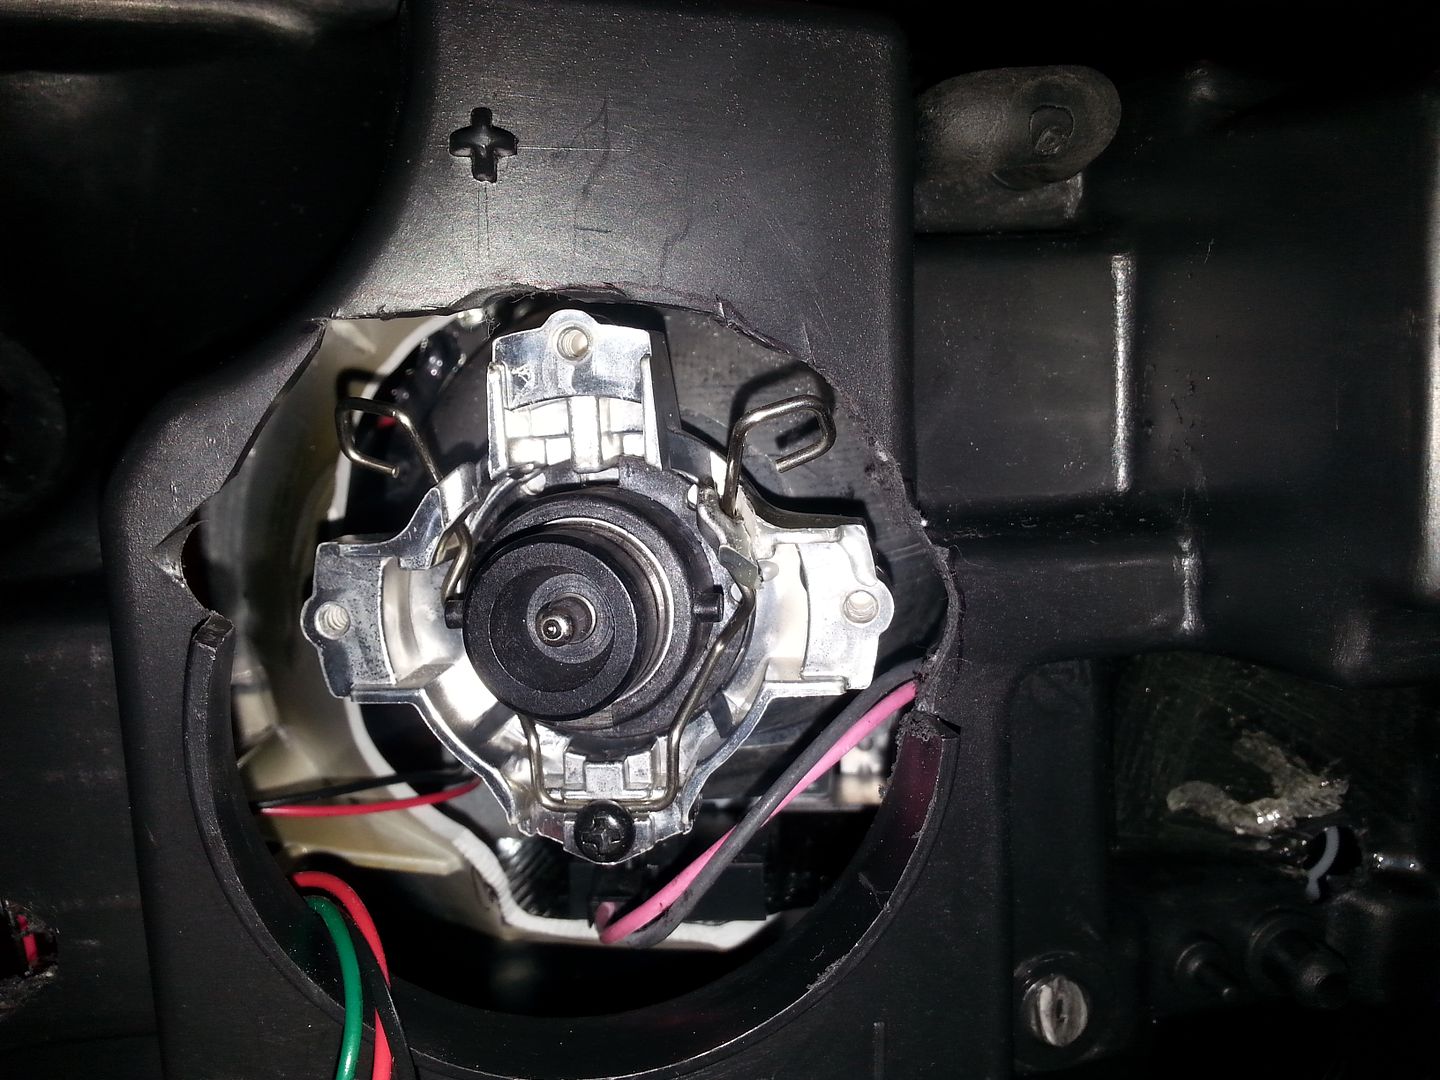
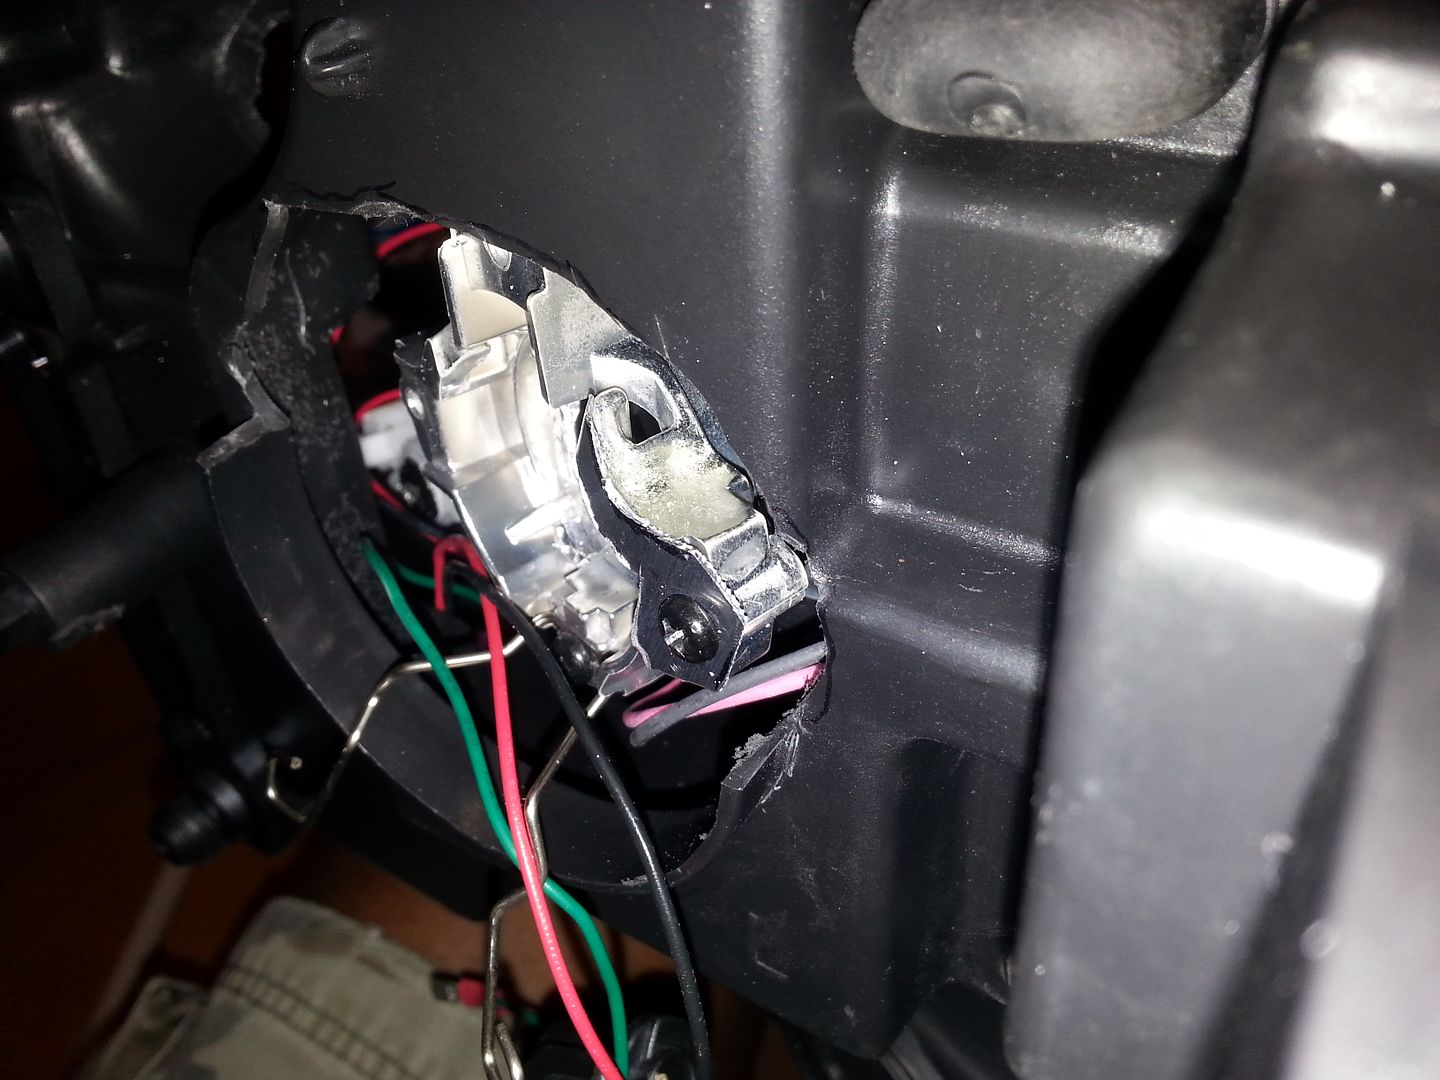
@NateDG get his retro in order has kept a small fire under my butt to do the same. Since that bulb clip retainer broke off, and the JB weld didn't work, I tried fashioning a replacement out of aluminum. This was the first version.

It fit, for the most part, and supplied some bracing behind the JB Welded piece, but didn't do enough, the piece cracked off, the bulb clip shifted and started pushing the aluminum backwards. :mad: It also didn't allow the shims to do their job, as there wasn't enough clearance to get the ballast connected to the bulb due to the slight angle.

20160109_203902.jpg

20160109_203929.jpg

20160109_215600.jpg


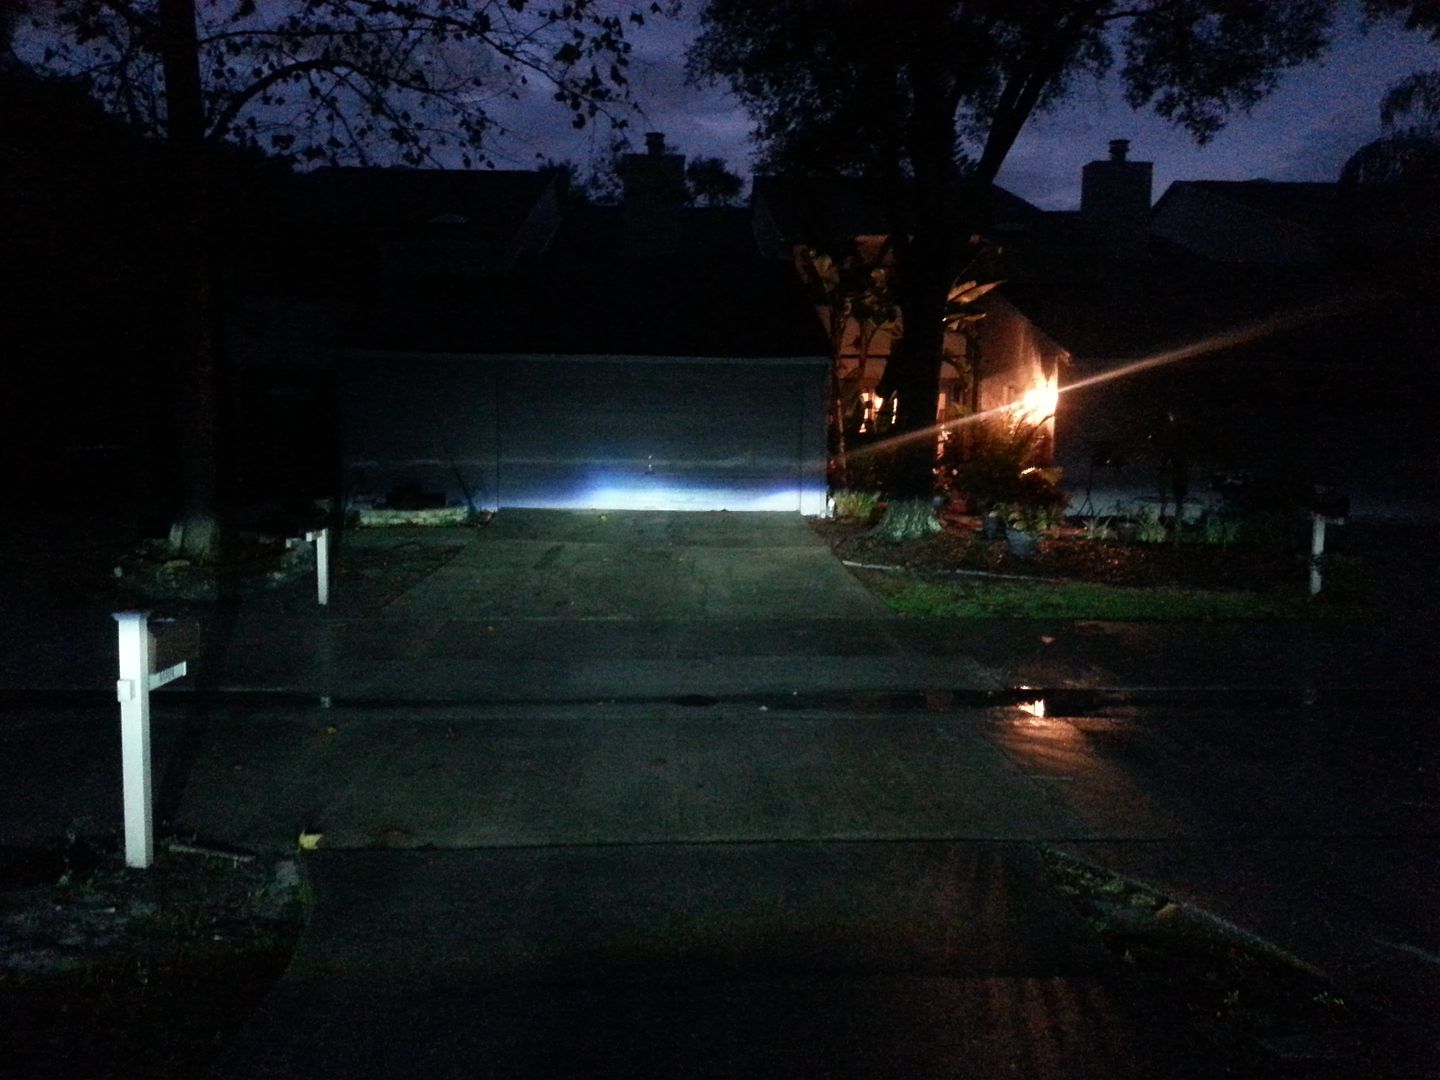
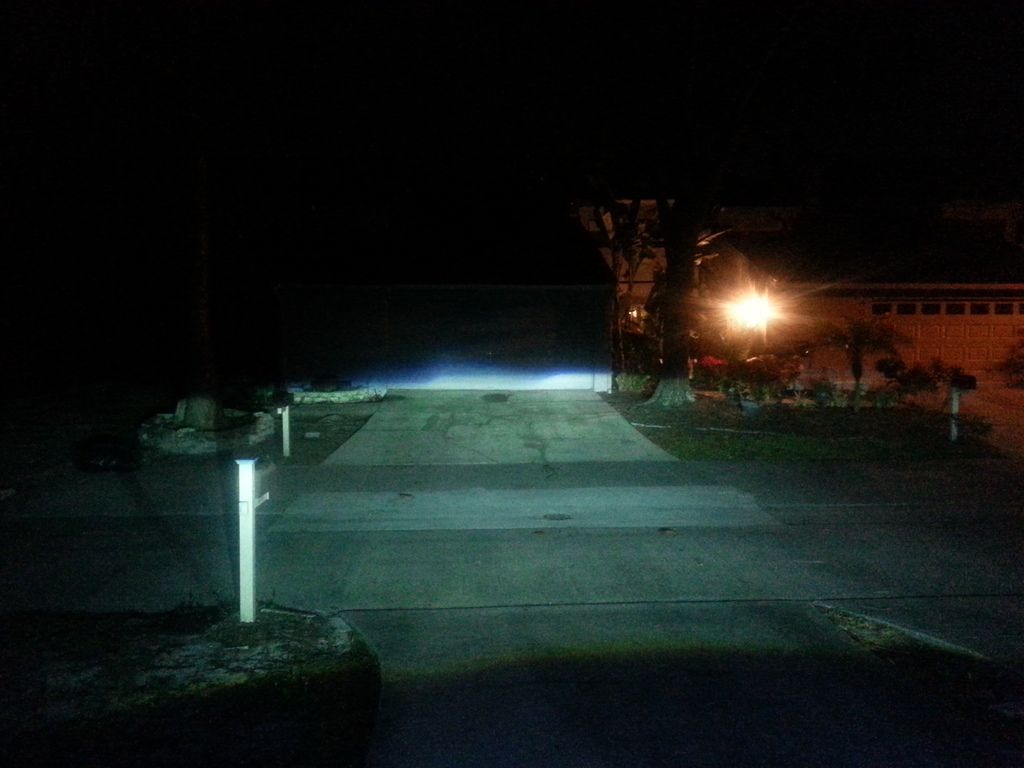
The result was I got my cutoff back, but the hot spot was out of place, making the DS nowhere near as bright as the PS.

20160117_221527.jpg


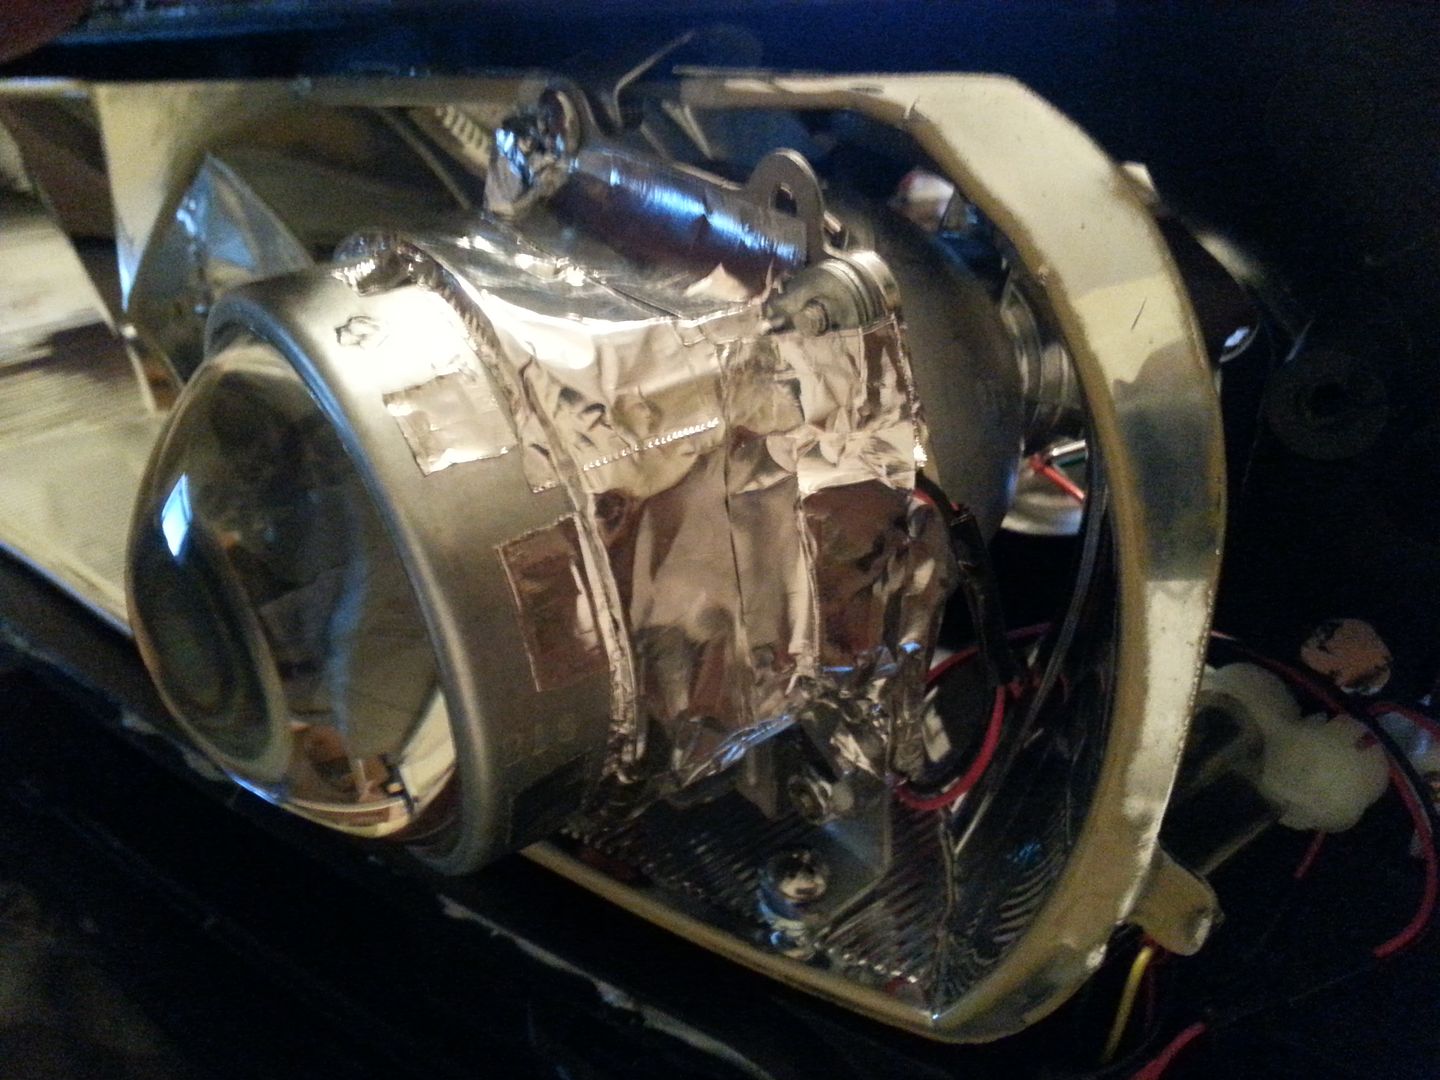
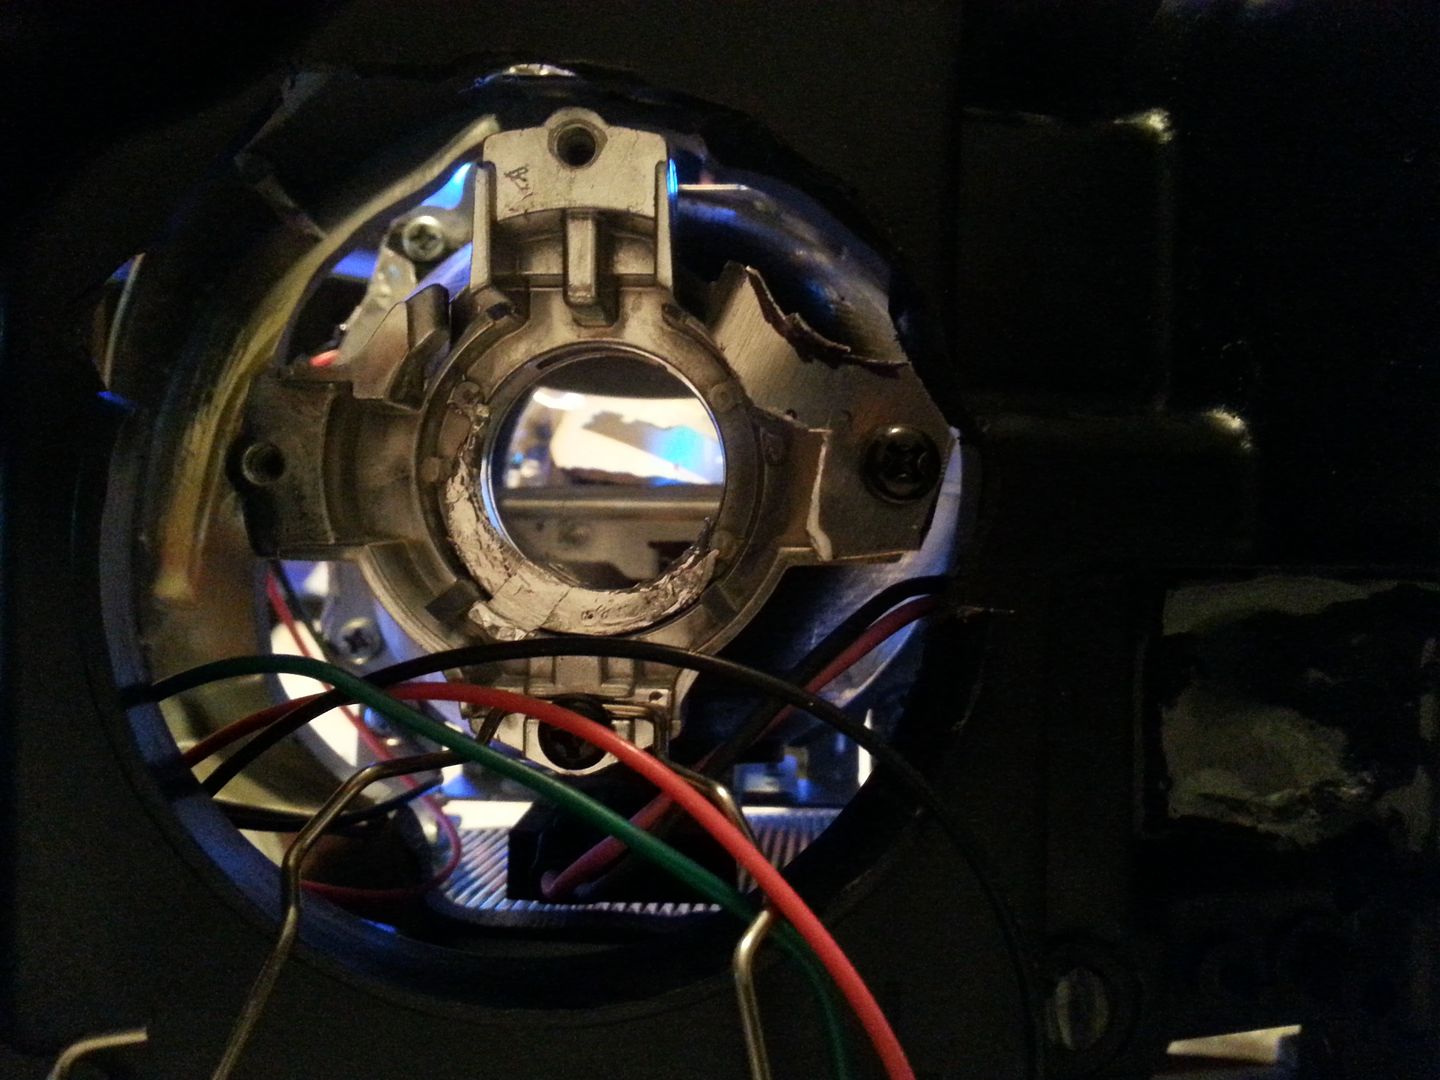
I made another brace, this time coming vertically, with a bend on top, and then cutting a notch for the bulb clip to seat in. Forgot to take pics, as I was just trying to get something functional. But it does the trick, and since it uses the same screw mount, I can just release the clip halfway, rotate the brace, and then release the clip the rest of the way. Me likey.

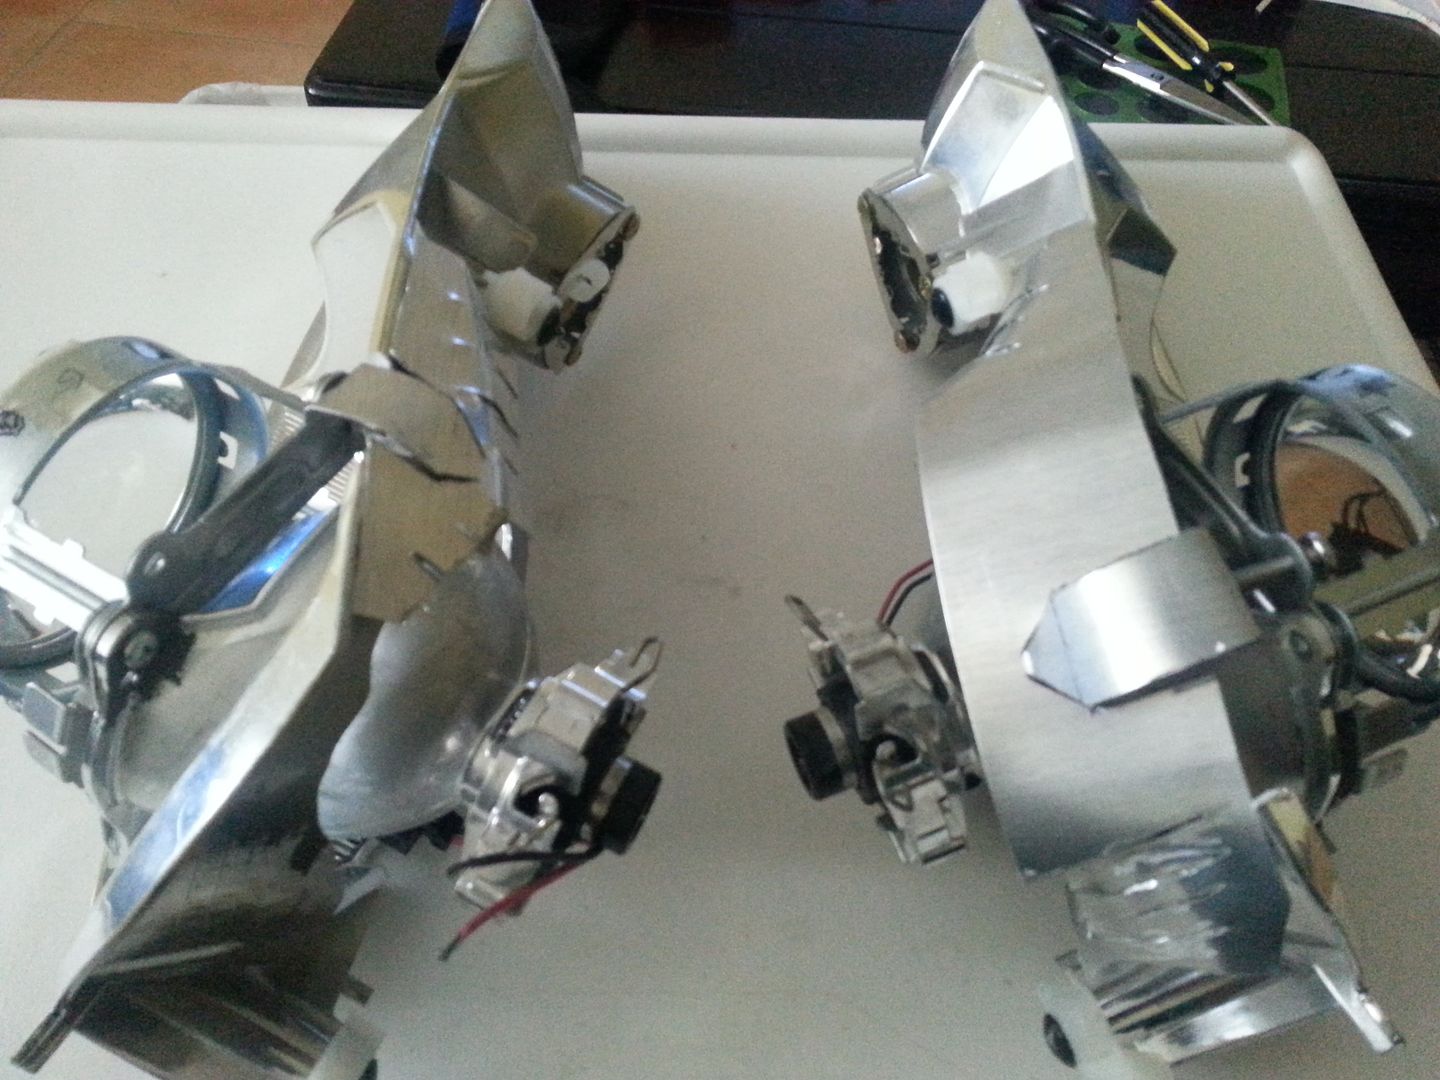
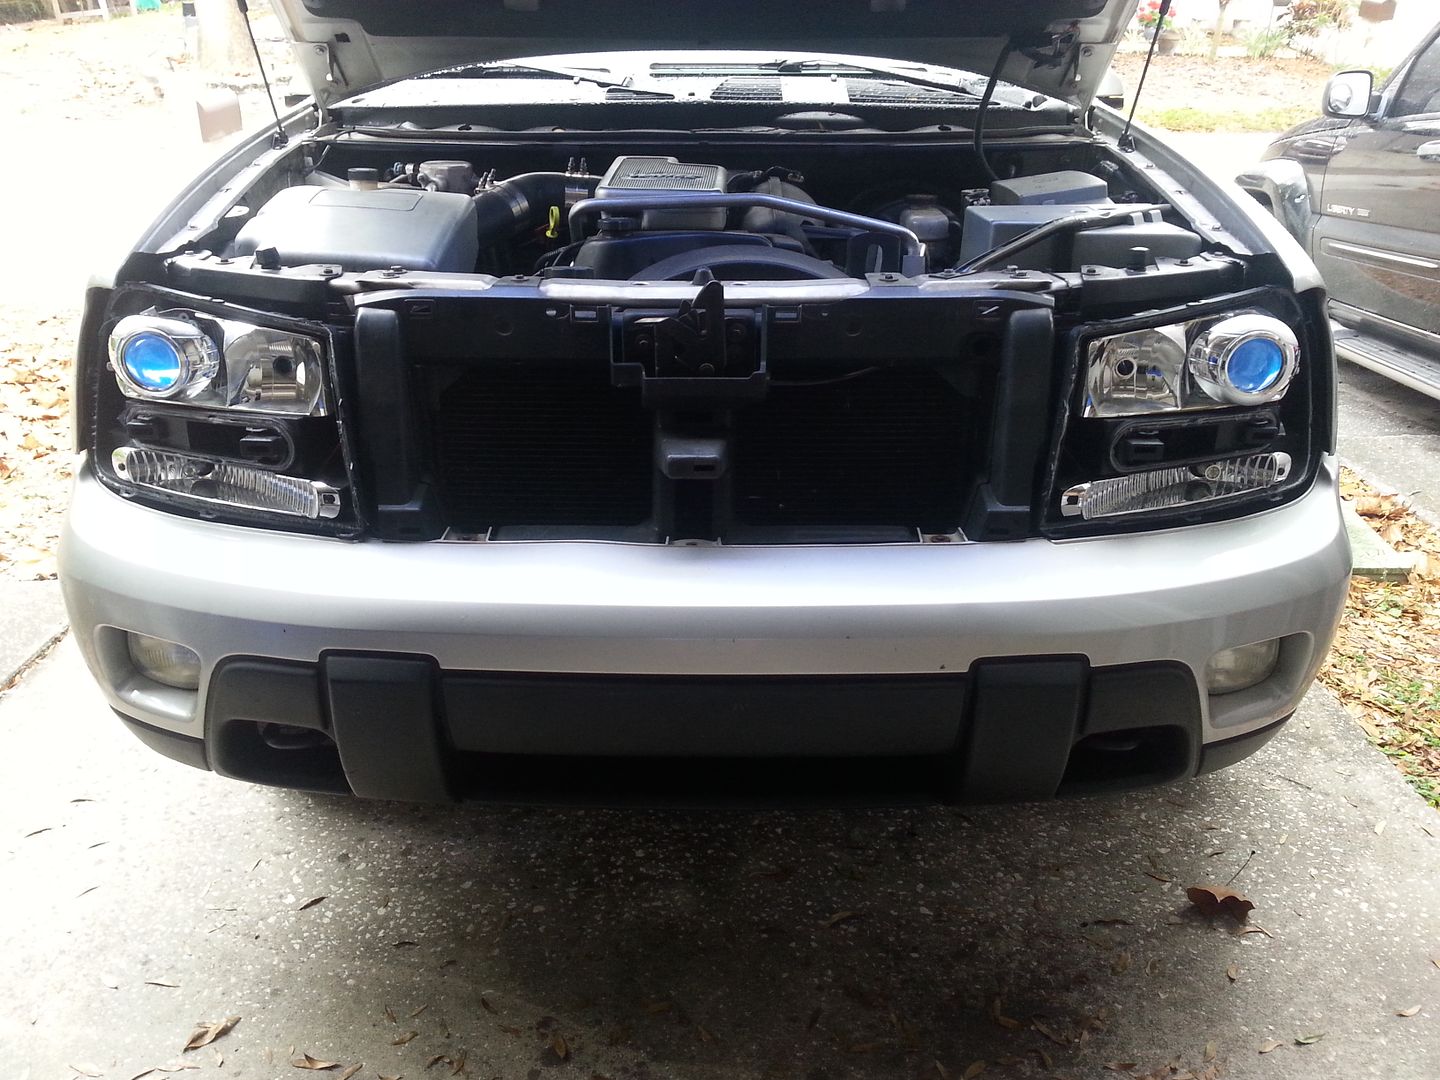
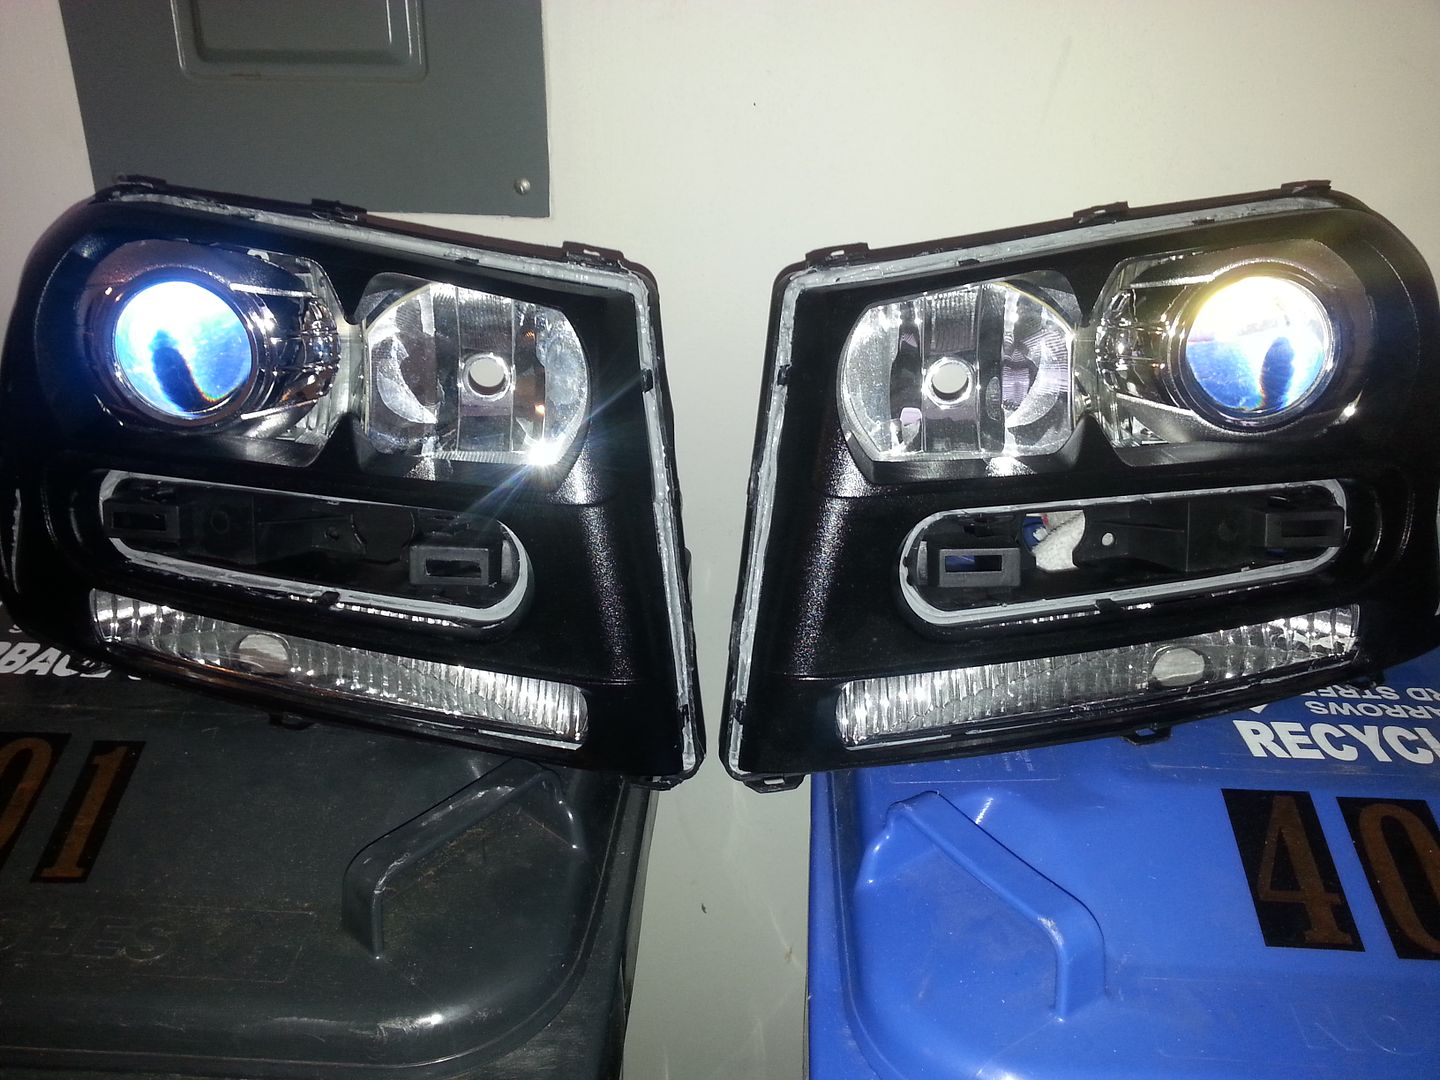
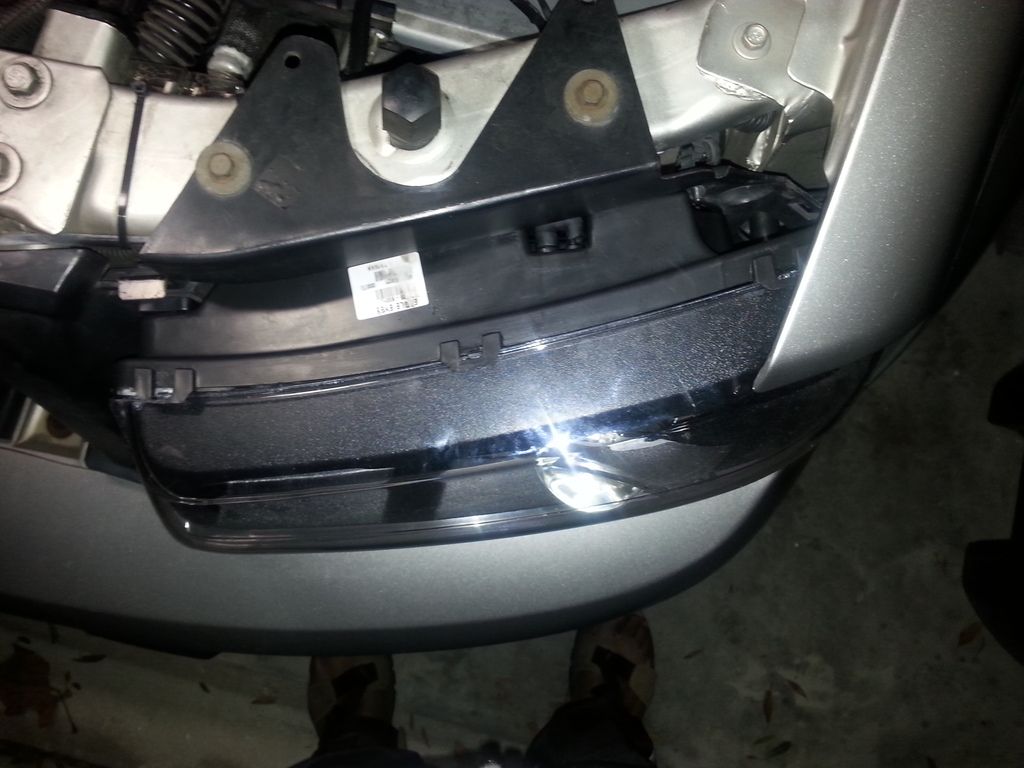
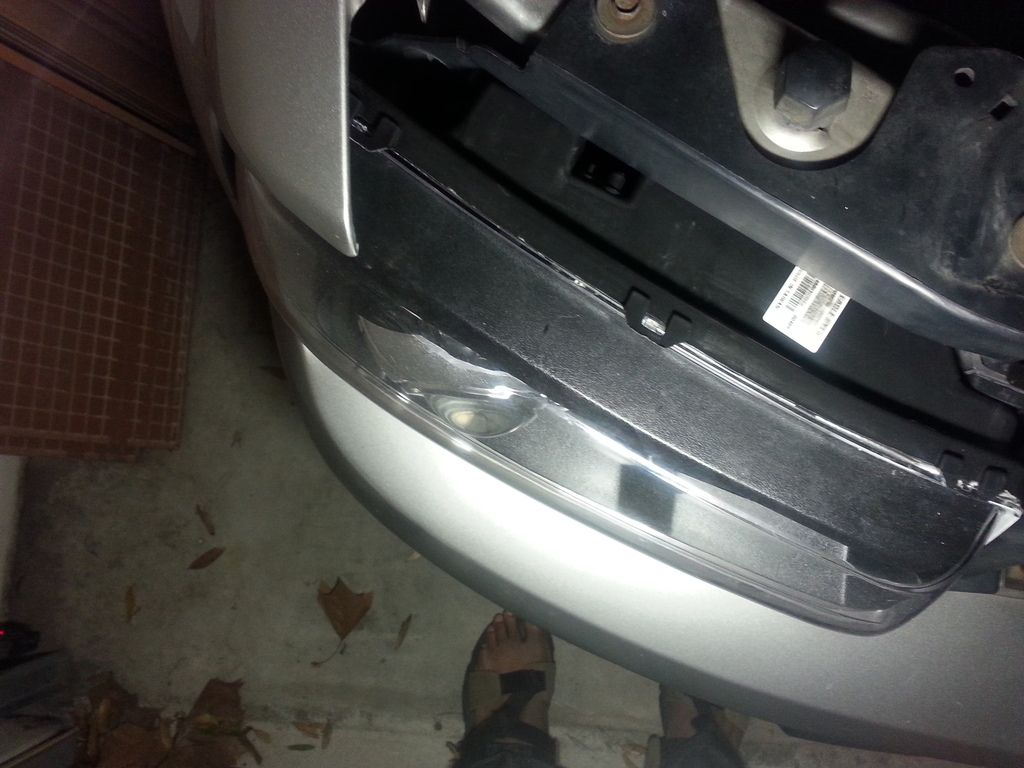
So yesterday and today, I started putting everything back together. Came to a startling realization. Not that the construction wasn't symmetrical, but by how far things were off. The DS shroud is almost right up against the front lens, while the PS shroud is back a little bit. :frown: 
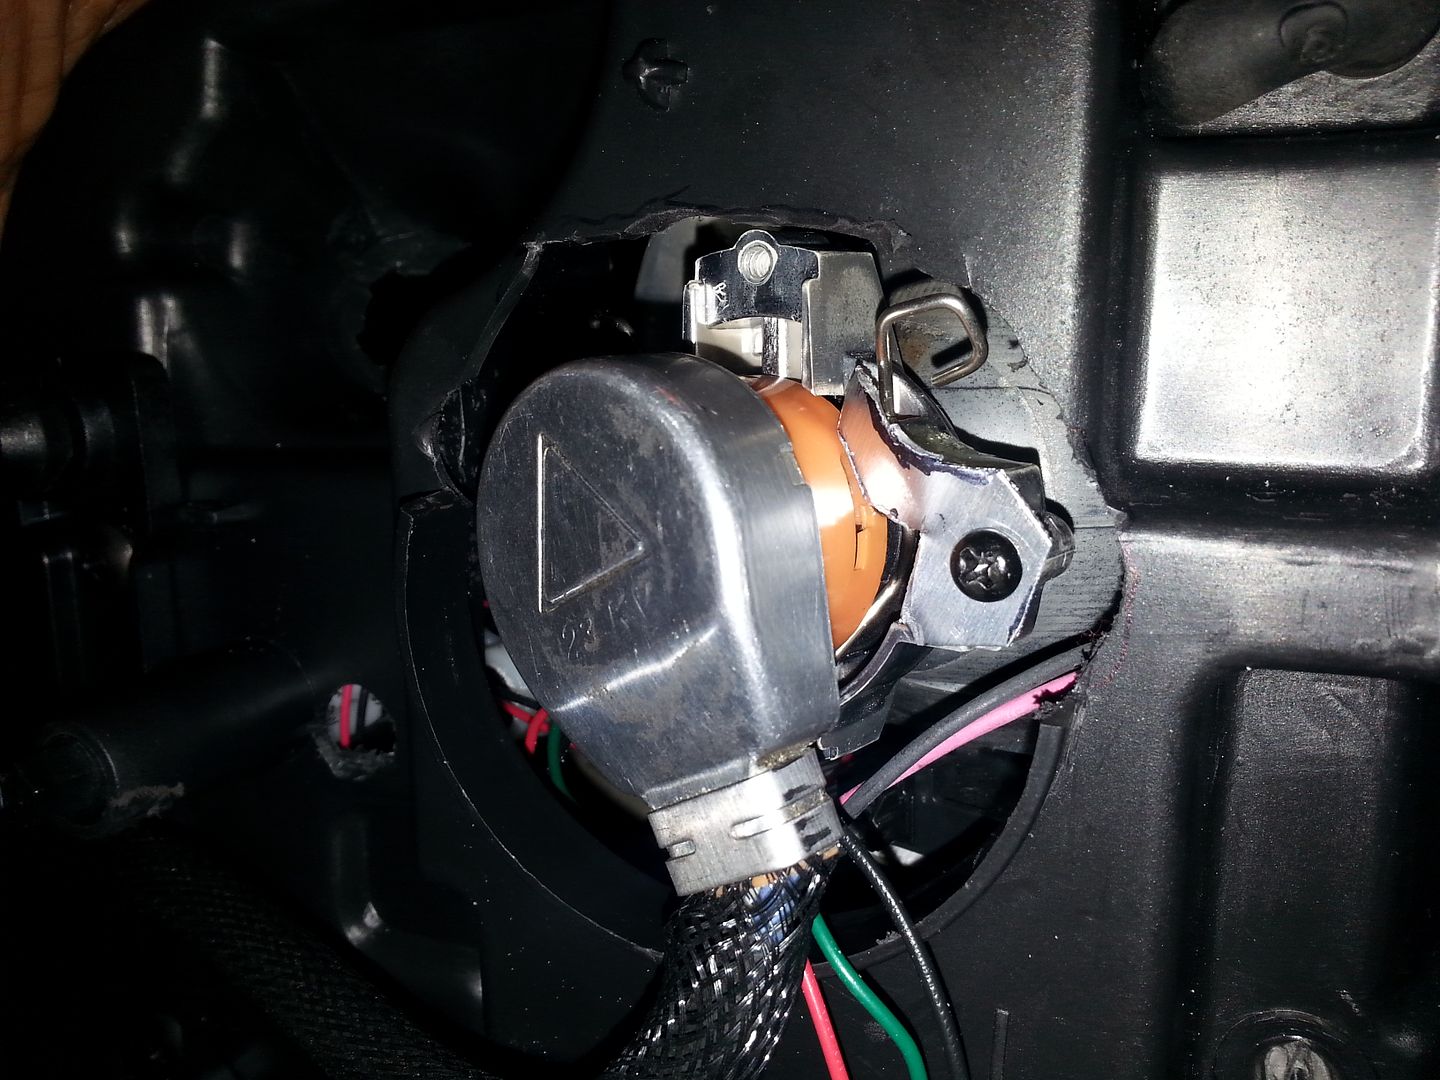
I haven't done a road test with them yet, but I sure hope I don't have to aim them down too far. Tilting them forward will almost certainly have them resting on the main lens. :no:

20160123_200721.jpg


20160123_200738.jpg


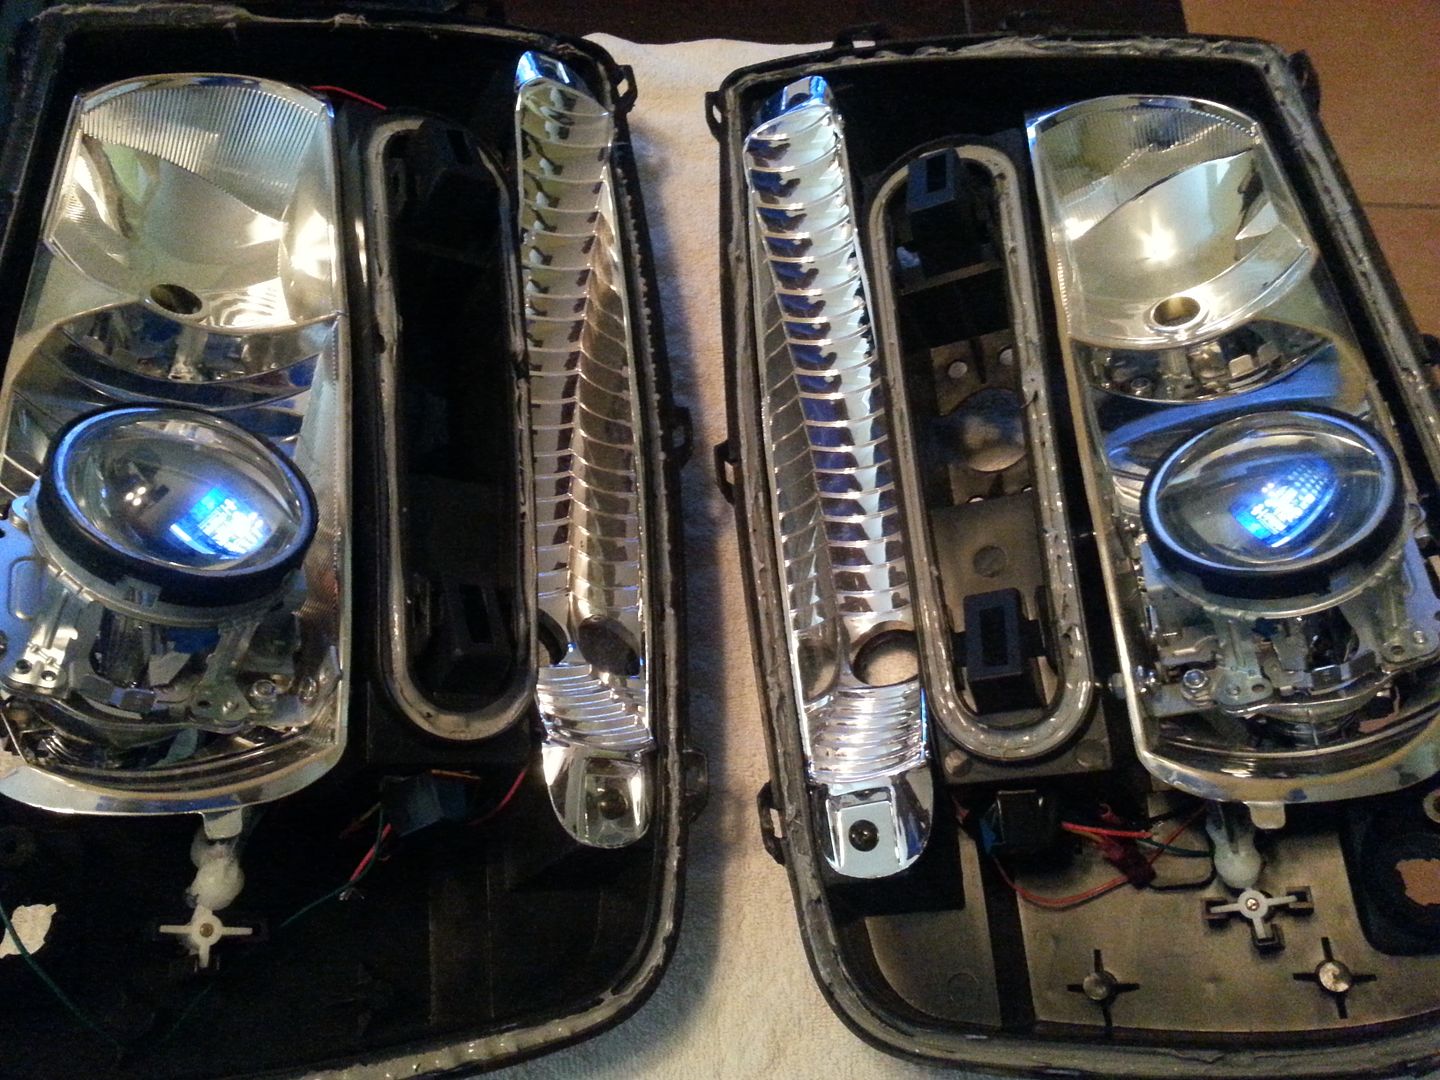
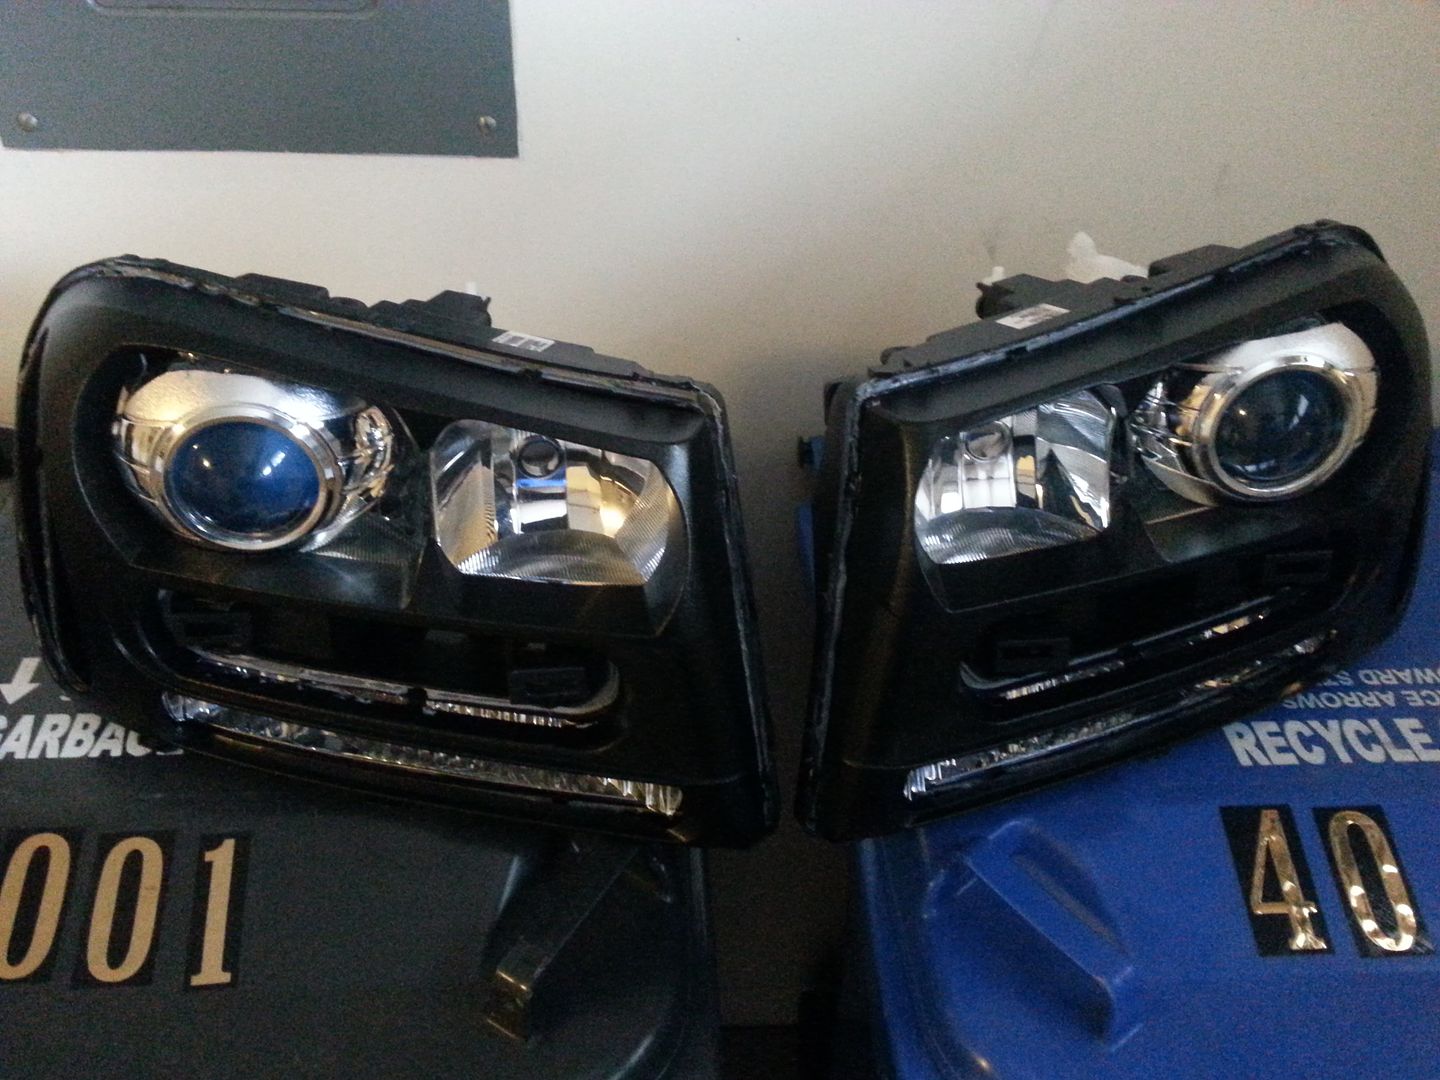
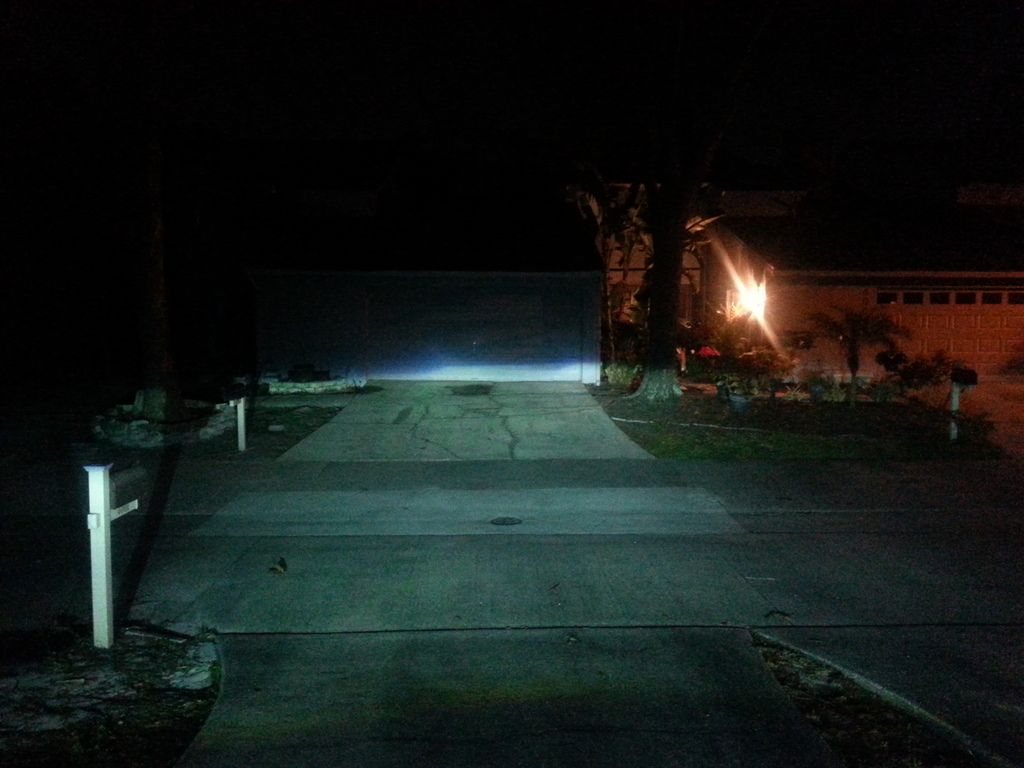
Still haven't gotten the DS hot spot dialed in like it was before my mishap, but I think it's as close as I'm gonna get, and it's serviceable for now. I added an extra shim, and that got it pretty close, although now there's some slight bowing, which is why the alignment looks slightly off. At some point later, I'll remove the extra shim, and wrap the initial one with a few layers of aluminum tape, that should be the ticket.

20160123_200847.jpg


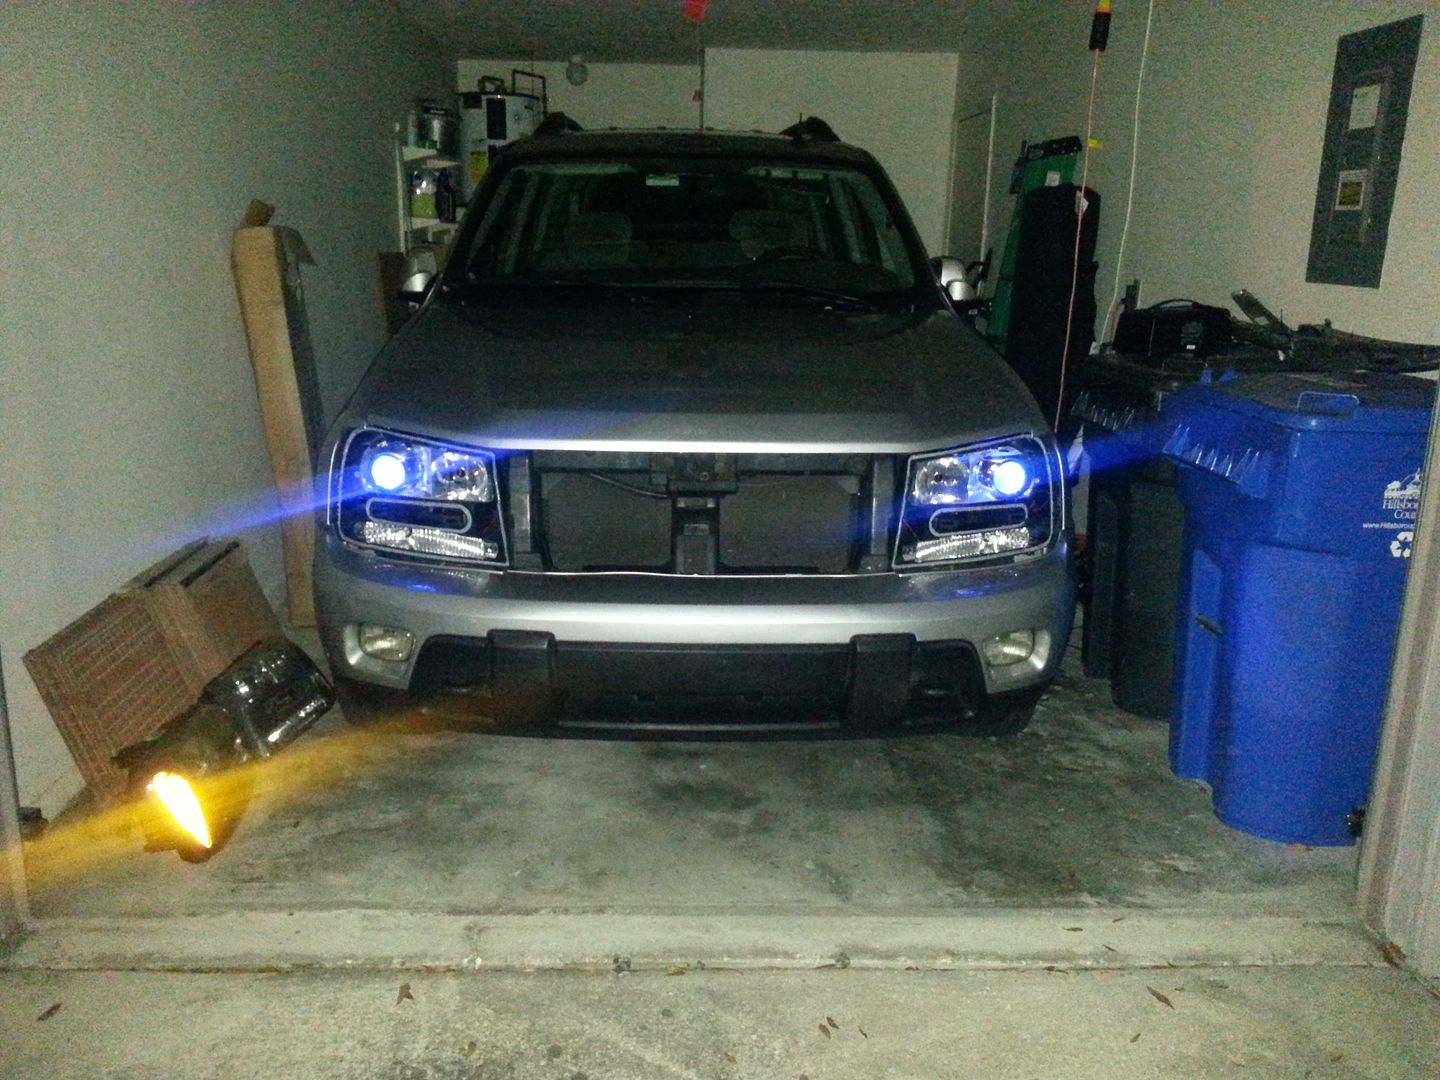
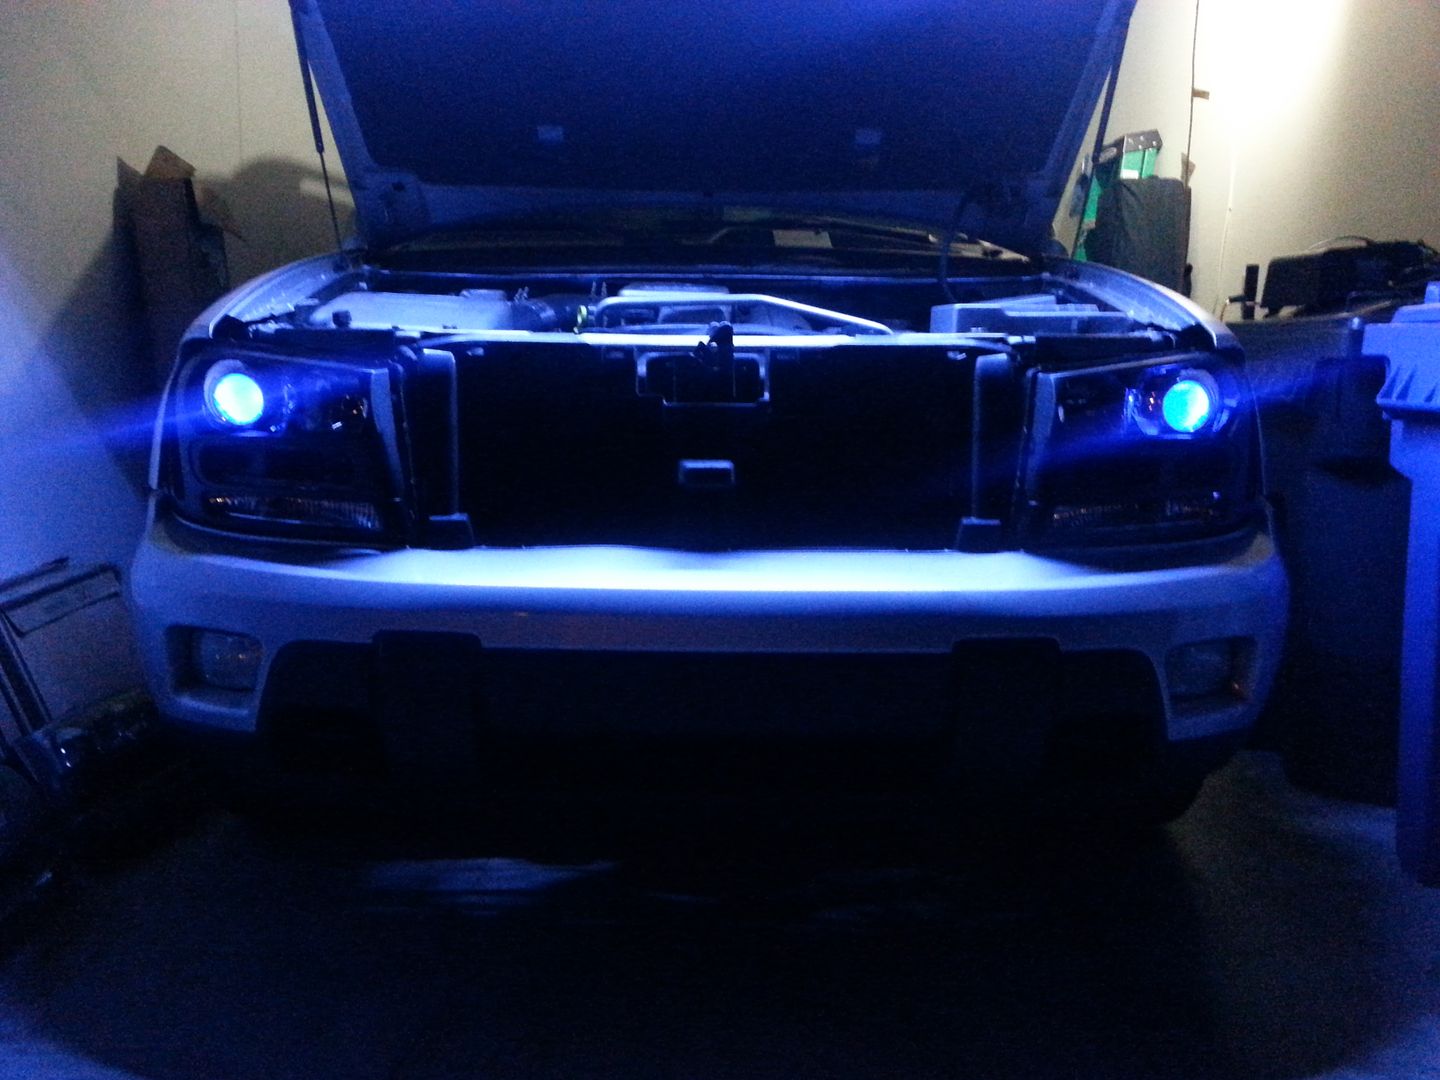
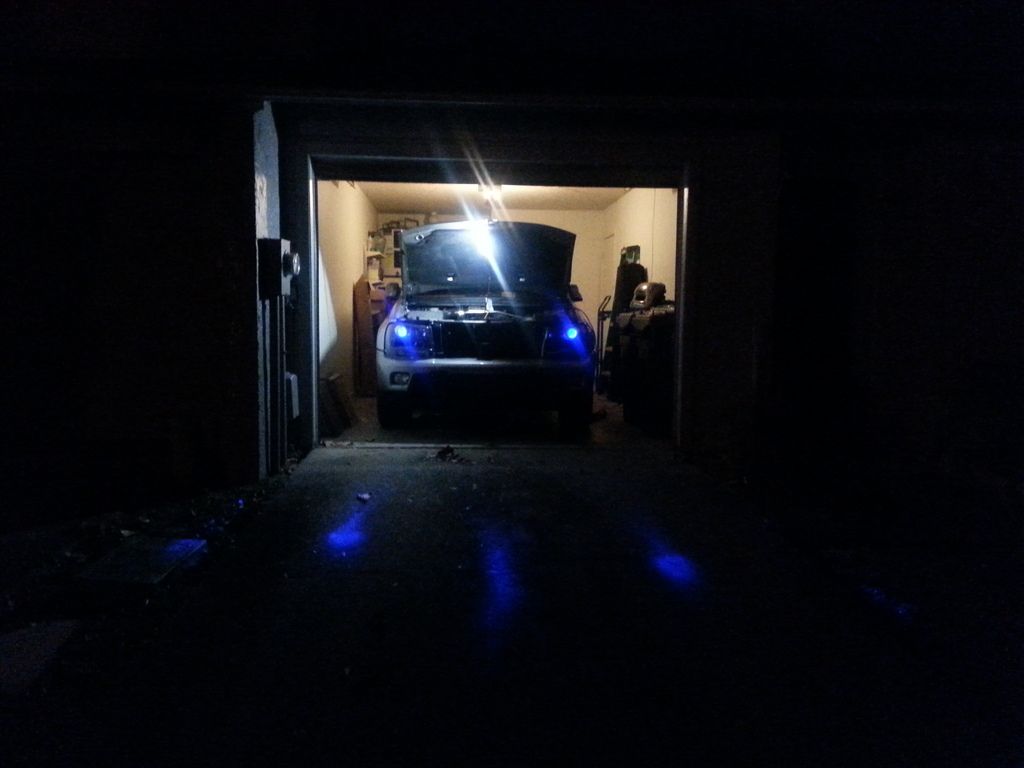
One more test of the demon eyes, to make sure I shouldn't kick myself for closing them up, and now I'm already thinking of all the ways I wish I had done this retro differently.

20160123_200936.jpg


Now, about those Lexus LS430's in my box of retro parts in the back room... :undecided:
 

Forum Statistics

Threads
23,330
Posts
637,985
Members
18,532
Latest member
timmerk

Members Online