How do I stop water from collecting in these lights?!?!
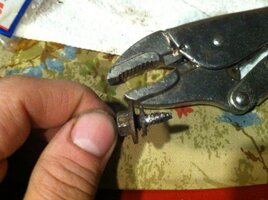
It seems there is constantly over 1/4" of water in these. Since I noticed it I try and keep dielectric grease caked into the light connectors, but this runs out over time and the lights connectors rust out.
The light twisted in seems to have a sealed connection, maybe I am missing something? I only took 1 assembly off once but didnt notice anything special to cause that much water to collect


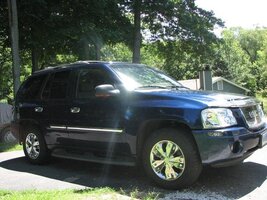
 I have a TYC passenger side headlamp assembly. It was on there when I bought the thing. Looks darn close to the original (a couple of the clear-plastic markings are different is all), but it seems to be suffering oxidation at a quicker rate than the factory-installed OEM on the other side.