TIME-SERT 102: How to Install Threaded Steel Inserts into the GM Atlas 4.2L LL8 Engine Block Head Bolt Holes
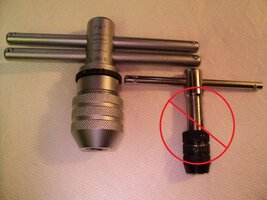
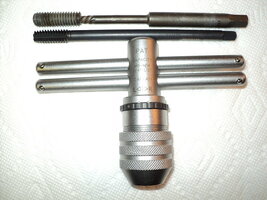
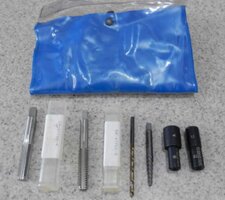
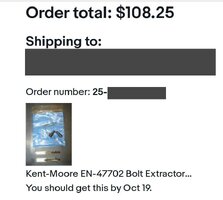
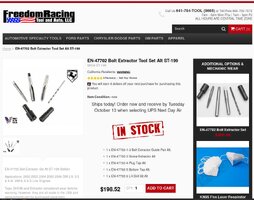
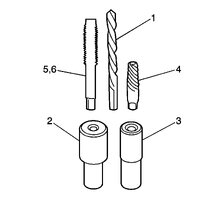
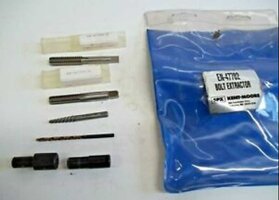
These are the Tools (Kits) necessary:
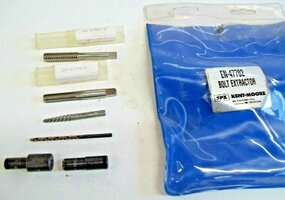
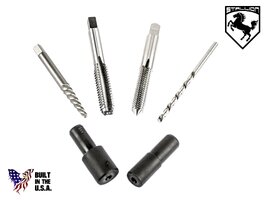
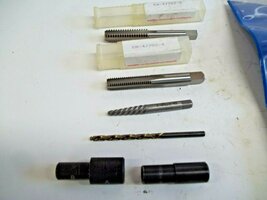
Time-Sert J-42385-100 M11 x 2.0 GEN 3 GM Head Bolt Thread Repair Kit
Kent-Moore Tools J-42385-401 GM Templates Fixture Plate Guide Head Bolt Repair
Part 1 of 3 Parts:
The Problem:
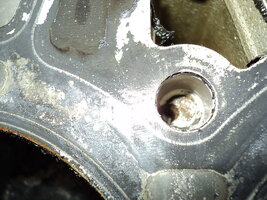
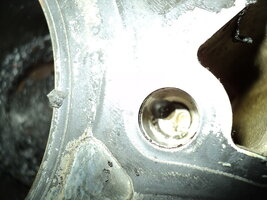
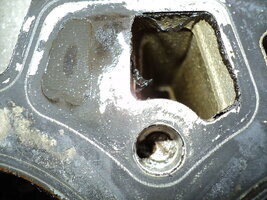
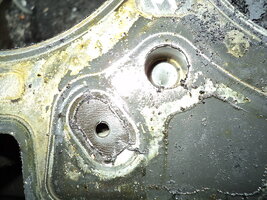
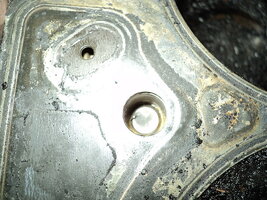
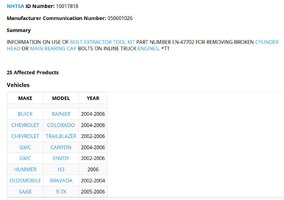
With the advent of High Quality Steel TTY “Stretch Bolts” in use inside of Cast Aluminum Engines came the problem of having TTY Fasteners invariably BREAK both during Assembly and randomly during Disassembly. In the case of the Engine Head Removal from the GM 4, 5 and 6 Cylinder In-Line Atlas Vortec LL8 Engines, it can become very problematic if ANY of the Bolts Holes get STRIPPED OUT or suffer any damage in the adjacent Aluminum Block Metal that will defeat the ability of the Head Bolt(s) to maintain their hold between the Engine Block, MLS Gasket and the Engine Head:
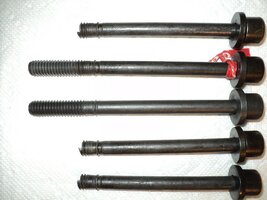
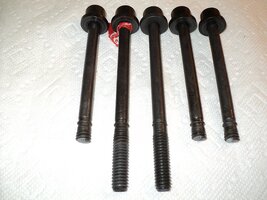
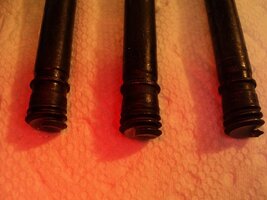
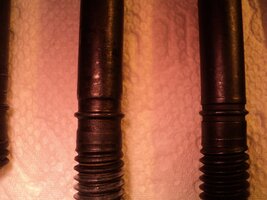
Additionally, for those of us having faith in these Amazing Aluminum Engine Blocks that extends to a desire for Additional Horse Power and Torque, the sensible approach would be to strengthen the critical Threaded Fastener Holes in the Engine Block. Such Fasteners are those that are holding in the Heavy Crankshaft and the Rotating Assembly as well as the need to restrain the Engine Head and Stainless Steel MLS Gasket firmly to the Engine Block under the stress and strains of using Superchargers, Turbochargers and/or Nitrous Oxide.
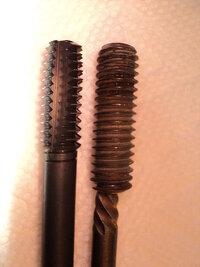
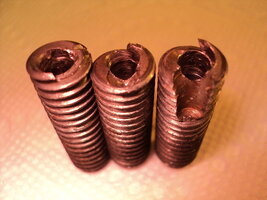
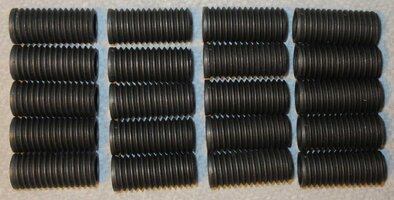
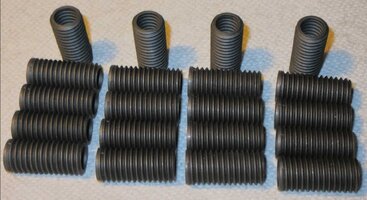
In Parts III of this Article, I'll be showing the installation of (14) of THESE (20) TIME-SERT M11 X 2.00 X 30MM Threaded Steel Cylinders on a Stand-Mounted GM Atlas 4.2L LL8 Engine Block:
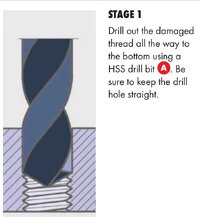
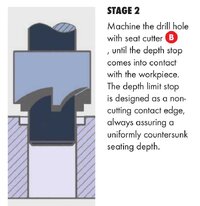
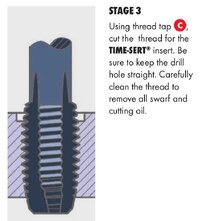
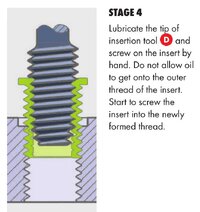
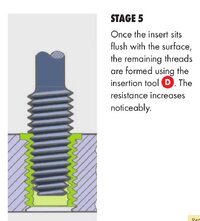
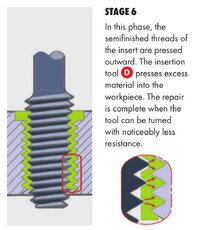
These issues can be addressed by taking the active approach of re-fitting the involved Bolt Holes using the TIME-SERT System. This means manually modifying the Engine Block to accept TIME-SERT SI Machined High Strength, Threaded Carbon Steel Cylinders. When these “SERTS” are Properly Installed… they can provide for a Stronger, Permanent Solution to these problems. It follows that I'll include a Photo-Play of All the Sequential Steps necessary to Do This Job Justice. These are the Basic Pictorial Stages for ALL TIME-SERT Installations (Excerpts from Linked Timesert.PDF):
The Added Advantage of installing the "SERTS is that the application of the Tightening, Torque and Torque-To-Angle FORCE can be accomplished with Greater Uniformity and Reliability.
The fact is that Winding Steel Bolts into Soft Aluminum Engine Blocks with resistance along the mating thread lines can cause the Steel Bolts to either GALL the Aluminum, Seize Up or even literally “Erase” the much softer Aluminum Metal while Pulling the Thread Lines Completely Out of the Engine Block during the Installation Procedures.
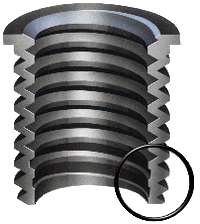
This will NOT occur once the Steel Bolts are Threaded into the Steel "SERTS" Machined Cylinders ...as long as the Factory OEM Torque Specifications are followed and NO Improper Use of Lubricants get applied to the Underside of the TTY Flange Bolt Heads or to the Thread Lines Prior to their Installation:
Continued in Part 2 of 3 Parts...
Link to Timesert.pdf:
These are the Tools (Kits) necessary:
Time-Sert J-42385-100 M11 x 2.0 GEN 3 GM Head Bolt Thread Repair Kit
Kent-Moore Tools J-42385-401 GM Templates Fixture Plate Guide Head Bolt Repair
Part 1 of 3 Parts:
The Problem:
With the advent of High Quality Steel TTY “Stretch Bolts” in use inside of Cast Aluminum Engines came the problem of having TTY Fasteners invariably BREAK both during Assembly and randomly during Disassembly. In the case of the Engine Head Removal from the GM 4, 5 and 6 Cylinder In-Line Atlas Vortec LL8 Engines, it can become very problematic if ANY of the Bolts Holes get STRIPPED OUT or suffer any damage in the adjacent Aluminum Block Metal that will defeat the ability of the Head Bolt(s) to maintain their hold between the Engine Block, MLS Gasket and the Engine Head:


Additionally, for those of us having faith in these Amazing Aluminum Engine Blocks that extends to a desire for Additional Horse Power and Torque, the sensible approach would be to strengthen the critical Threaded Fastener Holes in the Engine Block. Such Fasteners are those that are holding in the Heavy Crankshaft and the Rotating Assembly as well as the need to restrain the Engine Head and Stainless Steel MLS Gasket firmly to the Engine Block under the stress and strains of using Superchargers, Turbochargers and/or Nitrous Oxide.
In Parts III of this Article, I'll be showing the installation of (14) of THESE (20) TIME-SERT M11 X 2.00 X 30MM Threaded Steel Cylinders on a Stand-Mounted GM Atlas 4.2L LL8 Engine Block:


These issues can be addressed by taking the active approach of re-fitting the involved Bolt Holes using the TIME-SERT System. This means manually modifying the Engine Block to accept TIME-SERT SI Machined High Strength, Threaded Carbon Steel Cylinders. When these “SERTS” are Properly Installed… they can provide for a Stronger, Permanent Solution to these problems. It follows that I'll include a Photo-Play of All the Sequential Steps necessary to Do This Job Justice. These are the Basic Pictorial Stages for ALL TIME-SERT Installations (Excerpts from Linked Timesert.PDF):


The Added Advantage of installing the "SERTS is that the application of the Tightening, Torque and Torque-To-Angle FORCE can be accomplished with Greater Uniformity and Reliability.
The fact is that Winding Steel Bolts into Soft Aluminum Engine Blocks with resistance along the mating thread lines can cause the Steel Bolts to either GALL the Aluminum, Seize Up or even literally “Erase” the much softer Aluminum Metal while Pulling the Thread Lines Completely Out of the Engine Block during the Installation Procedures.
This will NOT occur once the Steel Bolts are Threaded into the Steel "SERTS" Machined Cylinders ...as long as the Factory OEM Torque Specifications are followed and NO Improper Use of Lubricants get applied to the Underside of the TTY Flange Bolt Heads or to the Thread Lines Prior to their Installation:

Continued in Part 2 of 3 Parts...
Link to Timesert.pdf:
Last edited:

