- Aug 24, 2012
- 1,098
Well, after having a misfire on cylinder 4 that wouldn't clear up, I decided it was time to change the plugs and wires. I ordered them from Rock Auto and got them today. Since it was fairly warm (40*F), I decided today would be a great day for it. After hearing about all the trouble people have had and would rather pay than do it themselves, I was a little nervous. I started on the driver's side (odd numbers) and grabbed #3, 5 and 7 just to get a good start and feel good. Number 1 looked intimidating, but it wasn't as bad I thought it would be. I disconnected the sensor wire that is next to it so there was less leverage to break it off should I bump it.
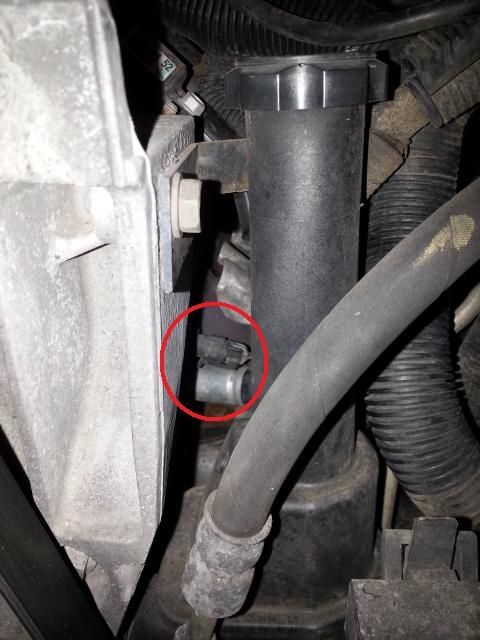
It could have been left on, but I felt better having it off. There is a tab/clip on the bottom of it. I used a long straight screwdriver with a small tip to pry the clip and pulled it off with my digits.
The easy side finished, I moved over to the passenger side. I looked, poked, and looked some more and tried to decide where to begin. None of them looked easy from the top, so I just started with number 2. I ended up just using the deep 5/8" socket on my floppy ratchet and angled it down (with the handle up and in my hand) and slid the socket onto the plug. Without the 3" extension that I used on the other side, it didn't go all the way into the plug well, but it went in enough to get a grip on the plug. Broke it free and turned it a turn or 3 with the ratchet and then pulled the ratchet off and turned the socket by hand. Installation was the reverse of removal - and it worked!
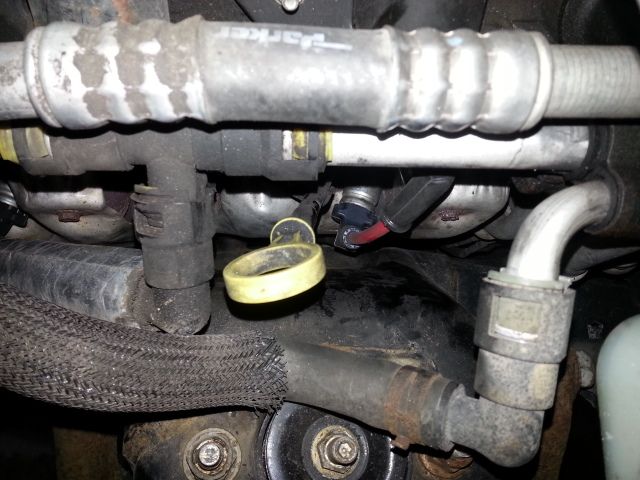
Next, it was time to remove the right front wheel and get some jackstands under the truck. That done, I took a look under there and this is what I saw. Pretty decent work space actually, once you look at it and figure out your routes.
Plug #4. I snaked a long extension and universal under the upper control arm and onto the plug. Worked great.
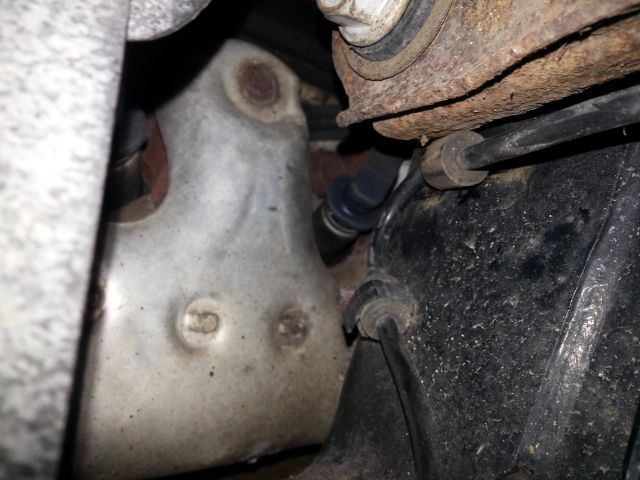
You can even get the plug wire onto the coil from down here.
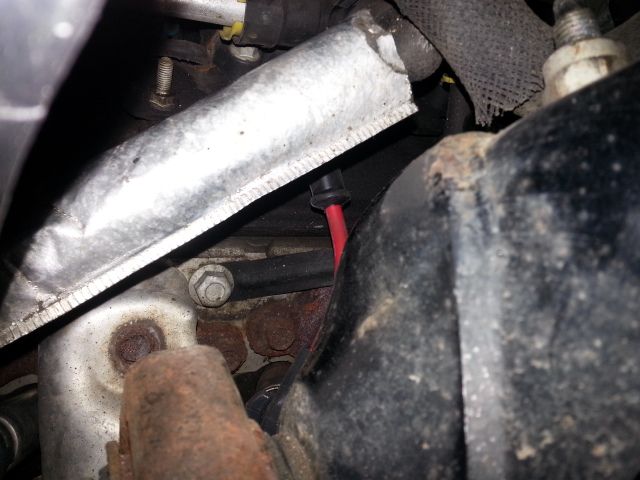
Plug #6 - you can get the plug and coil wire on from here.
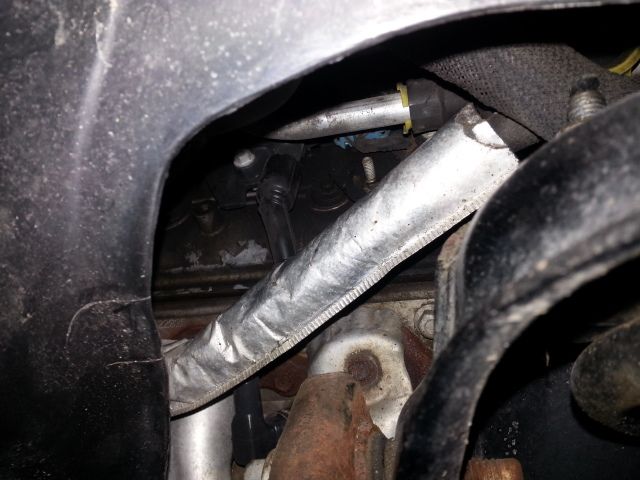
Plug #8 - from the top, this one looks impossible. But from down here, it looks a bit better.
The flap to gain access:
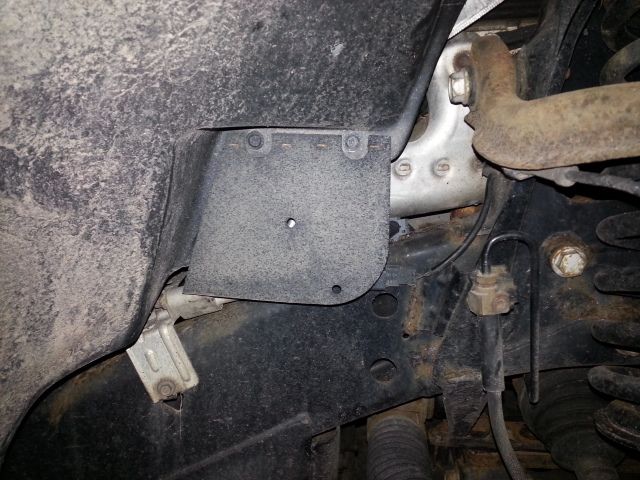
The room you have behind the flap:
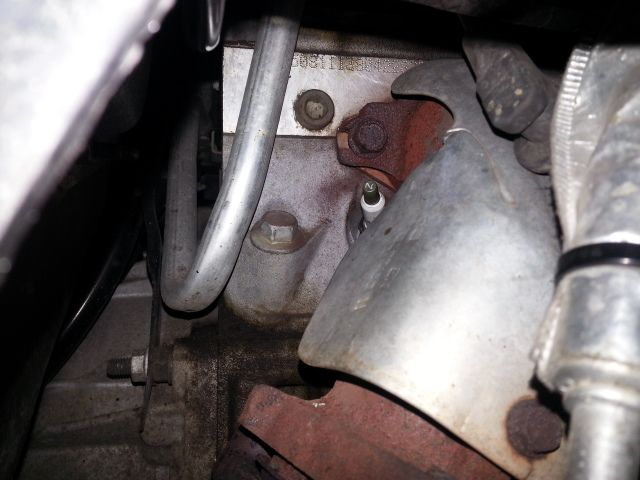
You can get to the coil from down here as well.
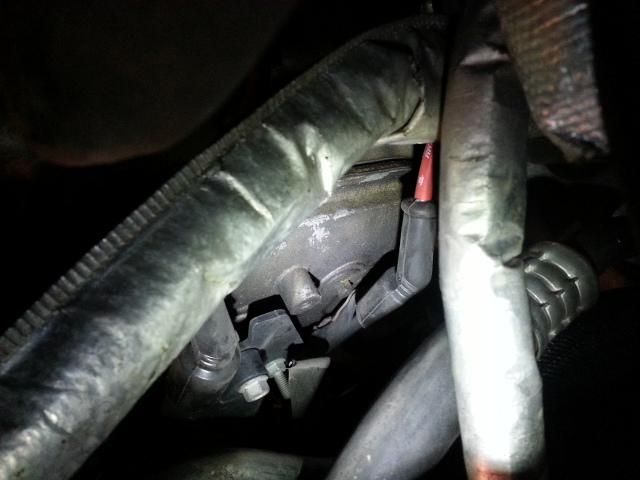
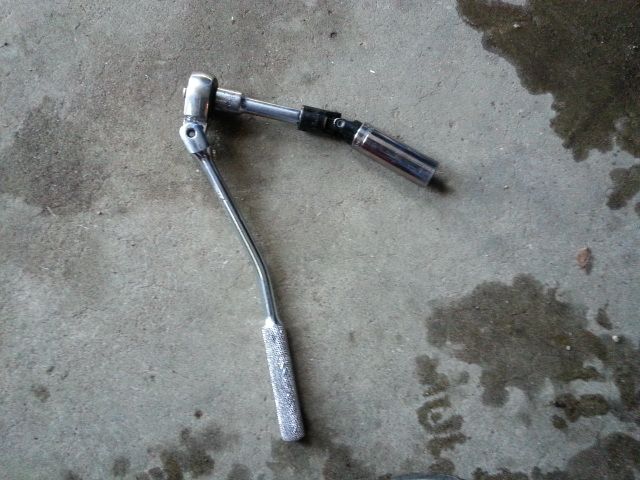
My ratchet setup. I used this or a combination of it. Sorry, I didn't grab a pic when I had the long extension out.
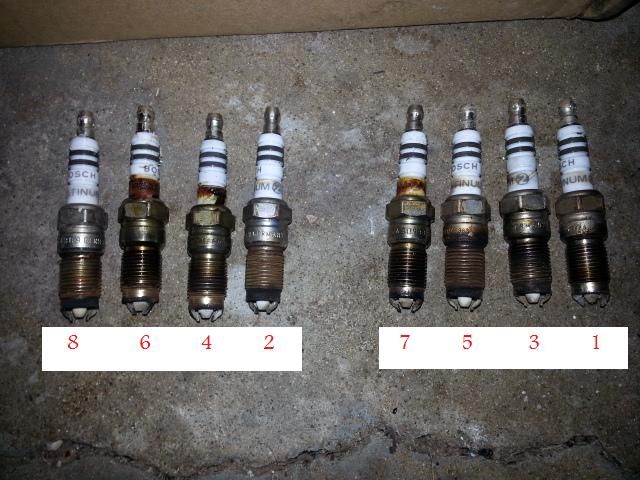
The old plugs. Surprinsingly, #1 was the worst. Number 4, which was misfiring enough to cause the CEL to flash, looked much better. AC Delco 41-110 plugs went back in.
Hopefully this helps some of you that are on the fence about attempting the plugs yourself. Total time was a little over an hour and that included pulling the RF wheel and sipping a coldy along.
Forgot to add that Torque looked so nice with big fat zeroes in the misfire and history counts for #4!

It could have been left on, but I felt better having it off. There is a tab/clip on the bottom of it. I used a long straight screwdriver with a small tip to pry the clip and pulled it off with my digits.
The easy side finished, I moved over to the passenger side. I looked, poked, and looked some more and tried to decide where to begin. None of them looked easy from the top, so I just started with number 2. I ended up just using the deep 5/8" socket on my floppy ratchet and angled it down (with the handle up and in my hand) and slid the socket onto the plug. Without the 3" extension that I used on the other side, it didn't go all the way into the plug well, but it went in enough to get a grip on the plug. Broke it free and turned it a turn or 3 with the ratchet and then pulled the ratchet off and turned the socket by hand. Installation was the reverse of removal - and it worked!

Next, it was time to remove the right front wheel and get some jackstands under the truck. That done, I took a look under there and this is what I saw. Pretty decent work space actually, once you look at it and figure out your routes.
Plug #4. I snaked a long extension and universal under the upper control arm and onto the plug. Worked great.

You can even get the plug wire onto the coil from down here.

Plug #6 - you can get the plug and coil wire on from here.

Plug #8 - from the top, this one looks impossible. But from down here, it looks a bit better.
The flap to gain access:

The room you have behind the flap:

You can get to the coil from down here as well.

My ratchet setup. I used this or a combination of it. Sorry, I didn't grab a pic when I had the long extension out.

The old plugs. Surprinsingly, #1 was the worst. Number 4, which was misfiring enough to cause the CEL to flash, looked much better. AC Delco 41-110 plugs went back in.

Hopefully this helps some of you that are on the fence about attempting the plugs yourself. Total time was a little over an hour and that included pulling the RF wheel and sipping a coldy along.
Forgot to add that Torque looked so nice with big fat zeroes in the misfire and history counts for #4!

 but not quite.
