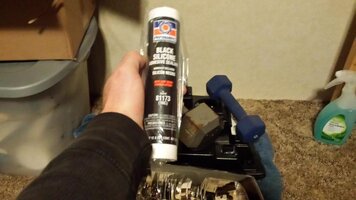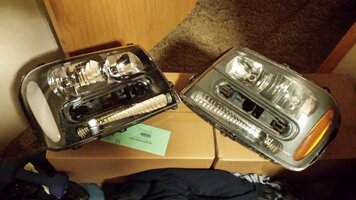
Over the past week or two I've posted my progress on the headlights in the what did you do thread. I got some great advice in there and the knowledge shouldn't get buried.

The mission here is to open the headlights, swap out the amber lenses for clears, paint the plastic bezels, and seal them back up.
This is my first and hopefully last time doing it and so far it's been a fun experience. And by fun I mean not fun. I tried a couple of different things and broke a few things and here's what I've learned.
OEM headlights - next to impossible to open. I tried cutting one open, and I tried cooking the other. The center section (where the grill clips in) is what did me in each time. I have enough patience to de-blue a cluster (took hours) and the OEM headlights pushed my patience buttons. Blckshdw split OEMs open but he has next level skills. So it is possible but unless you have next level skills my advice to someone who wants to do this is keep the OEM lights for spares.

I gave it my all on the OEMs. I tried a heat gun on the center section, no luck. I stuck a hi powered heat lamp right above the center section. The glue wouldn't give. Later, I got the OEM light close to 300 and the center section still wouldn't let loose.
Aftermarket headlights - these are glued in with a different sealant then the OEMs and the sealant is more forgiving when it's hot. The recommended temp/time by smitty is 250 for 10 minutes. That temp/time worked great for softening the glue. I had to cook them a total of 3 times because the glue doesn't stay pliable for long.
[sharedmedia=core:attachments:61705]
During my trial and error, I got this aftermarket light a little too hot. I kept ramping up the temp until the glue in the center section would budge. But the temp was fine, the glue was hot, it was the technique.

You can see the pry marks in the housing. That was the spot I used to pop the center section off. Later, I tried this technique on the OEM mentioned a few pics up.
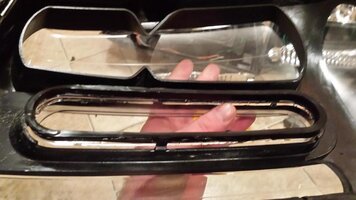
Hindsight/foresight time. I should have separated the bezel from the lens using the oven, and used the oven to help get the old sealant off. The bezel tabs are covered in sealant.
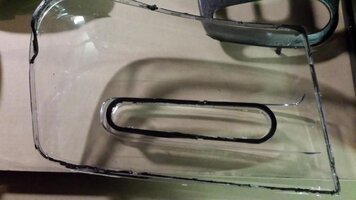

To get them off at work (no oven), I had to hit each spot with a heat gun until the sealant became pliable enough to pop out the tab. I think there were 9 per light so 18 total. It got old quick. Plus I still have a lot old sealant to remove. I worked the heat gun and fingers o' steel for 20 minutes and didn't even get a 2 inch section of glue off.

So that's my experience so far. These have to get painted so it's going to be a week or ten before I update this.
TL;DR
-OEMs are hard, if not impossible, to open
-250 degrees for 10 minutes will soften up an aftermarket lights glue enough to open
-Separating the bezel from the lens, and removing the old sealant, is easier using the oven
-A total of 3 headlights were ruined during my learning experience. I went the economical route by using what I already had (OEMs) and paid the price. If I had to do it again I would have got aftermarkets from the start.
Also
One thing that bugs me now is the OEM drivers side headlight. One morning out of the blue it had a patch of fog in it at the corner lens. The sun would hit it, and it would go away til the next morning. If that thing is sealed so tight that I broke tools trying to get it apart how could it fog up?
I take no credit whatsoev for any of the knowledge in this post. Thanks to blckshdw, smitty, and others who have shared their knowledge.


