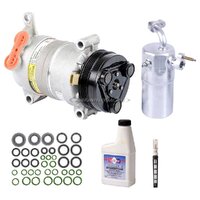
Why I am being bedeviled by HVAC problems has GOT to have something to do with Werner Heisenberg's “Uncertainty Principle”… in essence ...”What You Study… You Also Change ...the moment you even LOOK at it...”. In this case, I had merely raised my hood to give my 2000 Chevrolet Silverado 5.3L Engine Bay some admiring glances this morning… and then as soon as I started the Truck up… My A/C crapped out! Damn You, Florida!
The arrival of my inexpensive GM 2000-2006 Chevrolet Silverado “PDF Manuals on a DVD” have proven to be absolutely priceless as they allow one to conveniently get that OEM “Factory Fresh” look at how the official Diagnostic Procedures and R&R imagery come into play here. BUT… adding to that supreme advantage was finding these two co-related Youtube Repair Videos that are just chock full of good, live Diagnostic and Repair instructions of “How To Repair the ENTIRE A/C System on a Full Sized Chevrolet Silverado Pick-Up Truck”. Now even though I am “Uncertain” about what the exact problems are in play here right now… having all these Data/Videos at hand will “certainly” make the finding and fixing procedures much more pleasurable and direct.
The Last Cool Aspect of this matter is that these two videos are being well covered by the SAME Mechanic on the SAME Vehicle on two separate occasions… and also happens to be a 2000 Year… just like Mine:
I Love It when a Plan Comes Together :>)
The “How-To” Condenser/Accumulator-Drier/Orifice Tube R&R:
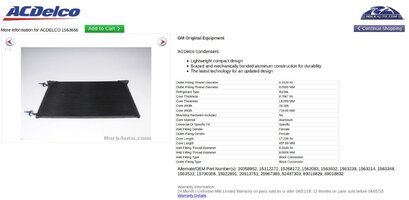
RockAuto offers quite a few A/C Condenser Coils for this Vehicle… with the OEM ACDelco flavor offered for around $100.00
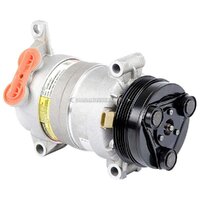
… Then the “How-To” for the OEM Delphi Updated A/C Compressor R&R:
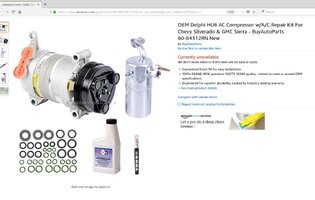
If it comes down to having to do this Compressor R&R ...RockAuto has both the OEM GM ACDelco and the alternative OEM Delphi flavor… for around $210.00:
https://www.rockauto.com/en/catalog...6,heat+&+air+conditioning,a/c+compressor,6628
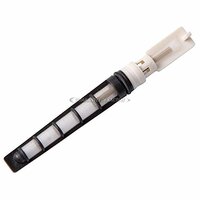
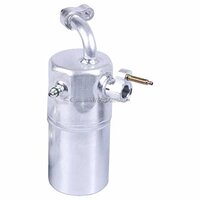
...and again... RockAuto has the Orifice and Accumulator-Drier as well:
Orifice Tube:
https://www.rockauto.com/en/catalog...heat+&+air+conditioning,a/c+orifice+tube,6936
Accumulator- (Receiver-Drier):
https://www.rockauto.com/en/catalog...tioning,a/c+receiver+drier+/+accumulator,6972
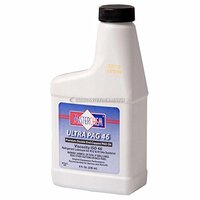
Finally... The PAG 150 Refrigerant Oil is available at your local Autozone, etc… and also via Amazon in the OEM ACDelco variety:
https://www.amazon.com/dp/B0012PDTS2/?tag=gmtnation-20
This is Important:
One Critical Observation I would make between these two Youtube Videos is that the Mechanic notes that he did NOT actually place enough PAG 150 Refrigerant Oil into EACH NEW COMPONENT during his initial repair and likewise needed to add MORE PAG 150 Oil to the Compressor during the second Video, Since this system takes 8 Ounces of PAG Oil... it makes sense to distribute the PAG Oil between the Major Components..such as B4 installing the Condenser Coil in the front of the Radiator.
First, Tilt the New Condenser on its side and use a small Funnel to introduce about 2 Ounces of PAG Oil directly into the LOW SIDE Port... so the PAG Oil will travel from the LOW Side... through the entire Condenser prior to being pushed under higher pressure back to the Compressor. It is important to remember that whenever NEW components are being replaced for the OLD ones... whatever residual Old PAG OIL is residing inside of them is being removed right along with that Old Gear... so it MUST be replaced by pouring back in the right oil and in the proper amounts into the New Gear.
Also... that means placing around 3 Ounces into the Accumulator-Drier for the same reasons... and lastly.. a minimum of 2 Ounces needs to be fed into the open LOW Side Suction Line Port on the New Compressor and Hand Turned at LEAST 10 Xs to pre-lubricate the Scroll Chamber deep inside, In this way... the New PAG Oil will be more uniformly distributed throughout the entire repaired AC System.
Last edited:

