Summary: How to cut open your headlights to paint the plastic inserts and create clear corner turn signal lenses.
Difficulty: High
Estimated Time: Weekend Job
Part Numbers: Part Varies
Cost: Varies
Step 1: Cutting open the headlight housings
If you do not want to attempt the baking method, or if that method doesn't work out for you, the alternative is to use a cut off wheel to remove the outter edge between the base and lens.
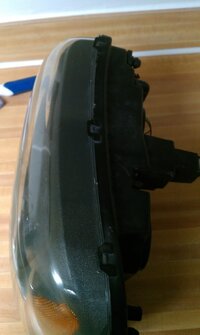
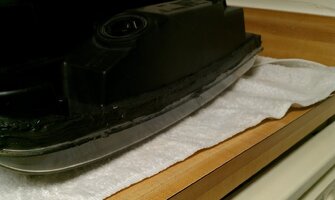
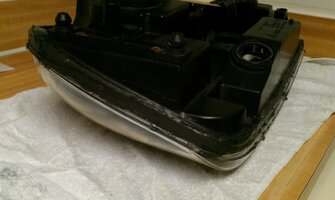
Here's what NOT to do
What you need to do, is cut about 2/3 to 3/4 of the way down the backside of that channel. This will allow you to wedge a screwdriver/carpenter's knife, or some other flat tool between the bottom of the clear lens and the base to cut through the bottom layer of adhesive sealant.
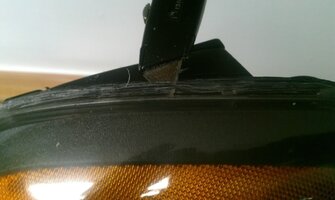
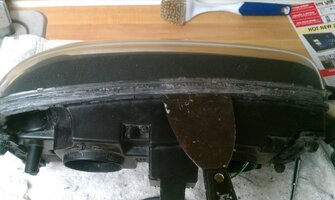
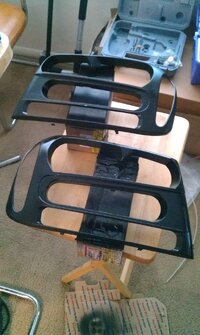
Work your way around the perimeter, and then move to the inside section (for LS and SS lights). There are several small tabs on the plastic insert that are glued to the base. 2 on top, bottom, center section and inside, with 1 on the outside. You should be able to get a screwdriver under them and pop them free.
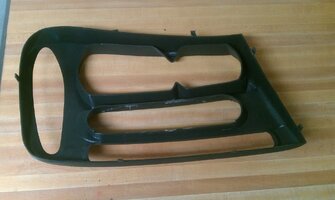
Once you get that free, take a moment to appreciate your work.
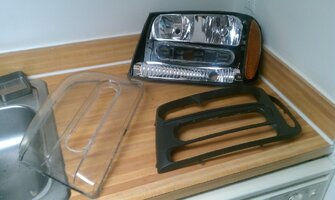
Then it's time to go back and try to clean out as much of the old adhesive as you can. If you have safety gloves, it would be in your best interest to wear them, otherwise you'll likely end up with some battle scars as you try to cut/whittle away at the old sealant.
Optional Step: Beefing up the stock headlight wiring
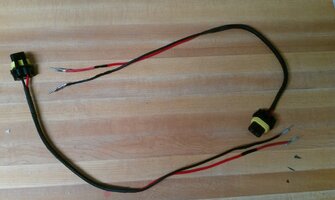
With the spare headlights I picked up, the 9006 low beam connectors were removed. I picked up a pair of 9006 HID harnesses (18 gauge wire, compared to the 22 gauge stock wiring) There's a small white plate retaining the headlight assembly connector pins. It has 2 small tabs, one on each side, that keep it locked in. Using a pick tool, they can be removed fairly easily.
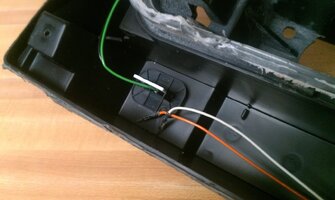
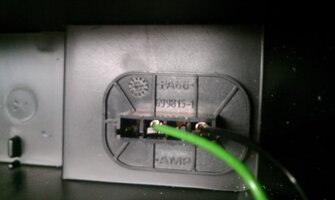
Looking at the pins, the only information on them is the manufacturer Amp, which is a subsidiary of Tyco Electronics. I tried to find a listing for the pins, the best I came up with was this unconfirmed, out of stock, listing for part number 925891-1
925891-1 TE Connectivity / AMP TE Connectivity
Without being able to locate any pins, I decided to use a cutoff wheel and cut down the center of the crimp, to be able to remove the stock wiring, and then soldered the heavier gauge wiring in its place (after extending them a few inches to make reaching easier)
Difficulty: High
Estimated Time: Weekend Job
Part Numbers: Part Varies
Cost: Varies
Step 1: Cutting open the headlight housings
If you do not want to attempt the baking method, or if that method doesn't work out for you, the alternative is to use a cut off wheel to remove the outter edge between the base and lens.

Here's what NOT to do
Do NOT cut vertically along the back edge of the lip.
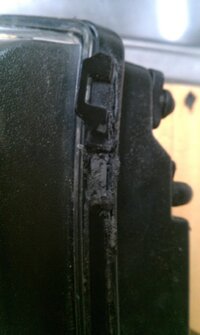
While you can get the majority of the seal pulled off, and gain access to the thick layer of adhesive sealant below...
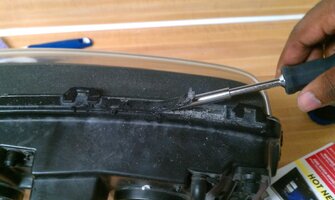
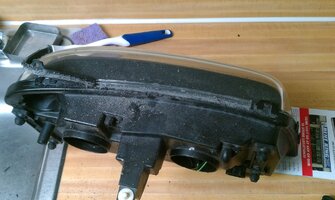
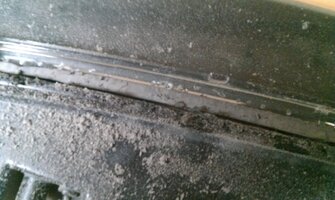
**looking from the front of the light towards the back**
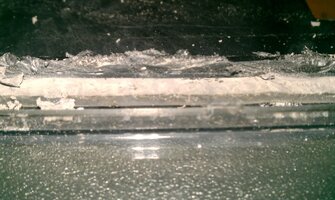
... there is a 2nd layer of adhesive sealant below the lip of the clear lens, bonding it to the bottom side of the channel for the base, which forms a sandwich.

While you can get the majority of the seal pulled off, and gain access to the thick layer of adhesive sealant below...


**looking from the front of the light towards the back**

... there is a 2nd layer of adhesive sealant below the lip of the clear lens, bonding it to the bottom side of the channel for the base, which forms a sandwich.
What you need to do, is cut about 2/3 to 3/4 of the way down the backside of that channel. This will allow you to wedge a screwdriver/carpenter's knife, or some other flat tool between the bottom of the clear lens and the base to cut through the bottom layer of adhesive sealant.


Work your way around the perimeter, and then move to the inside section (for LS and SS lights). There are several small tabs on the plastic insert that are glued to the base. 2 on top, bottom, center section and inside, with 1 on the outside. You should be able to get a screwdriver under them and pop them free.

Once you get that free, take a moment to appreciate your work.

Then it's time to go back and try to clean out as much of the old adhesive as you can. If you have safety gloves, it would be in your best interest to wear them, otherwise you'll likely end up with some battle scars as you try to cut/whittle away at the old sealant.
Optional Step: Beefing up the stock headlight wiring
With the spare headlights I picked up, the 9006 low beam connectors were removed. I picked up a pair of 9006 HID harnesses (18 gauge wire, compared to the 22 gauge stock wiring) There's a small white plate retaining the headlight assembly connector pins. It has 2 small tabs, one on each side, that keep it locked in. Using a pick tool, they can be removed fairly easily.


Looking at the pins, the only information on them is the manufacturer Amp, which is a subsidiary of Tyco Electronics. I tried to find a listing for the pins, the best I came up with was this unconfirmed, out of stock, listing for part number 925891-1
925891-1 TE Connectivity / AMP TE Connectivity
Without being able to locate any pins, I decided to use a cutoff wheel and cut down the center of the crimp, to be able to remove the stock wiring, and then soldered the heavier gauge wiring in its place (after extending them a few inches to make reaching easier)


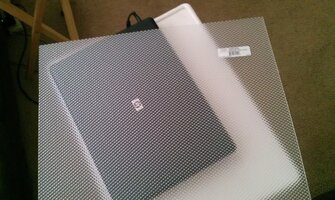
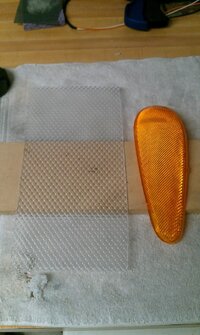

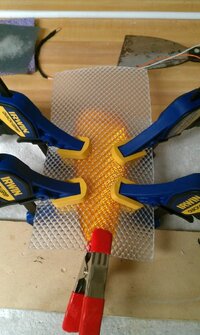
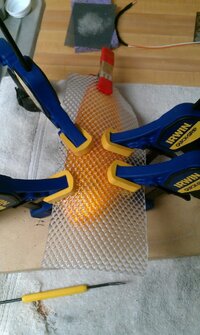
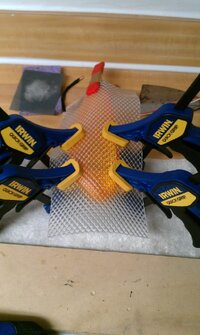
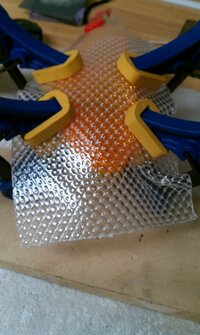
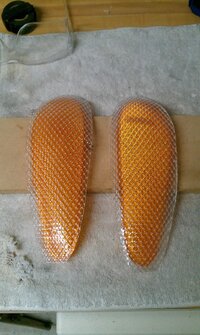
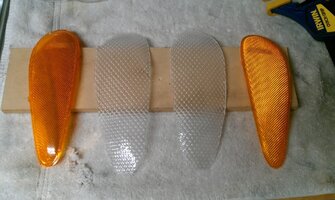
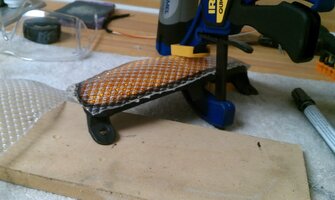
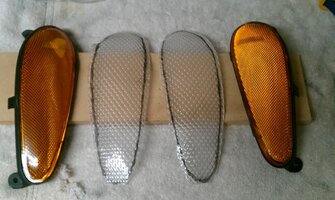
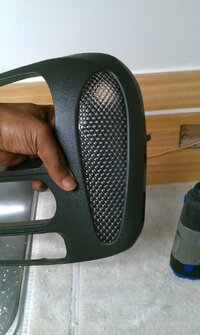


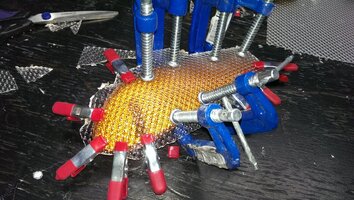
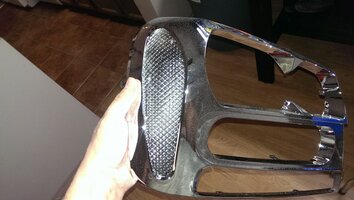
 Looks good man. Maybe a few more clamps than you needed, but hey, if you got em, why not use em!