BCM Body Control Module Cable Repair How To
Part Number: 15077187
The ribbon cable for my BCM somehow got a crease in it, and some of the circuits were left open. I could press on the ribbon cable a certain way and the dome lights would flicker, radio would turn off, etc. I called the Dealer and was quoted $144 for a new cable. I also found GMPartsGiant.com has it for $77. 15077187 - GM HARNESS
Haven't found one on ebay currently, but saw another thread where someone elase had and replaced it. I decided to repair my own, so I just wanted to throw this out there for anyone who may be interested...
All I did was solder a wire from one end to the other for each connection that appeared to be damaged. Several were scratched, and I found only two that were broken when I checked them with my ohm meter. Still, I went ahead and replaced all lines that looked damaged. I did this by soldering a wire from the lower pins to the top pins.
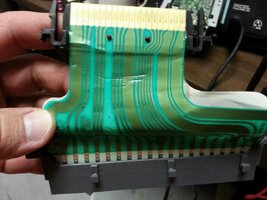
Here is a picture of the damaged ribbon cable:
View attachment 21925
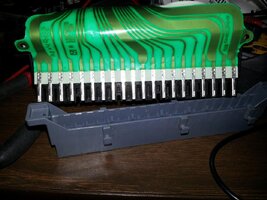
I removed the gray housing that holds the lower pins in place by gently pulling the sides apart:
View attachment 21926
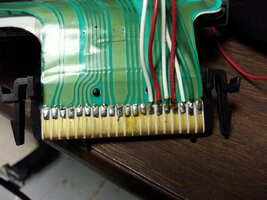
I then soldered a short wire to the top of each pin...
View attachment 21927
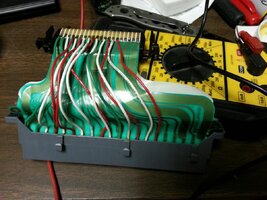
...and connected the wire to the other end of the harness...
View attachment 21928
Completed harness:
View attachment 21929
Re-installed in vehicle:
View attachment 21930


