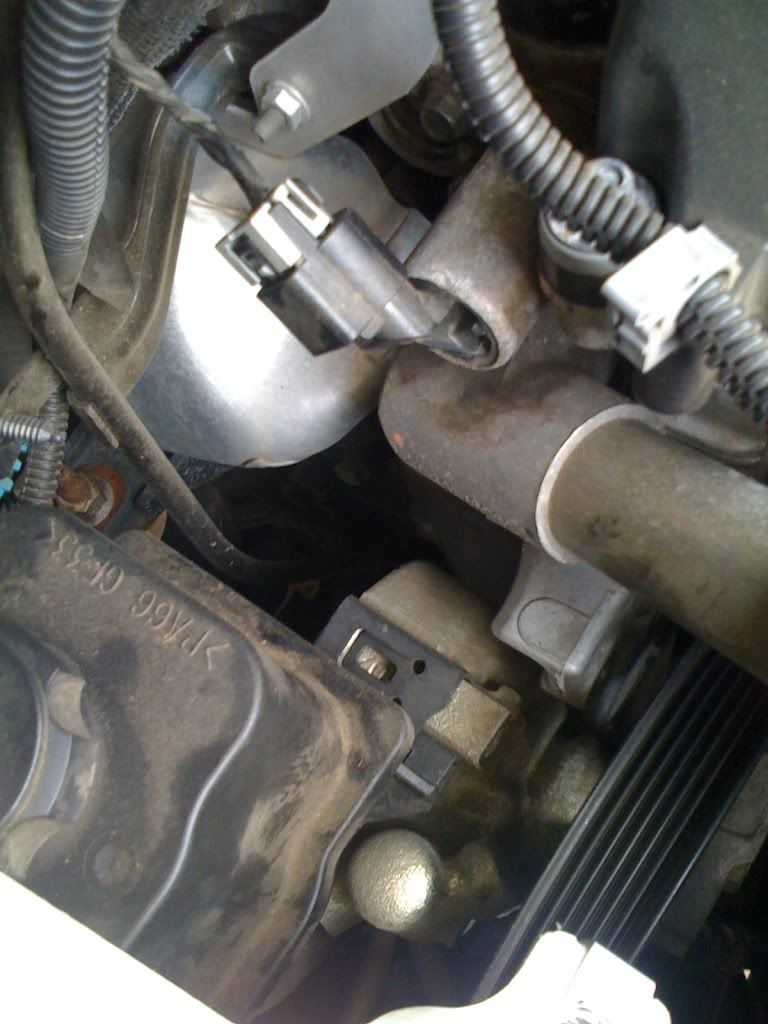
If you have any "Mad Money" left and 1,000 + Lb Harbor-Freight Engine Stand... replacing or cleaning up the following components
"B4" you swap the engines will be a Godsend later if they prove either disabled or clogged or flat out inoperative after you start it up and try to "Put the Music" to the engine:
(1)
CPAS-- Camshaft Position Actuator Sensor: MUST Remove the Power Steering Pump if attached and unbolt to slide out and clean out channels with a spray solvent and make sure the screens are intact. If not...get a new AC-Delco Flavor. If there is Oil inside the Electrical Connector...Same Advice...Replace that CPAS with one from AC_Delco ... Plenty of WHY-DO-THIS & HOW-TO-CLEAN Videos on Youtube:
(2)
CPS--Camshaft Position Sensor -- This one is easy and inexpensive to replace. Also plenty of Youtube Videos on how to R&R:
(3) Throttle Body--- 4 Slender 10mm Bolts. Remove completely...Don't bugger up the electric harness connector locking pins! H-F Mechanics Pick Set = Best Friend here. Clean when off the engine... Don't move the the motor driven Butterfly Plate too fast and replace the silicone
O- Ring with a new one and watch the orientation when re-installing to ensure no vacuum leaks on re-assembly.... Plenty of WHY-DO-THIS & HOW-TO-CLEAN Videos on Youtube:
(4) Wrecking Yards are NOT renown for their Delicate Dis-Assembly Techniques! Examine EVERY SINGLE BOLT HOLE ON THE EXHAUST FLANGE AREAS OF THE ENGINE HEAD FOR ANY HIDDEN BROKEN OFF BOLT STUBS
B4 YOU DROP THAT ENGINE IN THE TB!
(5) Drain the Oil and remove the Oil Filter, Break it OPEN and RUN A NEODYMIUM MAGNET on a string around the cannister paper filer and in the bottom of the drained oil looking for the presence of medium and large pieces of metal ferrous and non-ferrous metal... brass, aluminum, Babbitt bearing material and steel present indicate the motor might need to be looked at inside
B4 installation.
(6) Examine the Flex-Plate for any cracks around the crankshaft mounting bolts... Smack it LIGHTLY with a Dead Blow Hammer or Plastic Mallet... if it does not Ring Like a Brass Bell... look closer for any Fine Fractures or Crack Lines running in nearly straight lines between all of the bolts around the back end of the crankshaft take-off flange. If present... they indicate Severe Fractures in the Flex-Plate and a Bad Crankshaft Thrust Bearing.This is usually caused by very hard use in 4WD and severe stress on the engine, The diagnosis will be confirmed if there is excessive end to end play... nose to tail on the crankshaft inside the block. If it is really excessive.. even after replacing the Damaged Flex-Plate with a Brand NEW one... in a very brief time... the thing will weaken and crack and fail completely... all over again.
(7) Water Pump.... Better now...
B4 you put the engine in the SUV ...than in six months...or six weeks...or even six days...Who knows? You get the idea... Plenty of WHY-DO-THIS & HOW-TO-CLEAN Videos on Youtube. If not NOW... then THIS WAY LATER:
https://www.2carpros.com/questions/2004-chevrolet-trailblazer-04-water-pump
(8)
B4 You start this engine.... Fill up the Crankcase with Mobil1 5W-30 Motor Oil and use either a K&N Oil Filter or a Mobil1 or Amsoil Oil Filter. IMPORTANT: FILL THE OIL FILTER UP COMPLETELY... AND BE PATIENT AS IT WILL TAKE A FEW MINUTES TO DO THIS RIGHT! Pull the Fuel Pump Relay...or pull the Fuel Injector Fuses (...courtesy watching instructional videos done by
@MAY03LT...) and use the start cycle to turn the engine over for about 45 seconds with a Fresh Battery. This will allow the Gerotar Oil Pump to push fresh Motor Oil throughout the engine galleys and the upper Valve Train (It might take several 45 second tries to get the oil way up top-side into the engine head). If the motor has been sitting dormant for YEARS... First... Pull all of the spark plugs out and spray a LITTLE 3&1 Oil (NOT TOO MUCH!) down inside each cylinder and put a rolled up paper napkin inside each Spark Plug Well, so that when you turn the motor over...the piston compression does not spray oil all over you and the engine compartment. Afterwards... clean out the Spark Plug Wells and install a set of fresh OEM ONLY Spark Plugs... DO NOT GAP THEM OR TOUCH THEIR PLATINUM TIPS!
(9) About Replacing the Rear Main Seal... ABSOLUTELY! However... when you purchase it...it will come fitted inside of a White Plastic Carrier... DO NOT PULL THE SEAL OUT OF THE WHITE PLASTIC CARRIER... Clean the hardened engine oil "varnish" off of the edges of the crankshaft opening and the exposed OD of the crankshaft as well with a rag soaked in Lacquer Thinner FIRST. If you do not have the large K&M Seal Installation Tool... then the best alternative procedure is to sit on a small stool facing the end of the crankshaft with a dead on view and while holding the white carrier in the correct position around the OD of the Crankshaft... Then use a Dead Blow Hammer or a Large Plastic Mallet and lightly and SQUARELY... gently tap the seal in the sequence of:
12 then 6 then 9 then 3 then 11 then 4 then 7 then 1 positions and alternate that same pattern, very slowly... again and again until the entire seal is finally snug and flush with the rear metal surface of the Engine Block.


