Parking Brake Emergency Brake Rear Brake Brake Cables
2005 GMC Envoy SLT
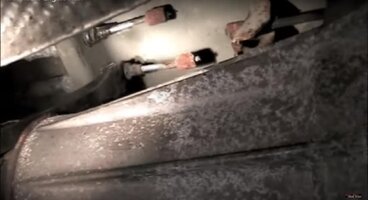
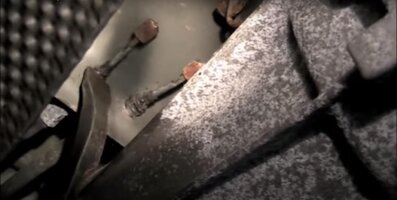
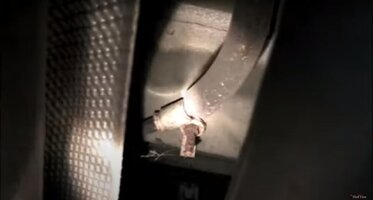
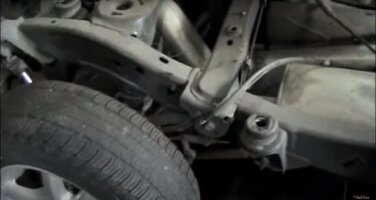
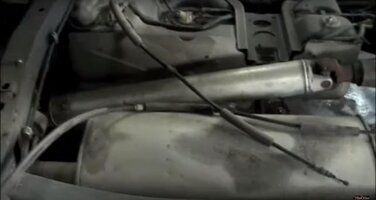
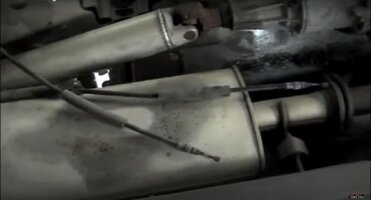
I recently had to remove the parking brake cable from the rear wheels and spent quite a bit of time trying to figure out how to get some slack in the cable in order to slip the ball ends from their mounts. I have the official GM shop manuals but could not make sense of the procedure they described. The best description was in a YouTube video but even that was lacking clarity as it is nearly impossible to get a camera in the deep crevasse where the parking brake lever resides. Following is a series of pictographs describing the basic concept of the lever action and steps to slacken the cable. Once known it is a very quick and simple procedure.
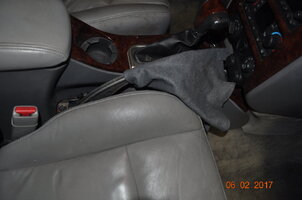
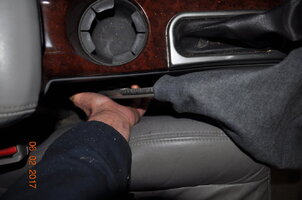
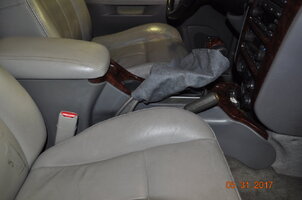
First slip the parking brake boot over the lever to gain access to the mechanism. The boot is not fastened to the carpet. The lower end is just loose and can be rolled over itself up the lever arm. Just like pulling your underwear T-shirt over your head!! Here is a picture:
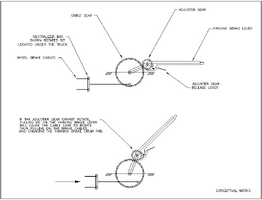
Next, study the theory of how the lever works. The following picture is very simplified and only pertains to the aspects of releasing the cable:
Now that you have a basic understanding of how the lever works, the cable can be easily slackened. Step 1 Release the adjuster gear:
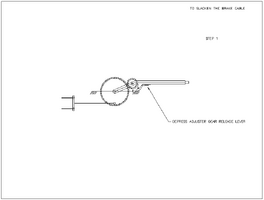
You have to get your fingers way down in the blind crevasse but it is doable with the help of the pictographs.
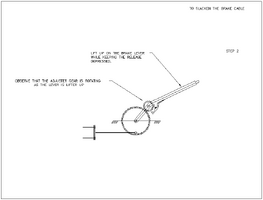
Step 2 Raise the lever while the adjuster release lever is depressed:
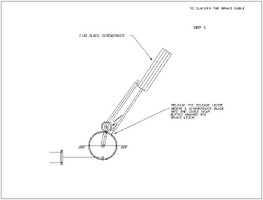
Step 3 Insert a jamming screwdriver into the cable gear:
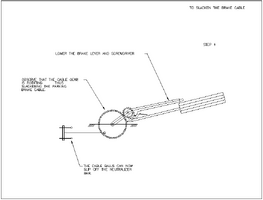
Step 4 Lower the lever with backward rotation of the cable gear:
Leave the jamming screwdriver in place while you do your brake work. If you pull it out the mechanism torsion spring will windup the cable gear and you will have a lot more work to get everything back in place. It will help to have a little weighted object to keep the parking brake lever down as it will want to spring back up and lose the cable slack.
The cable is now slack enough to slip the ball ends from the neutralizer bar.
Now there is lots of slack the remove the cable ends from the rear wheels.
While the cables are off the mounts at both ends, don't forget to pull the cable out far enough to examine the nylon jacket where it enters the sheath. If its worn then the cable won't last long before it rusts into a bind.
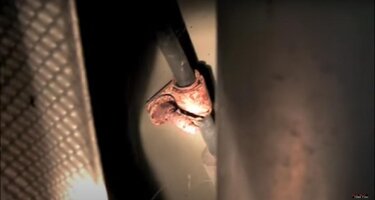
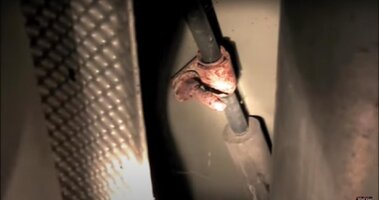
At the rear wheel, the cable sheath is mounted on a bracket. Use a screwdriver to push in the spring retainer wings while wriggling the sheath. It looks like a special tool is required, and there is one, but it is very simple with just a screwdriver blade pressing one wing at a time.
Enjoy!
2005 GMC Envoy SLT
I recently had to remove the parking brake cable from the rear wheels and spent quite a bit of time trying to figure out how to get some slack in the cable in order to slip the ball ends from their mounts. I have the official GM shop manuals but could not make sense of the procedure they described. The best description was in a YouTube video but even that was lacking clarity as it is nearly impossible to get a camera in the deep crevasse where the parking brake lever resides. Following is a series of pictographs describing the basic concept of the lever action and steps to slacken the cable. Once known it is a very quick and simple procedure.
First slip the parking brake boot over the lever to gain access to the mechanism. The boot is not fastened to the carpet. The lower end is just loose and can be rolled over itself up the lever arm. Just like pulling your underwear T-shirt over your head!! Here is a picture:

Next, study the theory of how the lever works. The following picture is very simplified and only pertains to the aspects of releasing the cable:

Now that you have a basic understanding of how the lever works, the cable can be easily slackened. Step 1 Release the adjuster gear:

You have to get your fingers way down in the blind crevasse but it is doable with the help of the pictographs.

Step 2 Raise the lever while the adjuster release lever is depressed:

Step 3 Insert a jamming screwdriver into the cable gear:

Step 4 Lower the lever with backward rotation of the cable gear:

Leave the jamming screwdriver in place while you do your brake work. If you pull it out the mechanism torsion spring will windup the cable gear and you will have a lot more work to get everything back in place. It will help to have a little weighted object to keep the parking brake lever down as it will want to spring back up and lose the cable slack.

The cable is now slack enough to slip the ball ends from the neutralizer bar.
Now there is lots of slack the remove the cable ends from the rear wheels.
While the cables are off the mounts at both ends, don't forget to pull the cable out far enough to examine the nylon jacket where it enters the sheath. If its worn then the cable won't last long before it rusts into a bind.
At the rear wheel, the cable sheath is mounted on a bracket. Use a screwdriver to push in the spring retainer wings while wriggling the sheath. It looks like a special tool is required, and there is one, but it is very simple with just a screwdriver blade pressing one wing at a time.
Enjoy!
Last edited:

 Great write up. Those pics are really helpful in understanding how the system works (I sure as hell didn't know
  ) Gonna bump this over to the Article Submissions section.